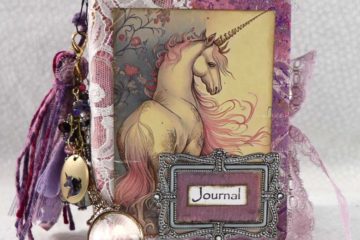
Exquisite Dreamer Needle Book Tutorial Day 11 of 12 Days of Junk Journal Gift Ideas. Today I’m sharing how to make a fun needle book – a place to keep needles and pins. I thought this would be a super cute gift to give to someone that likes to sew or that you think should learn how to sew buttons on their own clothing instead of you doing it for them. lol
Exquisite Dreamer Needle Book Tutorial Video.
Supplies used for the Exquisite Dreamer Needle Book Tutorial
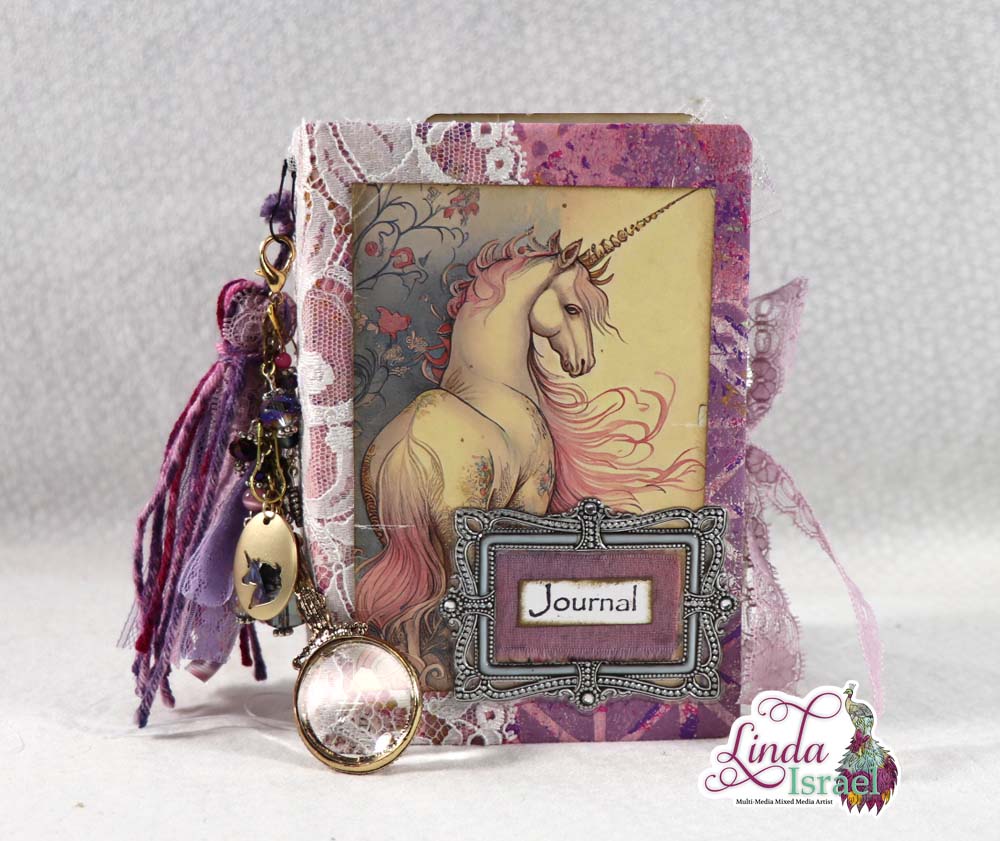
- Calico Collage Exquisite Dreamer digital journal kit
- Scissors
- Distress Ink, Vintage Walnut
- Blending Tool
- Tattered Angels Glimmer Mist, Pink Poodle
- Cardstock, scraps
- Quilt Batting or felt
- Sewing Machine
- Digital Gel Print
- Moroccan Stencil
- Heat Tool
- Glue
- Bone Folder
- Ribbon
- Cheese Cloth
- Needle, Pins and Safety pins to add to the needle book
- Tassel
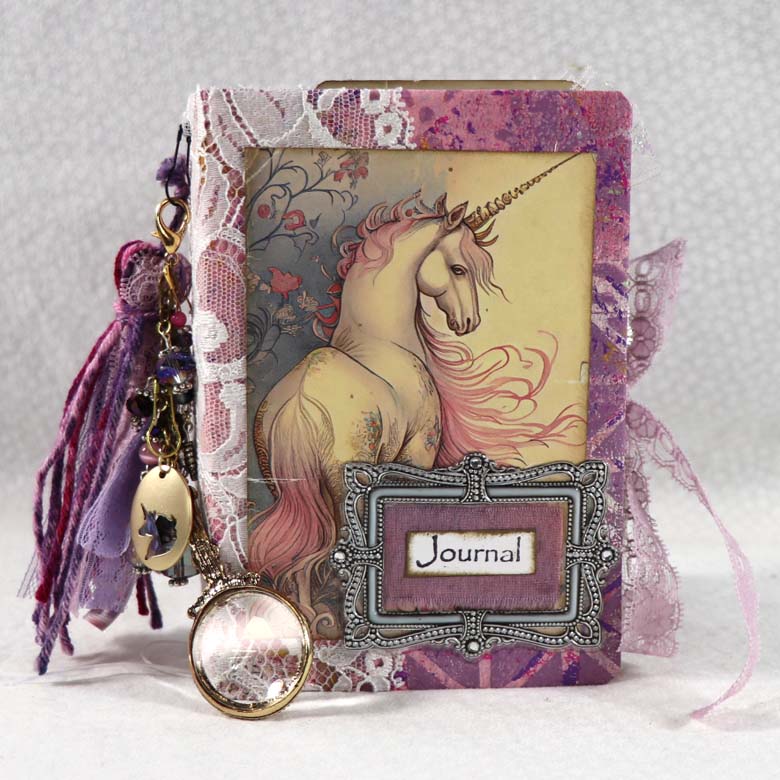
- Exquisite Dreamer Tag
- Tulip Dimensional Glitter Paint
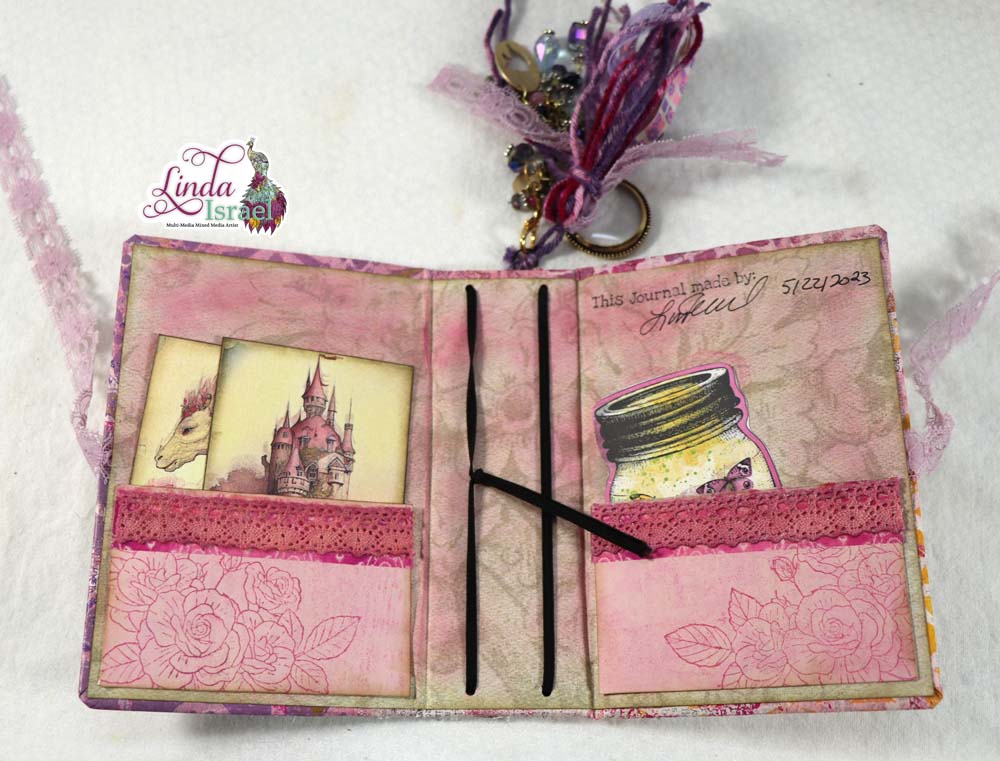
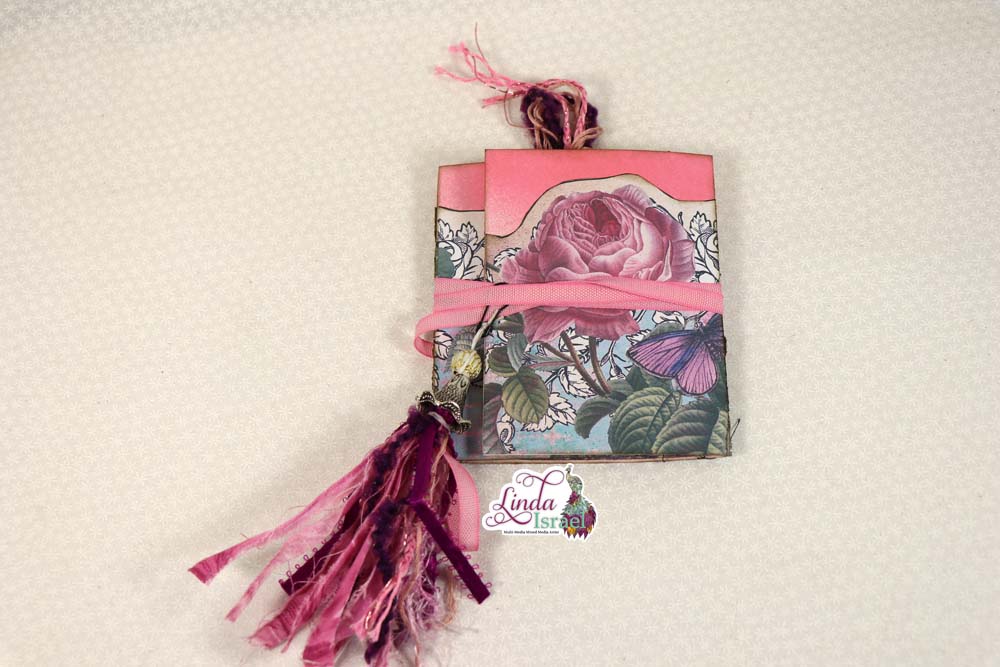
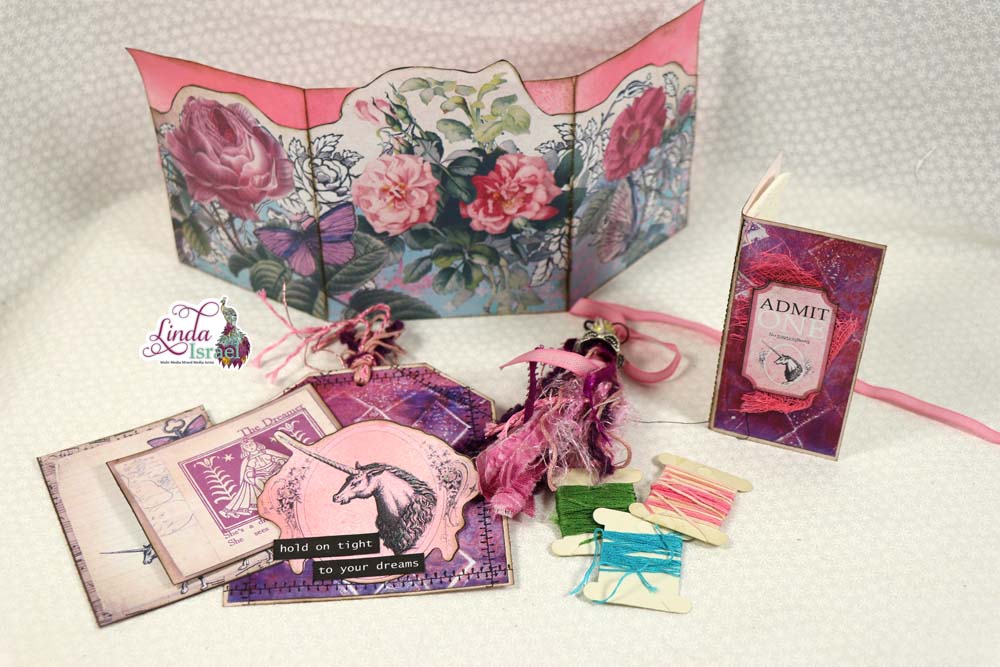
This Exquisite Dreamer Needle Book Tutorial is so fun and super cute. Begin by selecting the wide border image from Exquisite Dreamer Elements page 6 and print on 8.5 x 11 cardstock borderless if possible. Trim. Print the Exquisite Dreamer Elements page 4 on cardstock and fussy cut images.
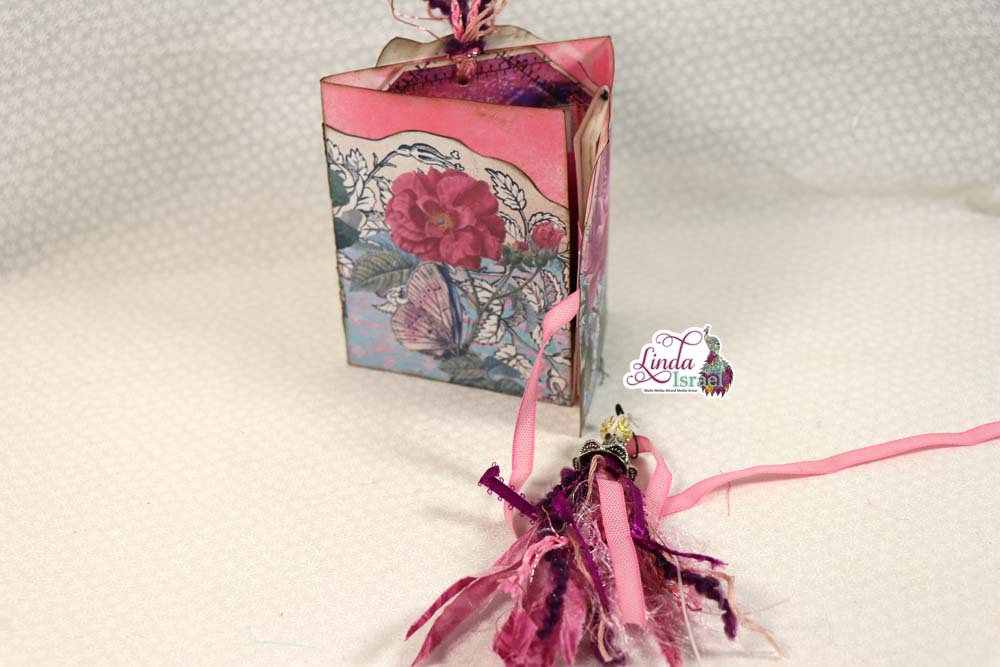
Use a scrap of cardstock measuring 11 x 4.5 (smaller if you didn’t print borderless) apply the Moroccan Stencil and spray with Pink Poodle Tattered Angels Glimmer Mist to one side. Flip over and spray the top edge that will show behind the wide border. Apply Distress Ink, Walnut Stain to all the edges of the papers and elements.
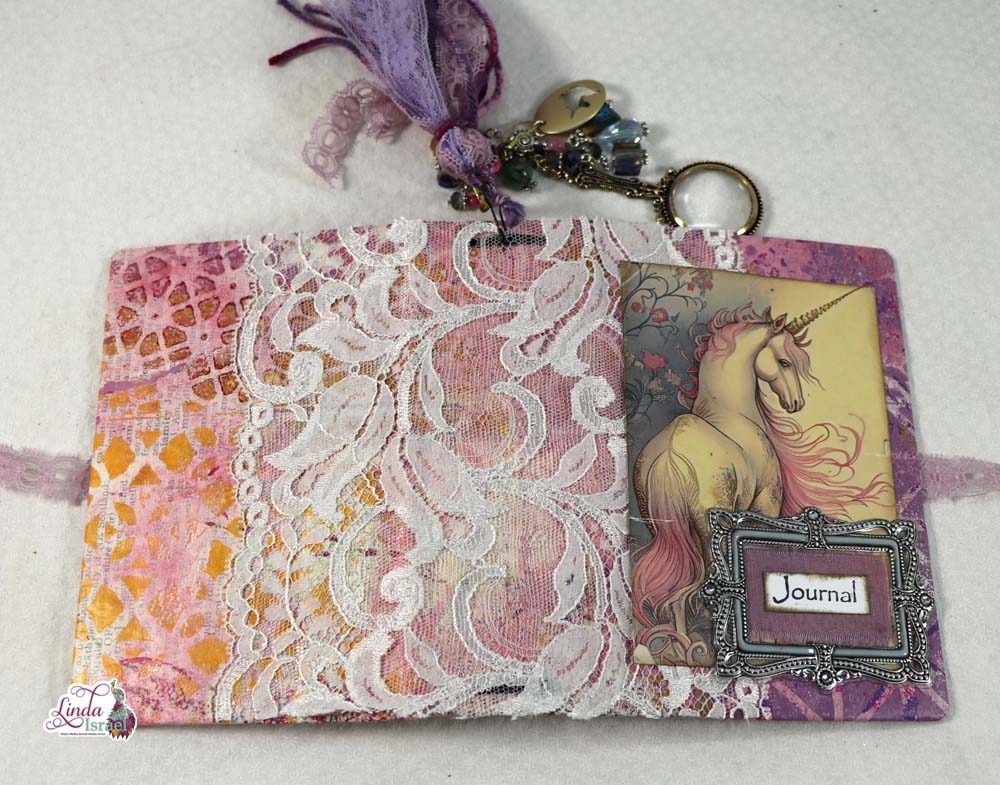
Lay the two strips out and determine which is the side you want the ribbon to come out and wrap around the journal. In my case I turned the book over where I could see the outer image, then I placed the ribbon on the left side. Glue in place on the inside. Now adhere the two pieces together making sure that the ribbon is between the two pieces.
Flip over the book cover to the stenciled side. Mark the center and then place journal tag in the center of that mark. Then add 1/8 of an inch to the outside edges of the journal tag and score the cover. Gently fold on the scored line, these are your covers and should overlap a little. Open the book back up.
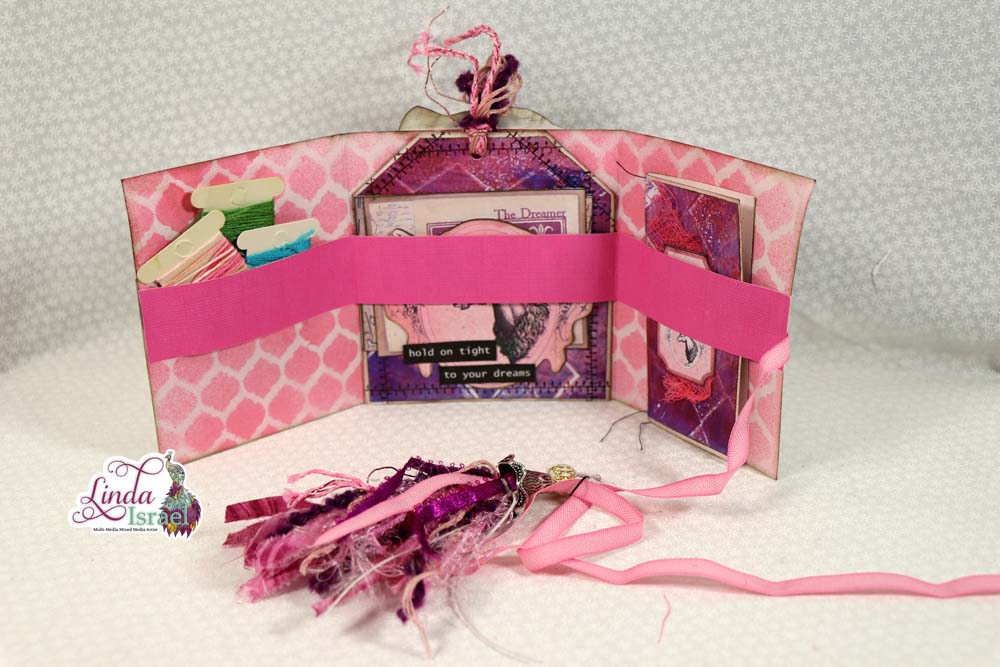
Find a scrap that is 1 inch wide by 11 inches long or cut one. Adhere on the inside of the needlebook outer cover in the center as a belly band. Apply glue at the folds so the paper will hold the items firmly in place. Use a bone folder to press the fold lines.
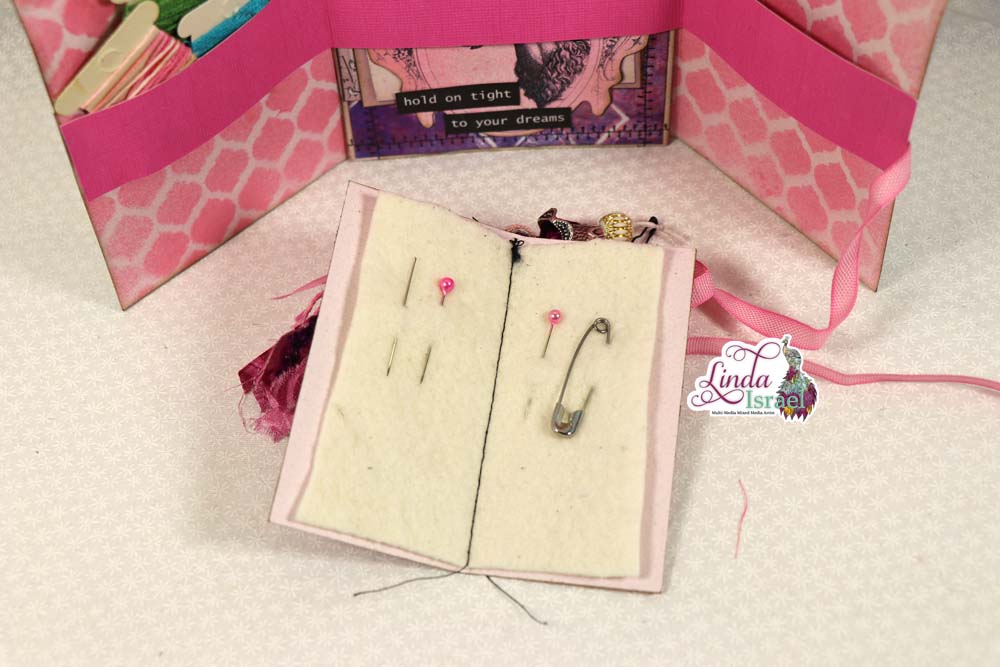
Grab a 4 x 4-inch piece of cardstock, fold in half. Select a piece of quilt batting or felt and cut a square 3.75 x 3.75. Place the quilt batting in the center of the open 4 x 4. Sew down the fold line attaching the quilt batting to the cover. Could also hand sew or use a stapler down the center.
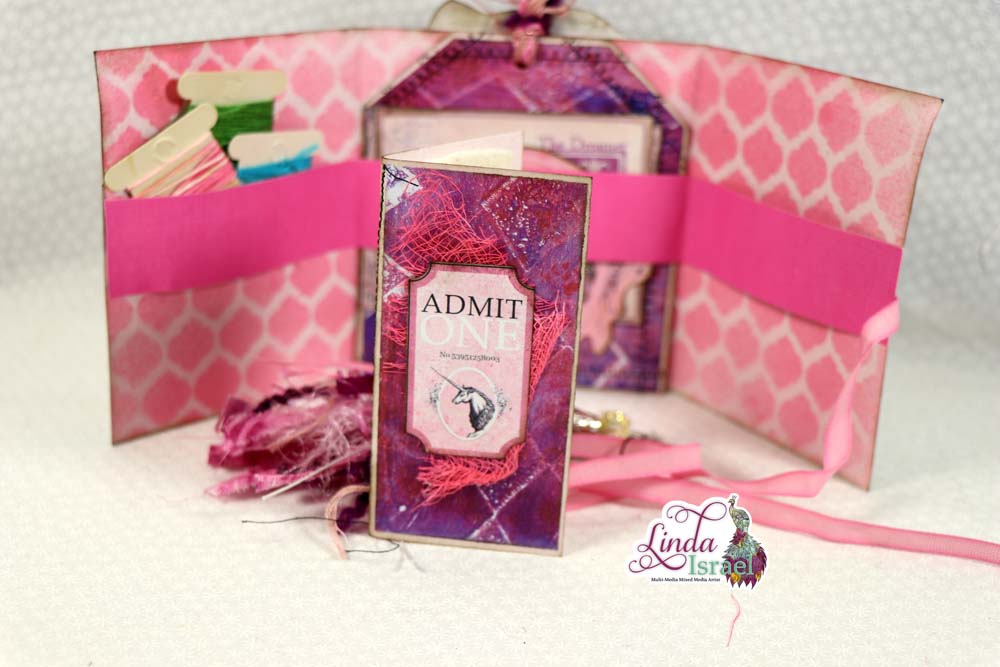
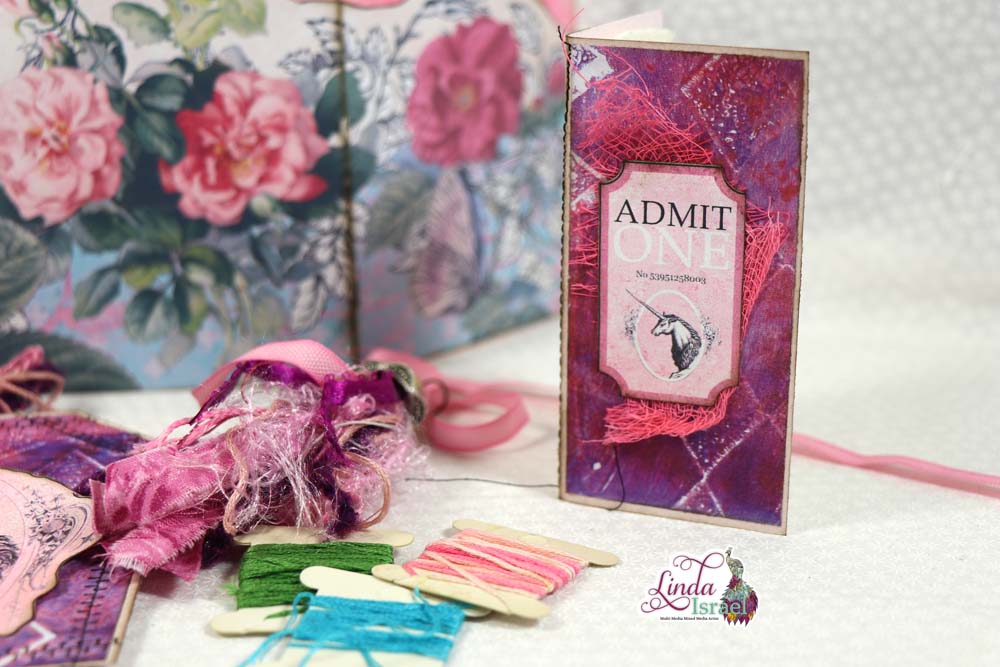
Decorate the cover of the 4 x4 now 2 x 4 book. Adhere a scrap of Pink Gel Print (this is a digital download in my shop) to the book, with Aleenes Tacky Glue. Cut a scrap of cheesecloth about 1.75 x 3 inches. Spray cheesecloth with Pink Poodle Glimmer Mist. Select the unicorn ticket and layer on top of the cheesecloth. Add needle, pins and a safety pin on the quilt batting. Could also add little buttons.
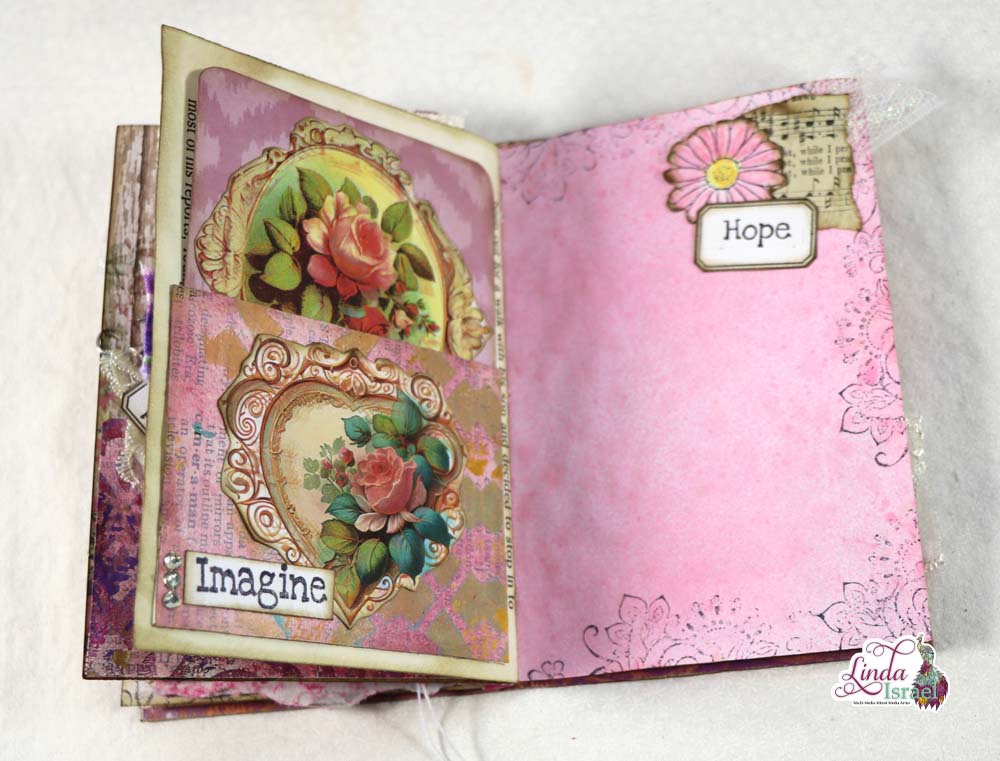
Place items in the Needlebook cover. Embroidery Floss holders are super cute and can have pretty colors, add a few on the left side of the book cover. In the center slide the Exquisite Dreamer Tag. On the right slide the needle book into the band.
Close flaps and wrap ribbon around the journal. Tuck the end of the ribbon through itself. Attach a Tassel on the ribbon with a pin for added charm.
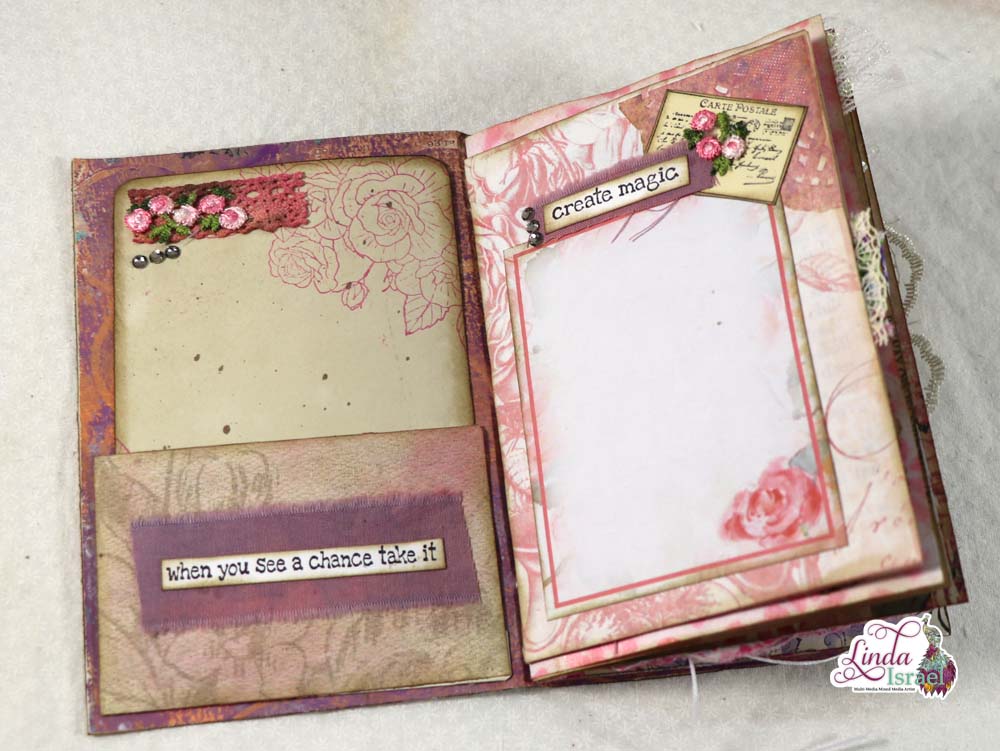
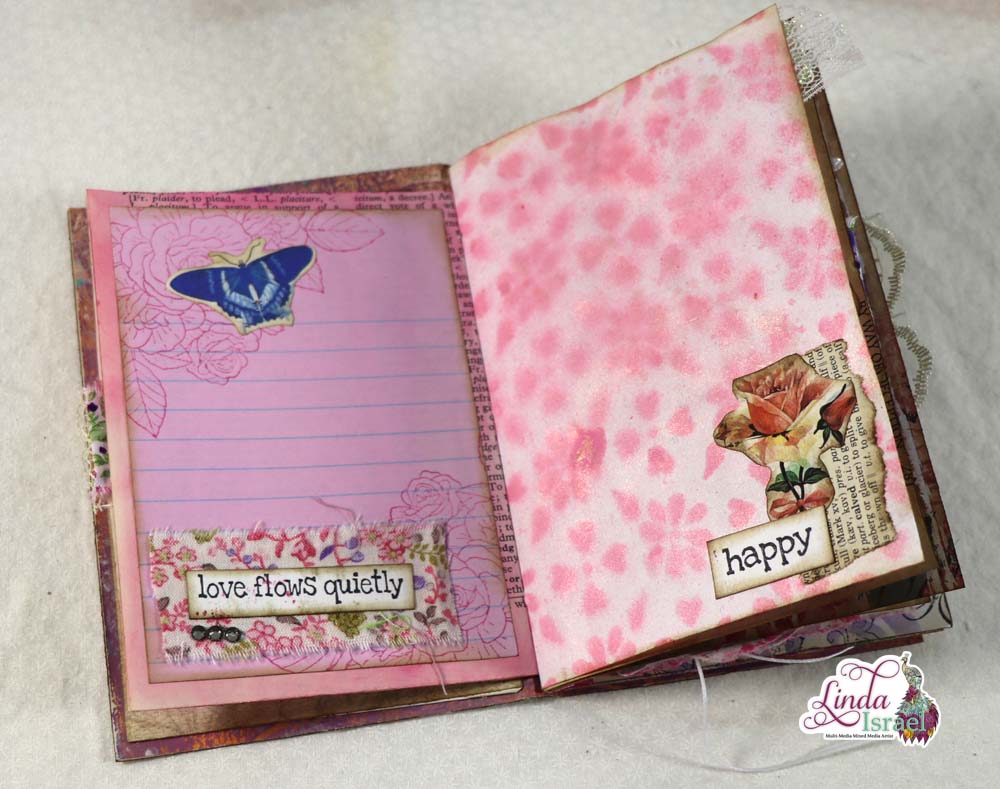
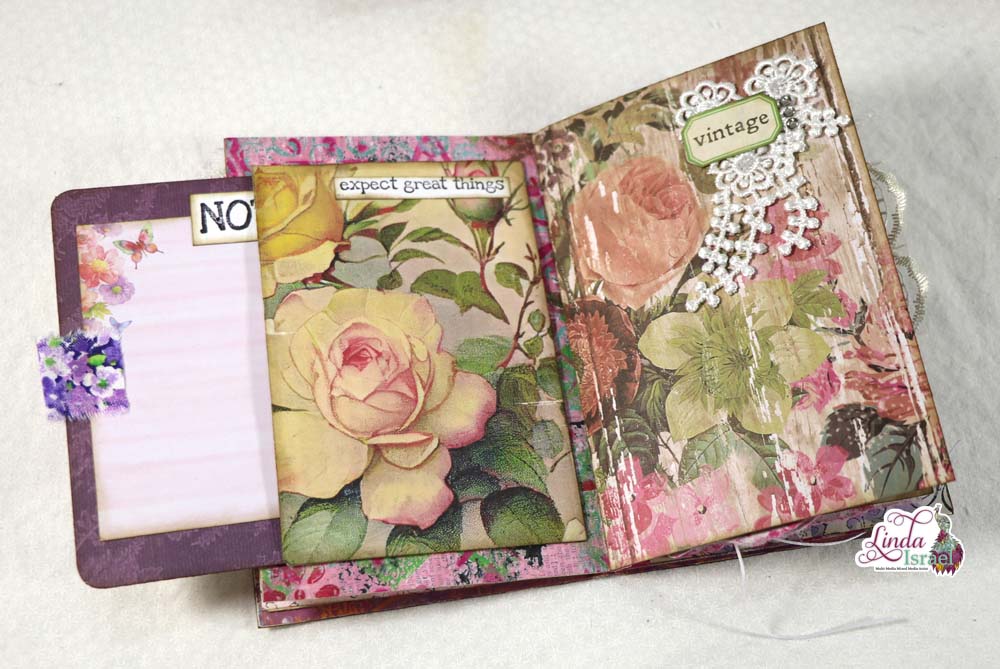
Once you stepped through the Exquisite Dreamer Needle Book Tutorial you will see how super easy these are to make and how easy it would be to make different styles as gifts. Have fun trying things out. Add more embellishments that you feel fit the theme.
Make sure that you visit the other artists that have created tutorials. Look for other posts using the tag: #12daysofjunkjournalgiftideas.
A great way to support me, and continue to see more tutorials and inspirational projects from me is to Become a Patron! When you give me your patronage you will get an exclusive digital download featuring art I created that has now been made into a digital journal kit.
Make sure to check out the Friendly Junk Journal People Facebook group. Of course, you are welcome to join the Friendly Junk Journal People Facebook group. The group is growing daily and we are a friendly group willing to help each other and encourage each other.

Interested in any of the journals I created? Please feel free to contact me through my Facebook Page. Here is my shop, I have a lot of items uploaded and add more weekly.
Keep updated on my posts by following me. Follow my blog with Bloglovin. Or Follow my Facebook Page or on Instagram for updates that may not be shared on my blog.
Thanks so much for stopping by my blog today to see Day 11 of 12 days of Junk Journal Gift Ideas the Exquisite Dreamer Tag Tutorial.