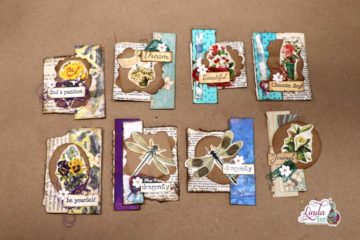
Here is the September Friendly Junk Journal People Challenge, Mini Journal and Clear Pocket Tutorial. In this tutorial I’ll show how to decorate a mini journal and then create a clear pocket to hold the journal.
Mini Journal and Clear Pocket Tutorial Video.
Supplies Used
- Cardstock 8 x 6 inches for mini journal cover
- Misc. papers for pages, scrapbook, graph paper, notebook paper.
- Little Blossoms Digital Journal Kit
- Butterfly lg stamp
- Memories Stamp
- Fabric Scrap
- Thread waste
- Flat Back Rhinestones
- Direct to Paper Mixed Media Pages
- Fiskars 12 inch portable rotary paper trimmer
- Transparency Film or Acetate
- Aleene’s Tacky Glue
- Beacon Fabri-Tac
- Fiskars Easy Action Scissors
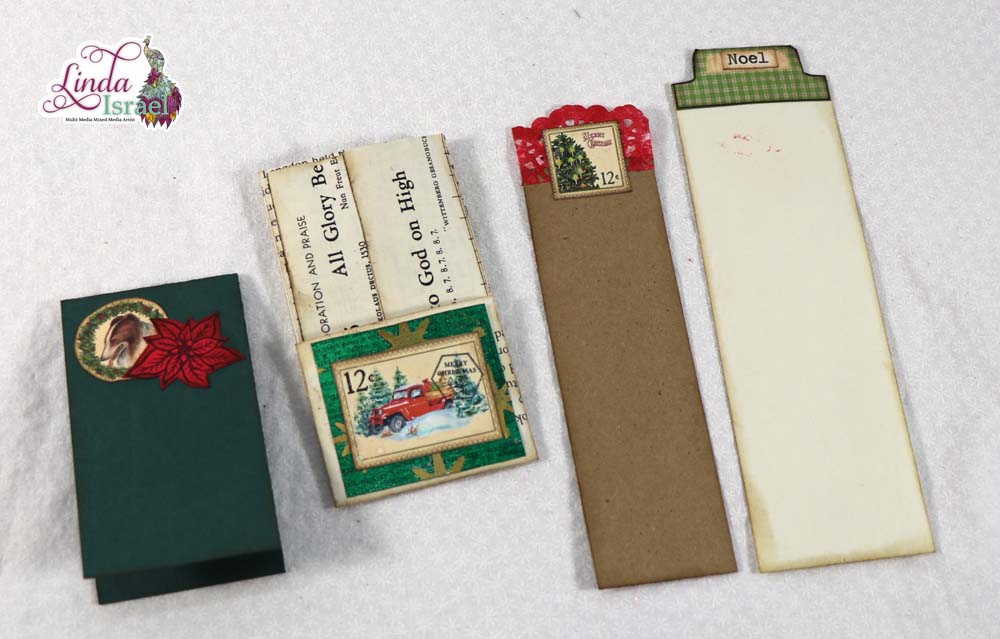
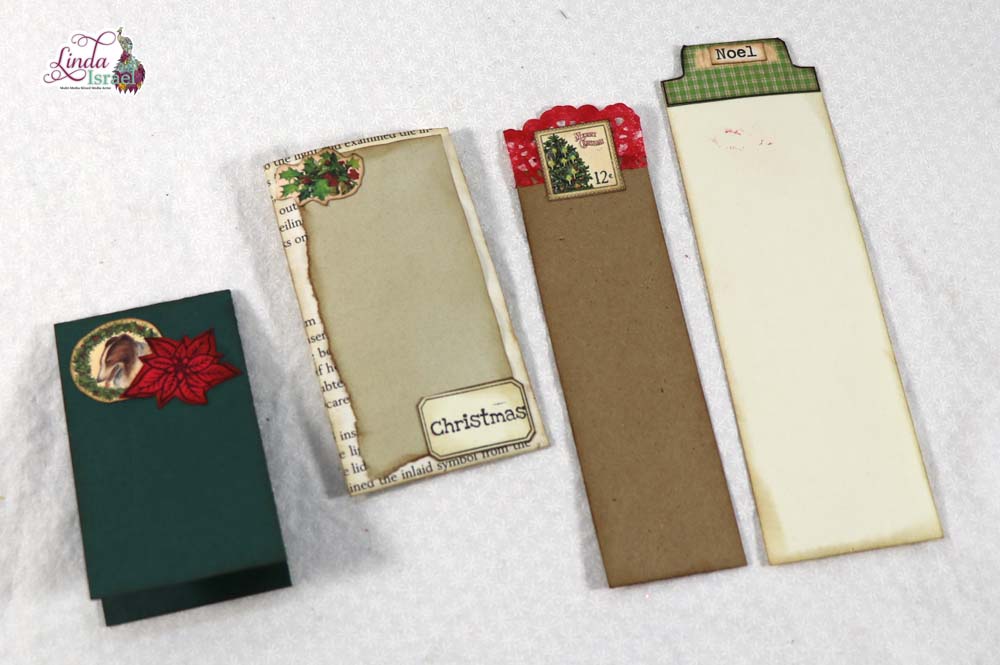
To begin this tutorial, start with making a mini journal. In my case It was a 4 x 6 inch journal. From 12 by 12 scrapbook cardstock cut an 8 x 6 inch piece (you can get two from one sheet). Fold the page in half to create a 4 x 6 inch cover.
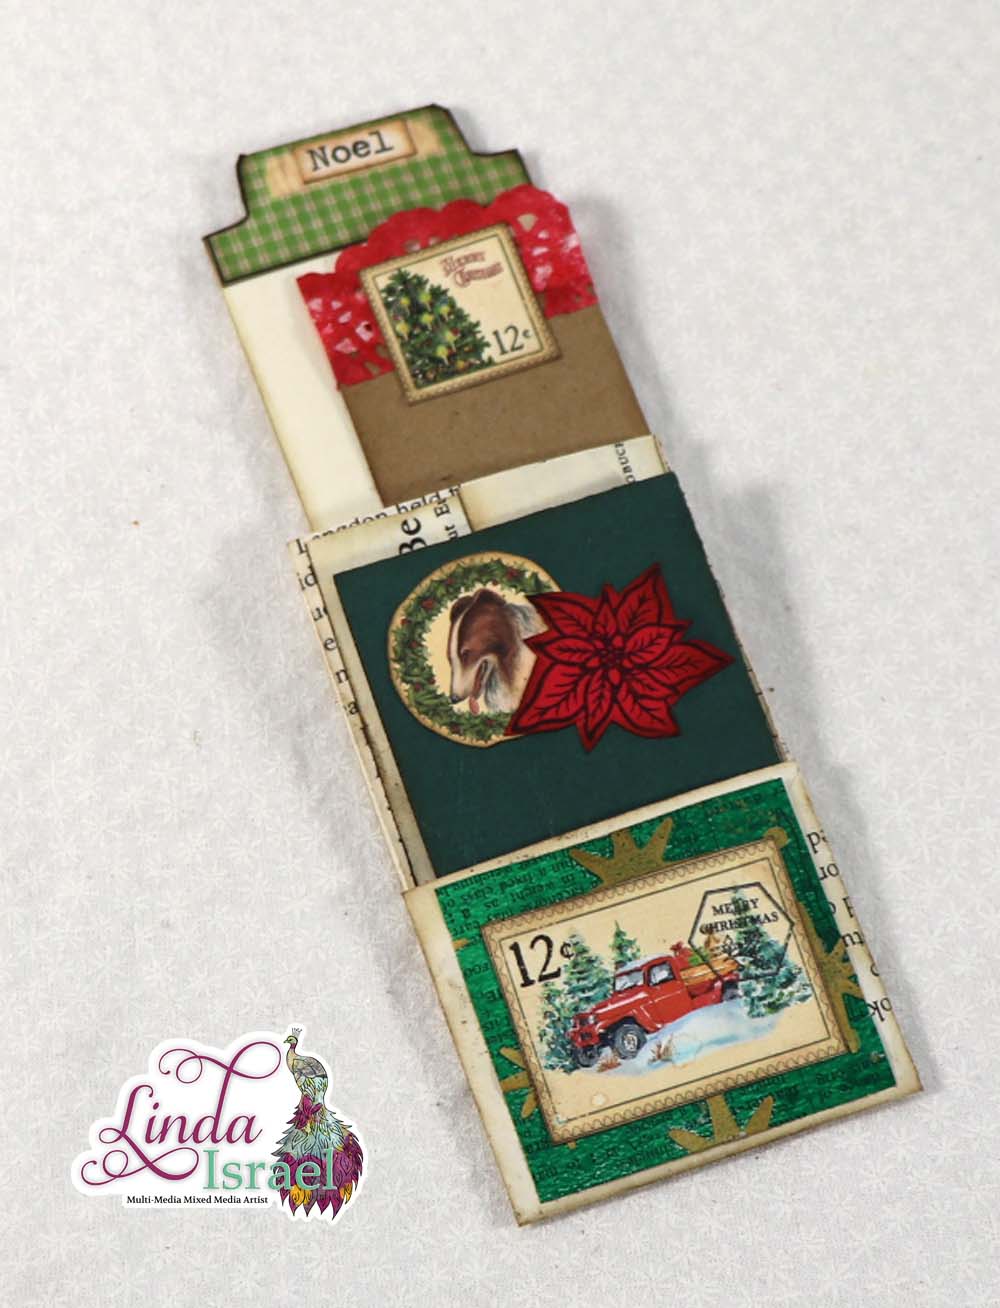
Select a few papers for pages, scrapbook paper, book pages, notebook paper, graph paper are just a few ideas. Tear or cut the pages to be slightly smaller than 8 x 6, this ensures that your pages don’t stick out of your cover. Bind the journal together.
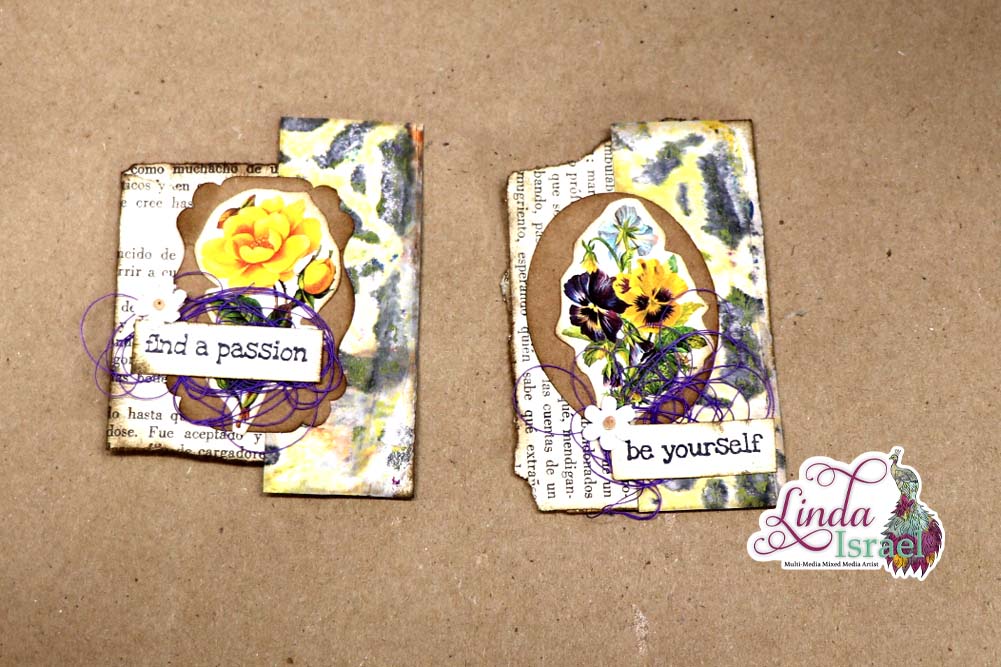
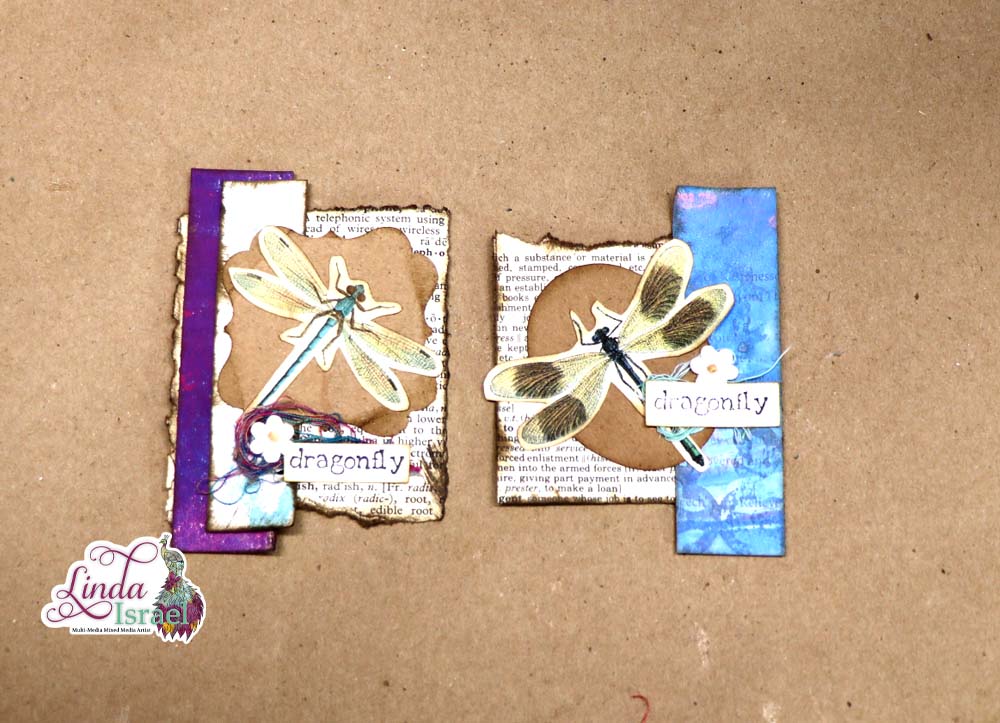
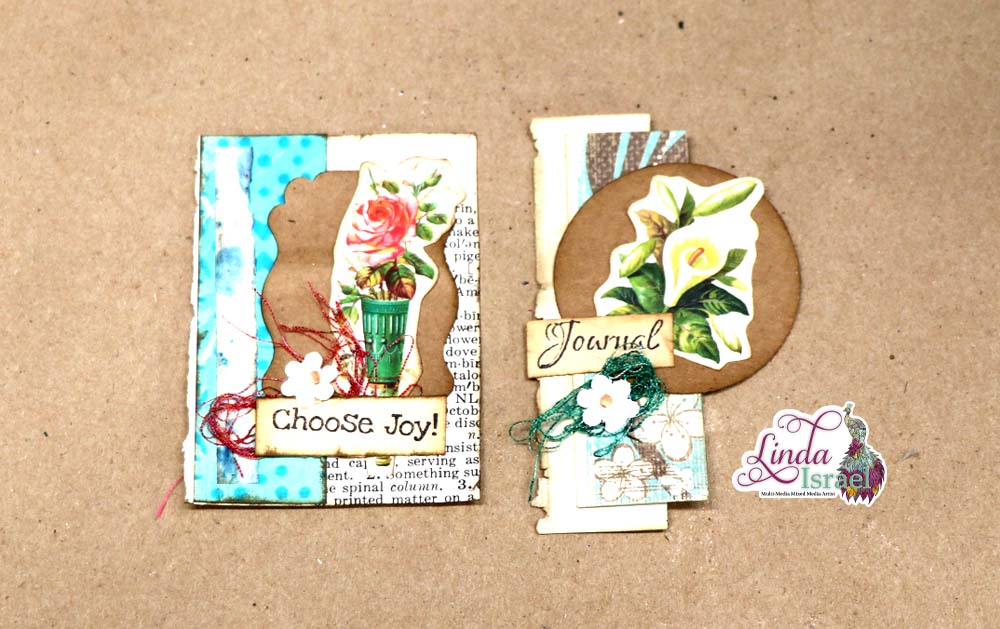
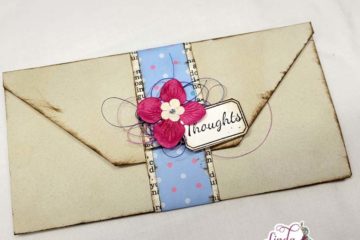
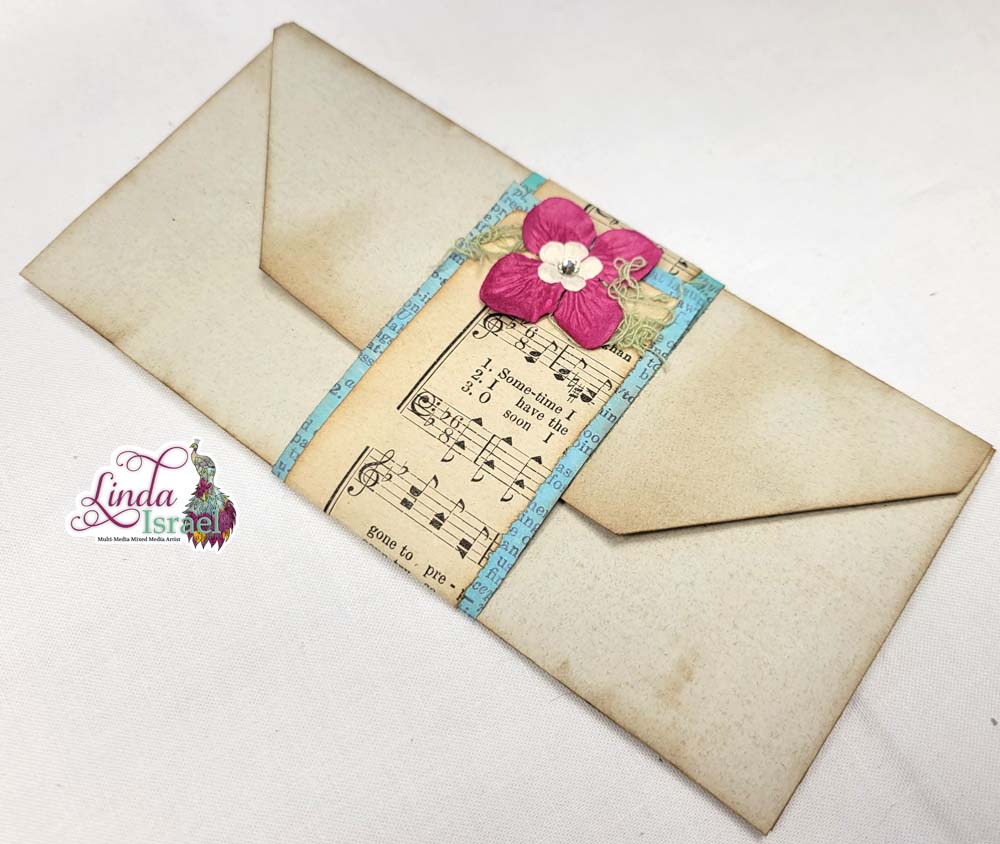
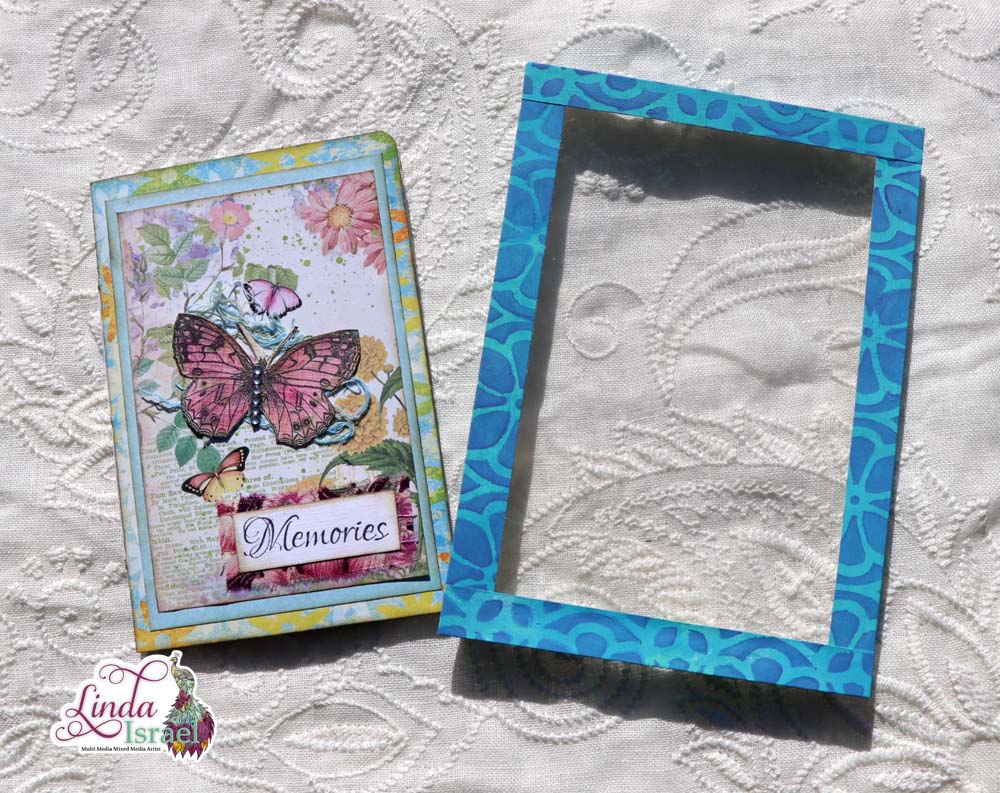
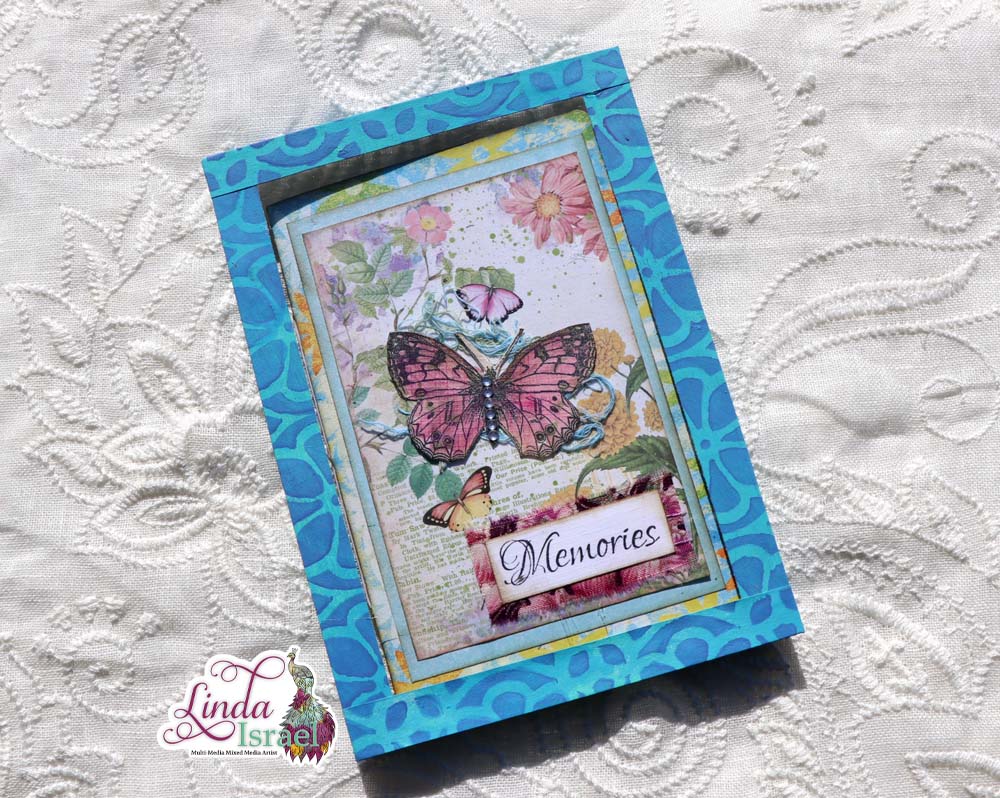
Decorate the cover of the mini journal. In my case I used a page from Little Blossoms from Calico Collage. When selecting the digital file that usually prints as an 8.5 x 11 inch sheet, change the print settings to print as a 5 x 7 image. This will give you a smaller page that when cut in half fits perfectly on the mini journal cover.

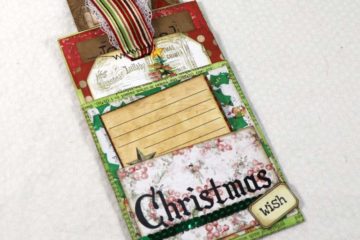
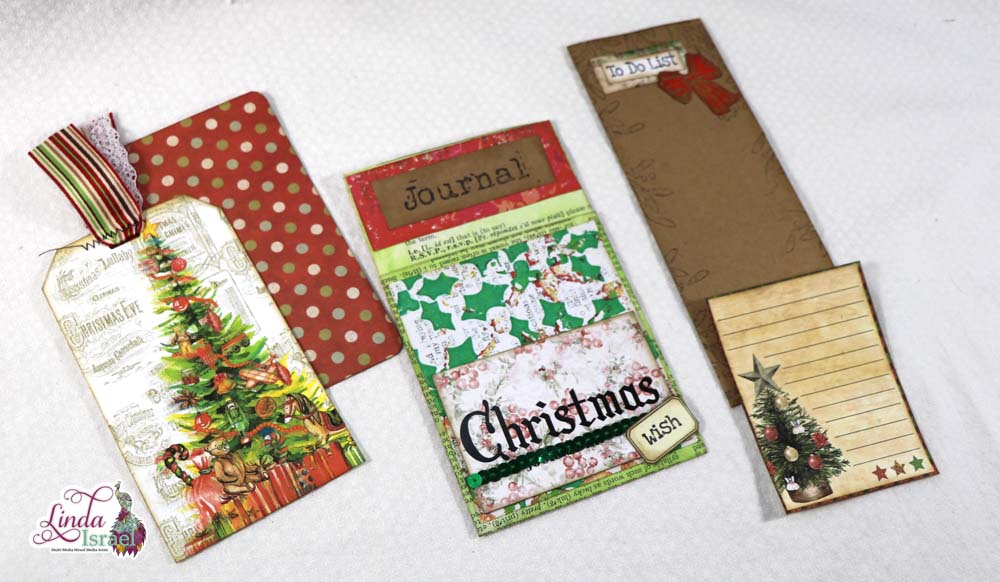
Check out the August 29th live stream: Mini Journal Live Stream Tutorial. In this video I make several mini journals. May these inspire you!
![]()
![]()
![]()
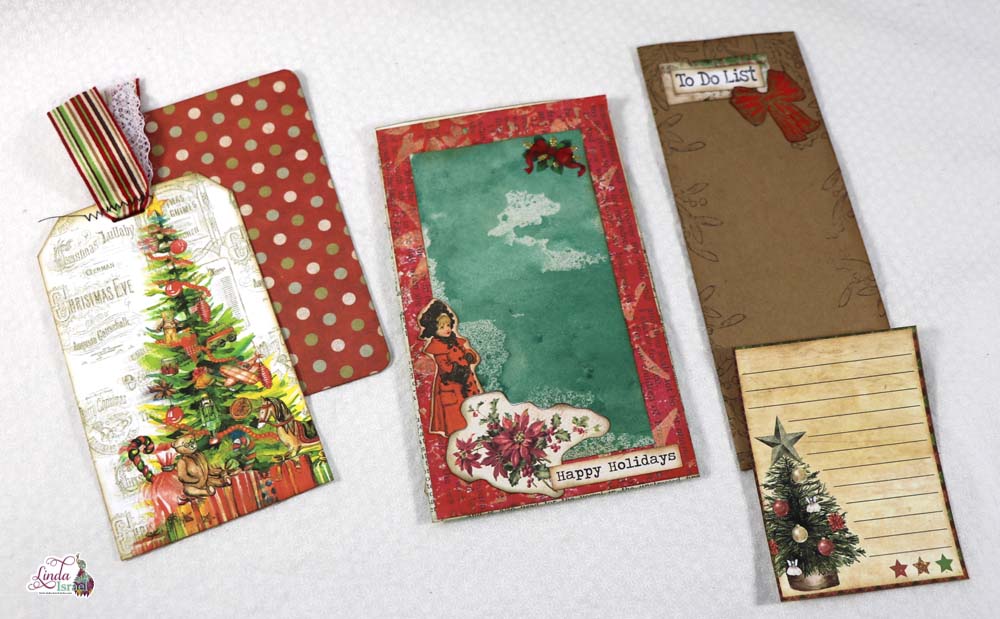
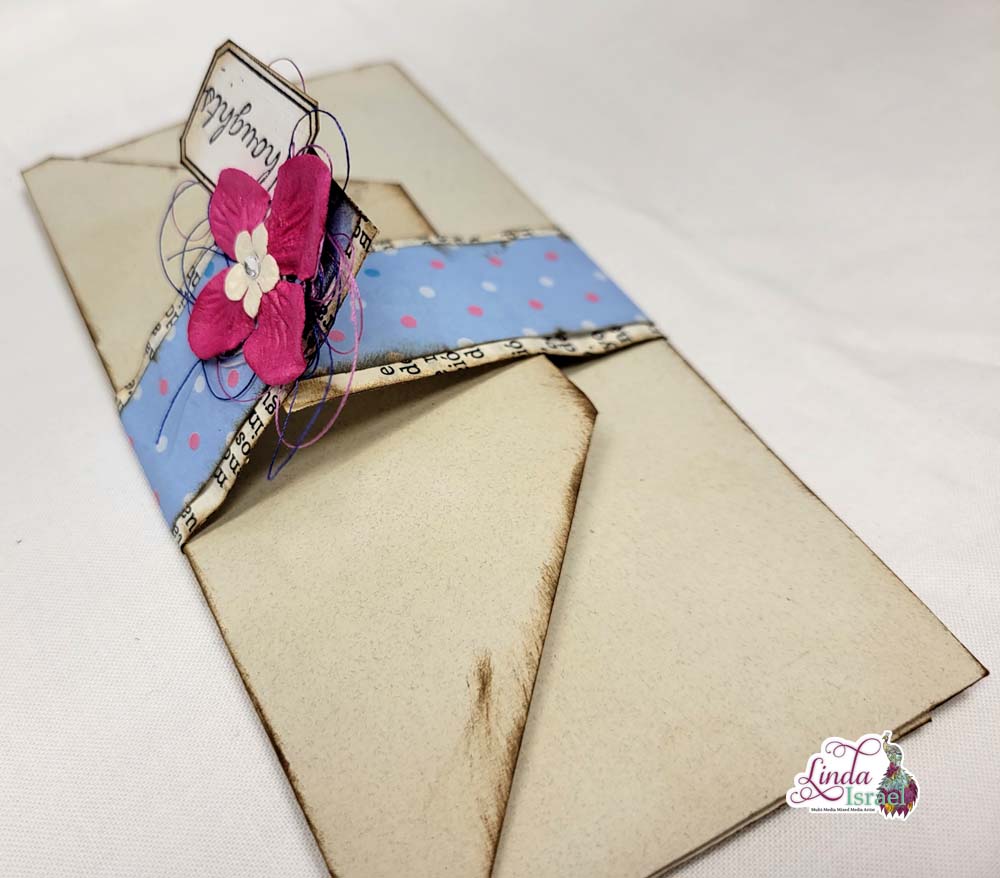
Creating the clear pocket is super easy! Using a sheet of write on transparency film, cut a 5 x 7 piece (from a letter size you can get two). Or use clear acetate packaging if you don’t have transparency film. Get creative and look around and see what can be used.
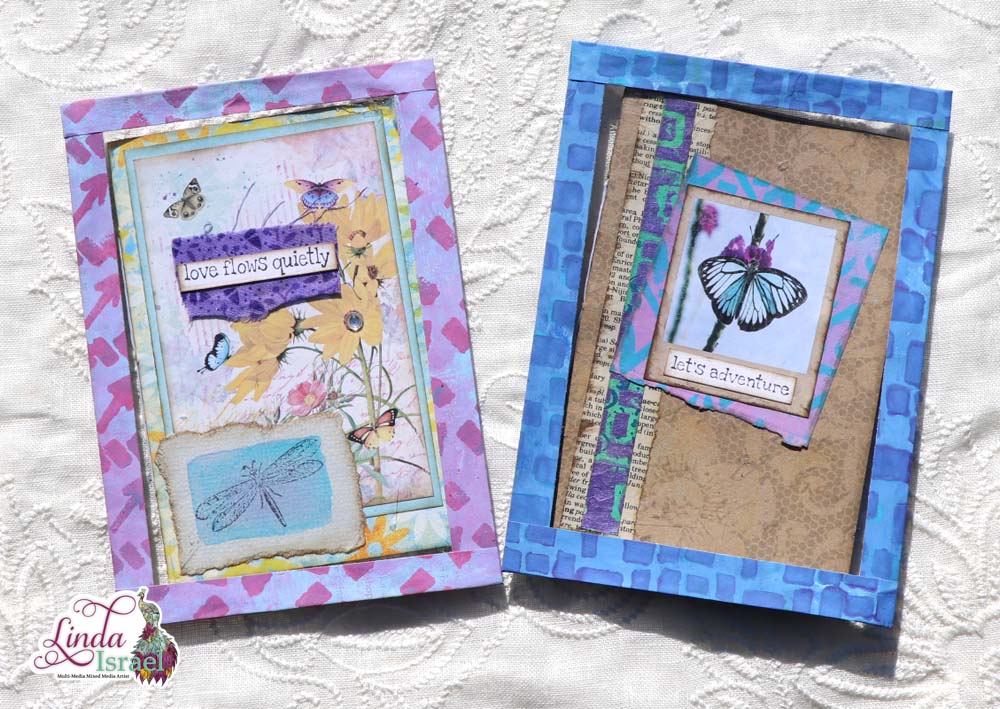
Select a mixed media painted page and cut four 1 inch strips. Or use other papers, like book pages, scrapbook papers and any other paper you like.
Adhere strips using Fabri-Tac glue, along the edges making sure that at least half an inch is on the transparency film and a half is hanging off the edge. Allow the glue to dry completely.
Trim the corners off on all four corners. Then fold the strips to the back of the transparency film. If your strip is visible through the front of the pocket, trim as necessary.
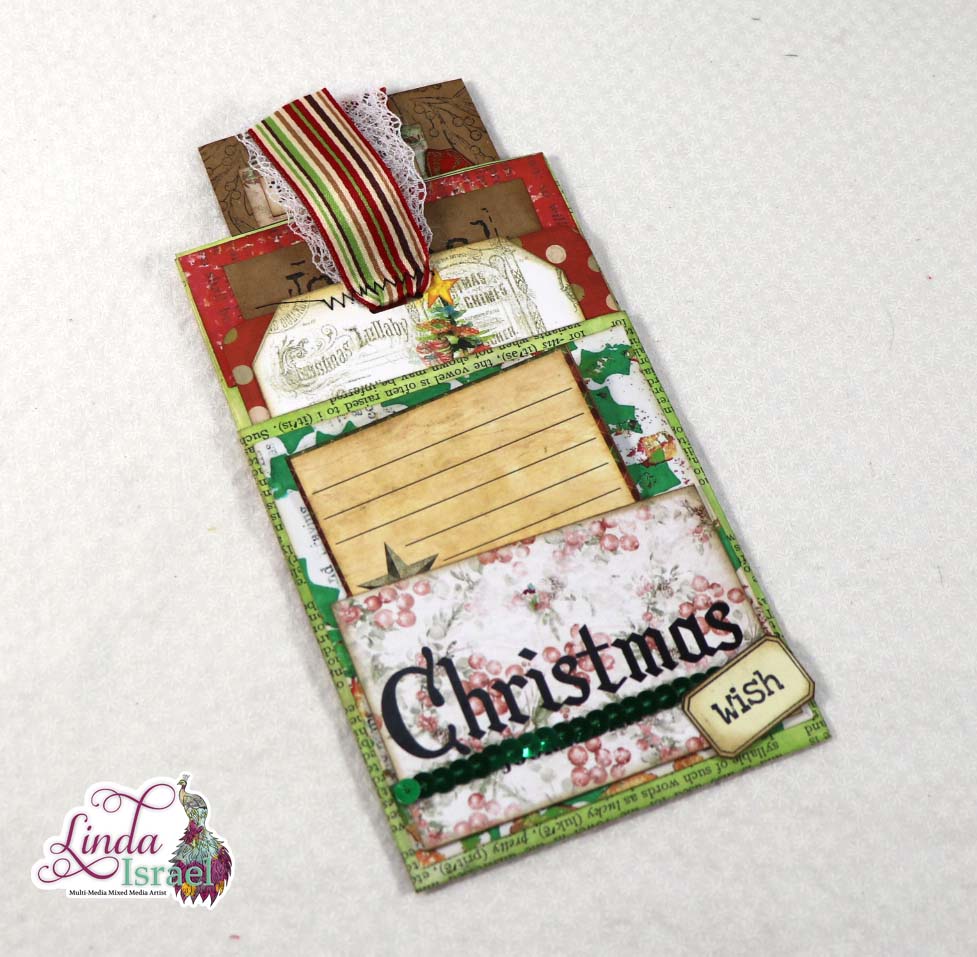
At this point you can decide if you want a top loading or a side loading pocket. Adhere down the edge where you will load the pocket. Then adhere the flaps on the other three sides to your journal page.
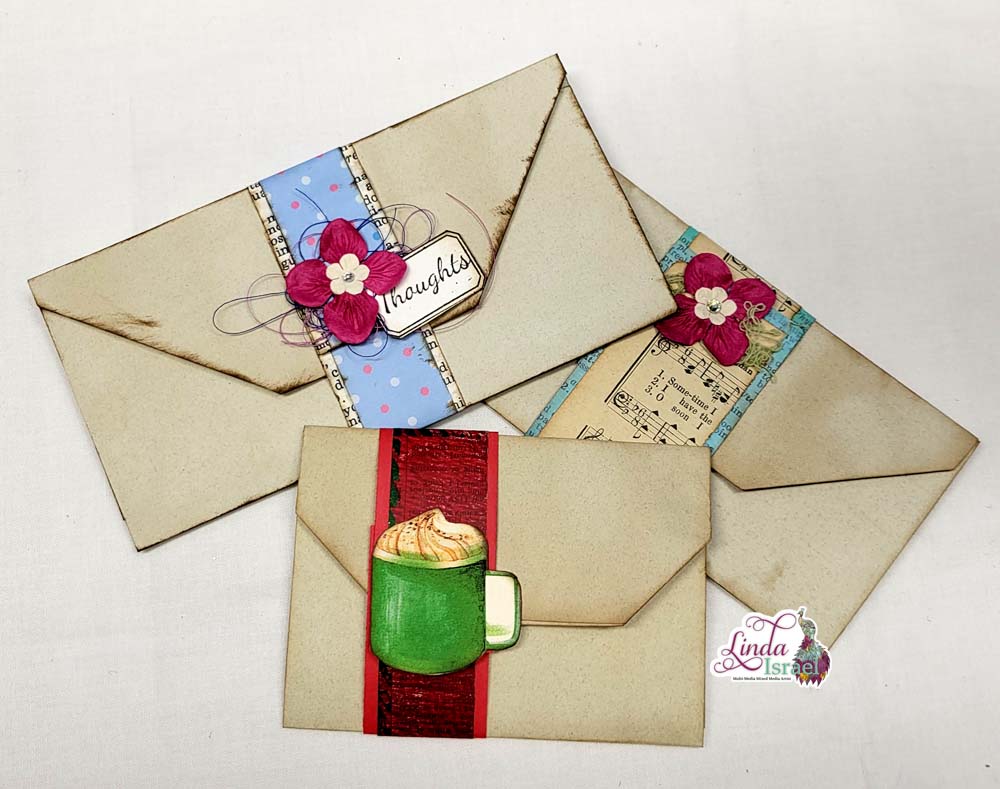
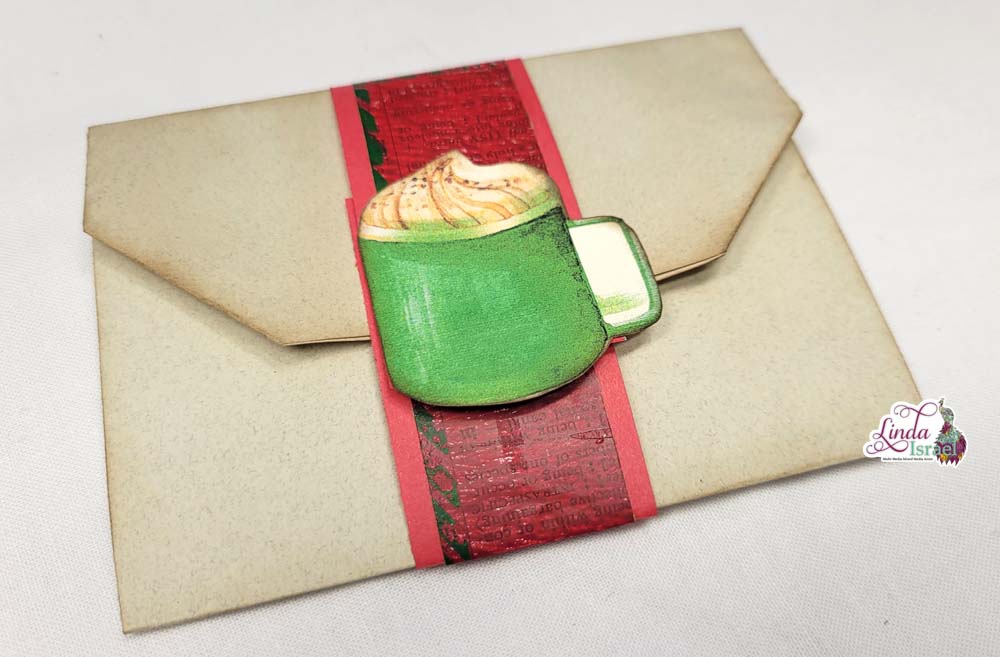
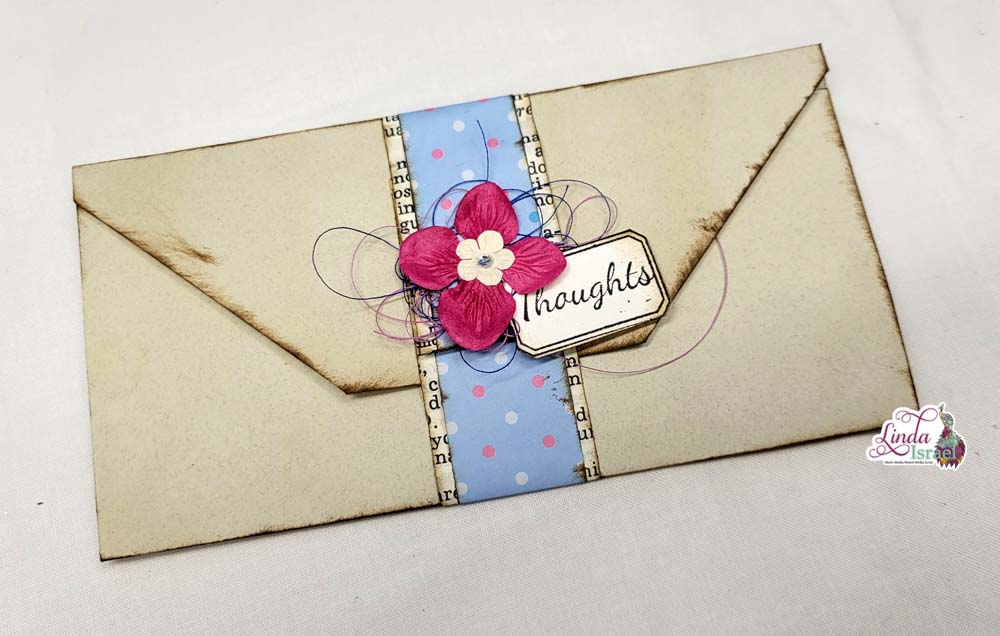
If you would like to decorate the front of your pocket you may do so at this time. I decided to leave mine plain since I had a pretty journal cover I wanted to see.
In this live stream I show how to create Direct to Paper Mixed media pages using book pages, stencils and acrylic Paint.
Direct to Paper Mixed Media Live Stream
This is such an easy project and a great way to use up some of those supplies you have been collection. Make your own version and take a photo and share in the Friendly Junk Journal People Facebook Event to get a chance to win a $10.00 off coupon to my shop.
Visit the Friendly Junk Journal People Facebook group. Of course, you are welcome to join the Friendly Junk Journal People Facebook group. The group is growing daily and we are a friendly group willing to help each other and encourage each other.

Interested in any of the projects Linda has created? Please feel free to contact her through her website. Here is her shop, a lot of items featured and more added weekly.
Keep updated on her posts by following the blog by creating an account. Follow Linda on her Facebook Page or on Instagram for updates that may not be shared on the blog.
Thanks so much for stopping by the blog today to see the Mini Journal and Clear Pocket Tutorial.