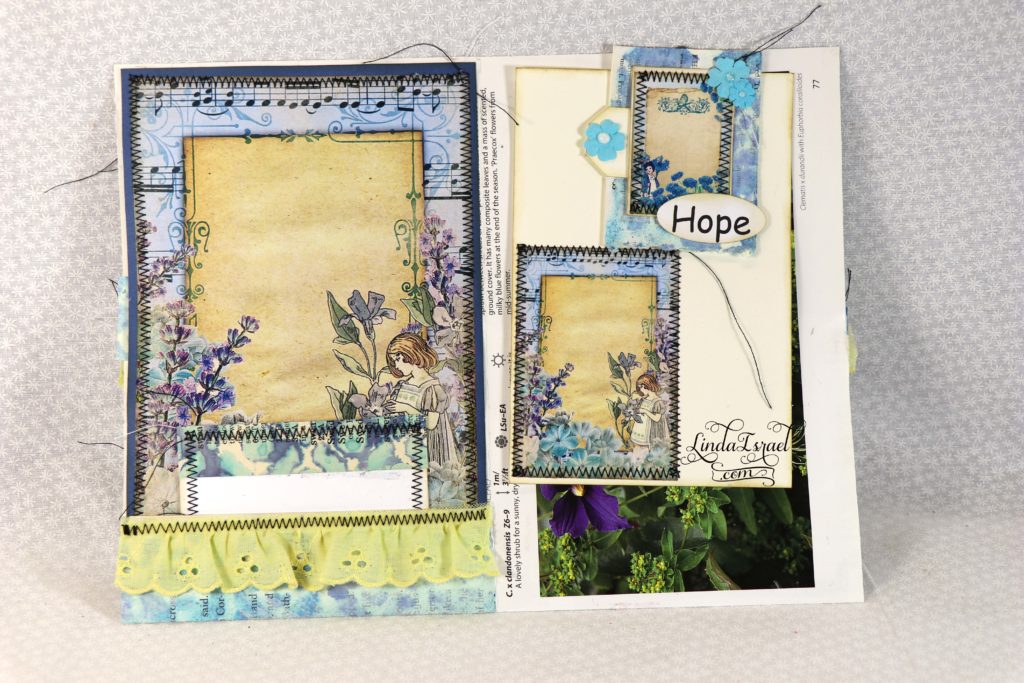
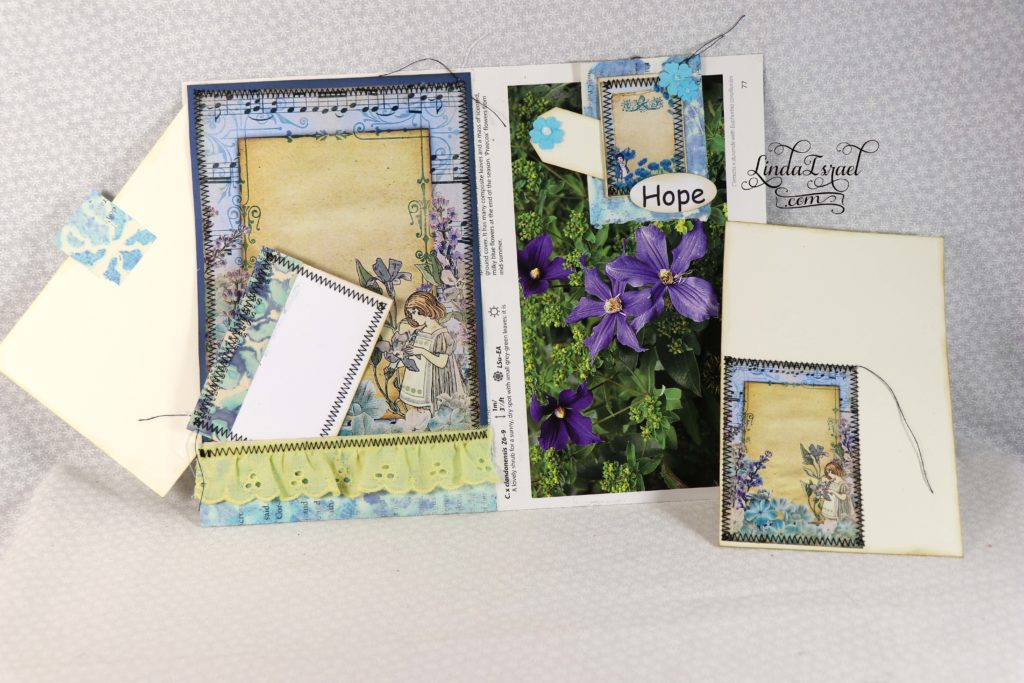
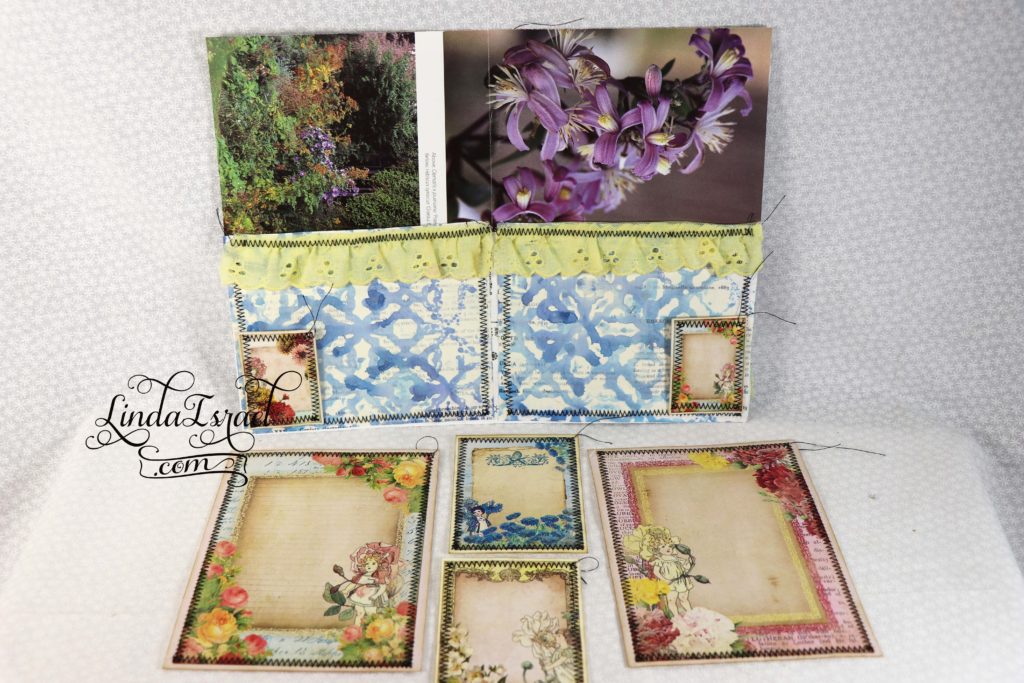
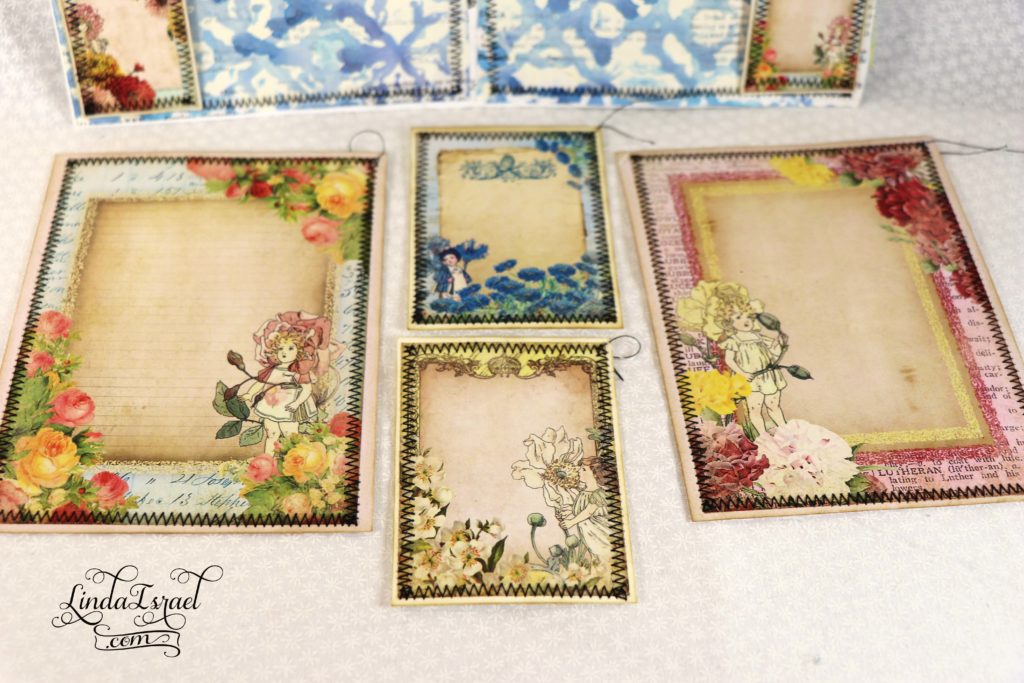
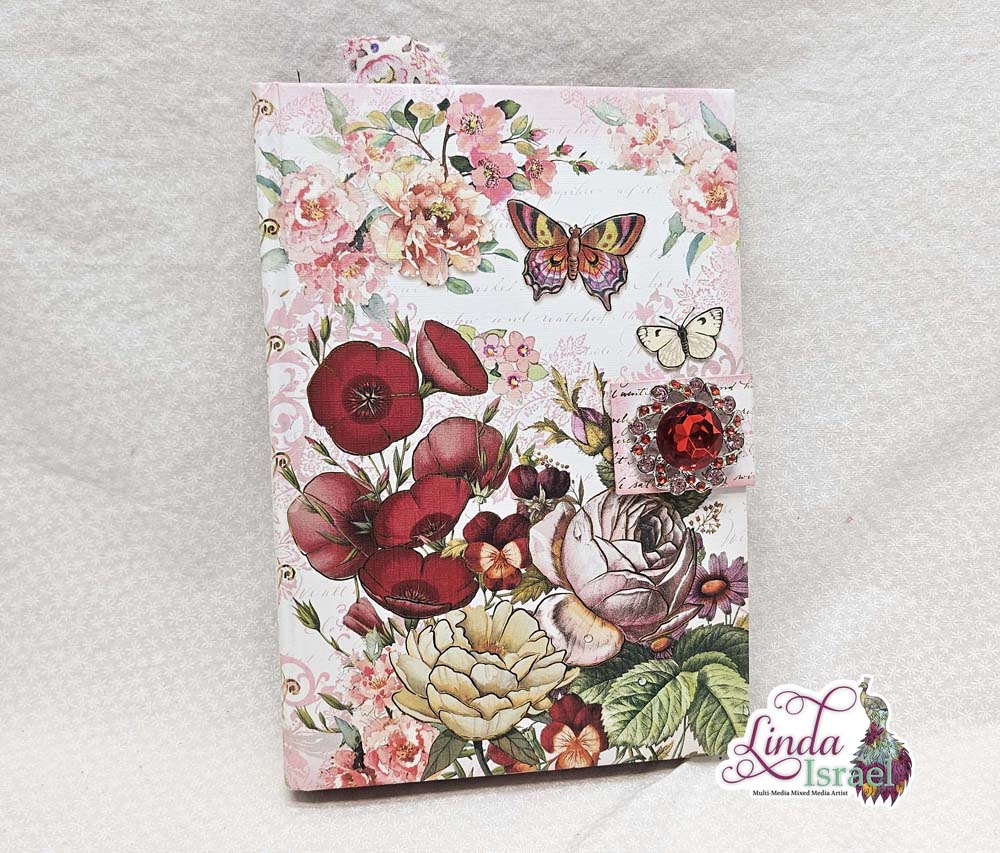
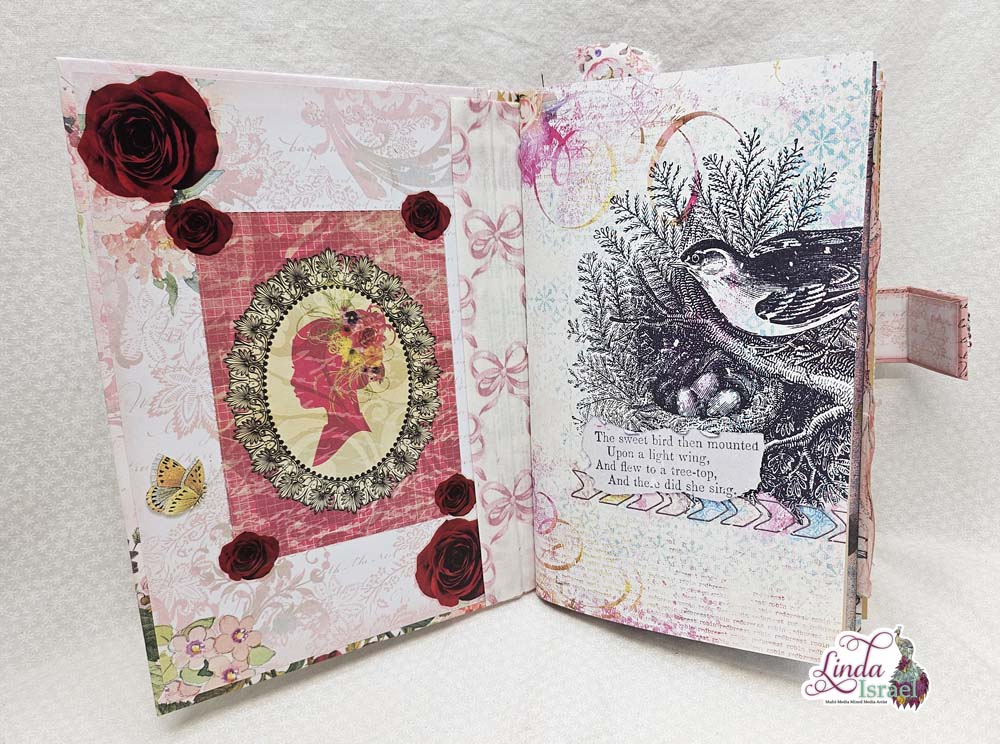
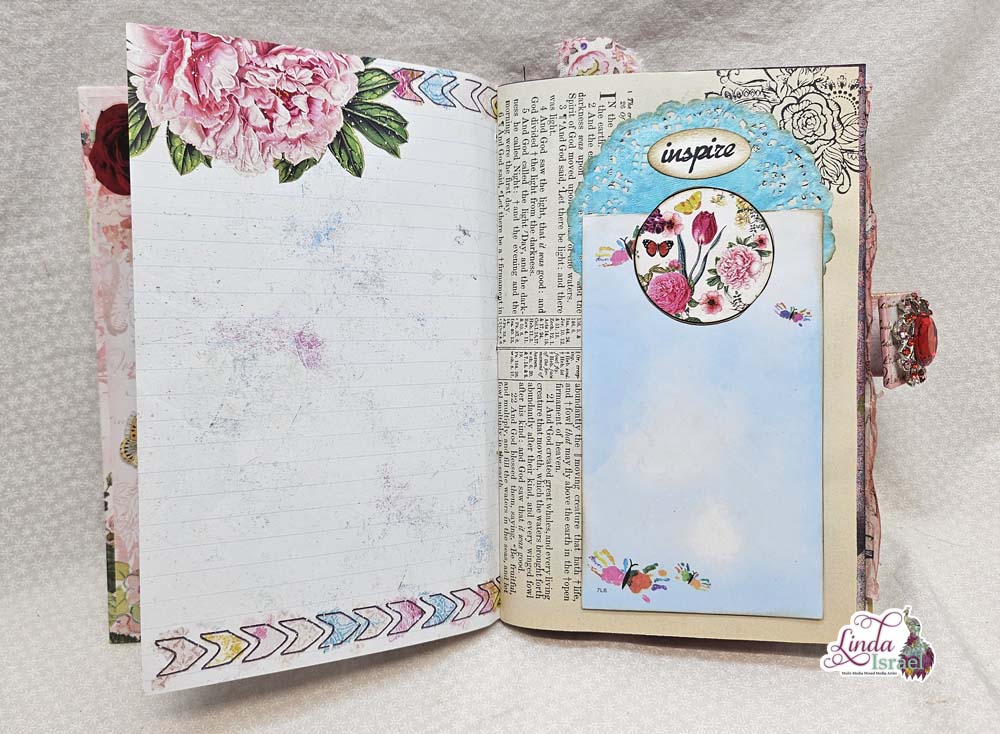
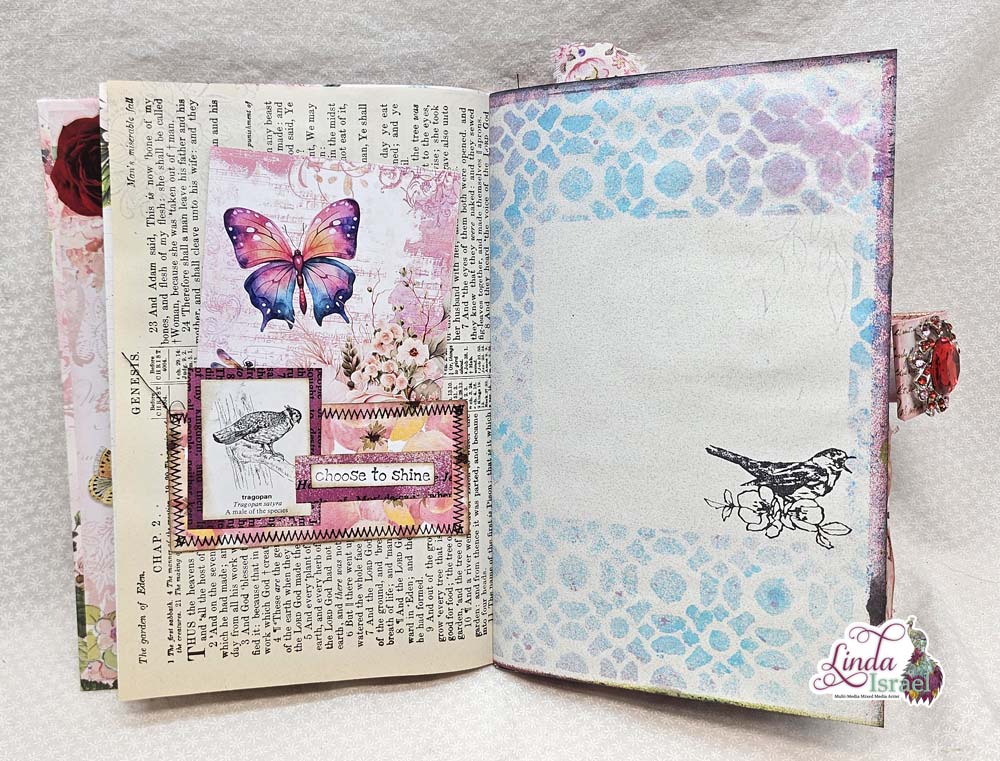
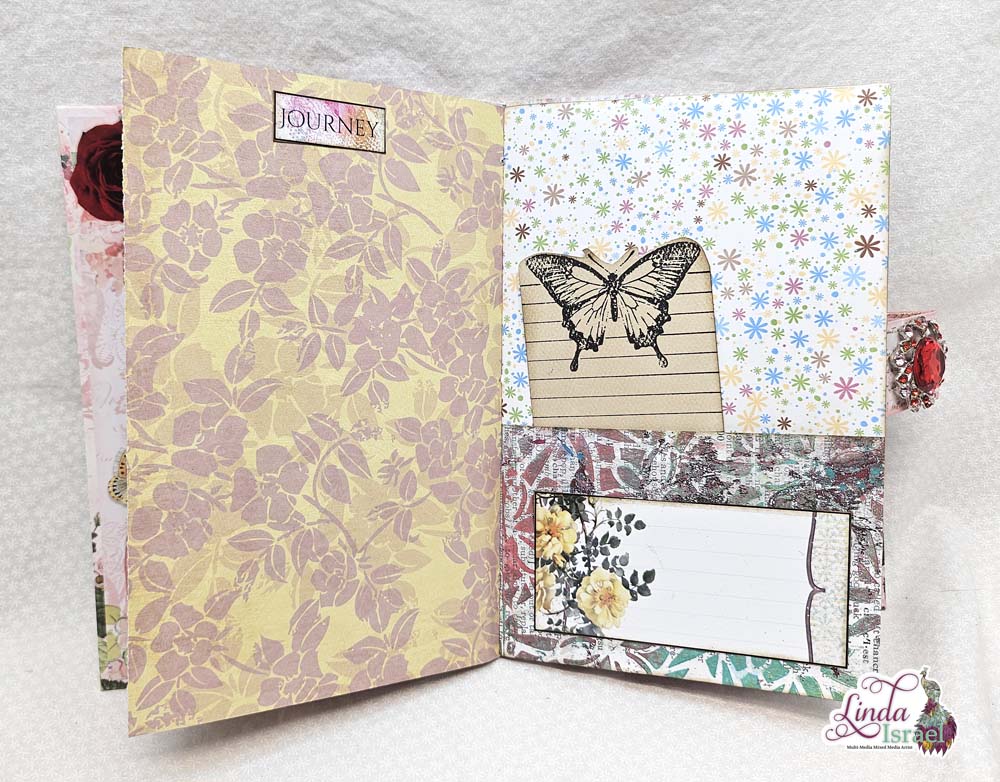
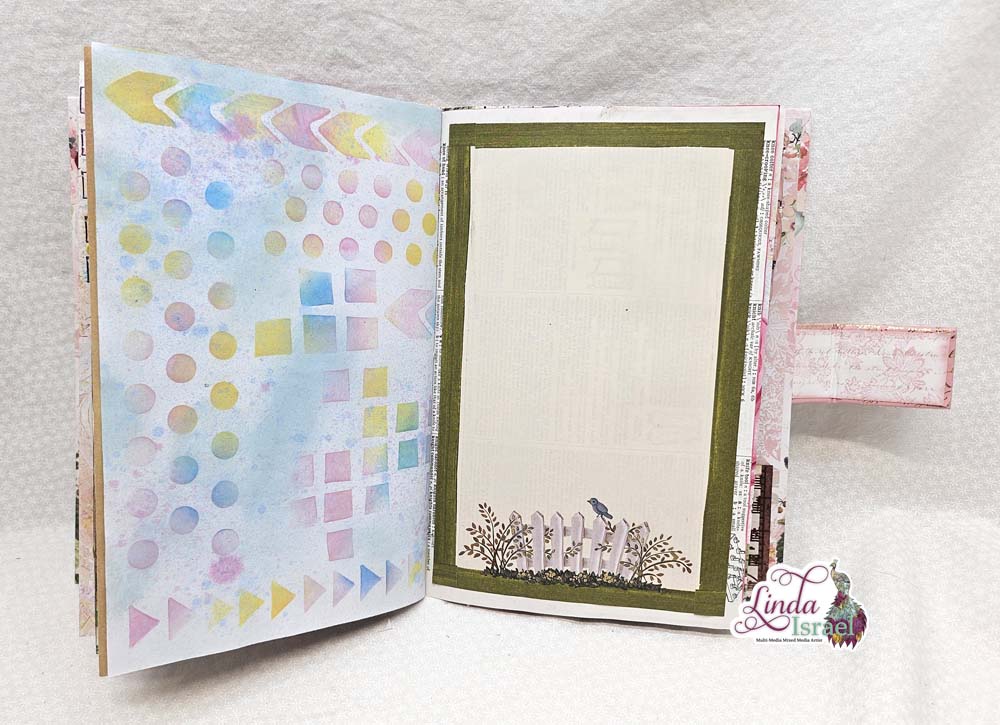
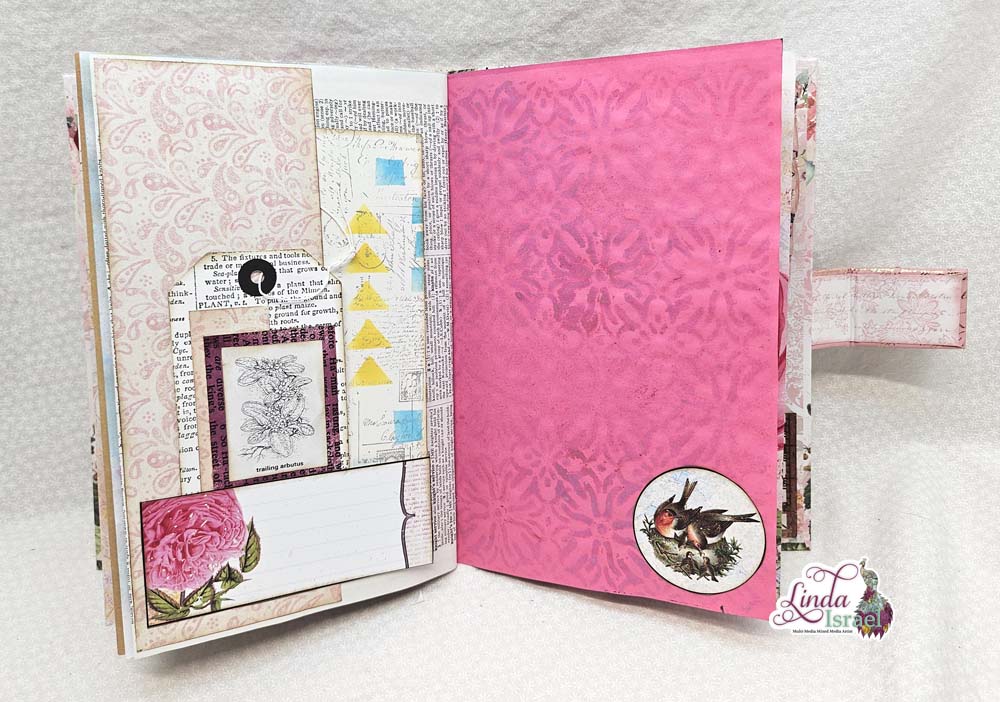
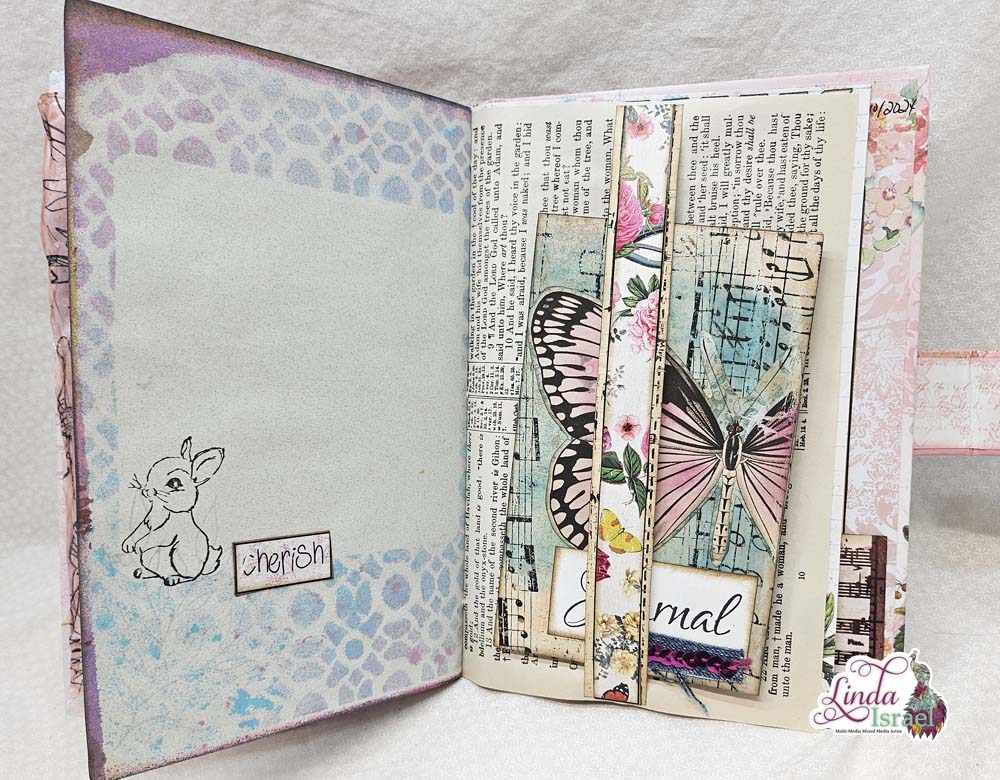
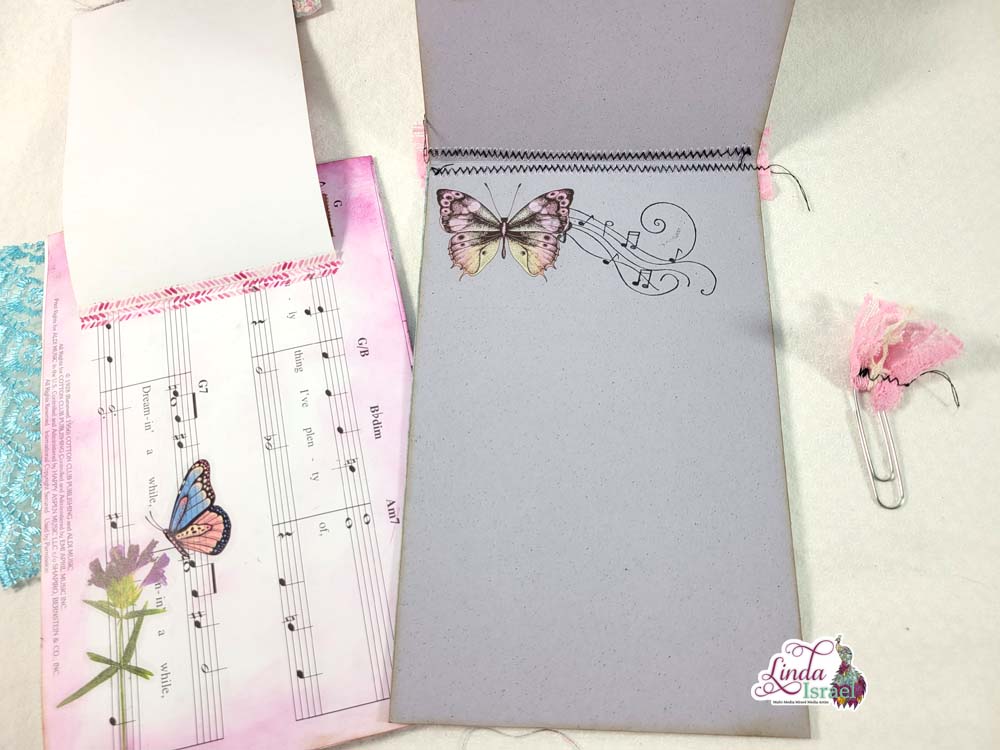
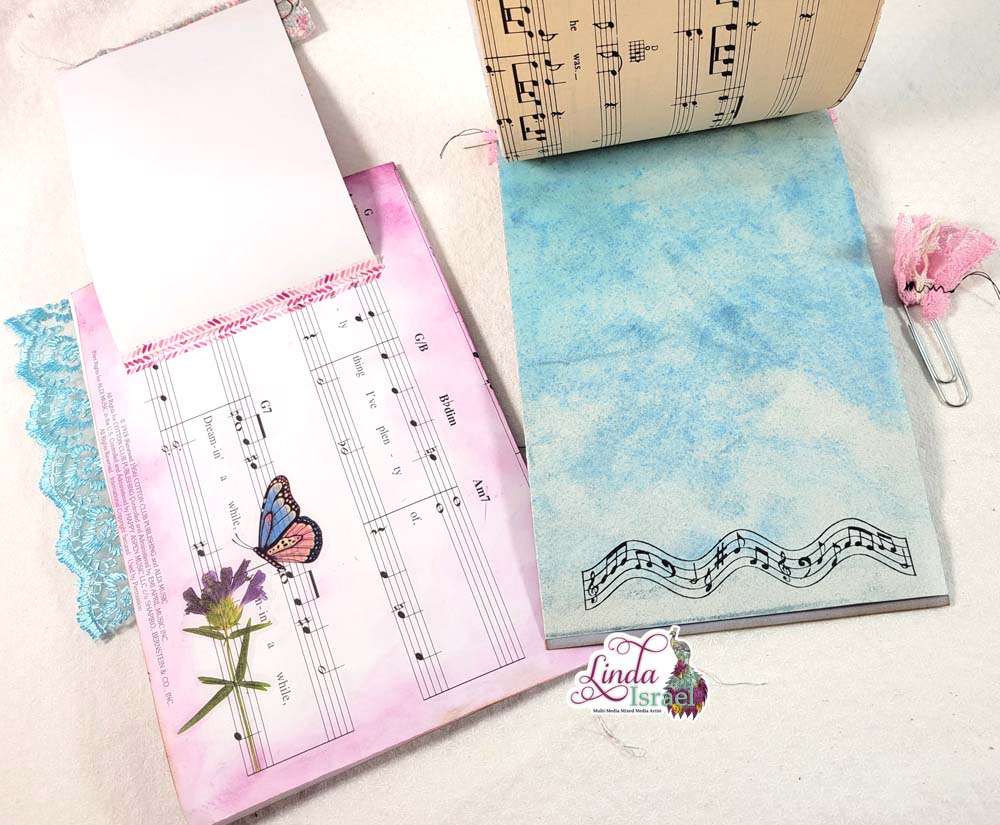
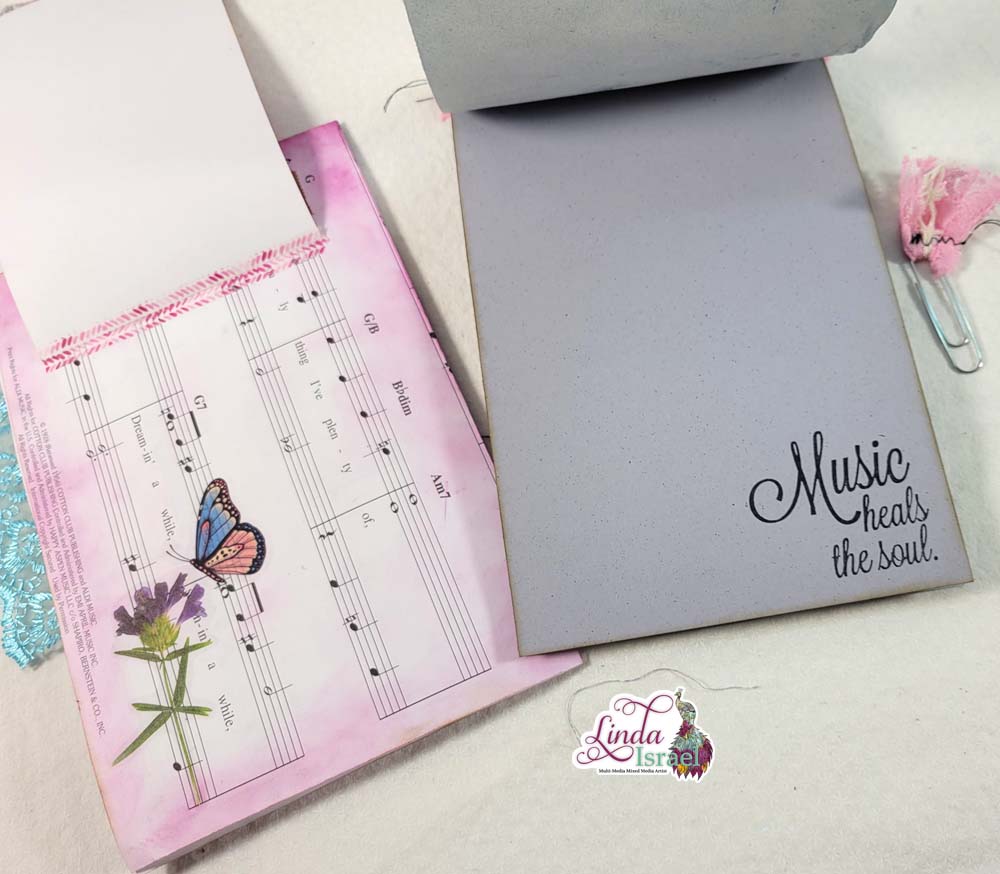
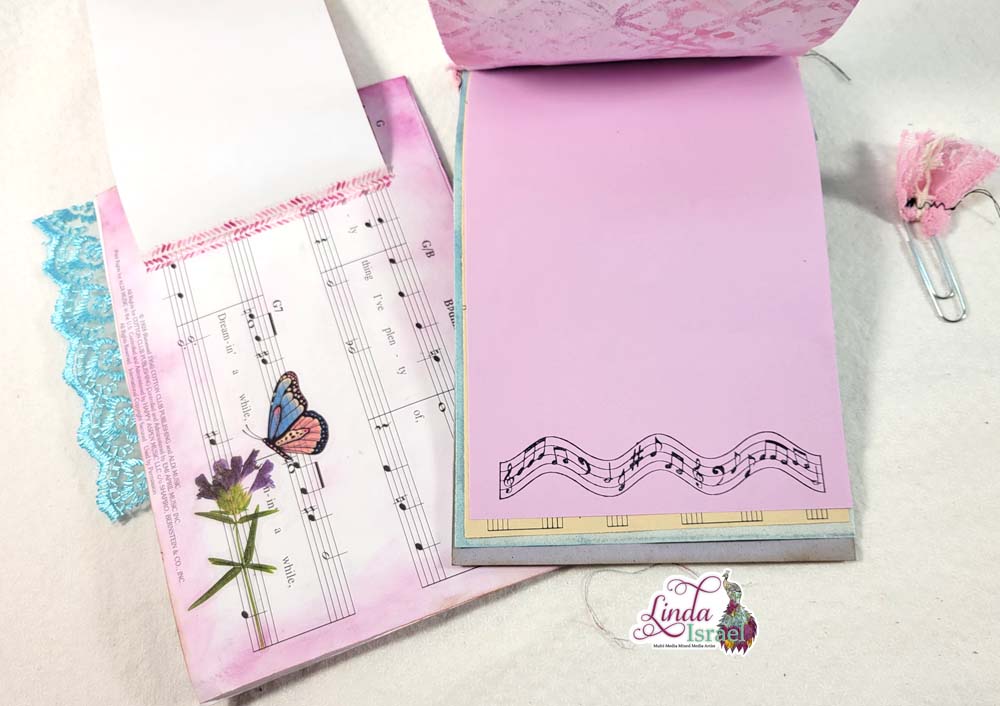
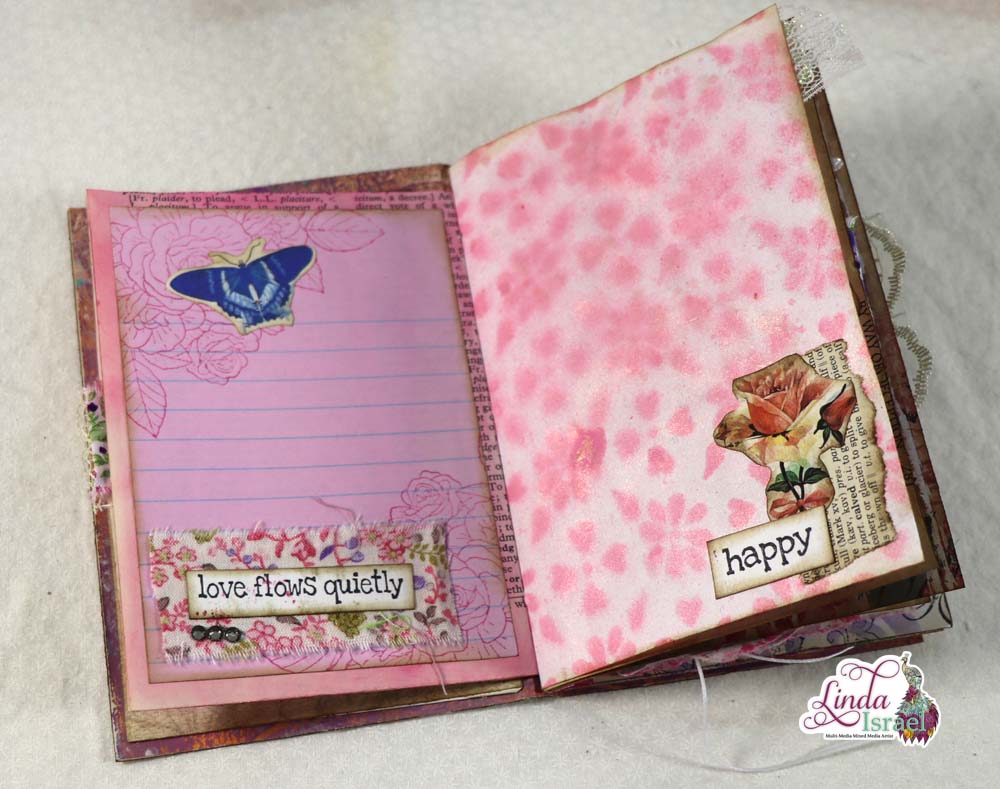
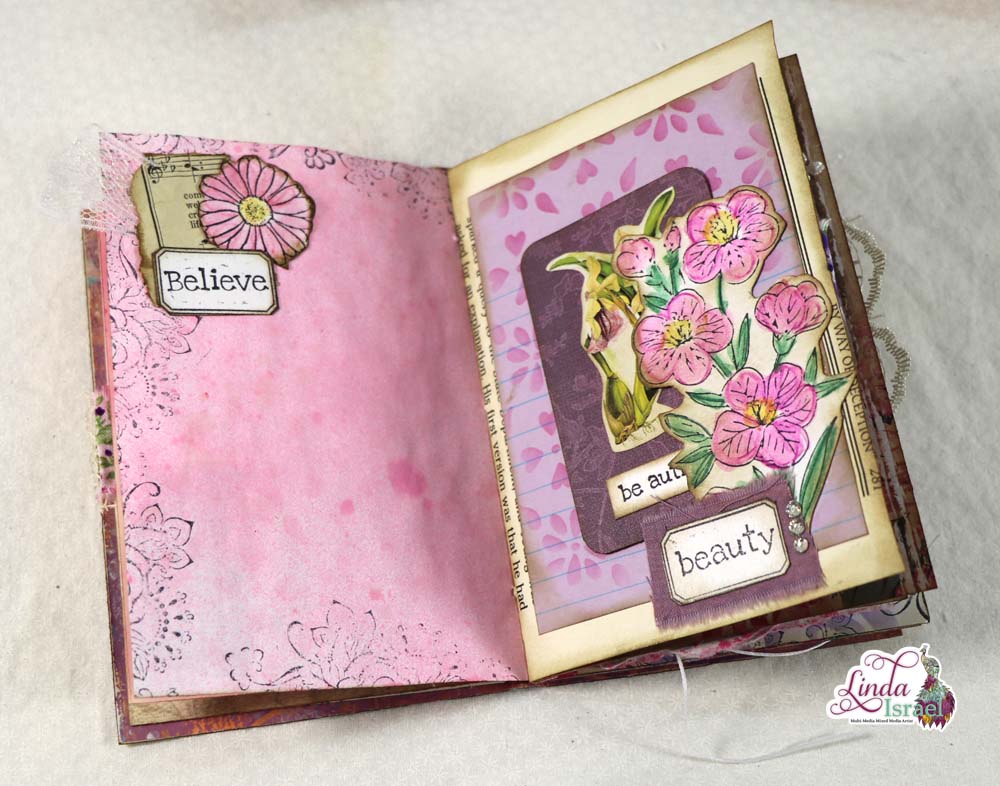
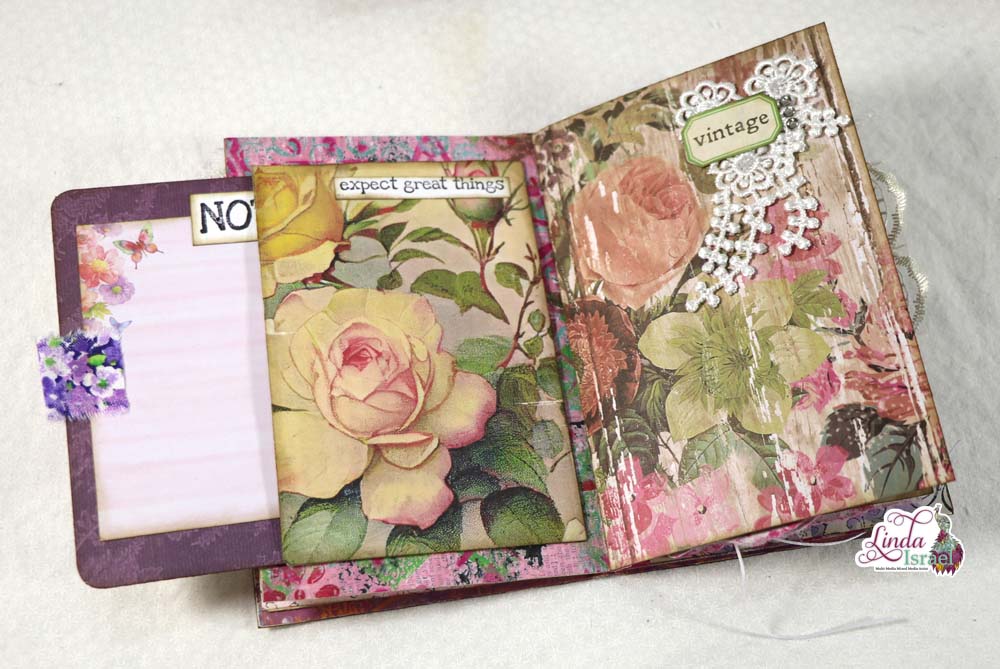
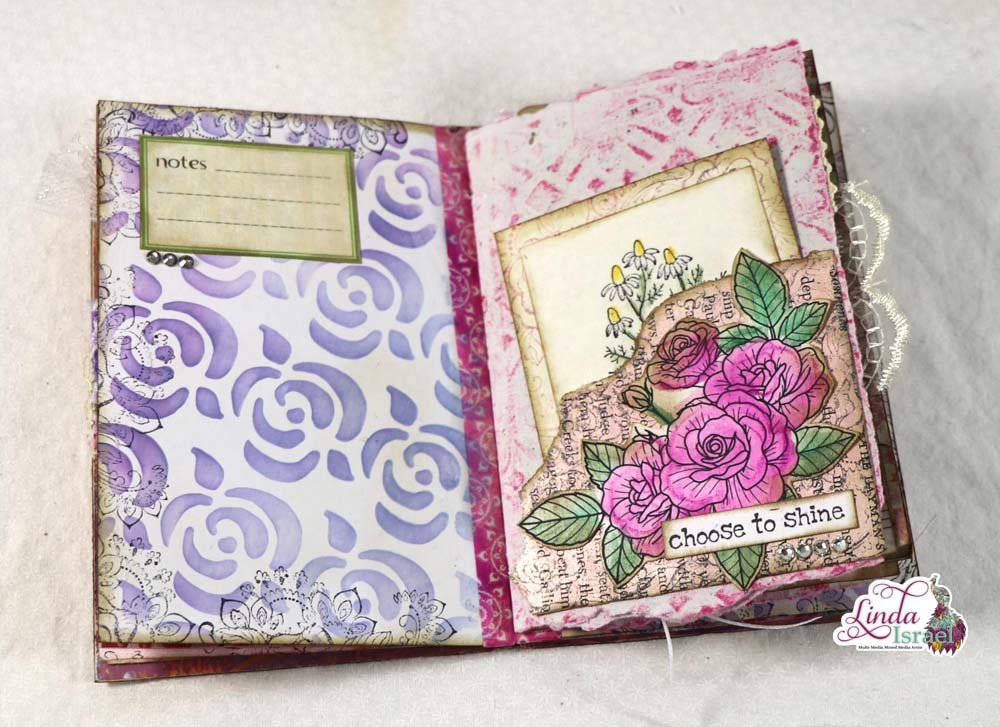
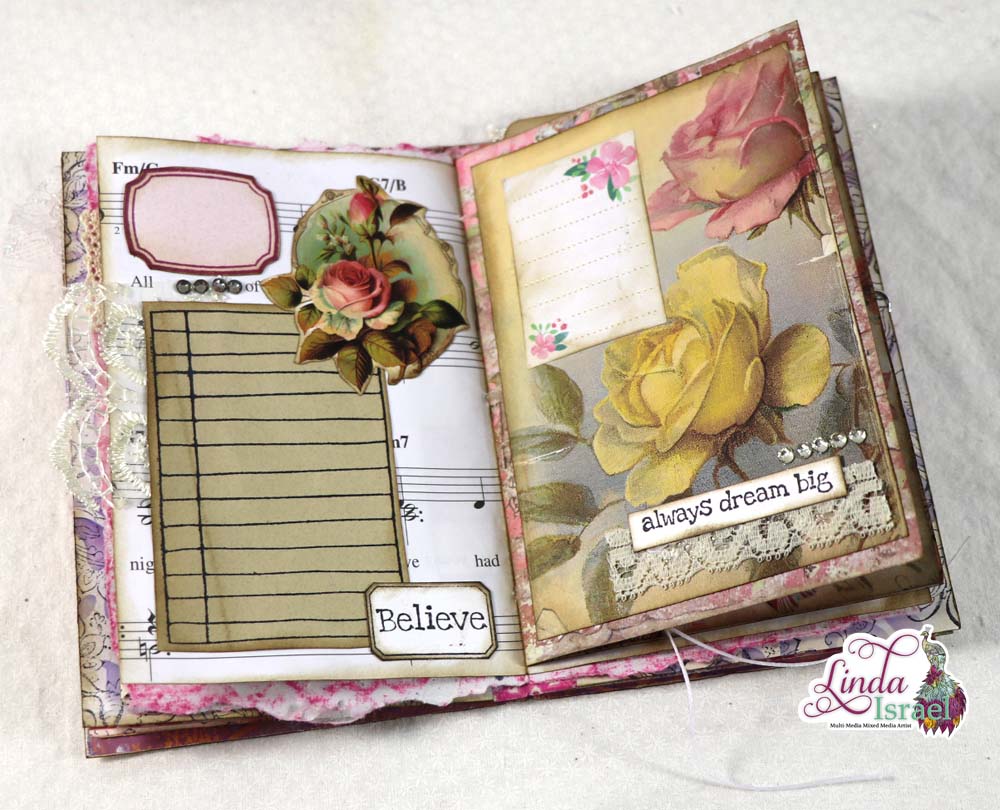
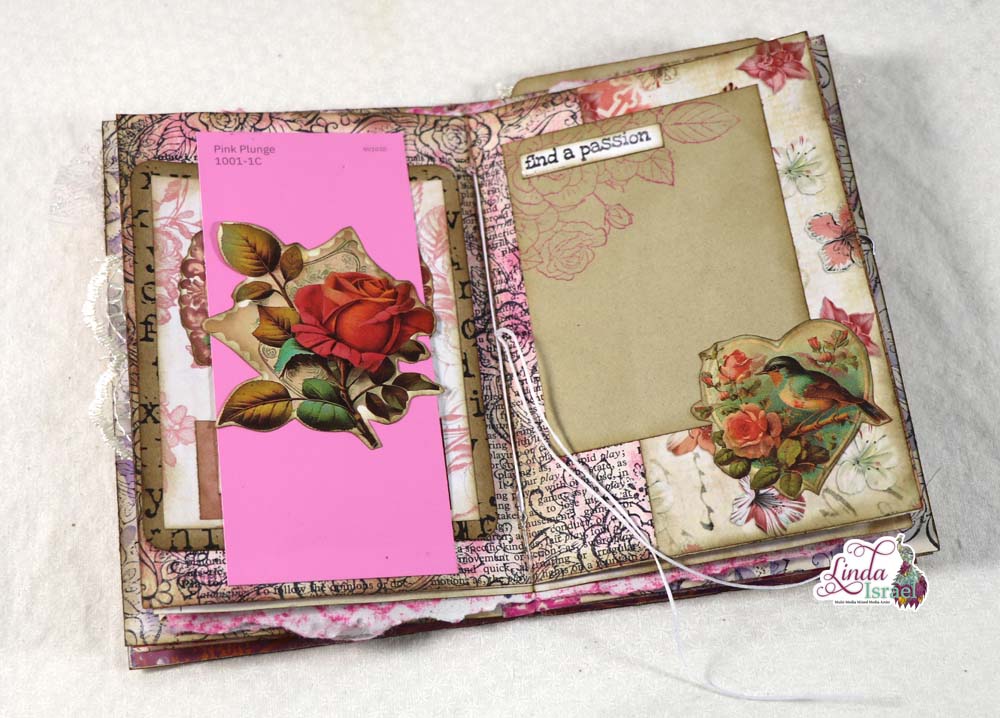
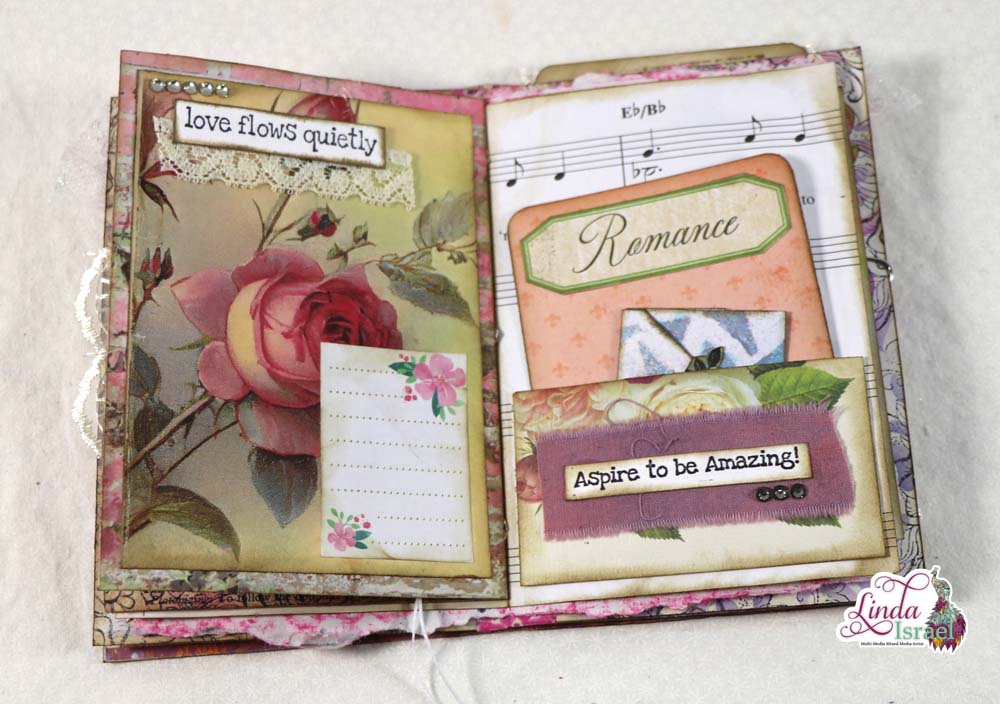
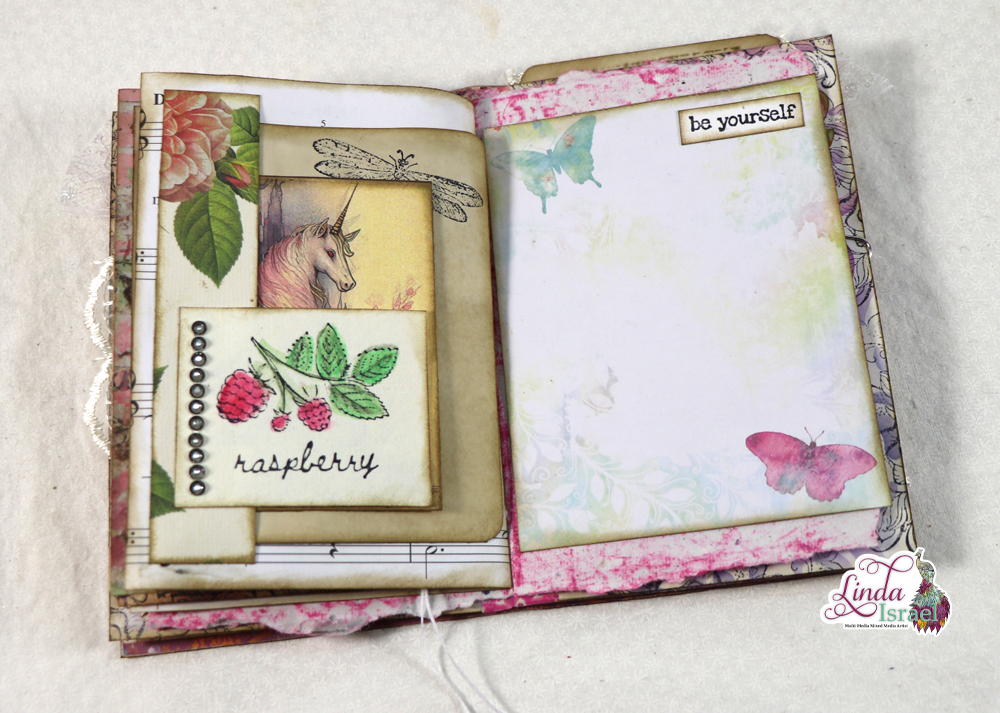
We are having a Spring/Easter Junk Journal Page Swap inside the Friendly Junk Journal People Facebook group. When I can I like to make items and swap with other members. Today I decided that I would share a Spring Junk Journal Page Tutorial using Calico Collage Digital Images, Flower Elves digital ATC images. In the video I show you all four sizes I printed from the same digital file from Calico Collage.
Spring Junk Journal Page Tutorial Video.
Supplies used for the Spring Junk Journal Page Tutorial
- Flower Elves Digital ATC Images From Calico Collage. Print the original size. Then use the print options and print the full sheet as one 5 x 7 image. Then Crop some of the images, make sure that you save as for each new image you crop. Select two of the images and print at 4 x 6, then select one more to print at 5 x 7.
- A page out of a gardening book with color photos.
- Simple book pages from a gardening book
- Lace about 16 inches
- Off-white Acrylic Craft Paint.
- Old gift card
- Handmade Lace Stencil
- Tattered Angels Glimmer Mists, Sapphire, True Turquoise, Electric Blue
- Paper Clip
- Sewing Machine
- Leftover cardstock to back images
- Distress Ink, Vintage Photo
- Ranger Blending tool
- Word created on Silhouette Cameo 3
- Prima Paper Flowers
- Tulip Dimensional Fabric Paint
- Scissors by Fiskars
- Fiskars Rotary Paper cutter
- Heat Tool
- Aleene’s Tacky Glue
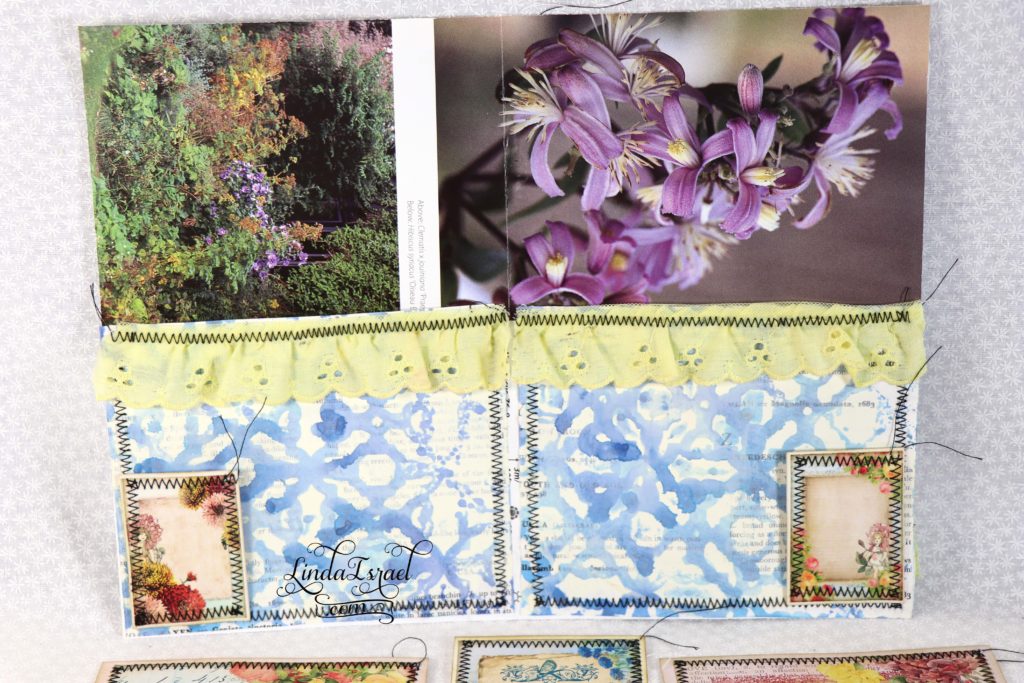
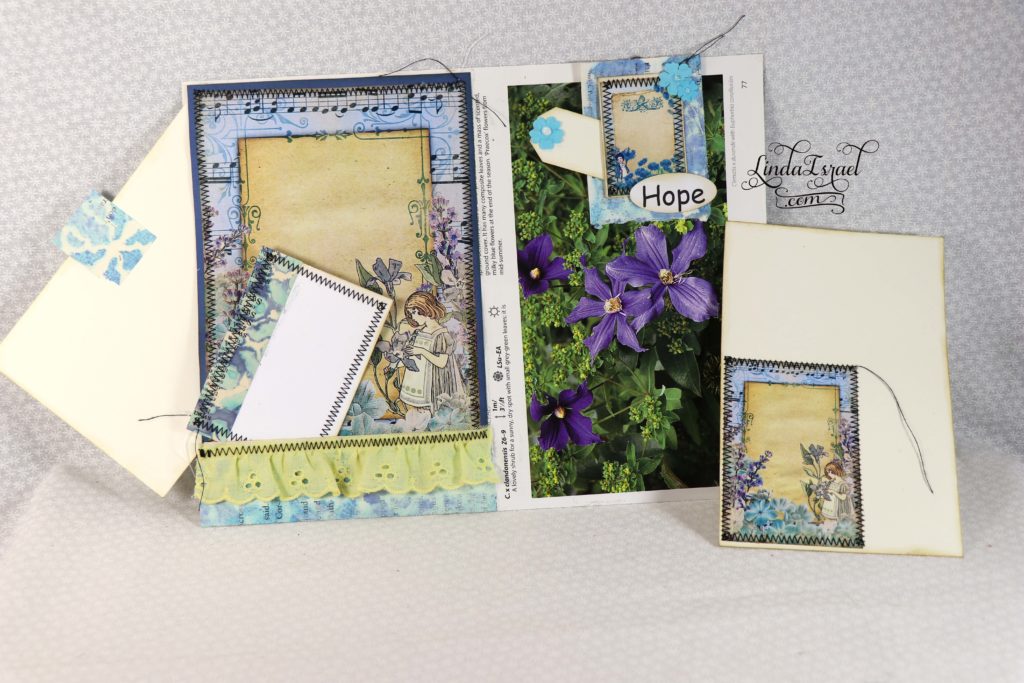
The swap requirements are the following. The page should measure 8 inches tall by 10.50 inches wide or 5.25 when the page is folded closed. Next, it had to have a pocket/tuck spot and a journal card or tag.
Knowing the requirements helps to get things started. First I selected images from Calico Collage an ATC digital sheet of images. Then I used my computer to crop and print different sizes of the images. The quality of the images allowed me to blow these images up to at least 5 x 7 without losing any of the quality of the image.
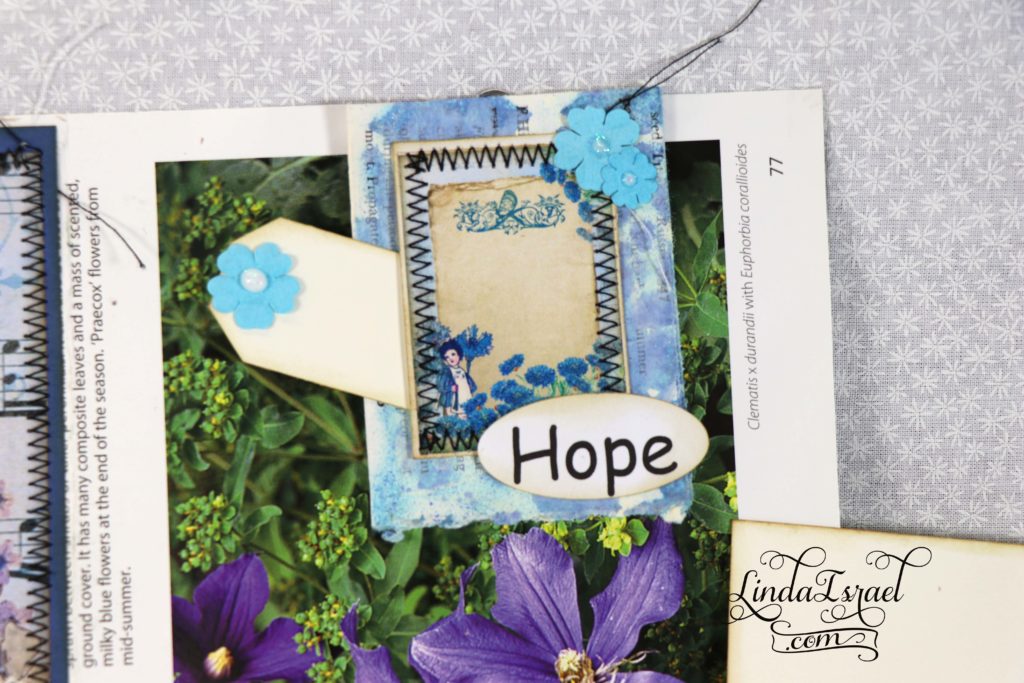
Selecting a few of the images I then made elements. Using Distress Inks around the edges of the images and journal cards and then sewing around the edges with a black zig-zag stitch.
Painting on paper gives it a new life. It is one of my favorite things to do, alter the paper to get a different look. When the paper is done it has a great surface that you can write upon.
Assembling the page is pretty easy once all the elements are made. Don’t you think this looks like Spring? It was a lot of fun to put this together. Sure hope my swap partner likes the page I created. 🙂
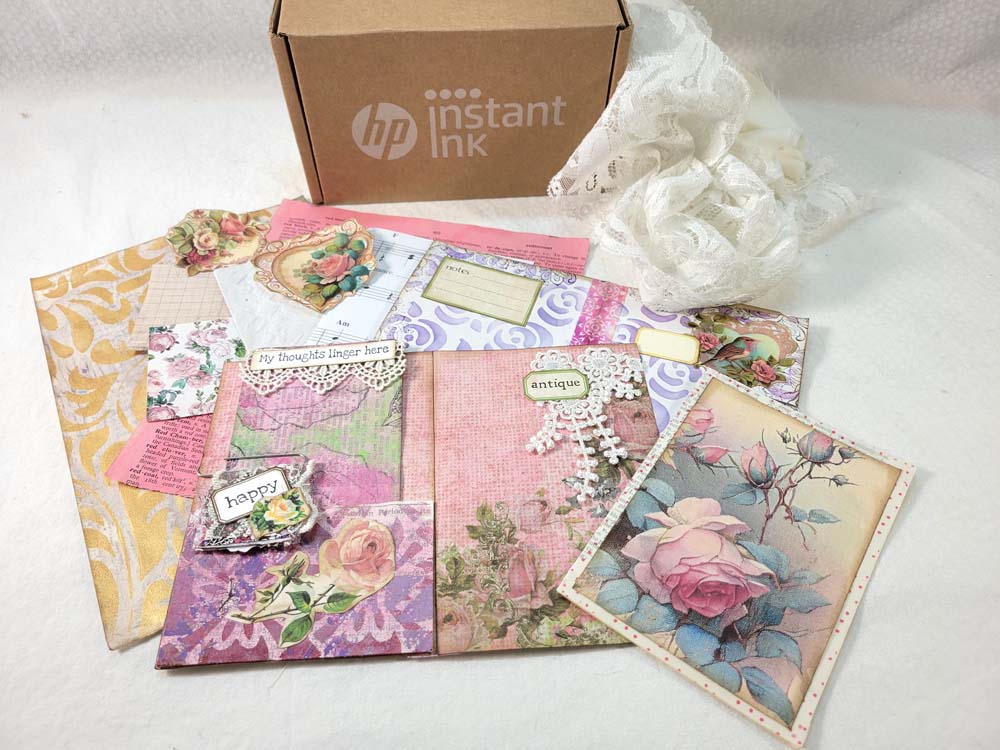
When I completed the page I had a few elements left over so I decided to make up a small junk journal kit. Ended up that I was able to put 30 items together. Check it out in my store.
Make sure to check out the Friendly Junk Journal People Facebook group. Of course, you are welcome to join the Friendly Junk Journal People Facebook group. The group is growing daily and we are a friendly group willing to help each other and encourage each other.
Interested in any of the journals I created? Please feel free to contact me through my Facebook Page.
Here is my shop, I have a lot of items uploaded and add more weekly.
My hope is that I have inspired you to look at those papers in your stash and make your own junk journal.
Or Follow my Facebook Page or on Instagram for updates that may not be shared on my blog.
Thanks so much for stopping by my blog today to see the Spring Junk Journal Page Tutorial.
