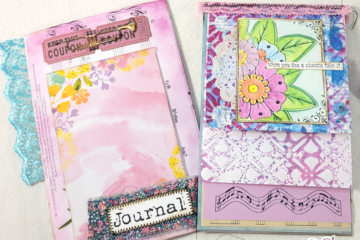
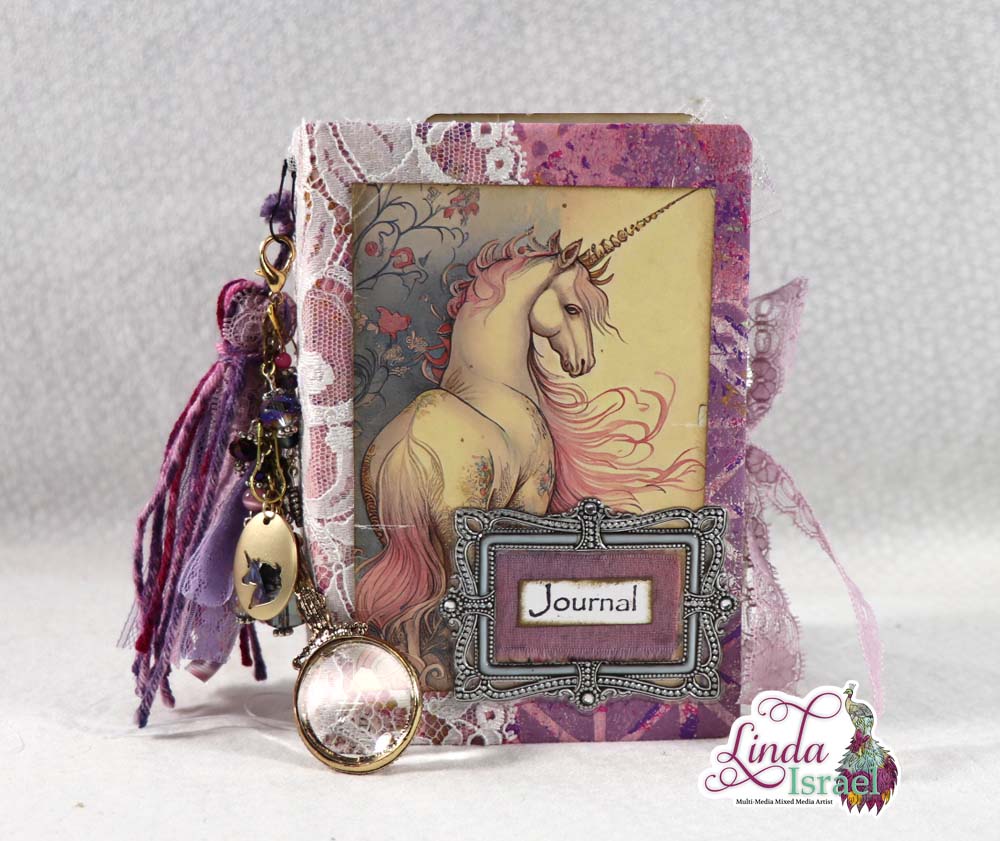
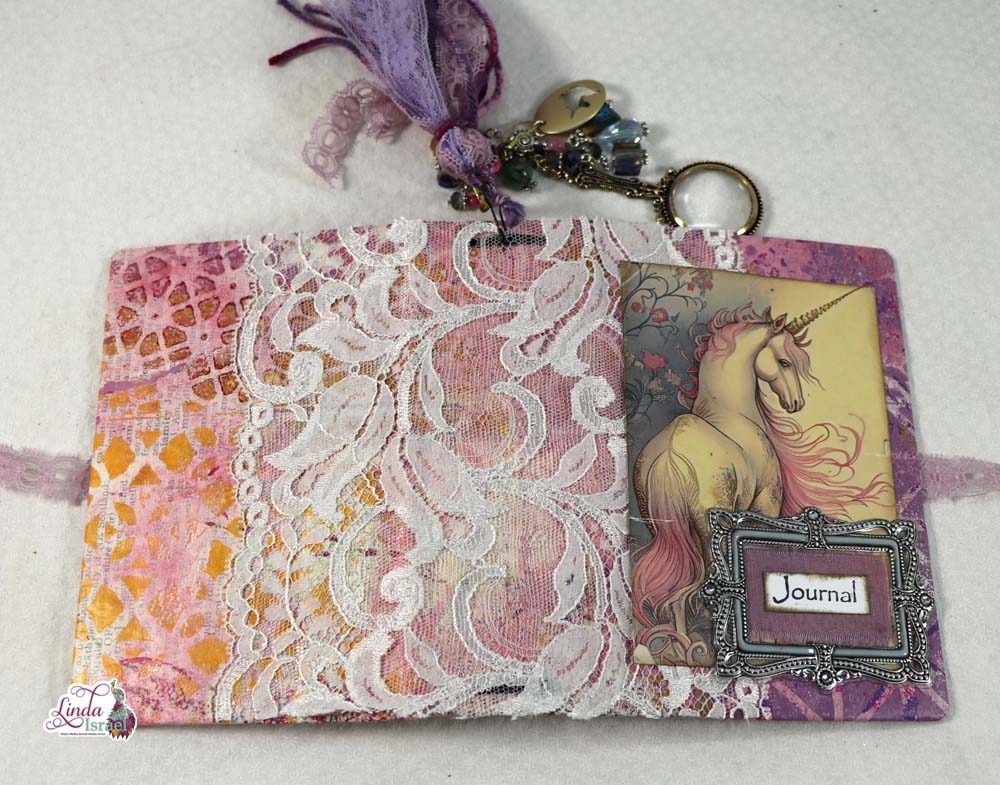
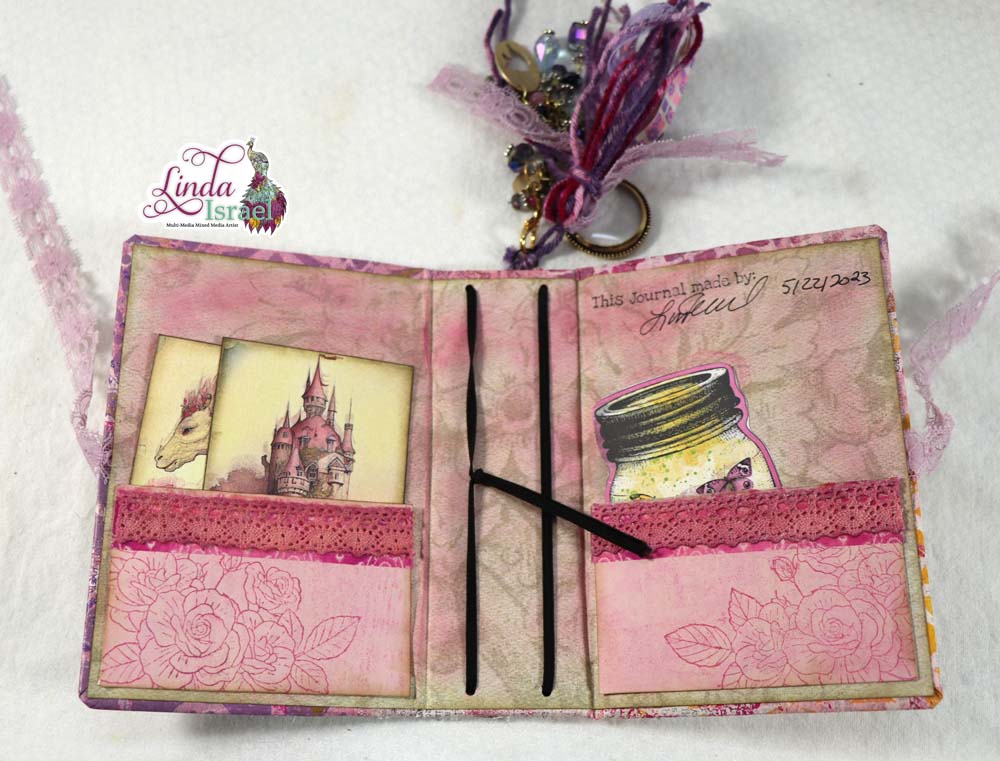
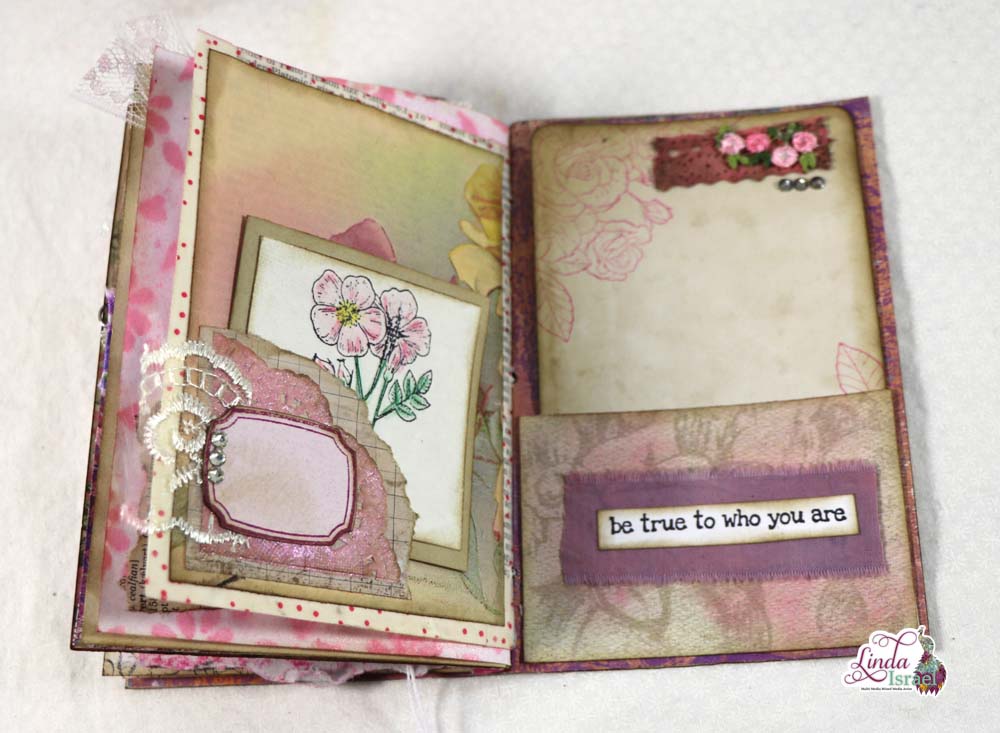
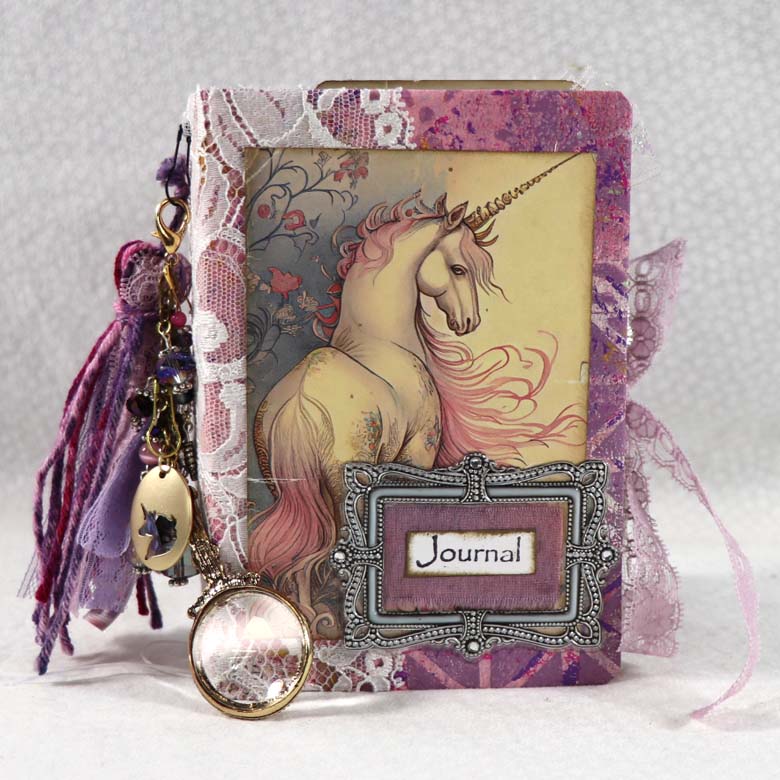
Sharing the Exquisite Dreamer Junk Mail Tag Tutorial today. Using an oversized postcard, book pages, Napkin and images from the Digital Journal Kit Exquisite Dreamer I show how to make fun tags. These tags can be used in a junk journal, as a gift, in a greeting card, as bookmarks and so much more.
Exquisite Dreamer Junk Mail Tag Tutorial Video.
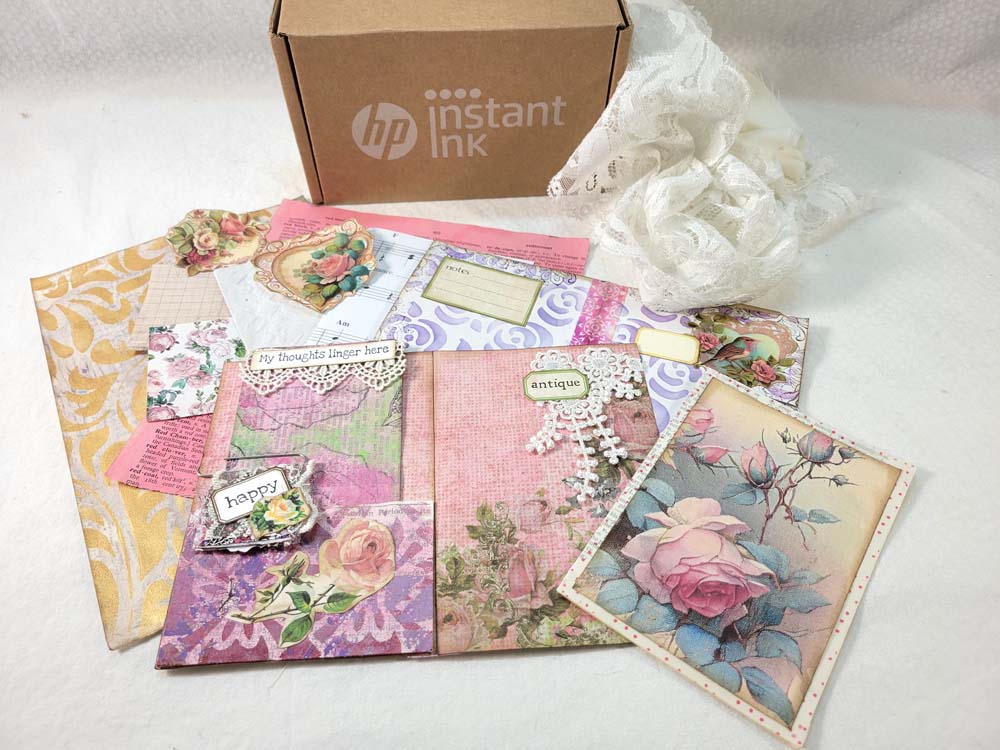
Supplies used for the Exquisite Dreamer Junk Mail Tag Tutorial
- Calico Collage Exquisite Dreamer Journal Kit
- Oversized postcard 6 x 11 inches
- Words
- Aleene’s Tacky Glue
- Shabby Stitches by Bline Designs
- Brilliance Graphite Black Ink
- Napkin
- Book pages
- Glue Pot
- Paint Brush
- Text weight paper
- Moroccan Stencil
- Tattered Angels Glimmer Mist Walnut Gold
- Heat tool
- Paper Cutter
- Scissors
- Distress Ink Walnut Stain, Black Soot
- Blending tool
- Tulip Glitter Paint Crystal Sparkle
- Crop a Dile hole punch and eyelet setter
- Fibers and ribbons
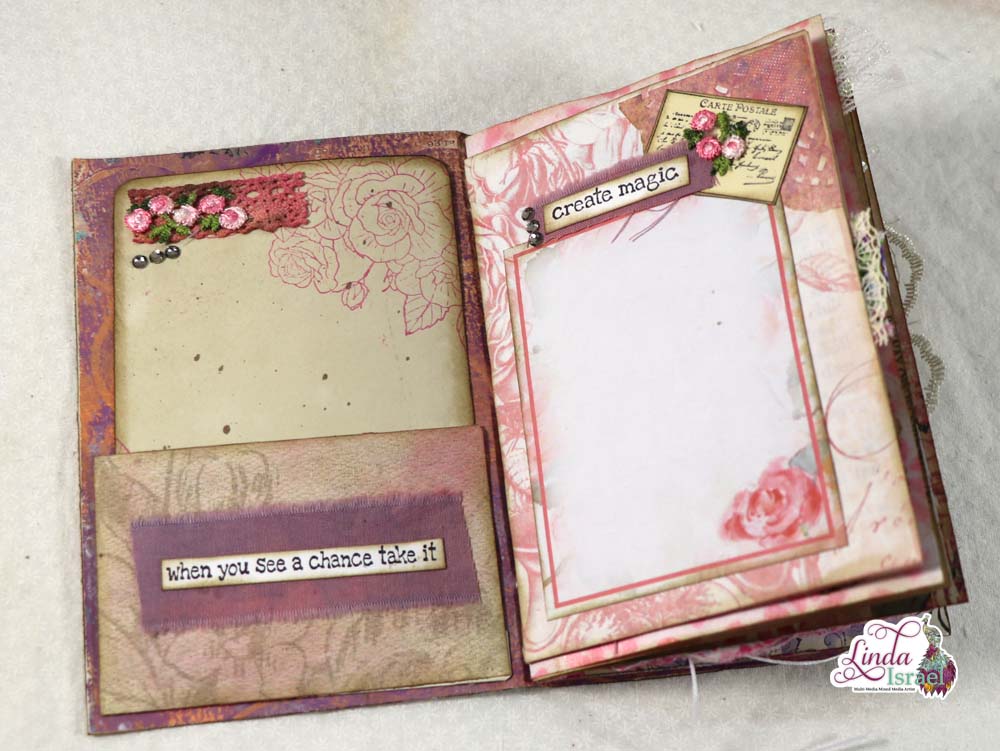
Let’s begin this Exquisite Dreamer Junk Mail Tag Tutorial. Choose an oversized postcard from that stack of junk mail, or cut a piece of ugly cardstock 6 x 11 inches. Cover one side with book pages.
Select a pretty napkin and remove the extra layers. The extra layers will prevent the napkin from adhering to the base, so it is good to pull those apart now. Adhere the napkin to the postcard using a paintbrush and glue pot method. Fold the excess to the back or trim off.
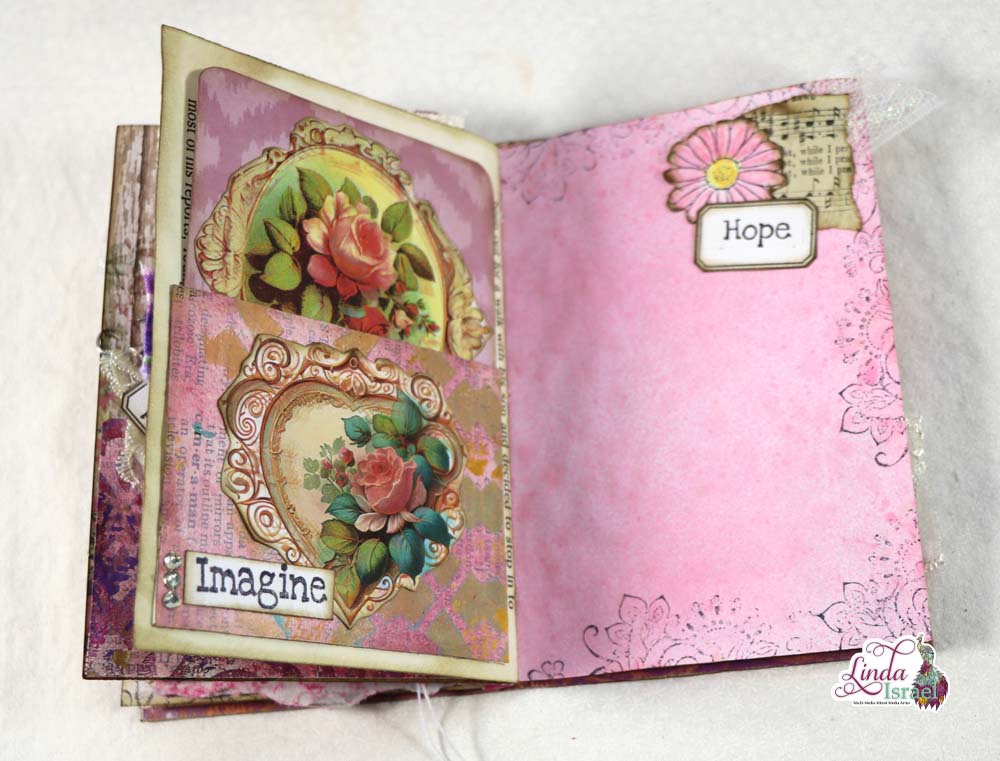
Adhere a text weight paper to the whole back of the postcard, could also use notebook paper. Spray the back of the tag with Tattered Angels Glimmer Mist, Walnut Gold through the Moroccan Stencil. Dry with heat tool.
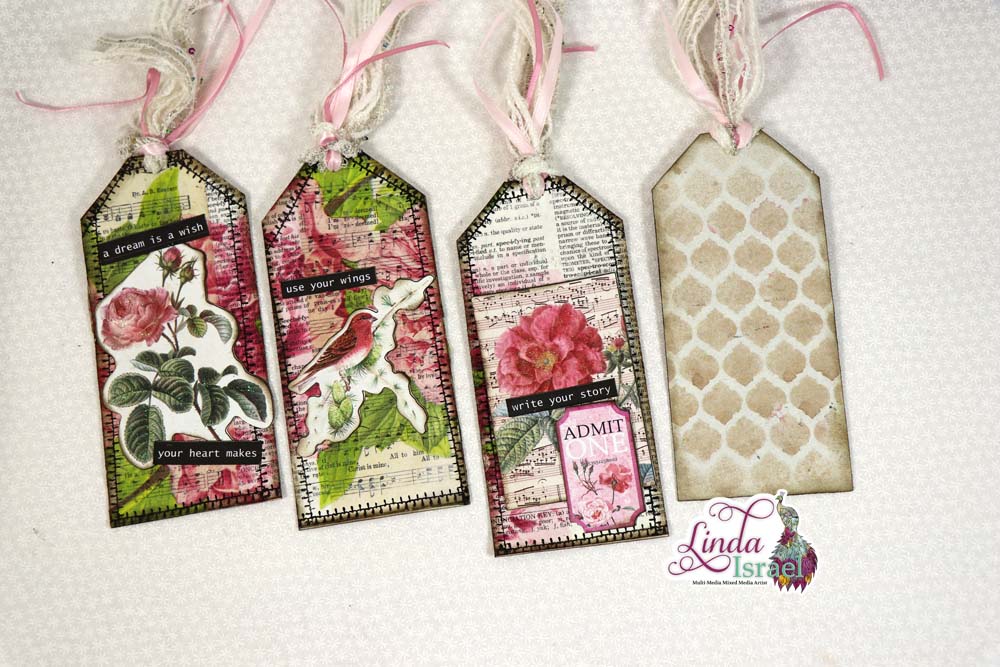
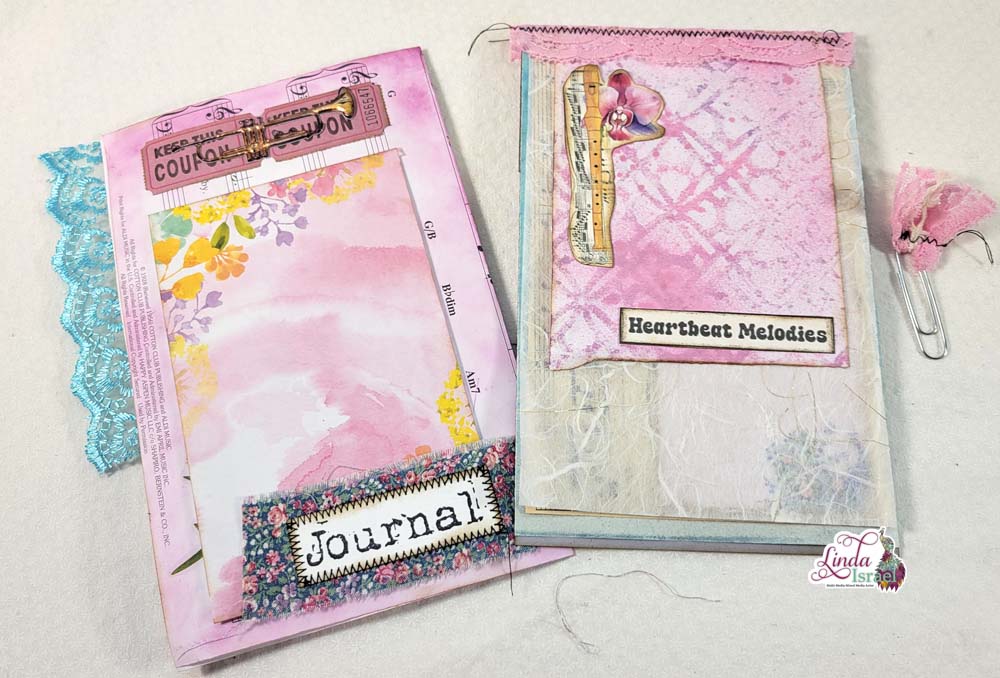
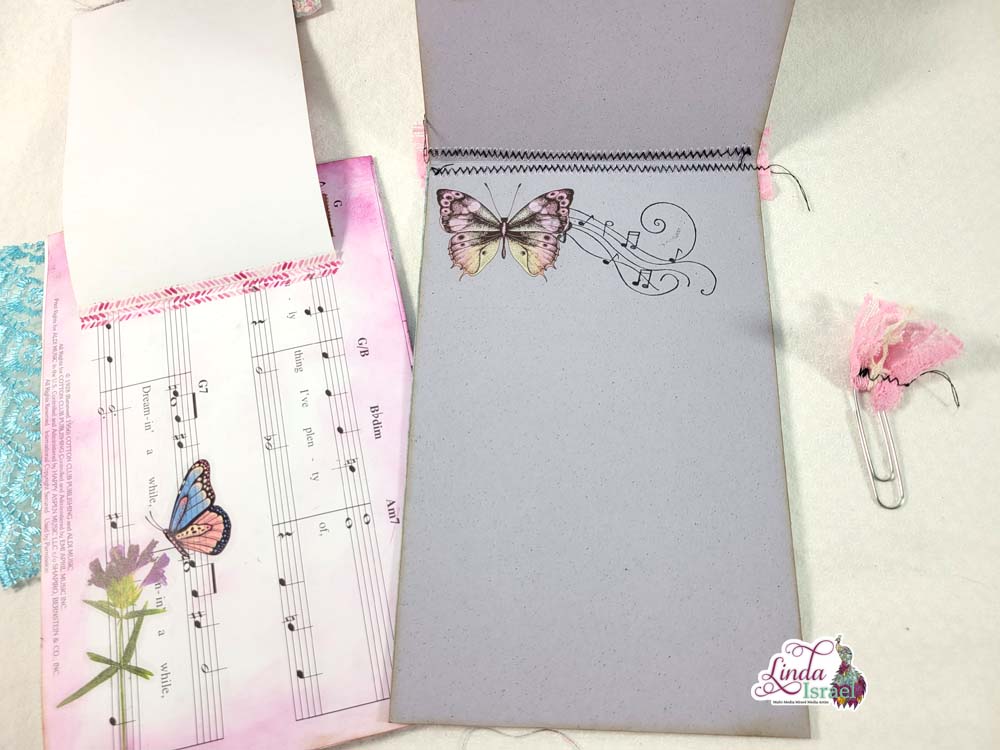
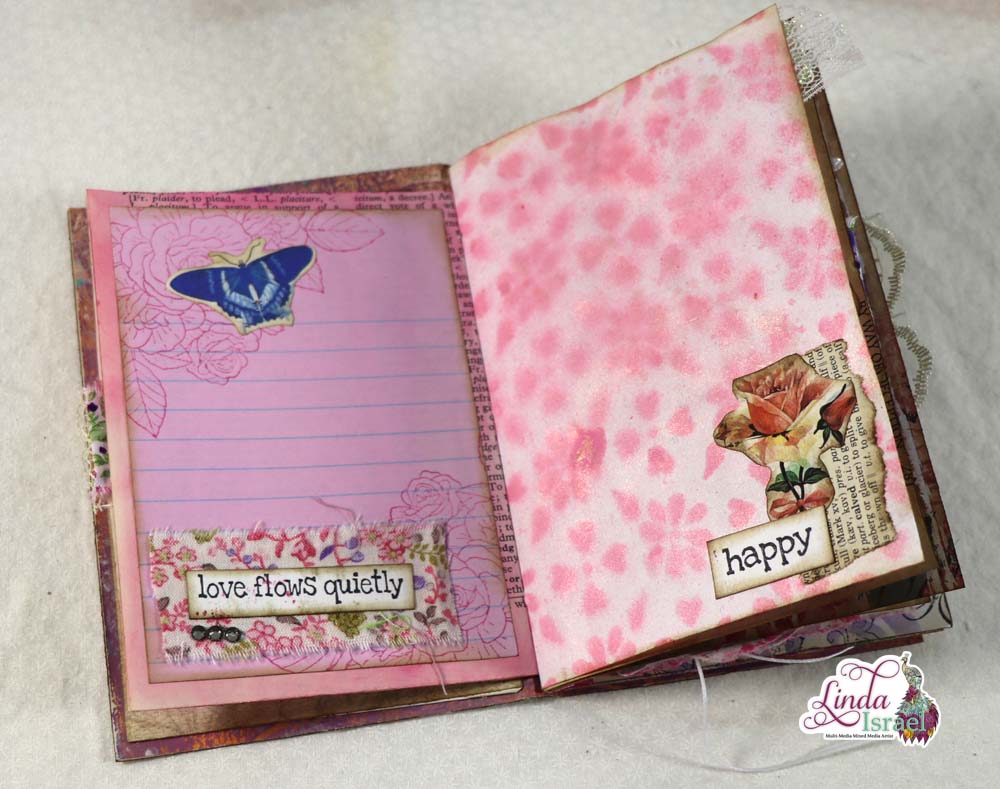
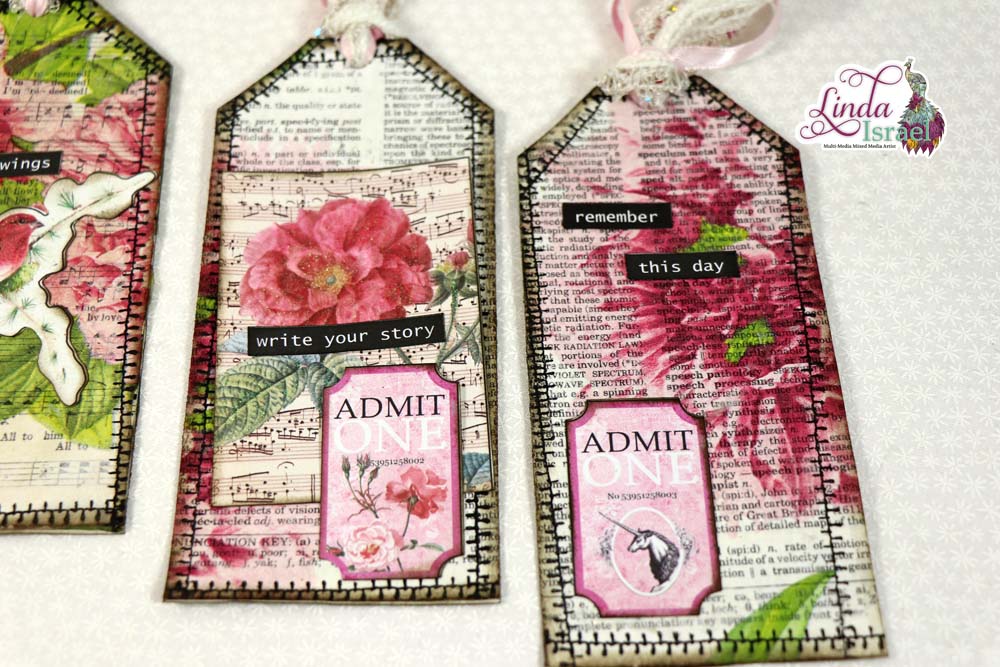
Trim the postcard to four pieces about 2.75 x 6 inches. Cut into tag shapes. Stamp Shabby Stitches using Black ink on the edges of the tag to give the appearance that the tag has been sewn. Punch a hole in the top using the Crop a Dile or other hole punch.
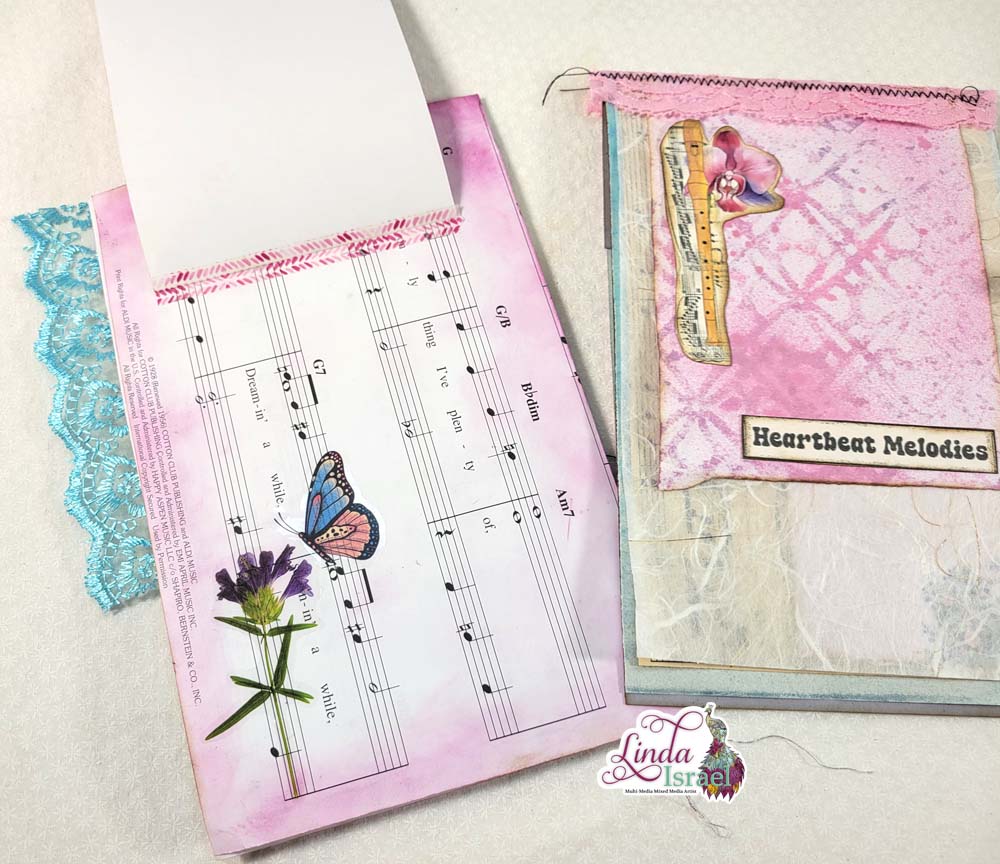
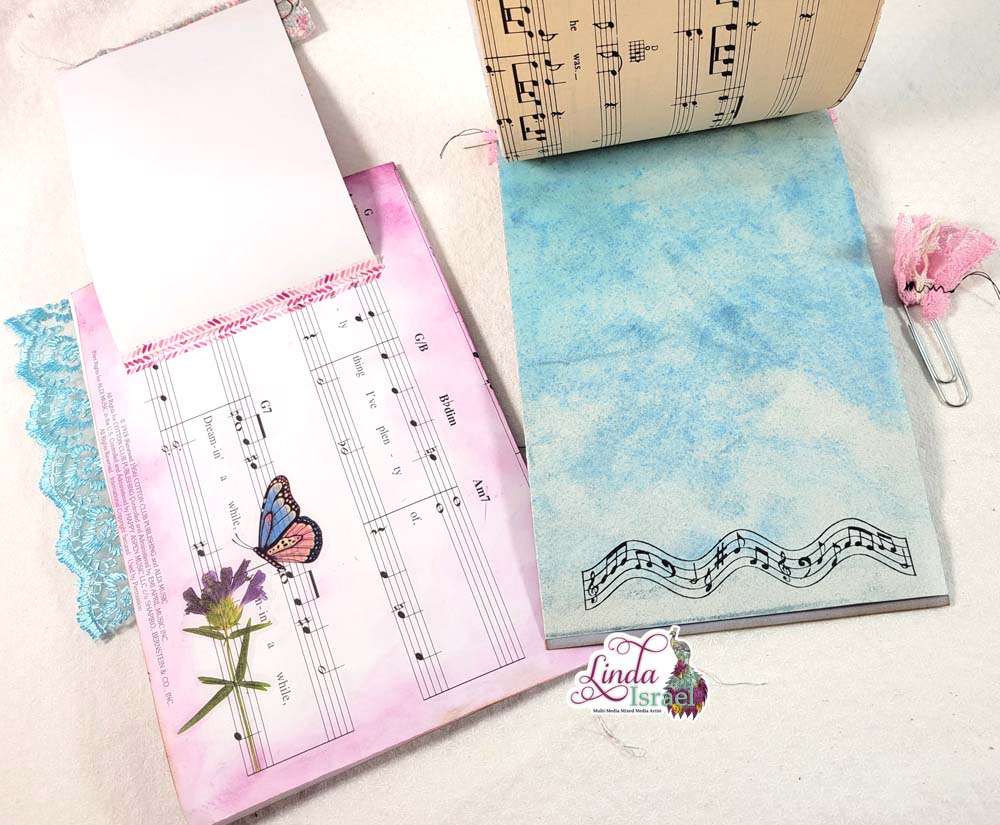
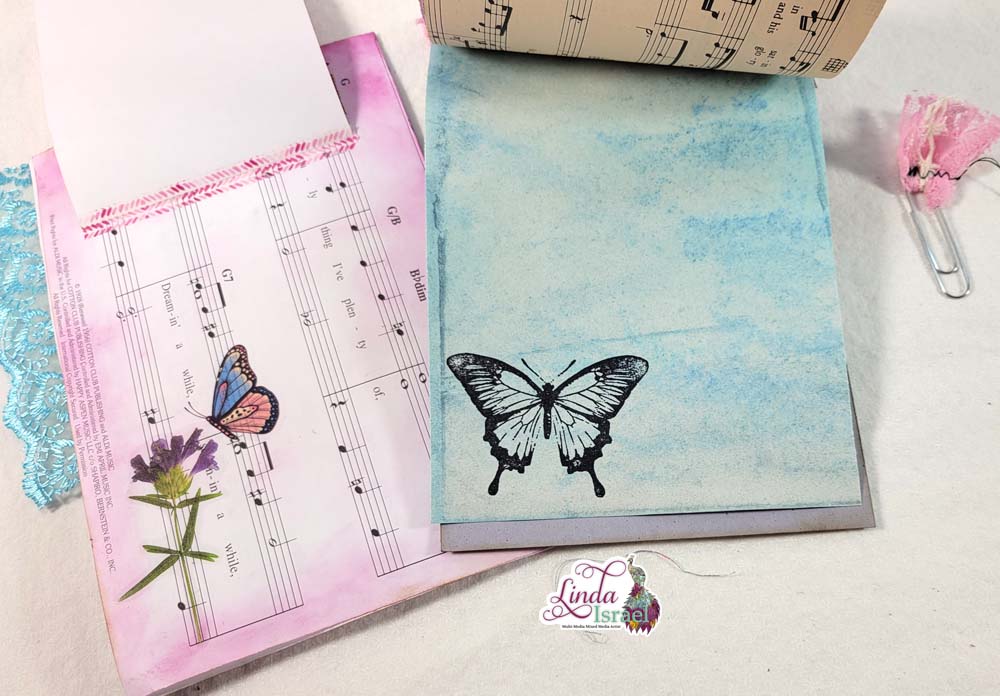
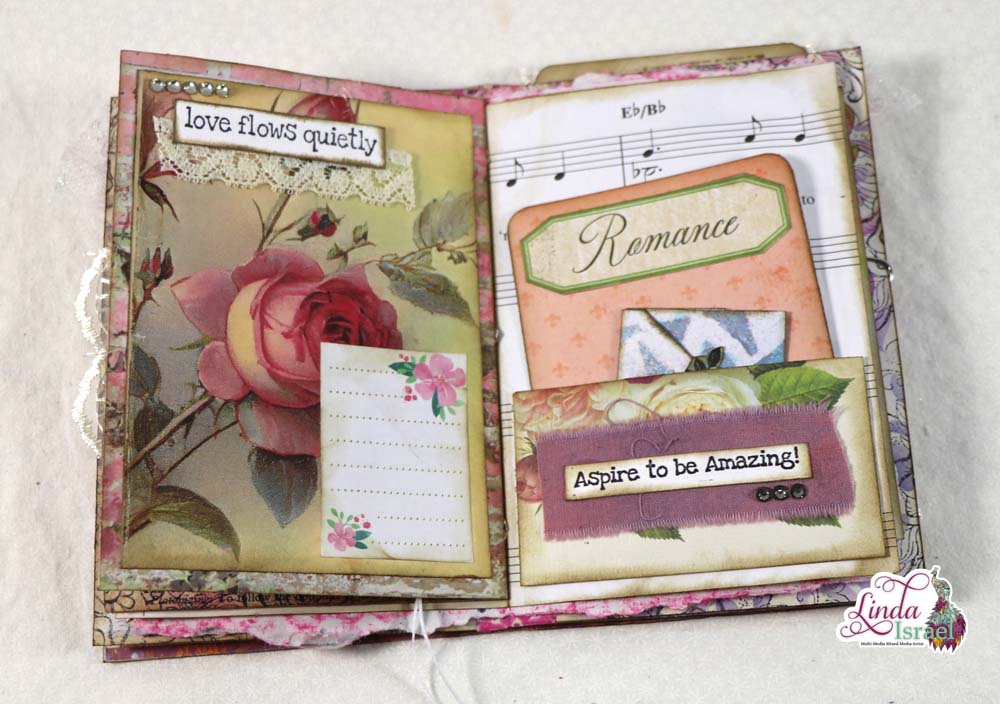
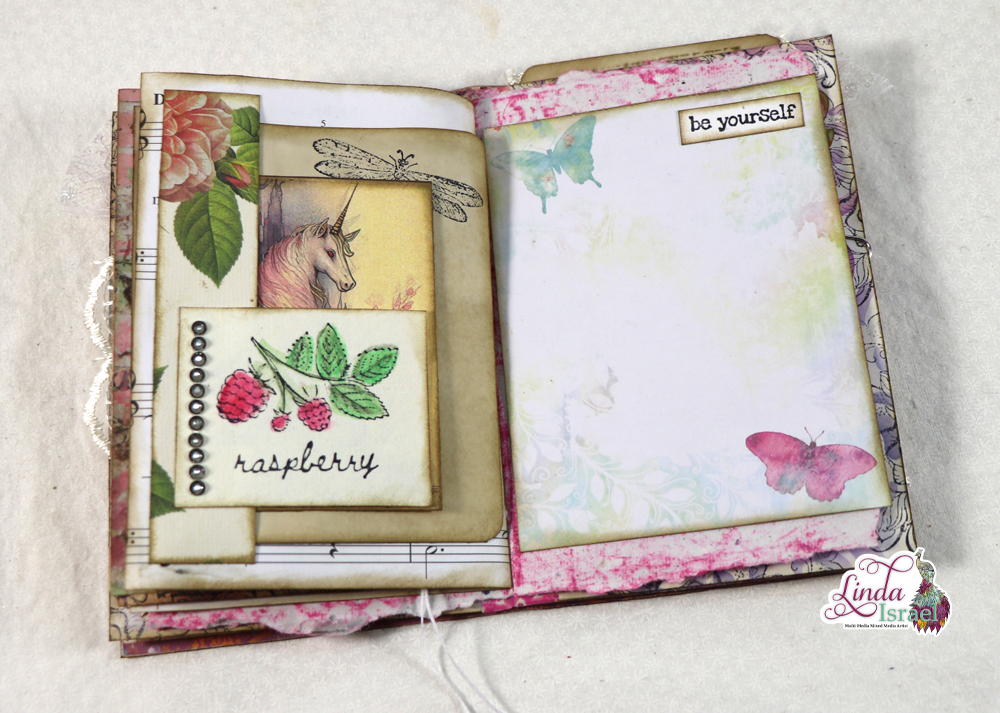
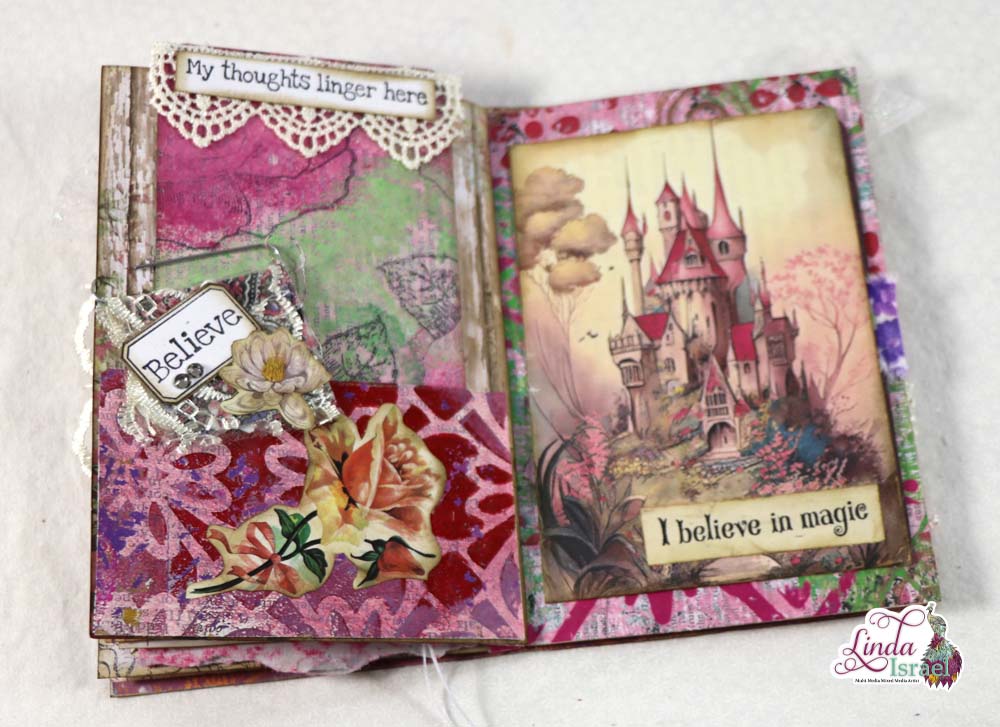
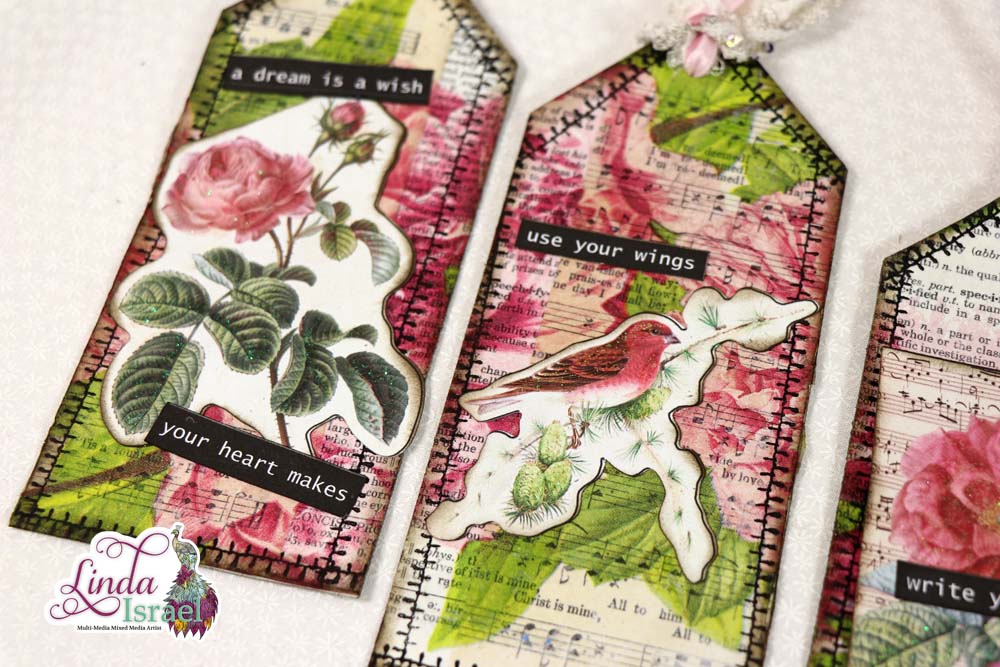
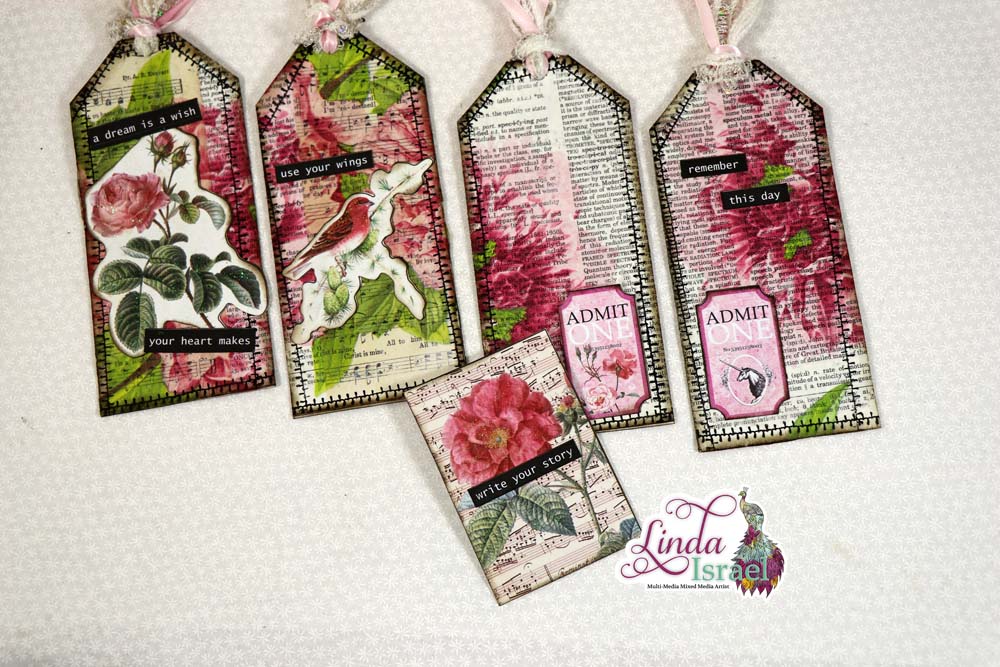
Fussy cut the Calico Collage images from Exquisite Dreamer Digital Journal Kit. Apply distress inks to the edges of the fussy cut images and both sides of the tag bases. Adhere fussy cut images to the tags.
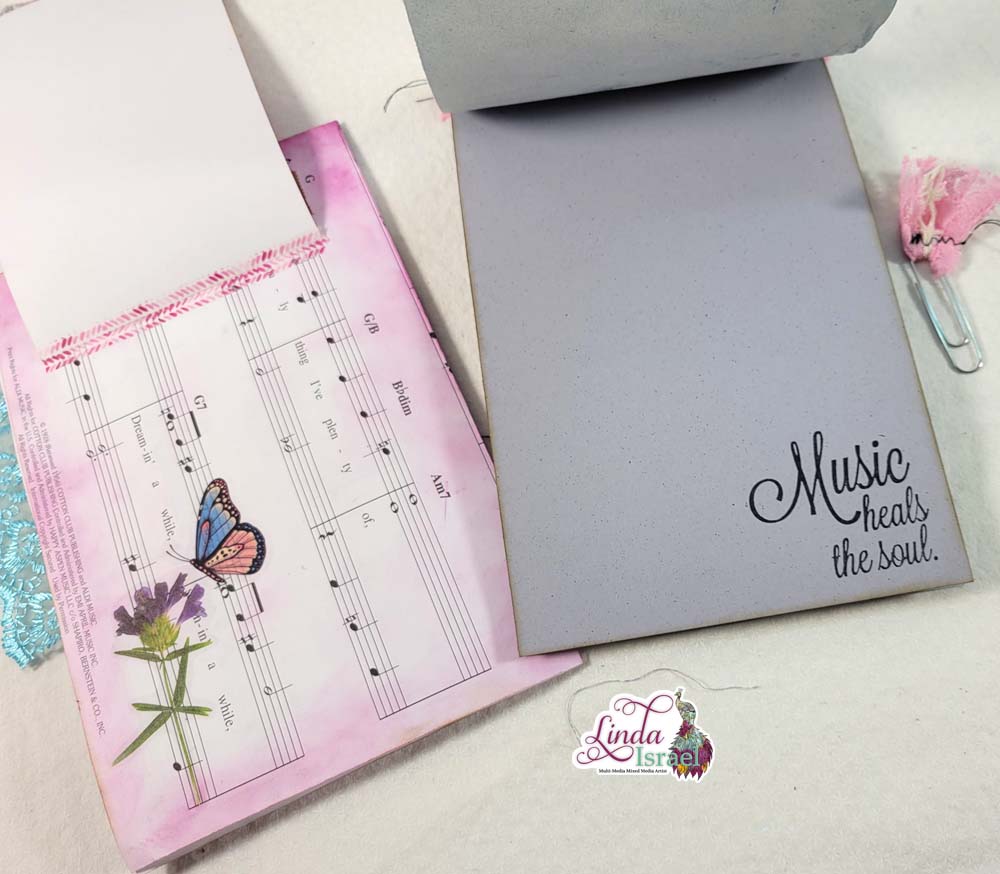
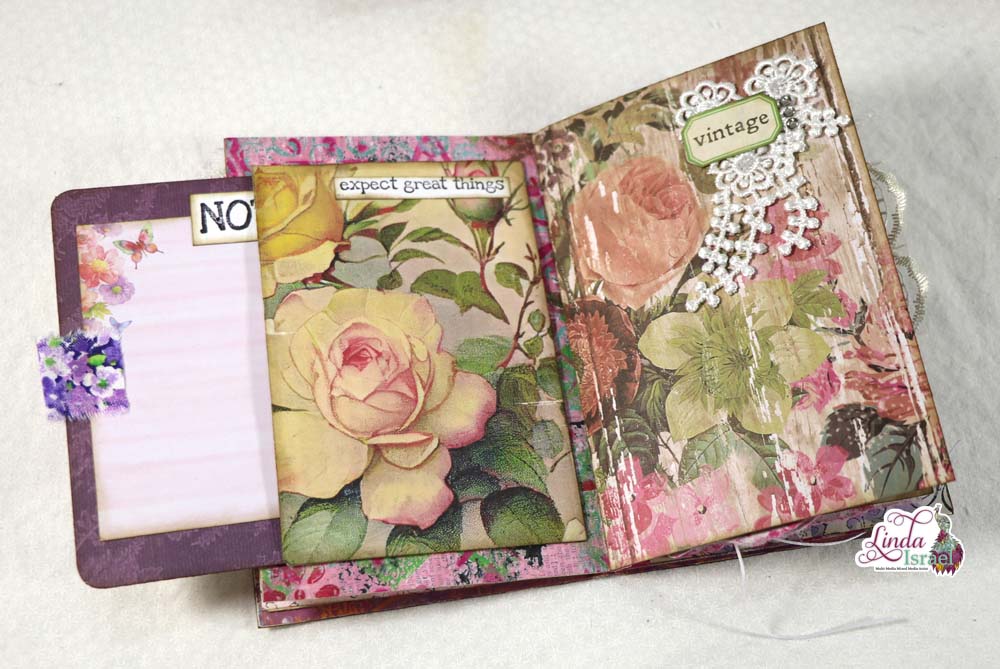
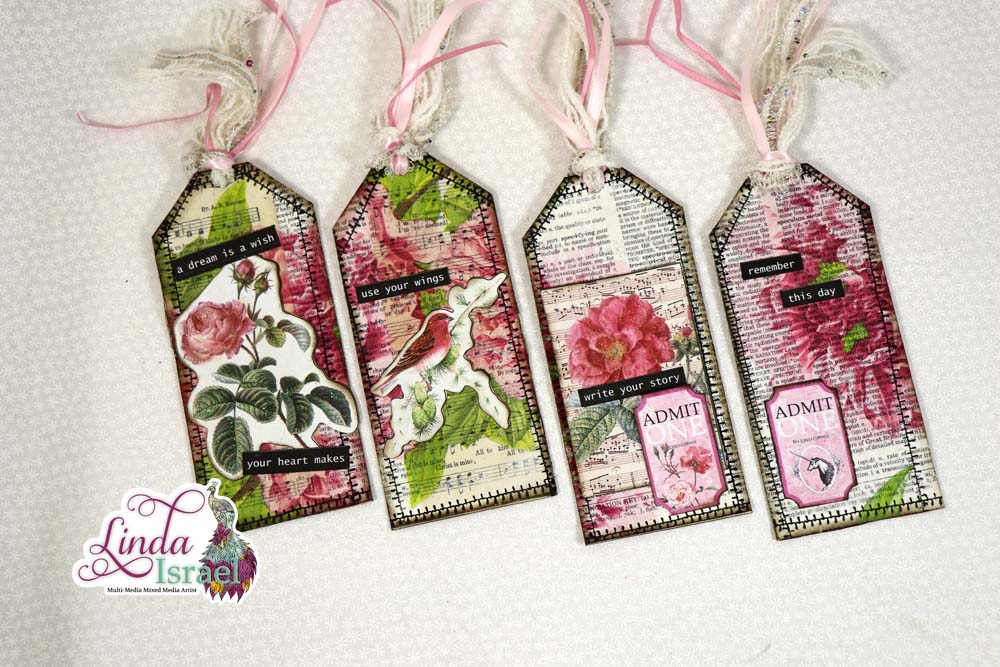
Apply Tulip Glitter Paint on some of the images to add sparkle. Allow the paint to dry. Apply word phrases.
Cut pieces of fibers and ribbons and tie to tops of tags.
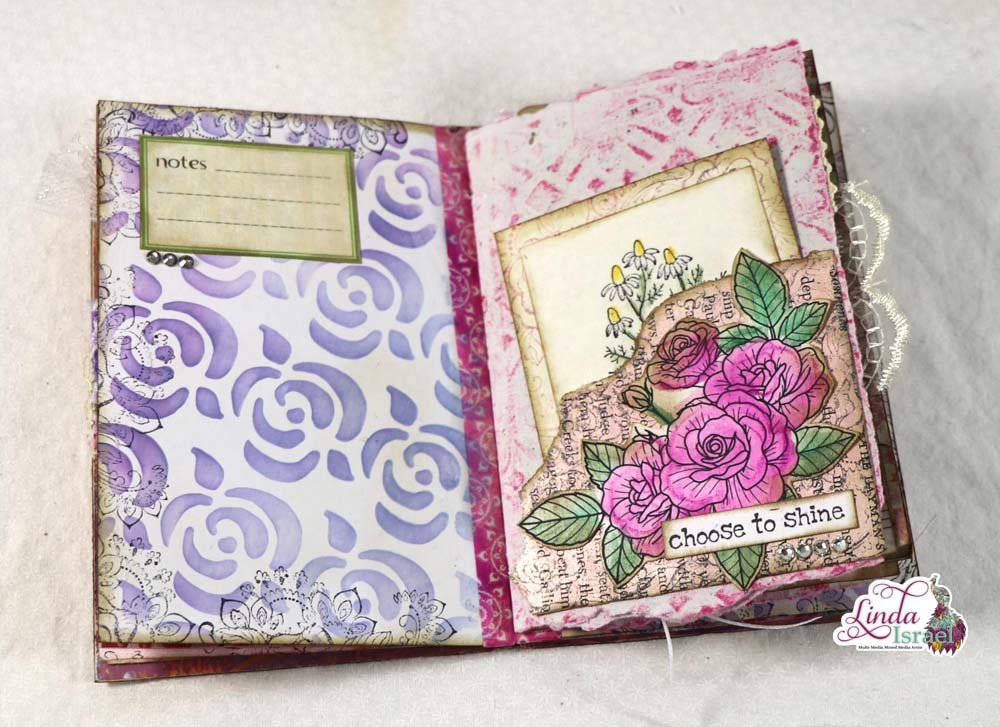
Now, wasn’t that a super easy Exquisite Dreamer Junk Mail Tag Tutorial? I know you have a few of those oversized postcards that can be used. Have fun creating.
A great way to support me, and continue to see more tutorials and inspirational projects from me is to Become a Patron! When you give me your patronage you will get an exclusive digital download featuring art I created that has now been made into a digital journal kit.
Make sure to check out the Friendly Junk Journal People Facebook group. Of course, you are welcome to join the Friendly Junk Journal People Facebook group. The group is growing daily and we are a friendly group willing to help each other and encourage each other.

Interested in any of the journals I created? Please feel free to contact me through my Facebook Page. Here is my shop, I have a lot of items uploaded and add more weekly.
Keep updated on my posts by following me. Follow my blog with Bloglovin. Or Follow my Facebook Page or on Instagram for updates that may not be shared on my blog.
Thanks so much for stopping by my blog today to see the Exquisite Dreamer Junk Mail Tag Tutorial.