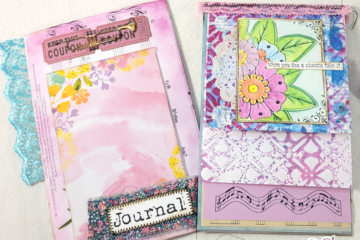
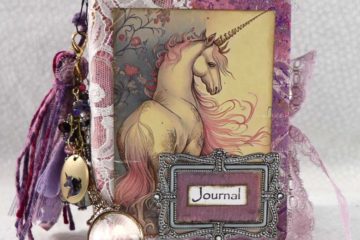
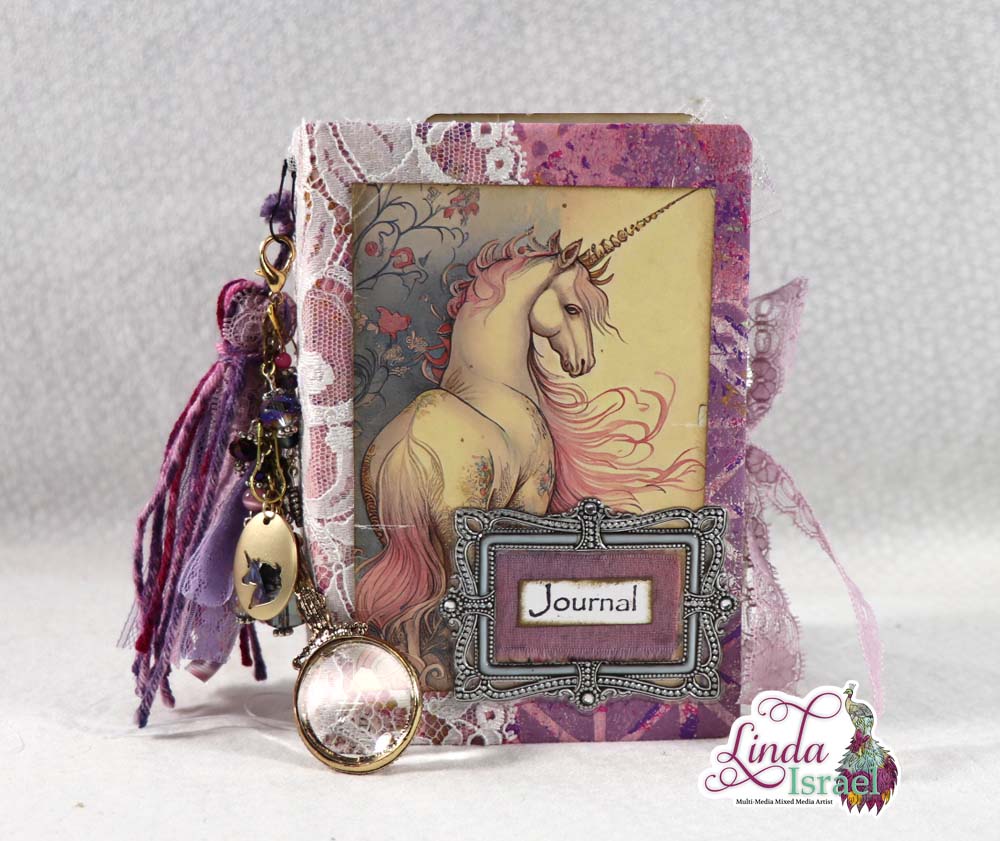
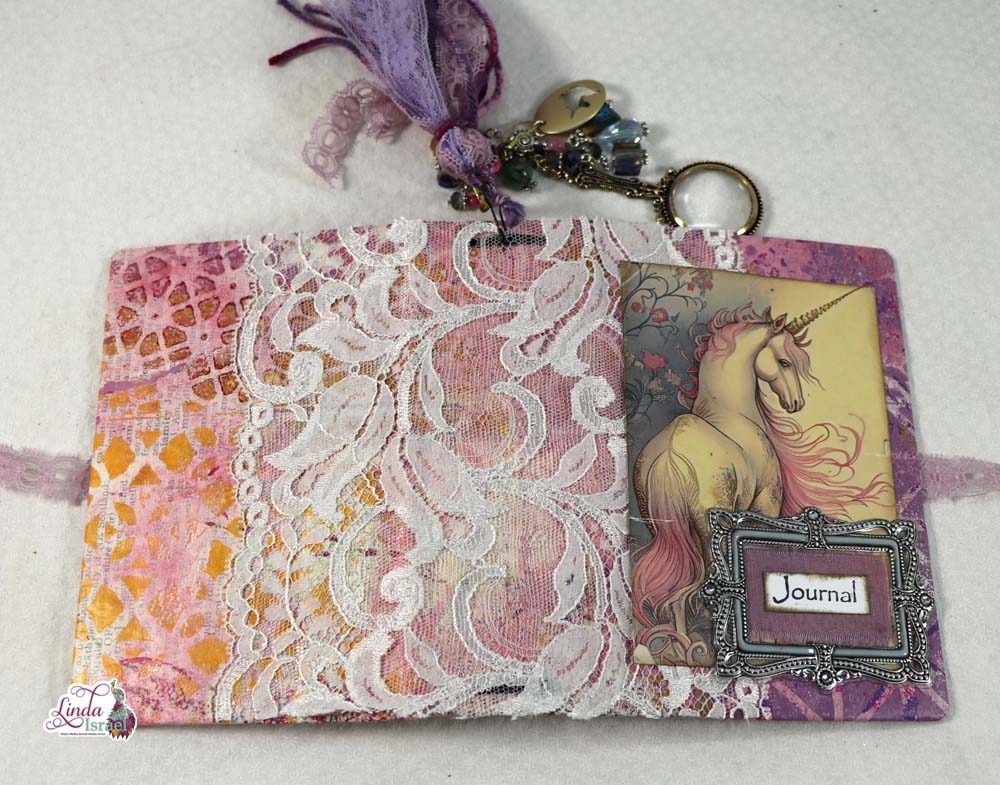
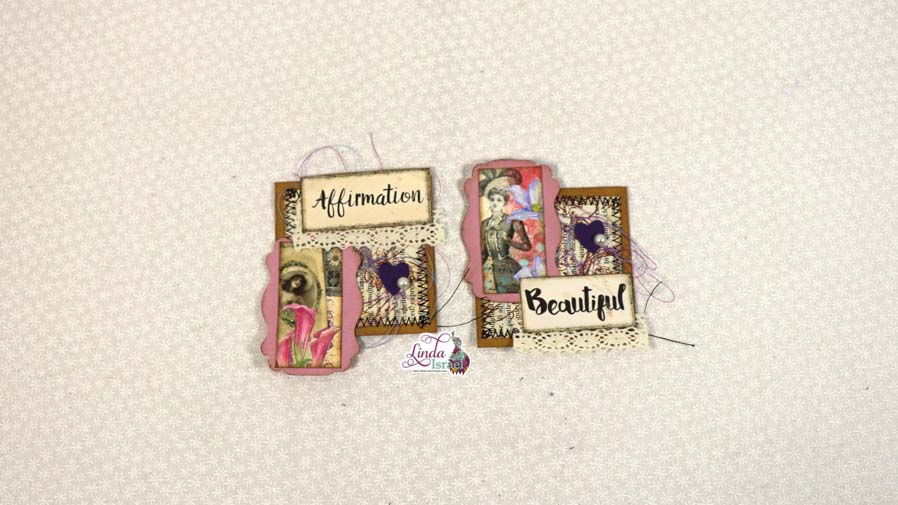
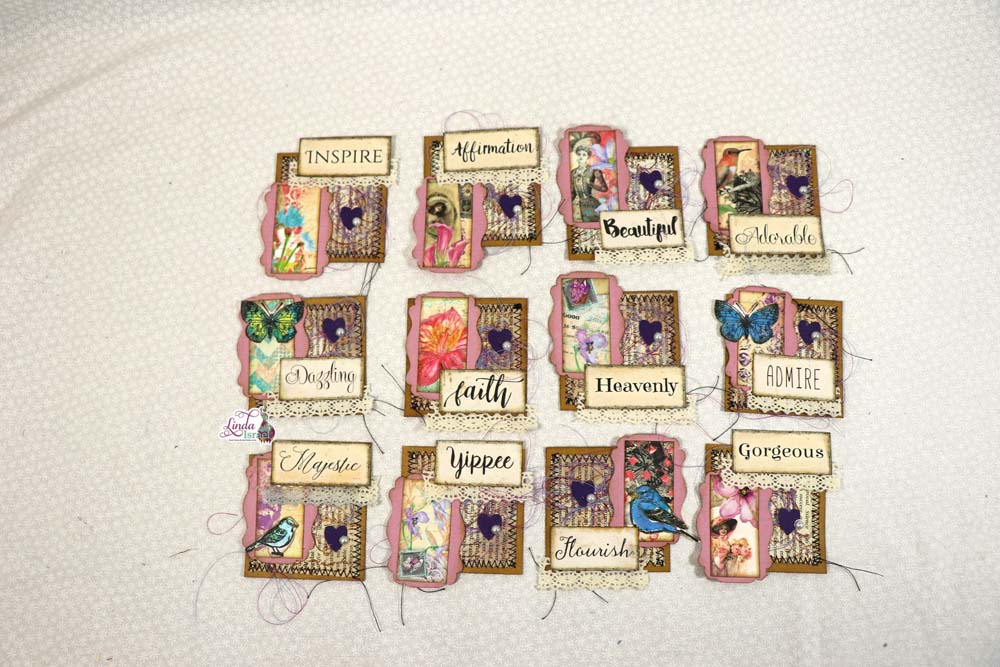
Day 6 Creating Cluster Embellishments of 12 Days of Junk Journal Gift Ideas. In this tutorial I’ll show you how to use small images and bits to create clusters. This is a great way to use up those odds and ends or plan out and make a large coordinating batch. Super quick and easy to create these clusters.
Day 6 Creating Cluster Embellishments Video
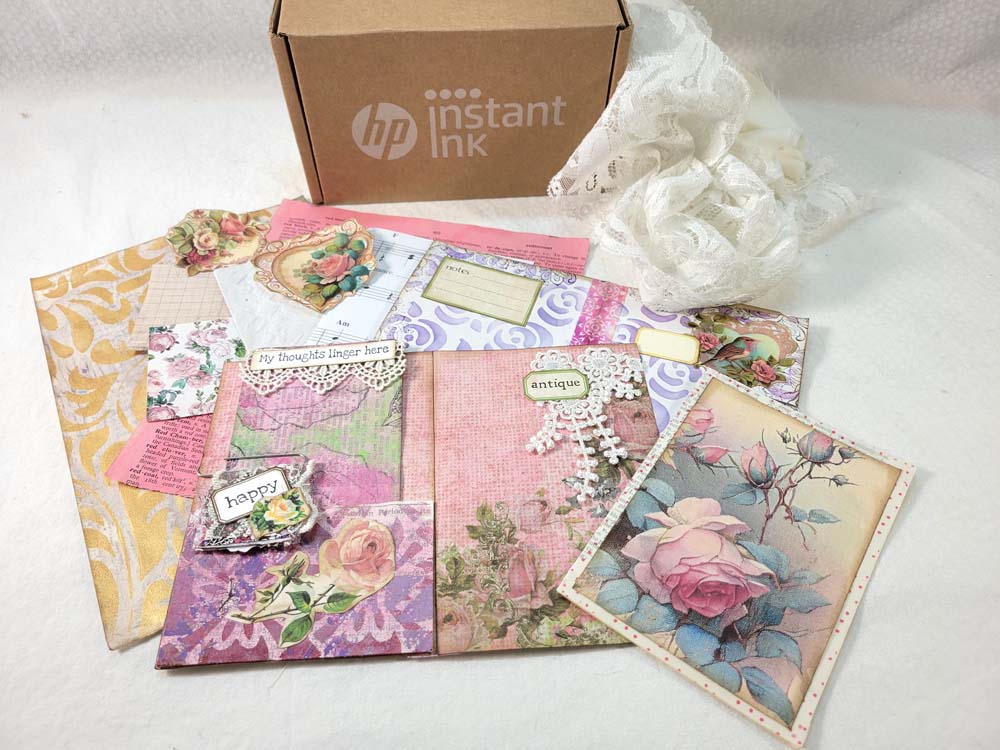
Supplies used for the Day 6 Creating Cluster Embellishments.
- Book Page
- Postmark Collage Rubber Stamp
- Archival Ink, Sepia
- Tattered Angels Glimmer Mist, Brass Peacock
- Sweet Elegance Domino Images from Calico Collage
- Printable Words from Calico Collage
- Ruler
- Distress Ink, Walnut Stain
- Blending Tool
- 2.5 inch squares of cardstock for base
- Aleene’s Tacky Glue
- Sewing Machine
- Black Thread
- Organ Needles These are the needles I use daily.
- Label Punch by EK Success
- Scraps of paper made into a label shape to mat under Domino Image
- Tulip Dimensional Glitter Paint
- ScraPerfect No Clog Writing Cap
- Lace
- Fiskars Scissors
- Old Sewing Thread, Coordinate color with project
- Small 1/2 heart punch – Found a set of four on Amazon
- Scrap of Purple Paper
- Flat Back Pearls
Follow the other artists creating projects for the 12 Days of Junk Journal Gift ideas inside the Friendly Junk Journal People Facebook group.
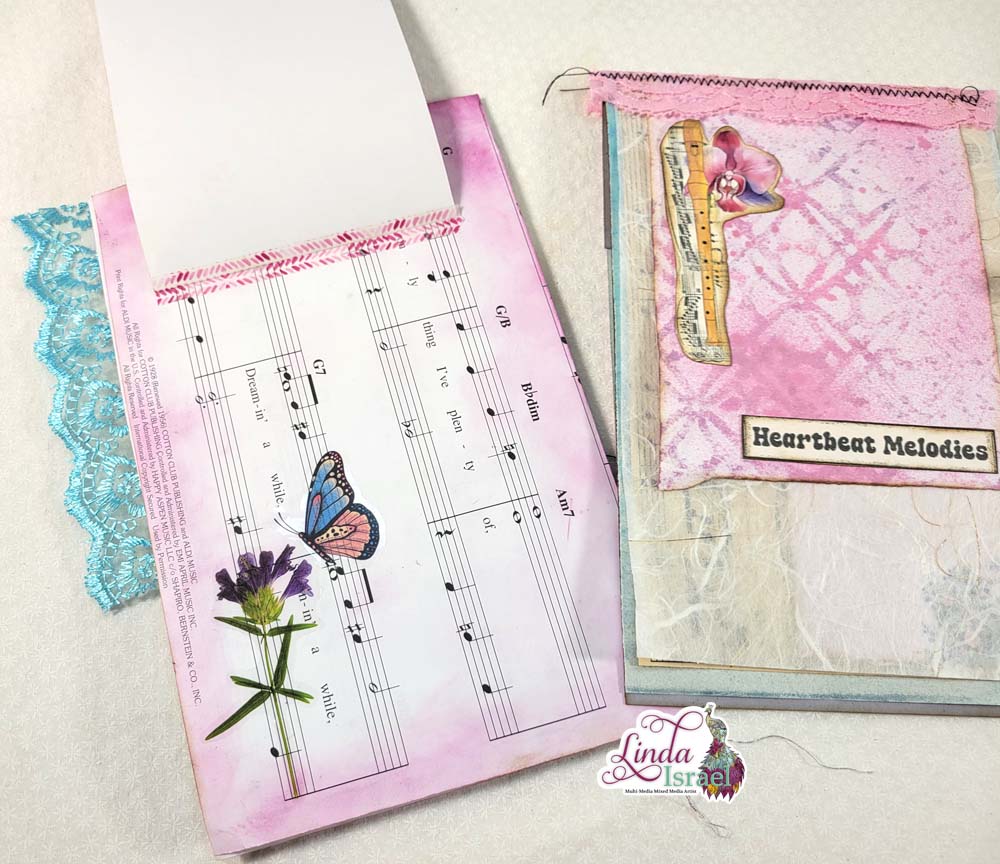
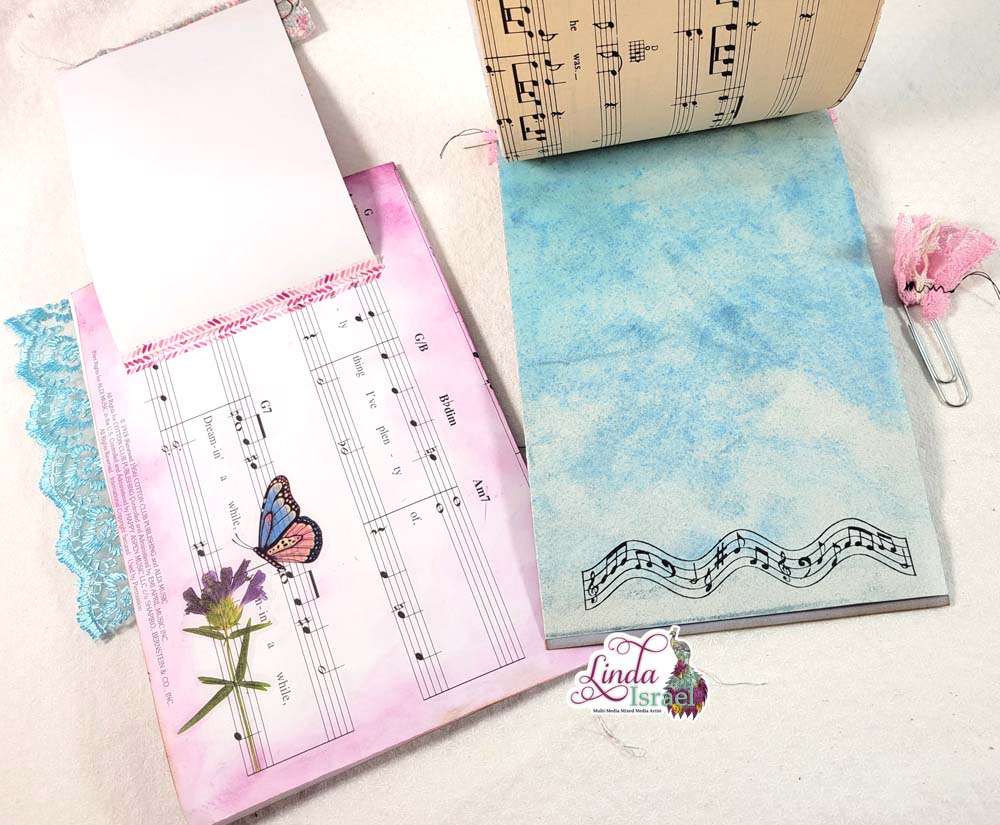
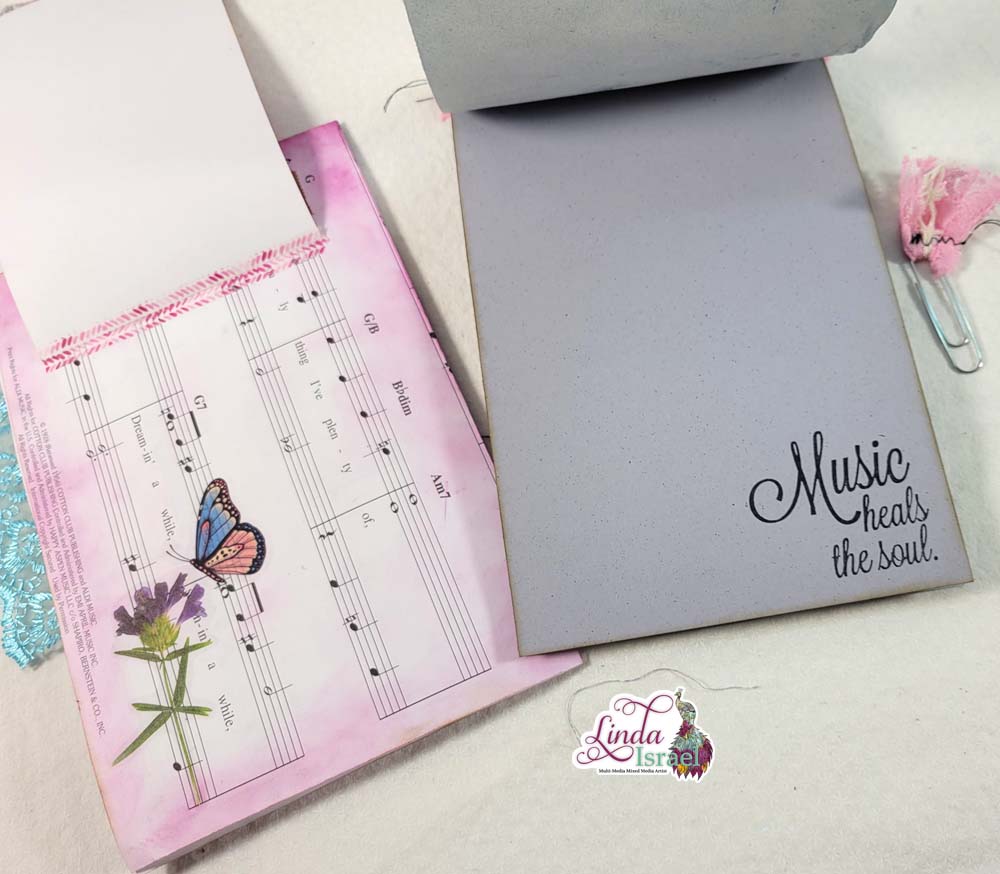
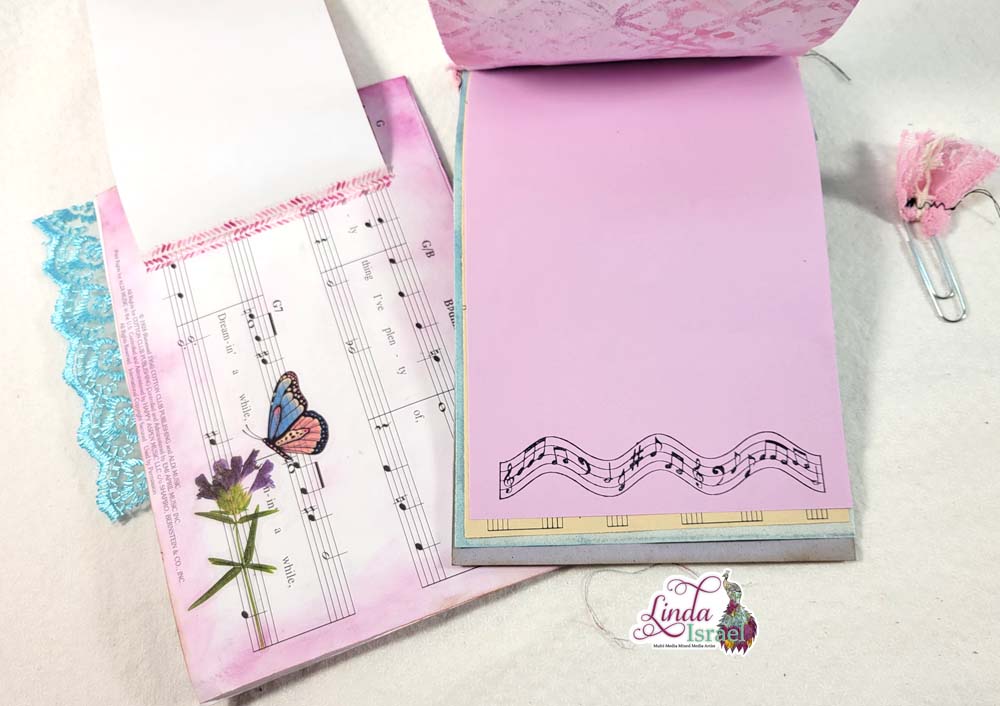
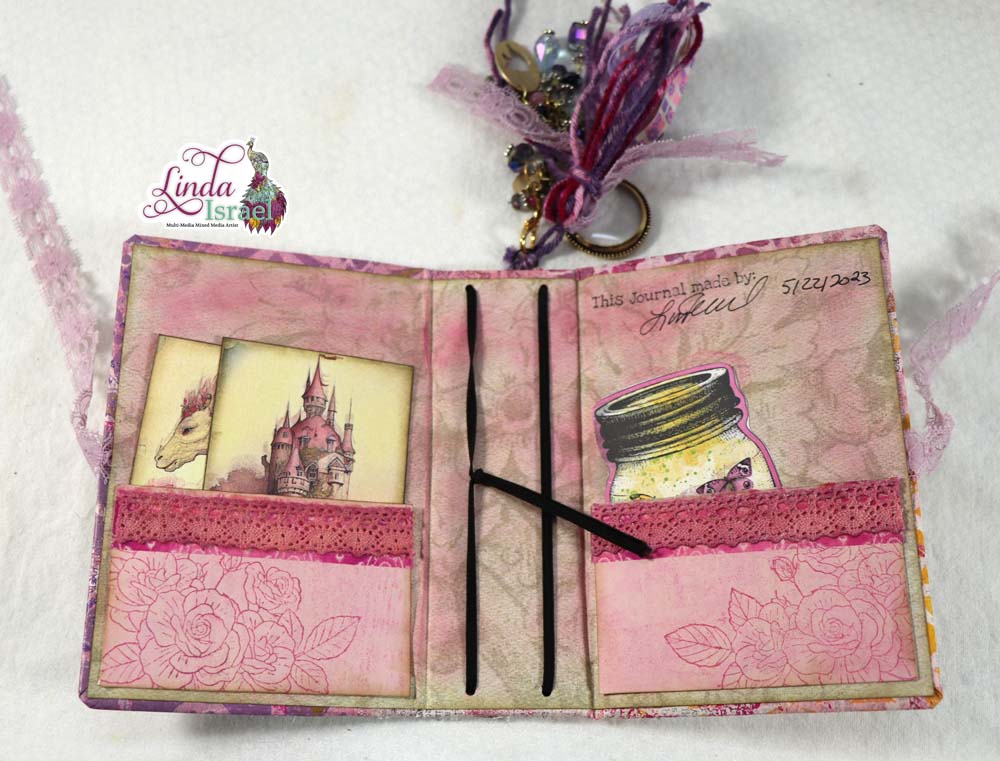
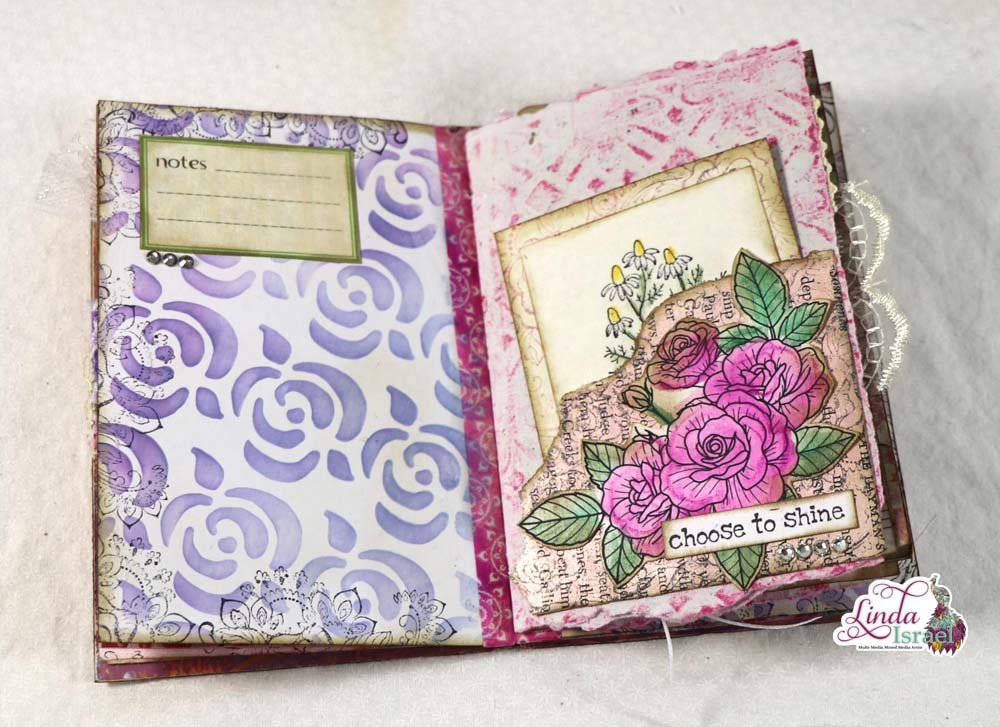
Select a book page rotate to landscape and stamp with the Postmark Collage in Sepia. This obscures the text a little. Tear into 2.25 inch squares or the size you want to use) Apply Distress ink, Walnut Stain around the edges. Spray with Tattered Angels Glimmer Mists Brass Peacock. Dry with heat tool. Adhere the book page to a pre cut 2.5 inch square.
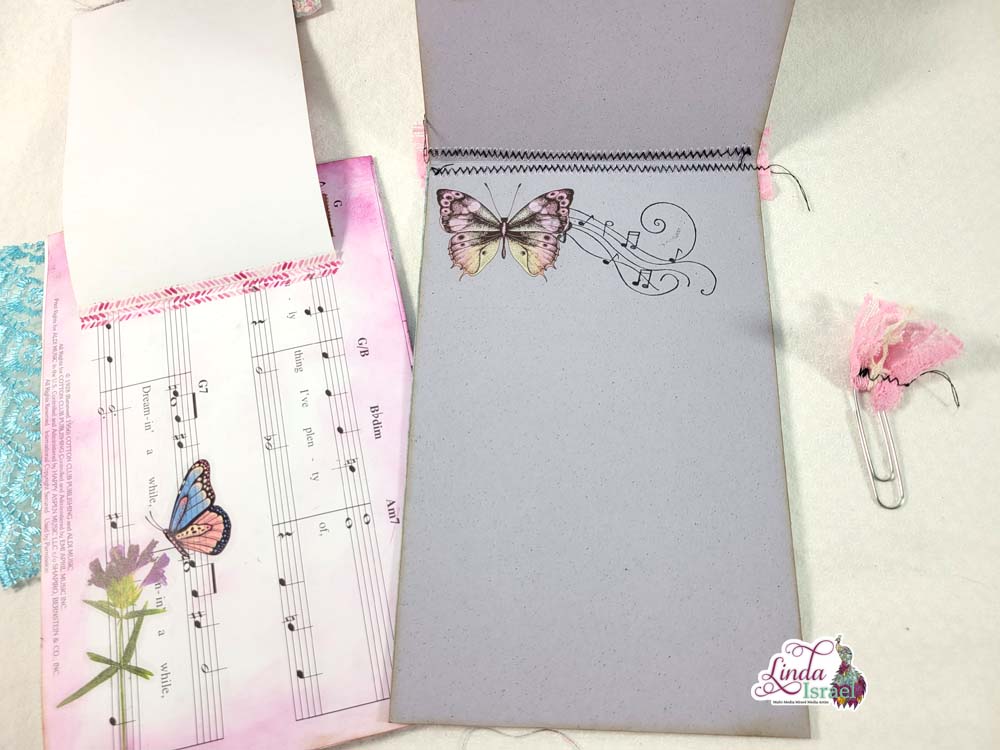
Add stitches around the book page with either a sewing machine or with the Shabby Stitches Stamp set. This is the base for the Embellishment Cluster.
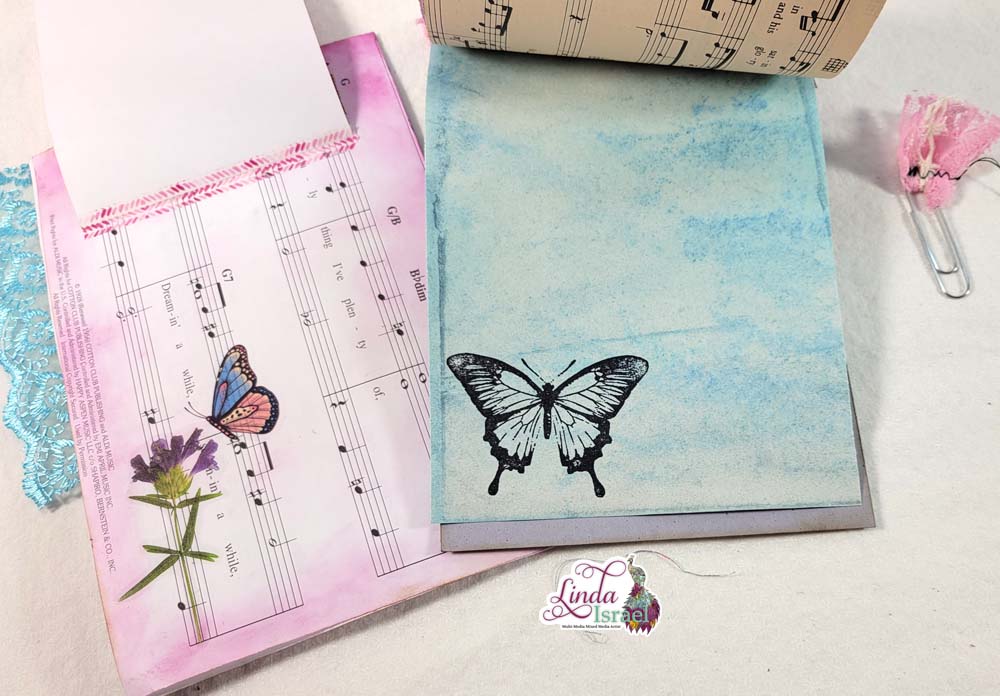
Select a few focal images. I used the Sweet Elegance Domino images from Calico Collage. I like this size of image to add to small embellishments. Norella of Calico Collage has a lot of domino images in her shop. These coordinate with many of her journal kits.
Once all the images have been trimmed apply distress ink around the edges. To add a bit of sparkle to the images apply a small amount of Tulip Dimensional Glitter paint. I love the way it adds a touch of sparkle reminding me of glitter on old greeting cards, but the glitter won’t rub off on your hands. lol
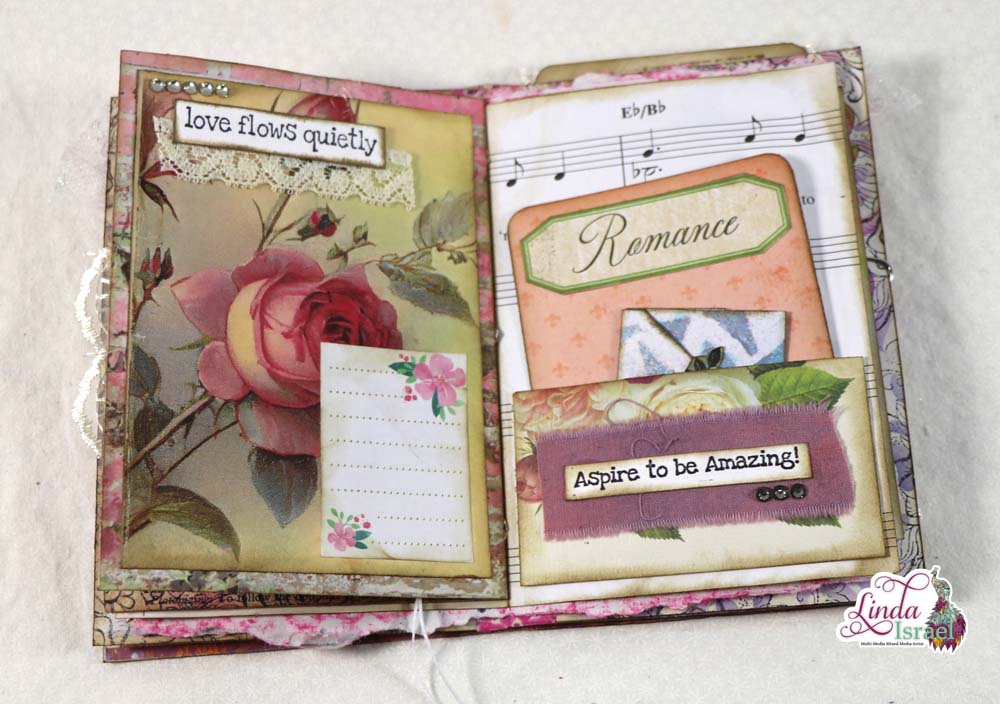
Layer the focal image on a matt with Aleene’s Tacky Glue, I used the EK Label punch but you could create a rectangle and round the corners for your project.
Cut pieces of lace to fit the words and attach to the back with a thin line of glue.
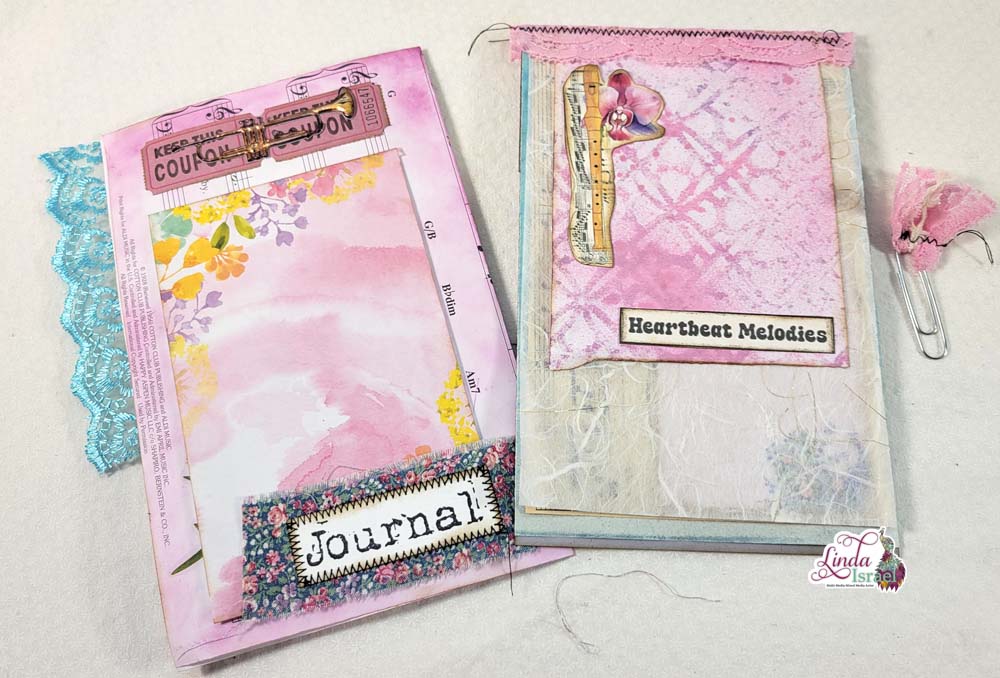
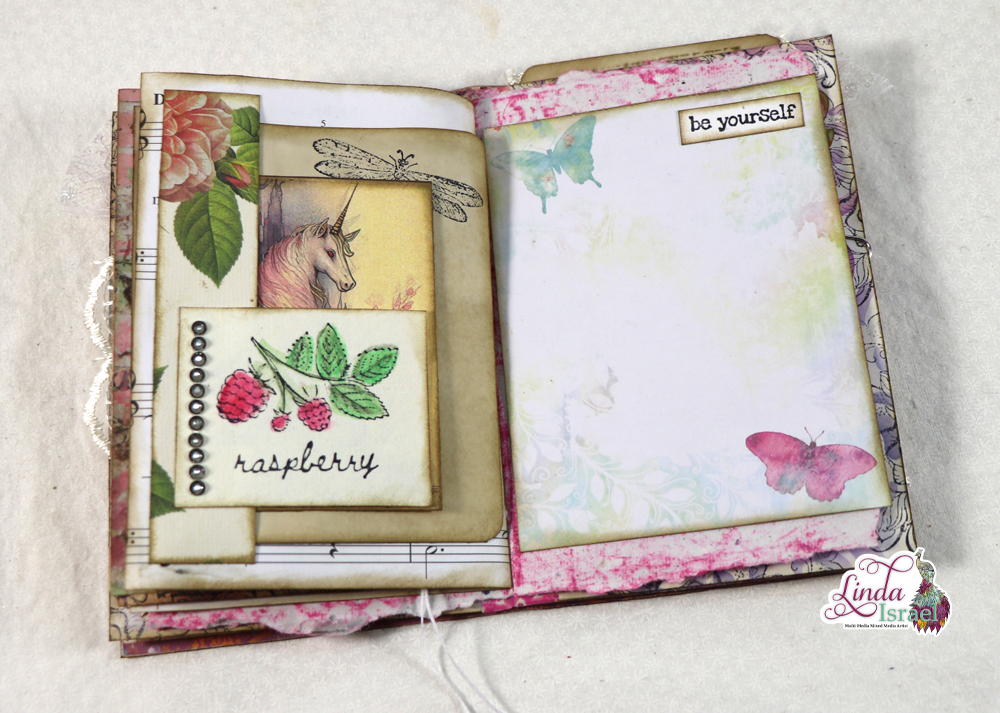
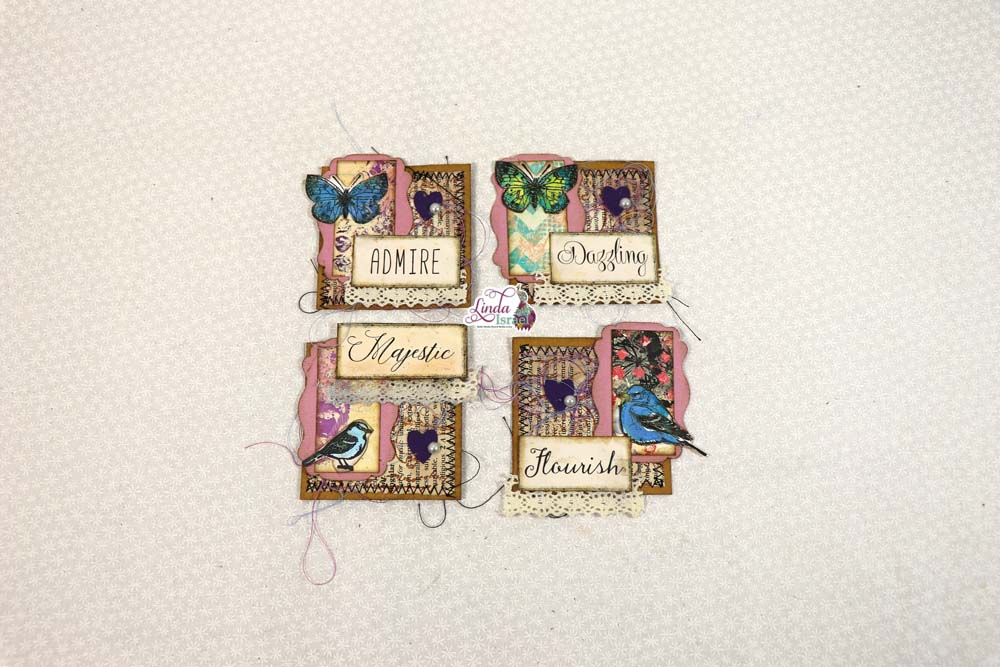
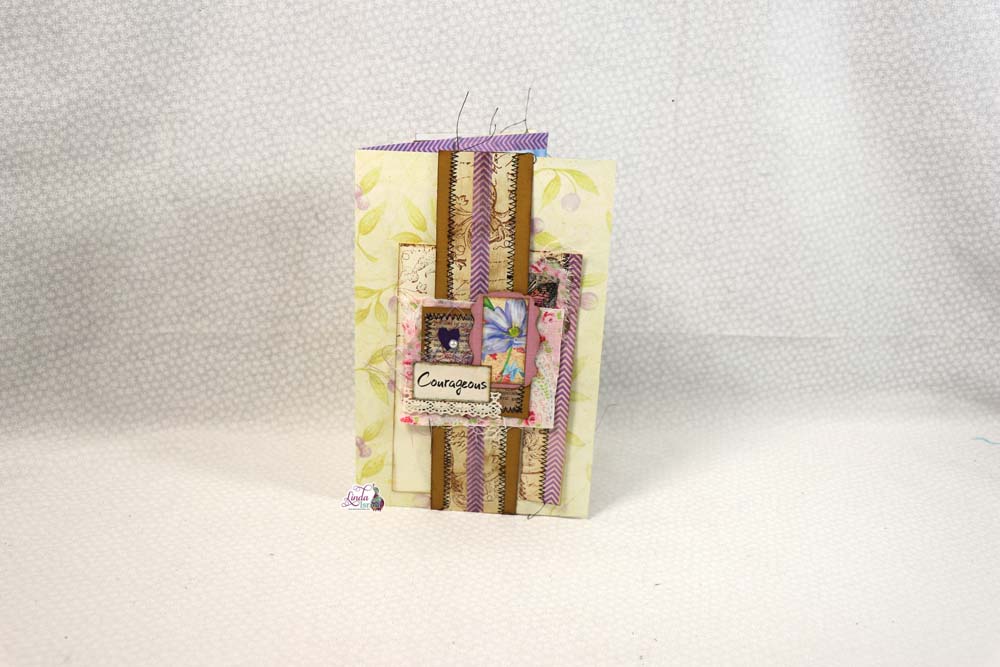
Assemble the clusters. Before the focal image is adhered grab some sewing thread and make a small nest. Apply a small circle of glue – I barely touch the surface of the base, just enough to hold some of the thread in place. Layer the Focal image over part of the thread. Then layer the word and lace piece.
Paper punch or fussy cut small hearts. Attach to the cluster with a drop of glue and then add a flat back pearl on the heart.
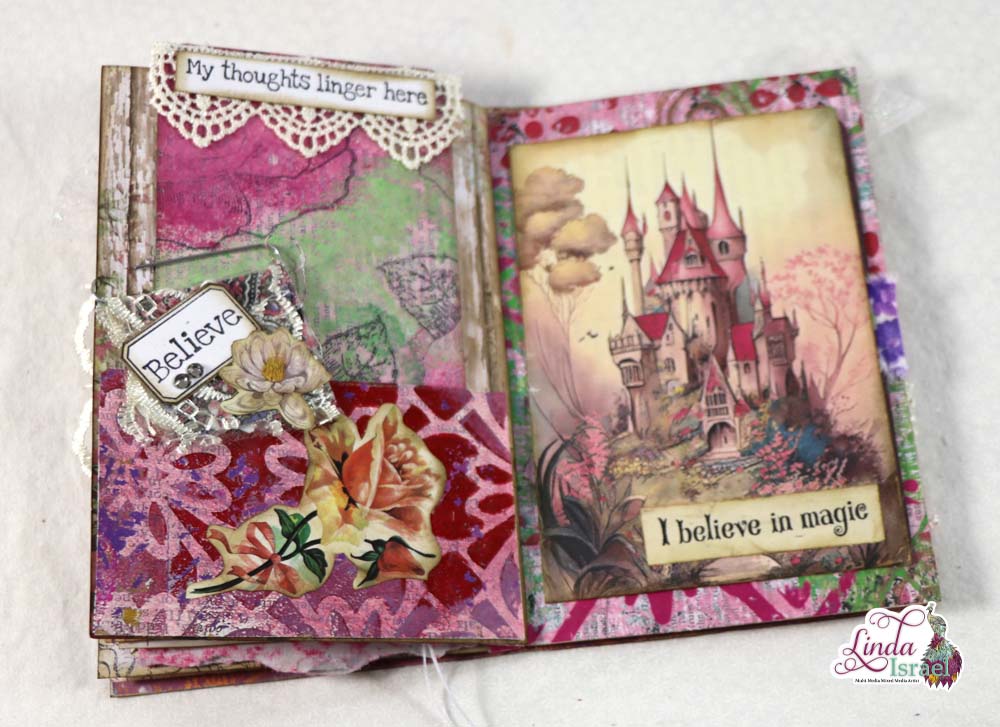
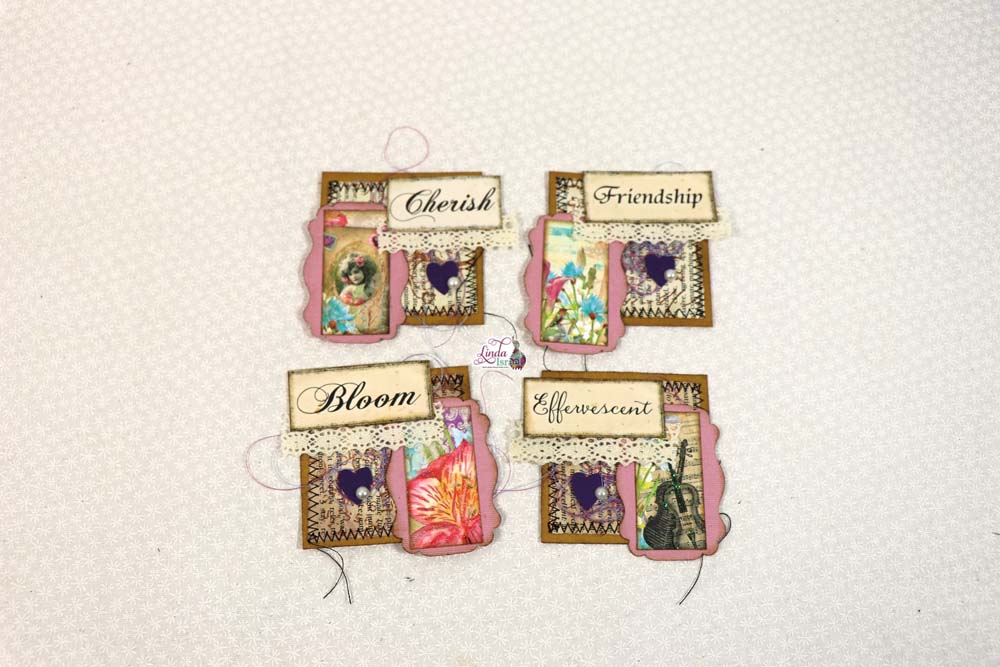
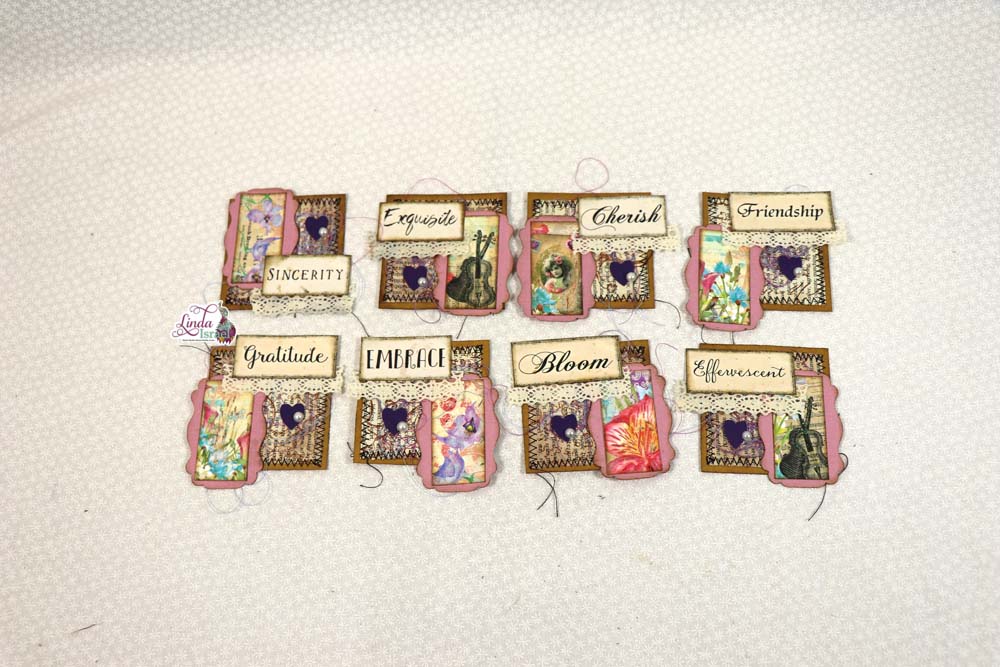
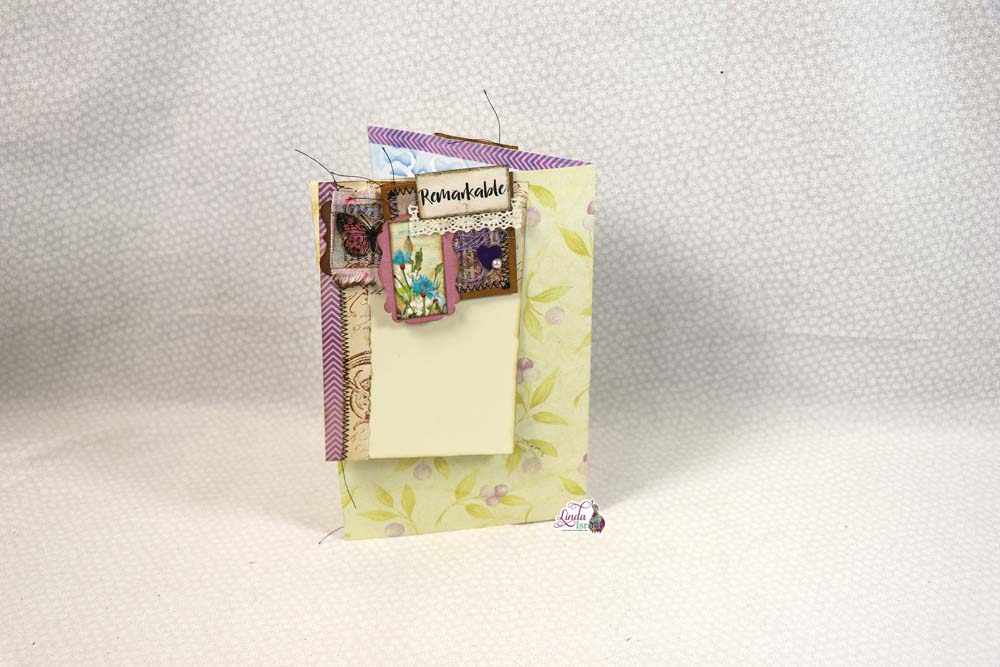
The cluster is now done, or you can keep adding bits that appeal to you. These are great to use as tuck spots, altered paper clips and belly band embellishments. Make up a bundle for a friend so that they can use these in their projects.

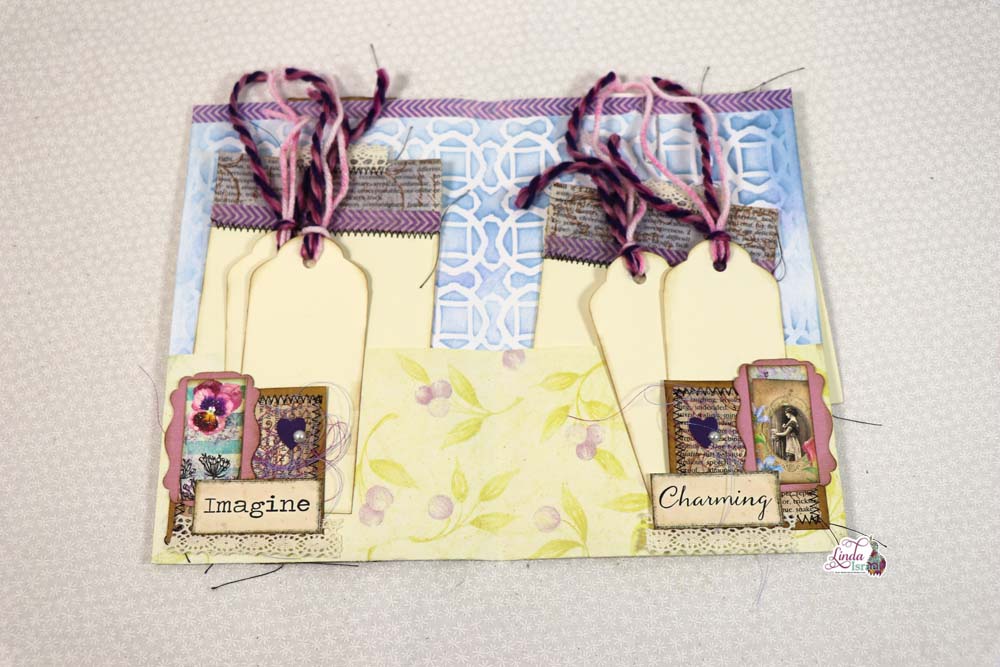
See those were super quick and easy to create. What will the theme will you use for cluster embellishments?
Make sure to check out the Friendly Junk Journal People Facebook group. Of course, you are welcome to join the Friendly Junk Journal People Facebook group. The group is growing daily and we are a friendly group willing to help each other and encourage each other.

Interested in any of the projects Linda has created? Please feel free to contact her through her website. Here is her shop, a lot of items featured and add more weekly.
Keep updated on her posts by following the blog by creating an account. Follow Linda on her Facebook Page or on Instagram for updates that may not be shared on the blog.
Thanks so much for stopping by the blog today to see Day 6 Creating Cluster Embellishments.