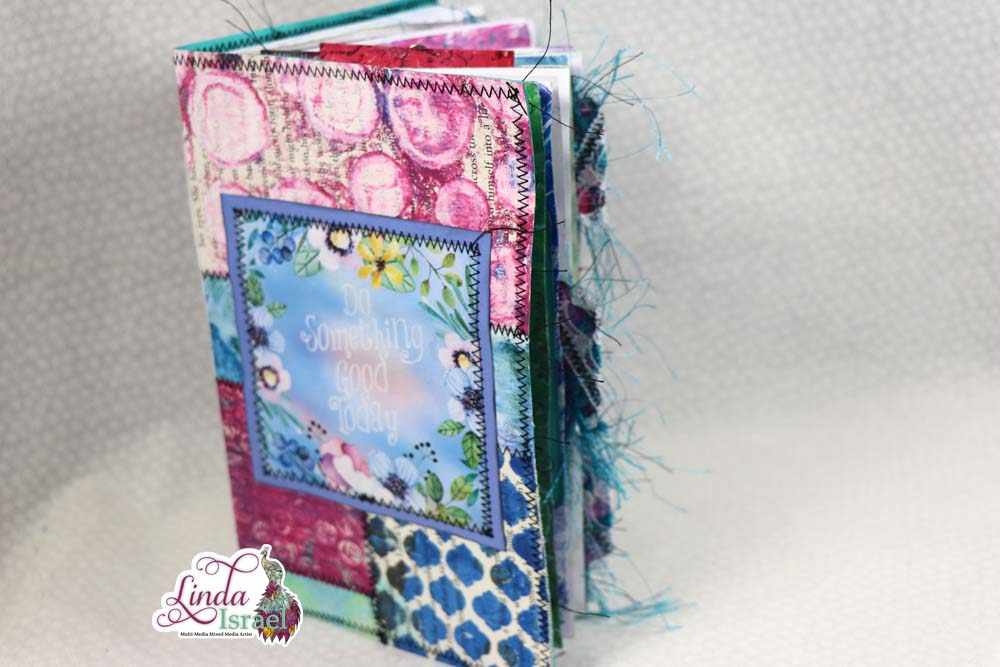
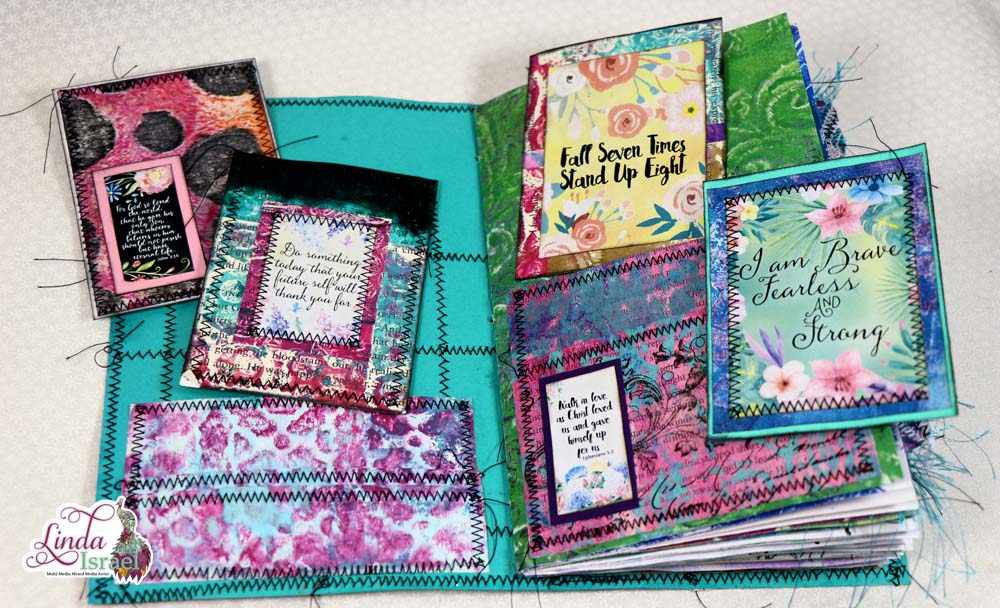
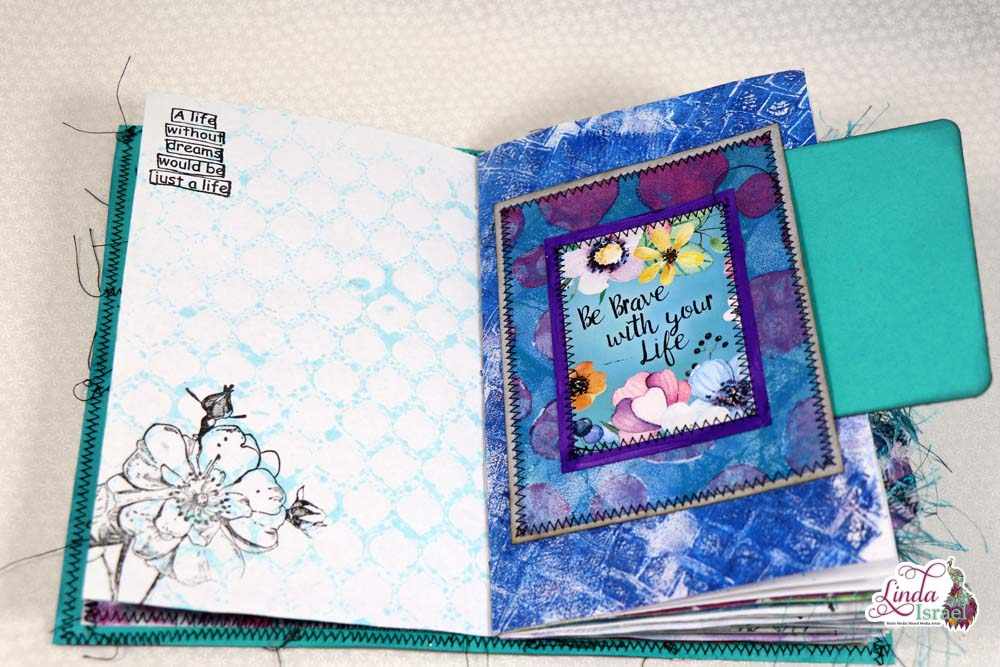
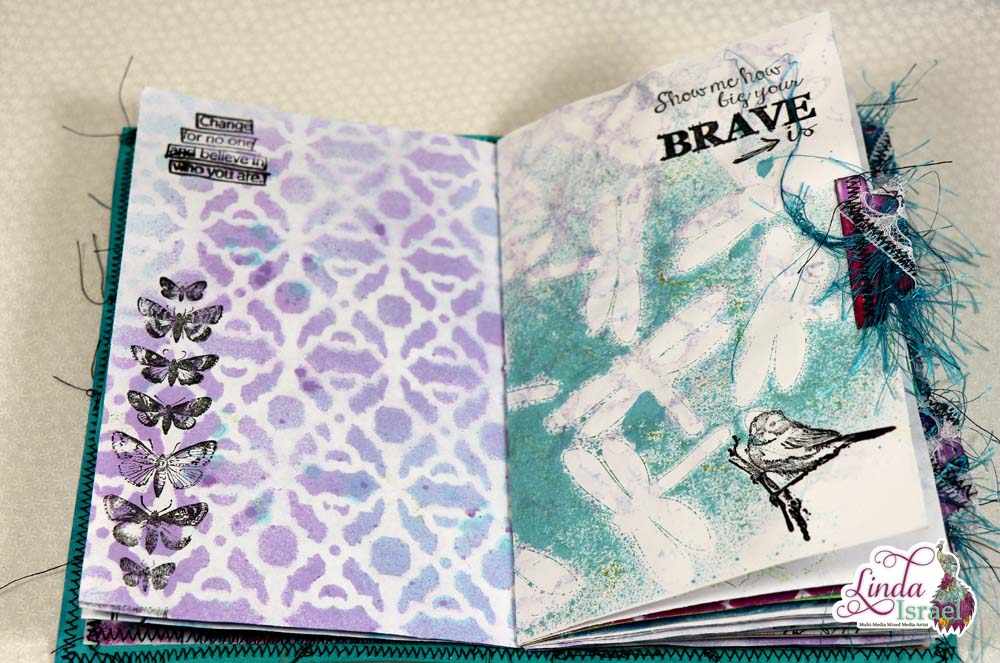
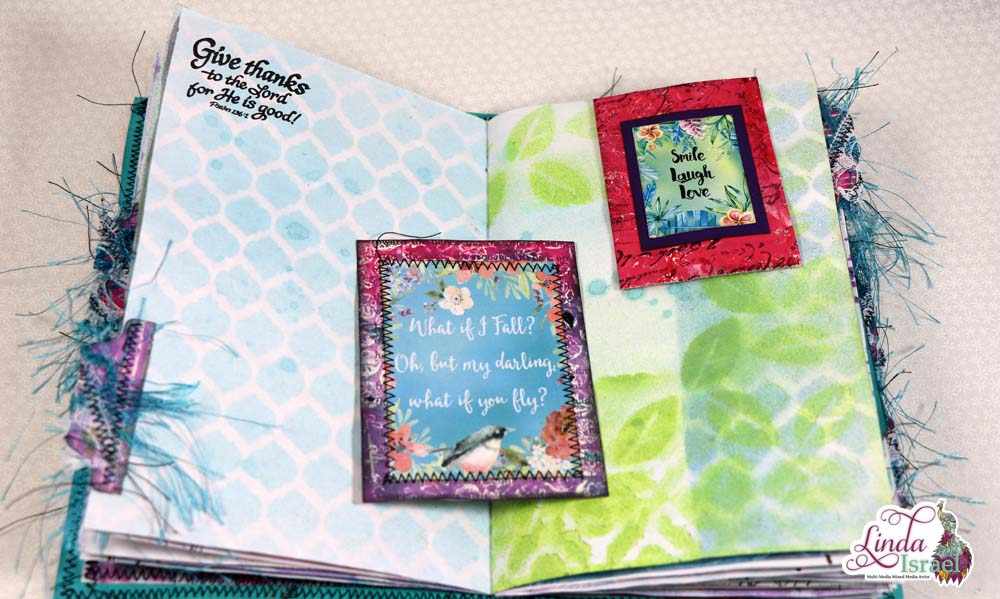
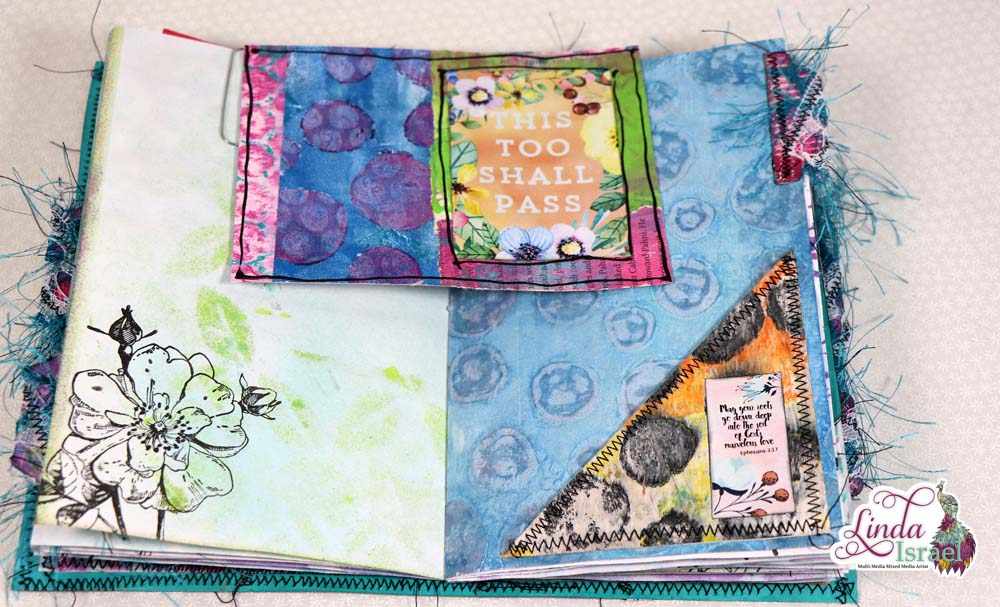
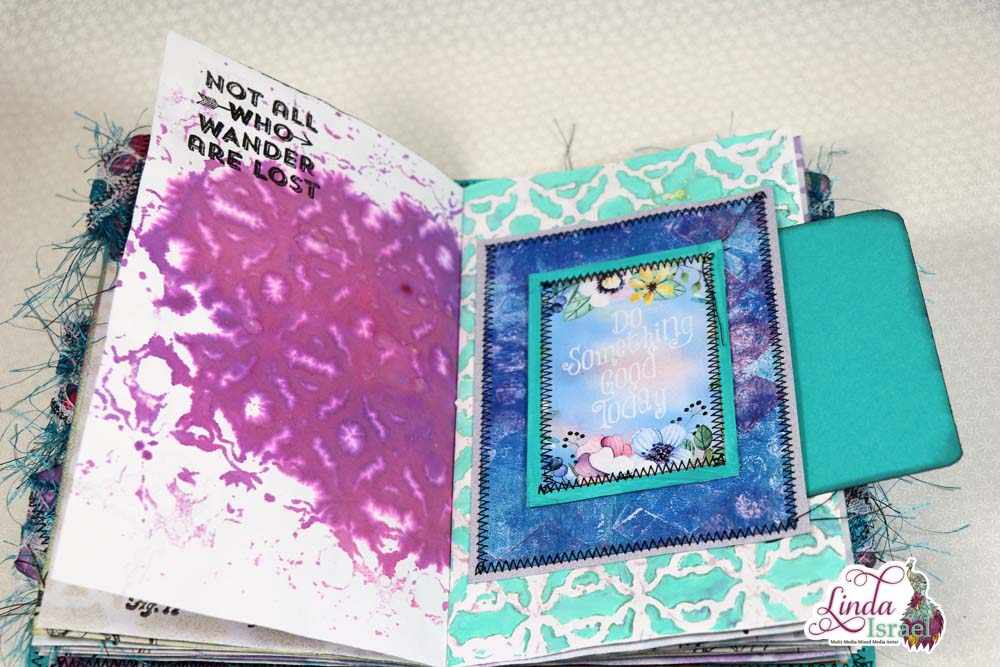
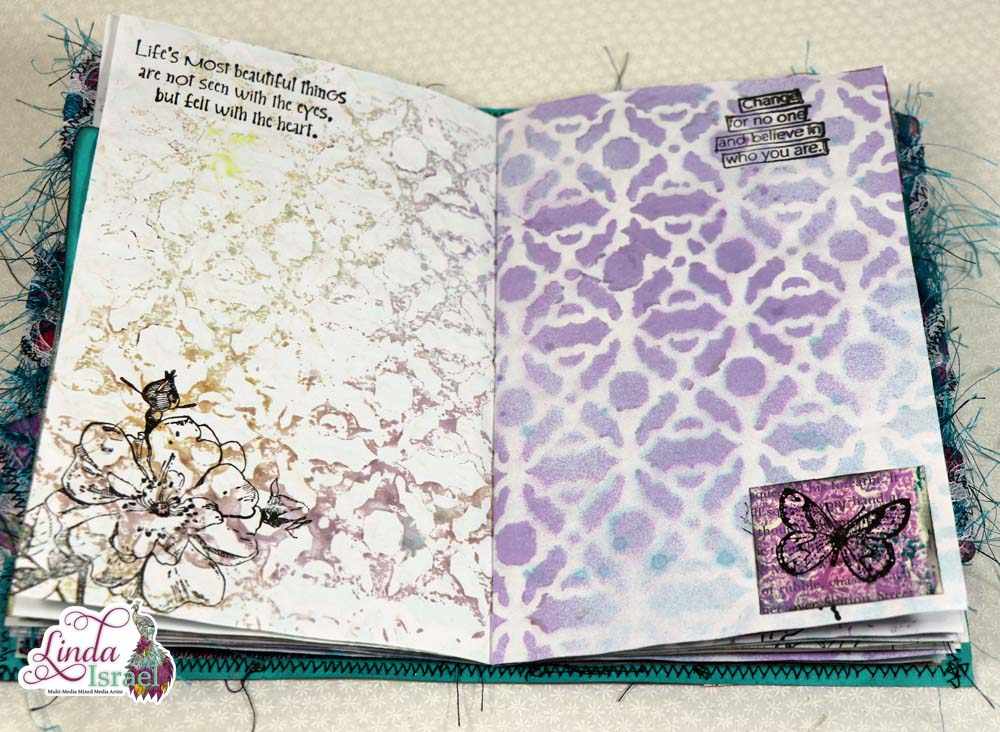
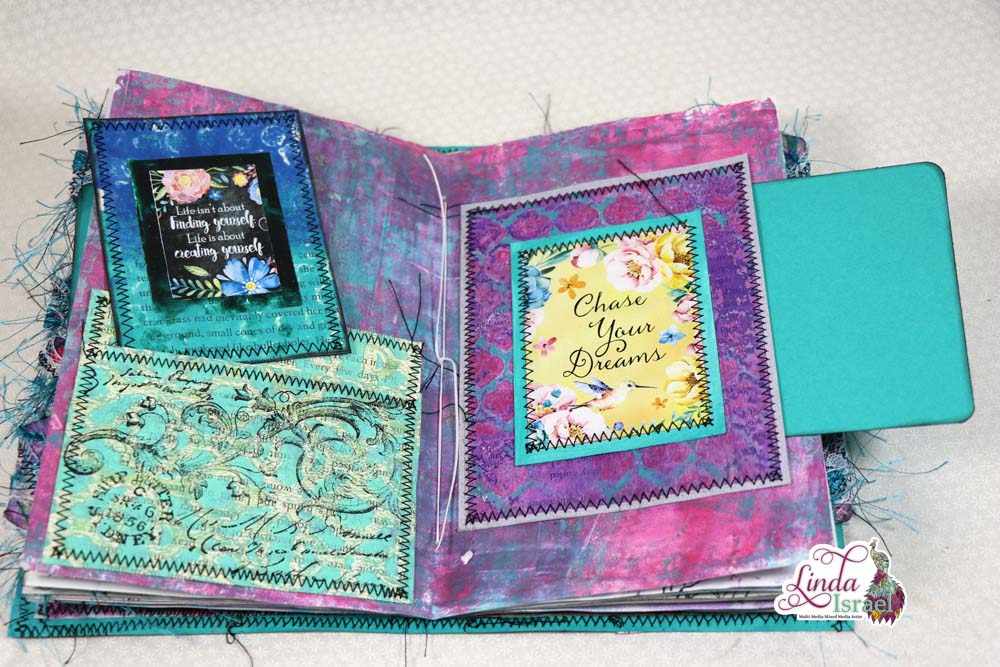
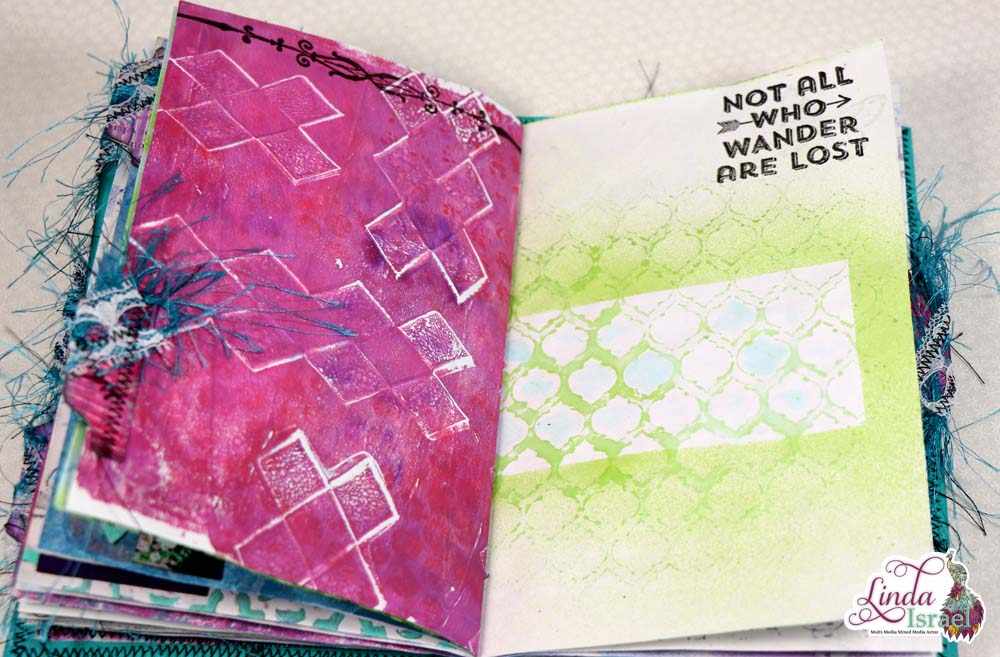
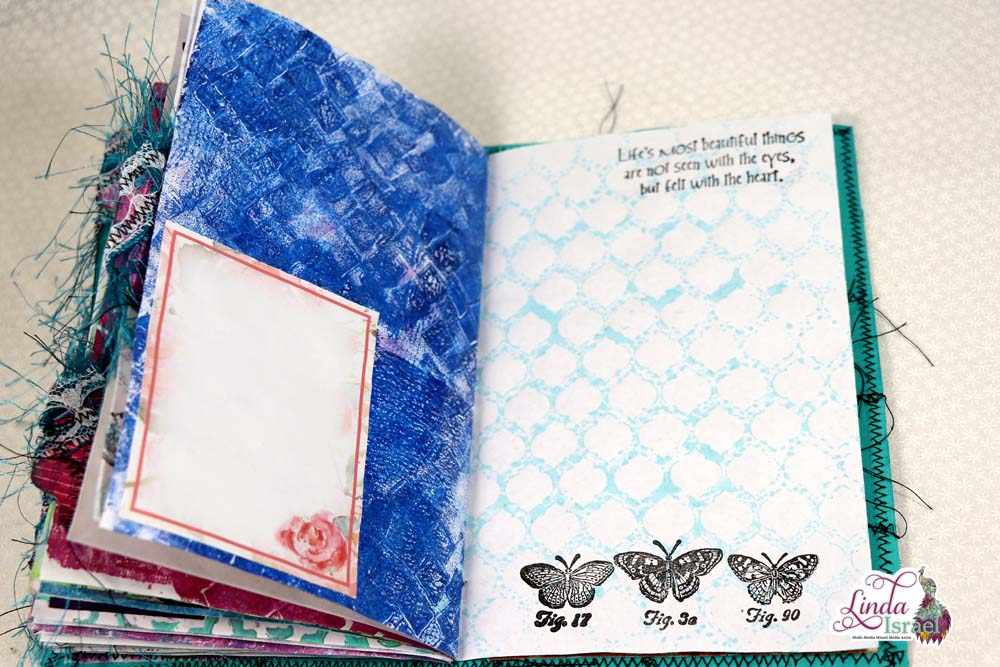
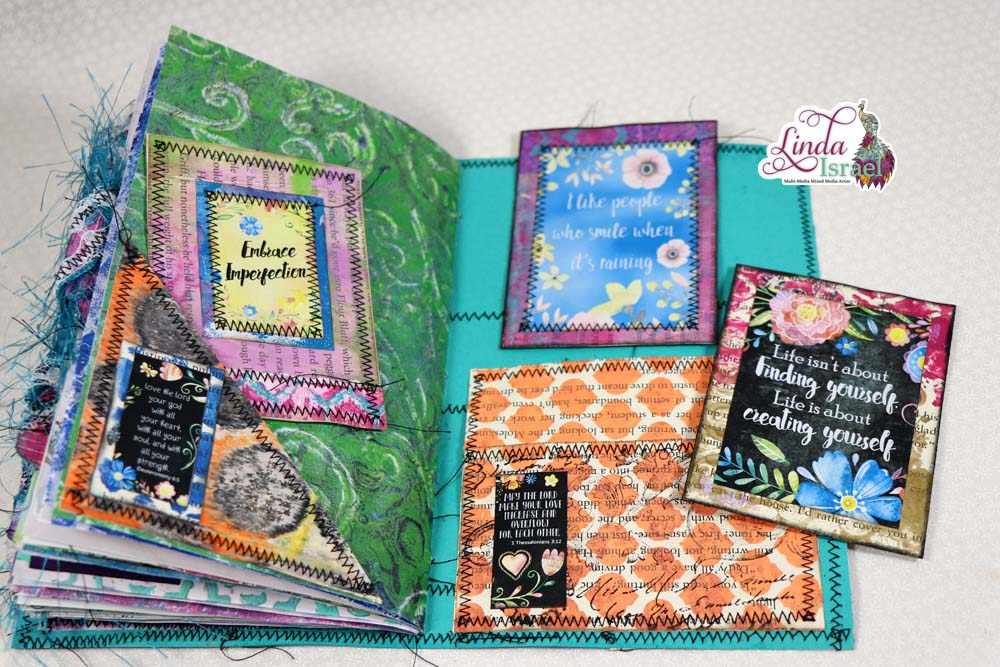
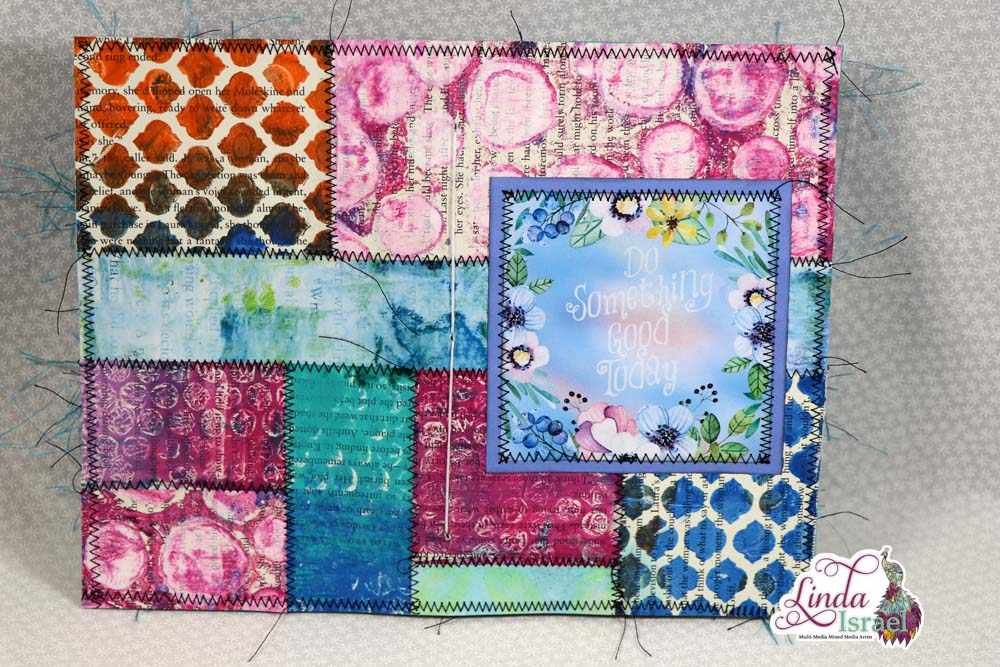
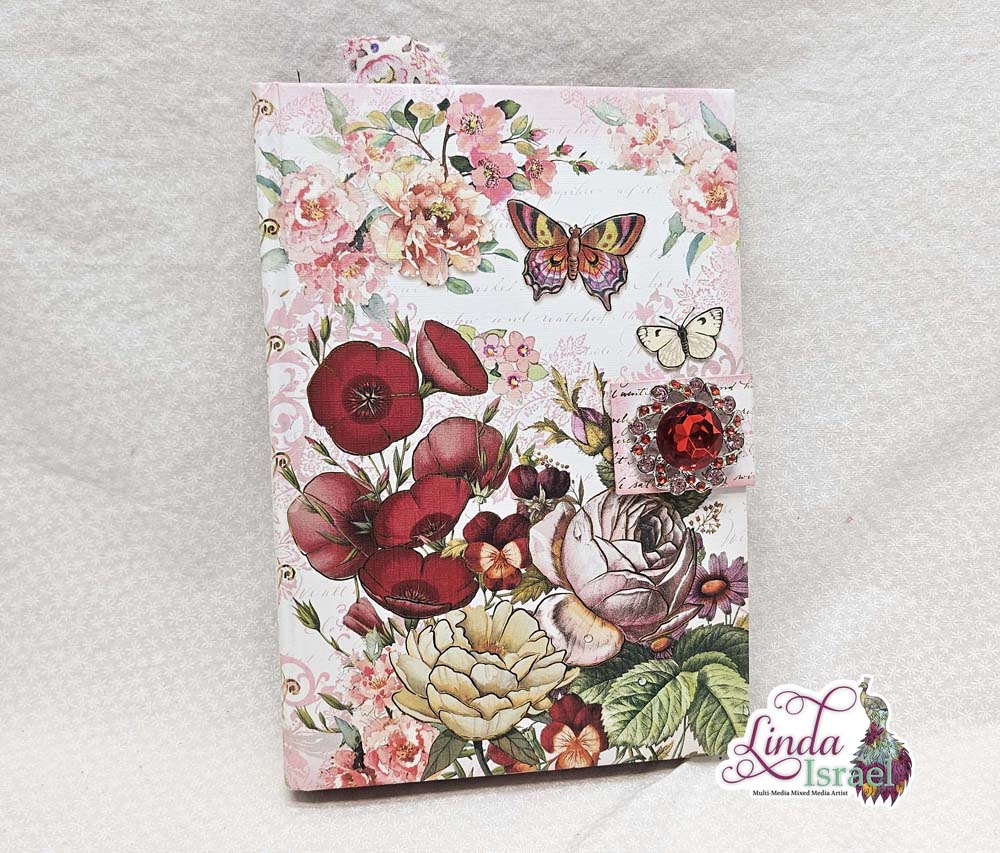
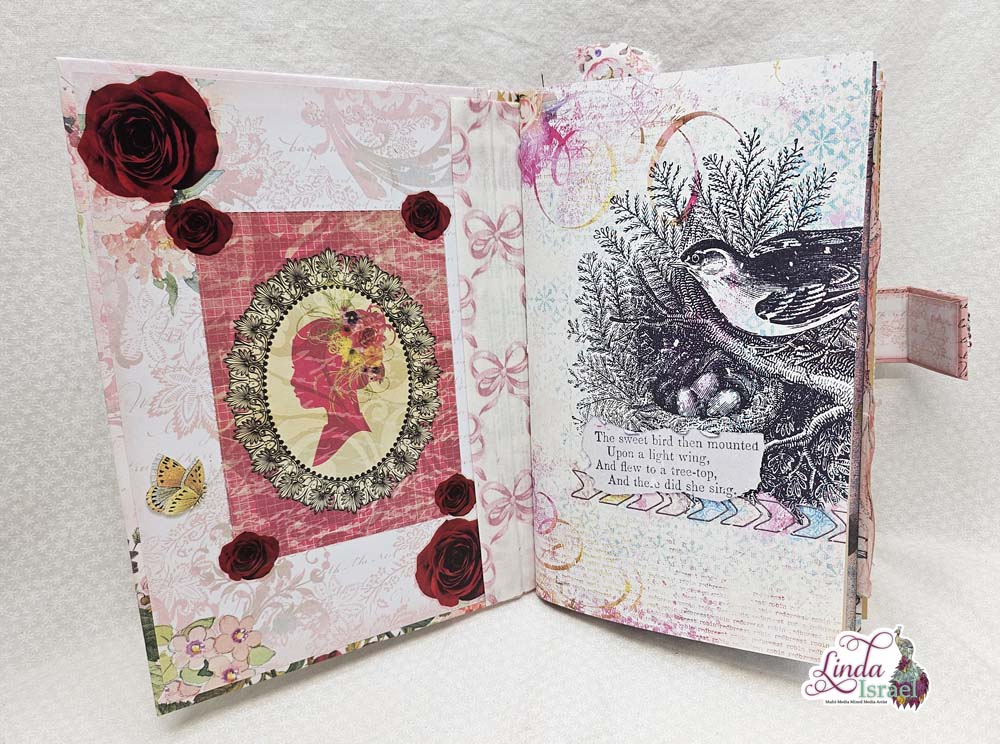
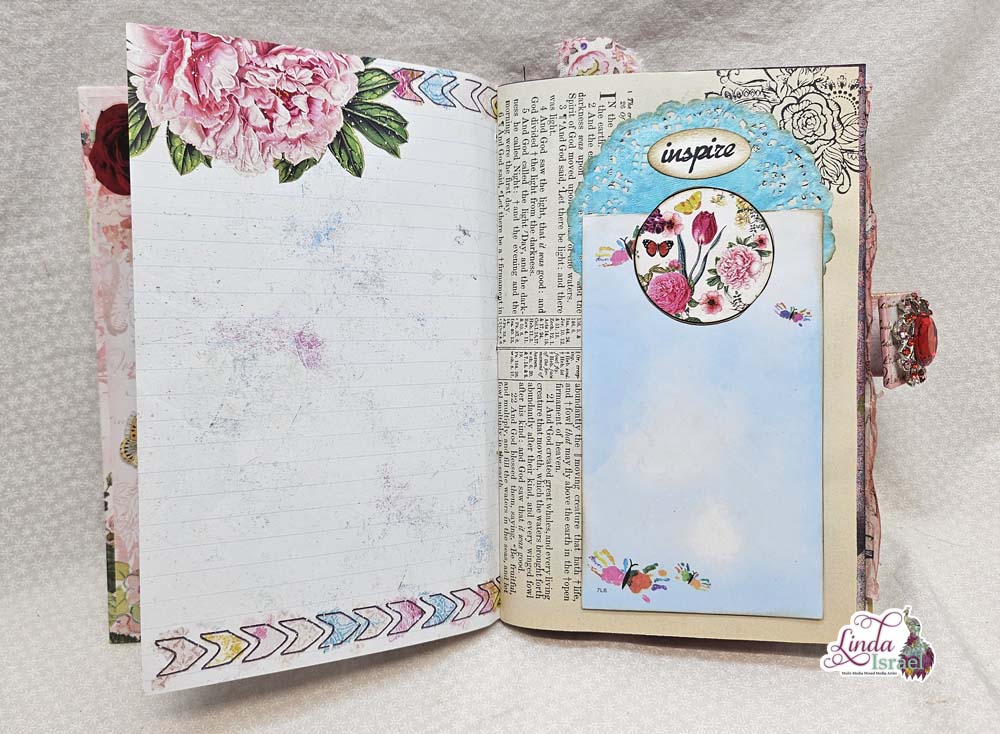
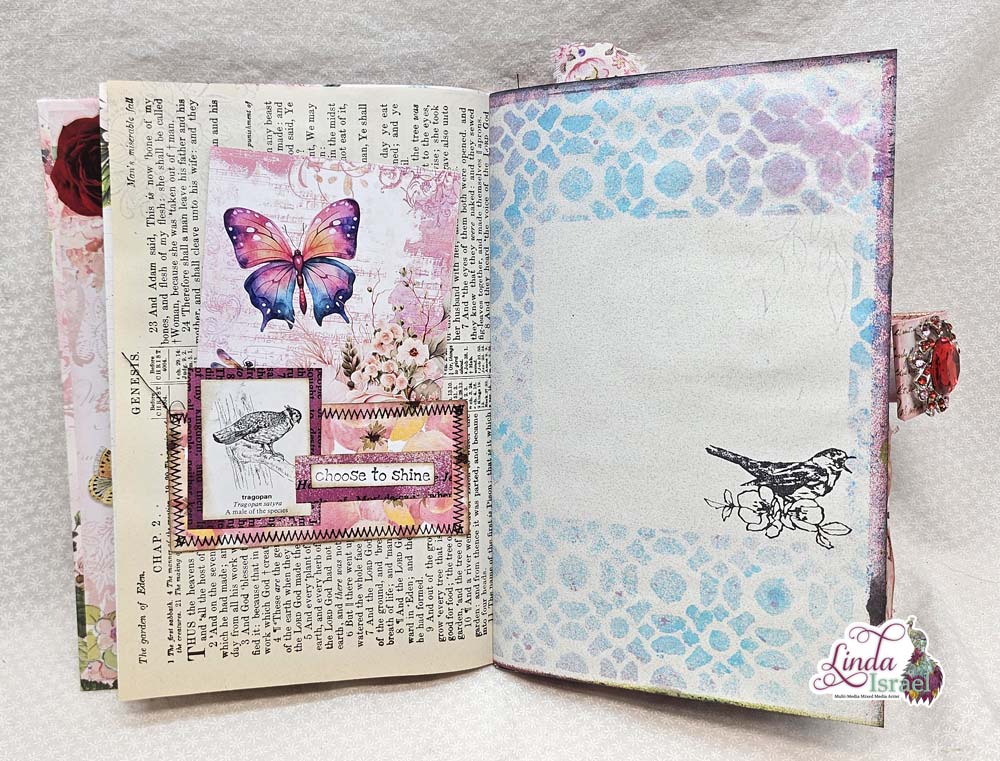
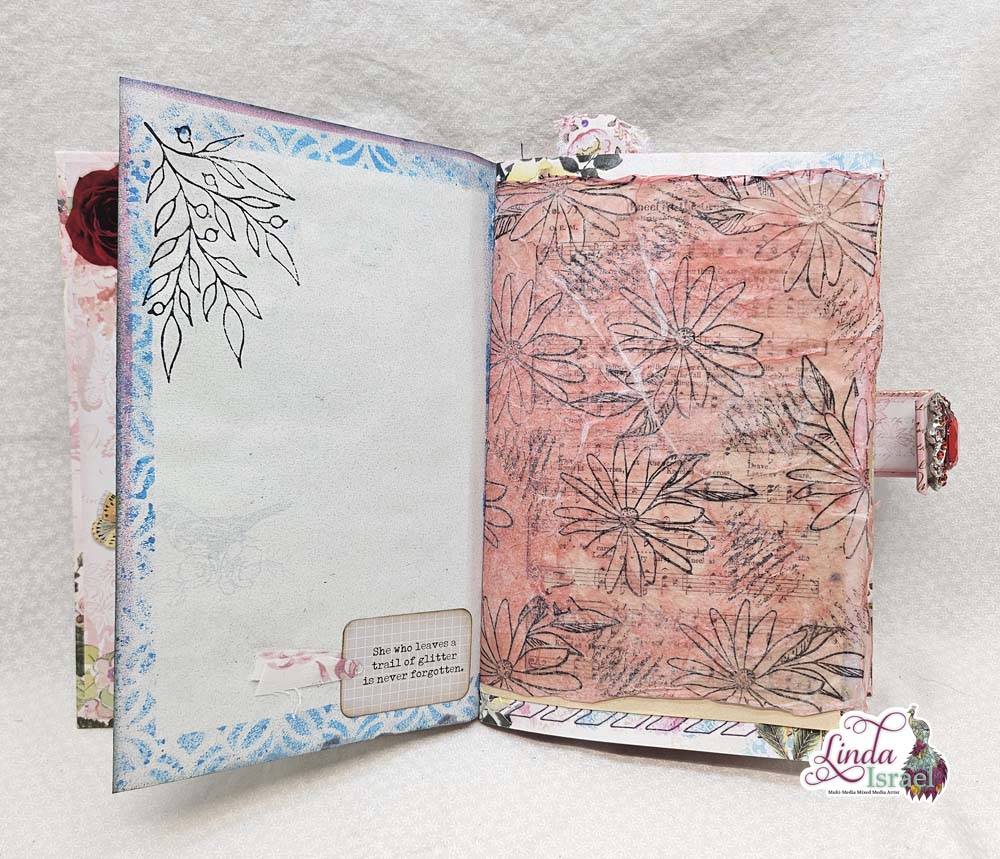
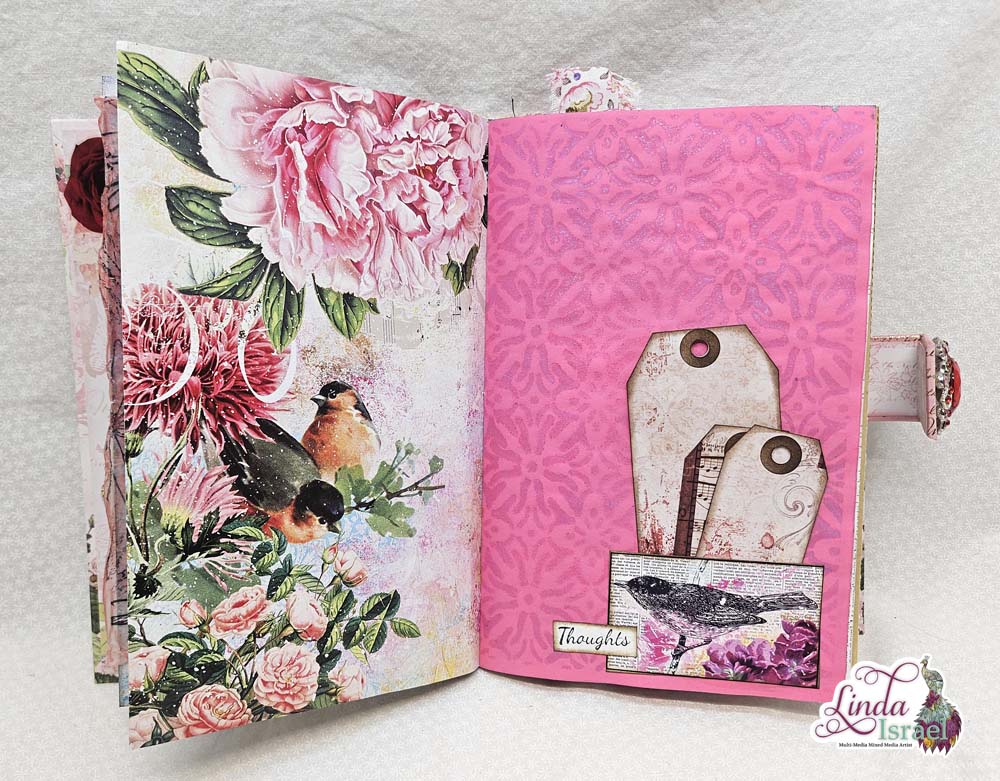
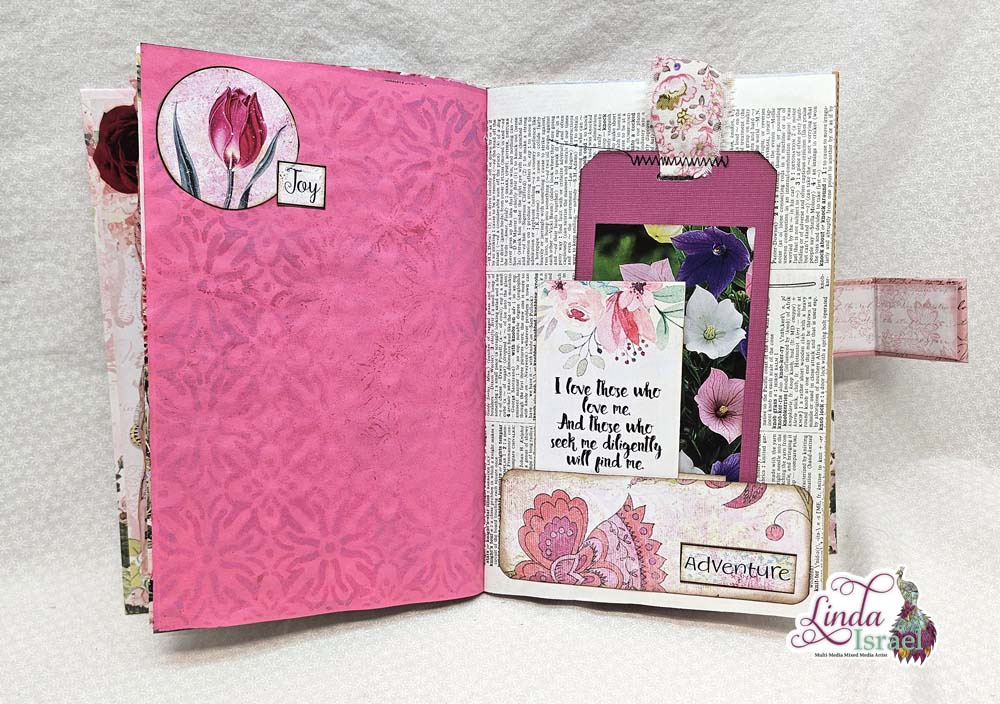
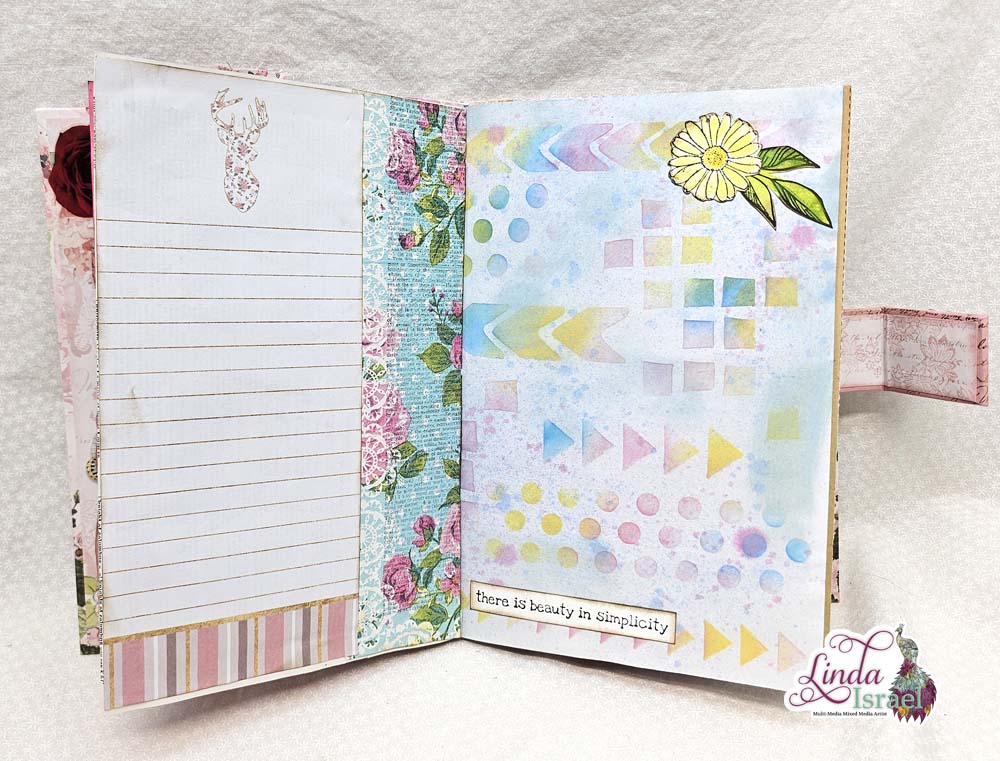
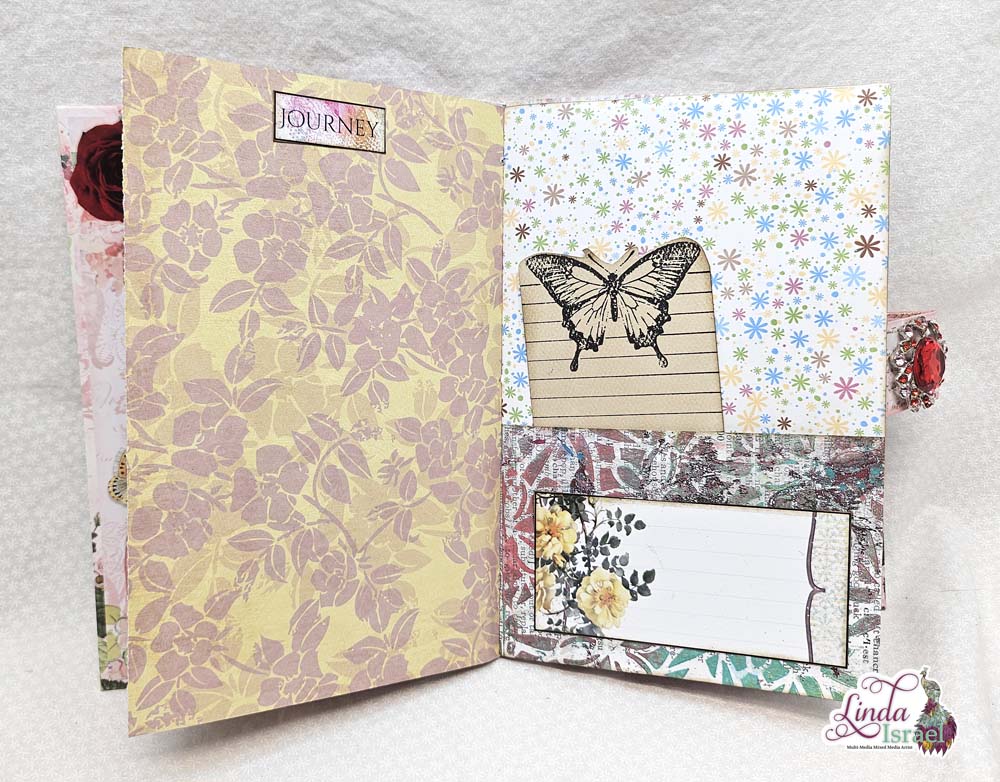
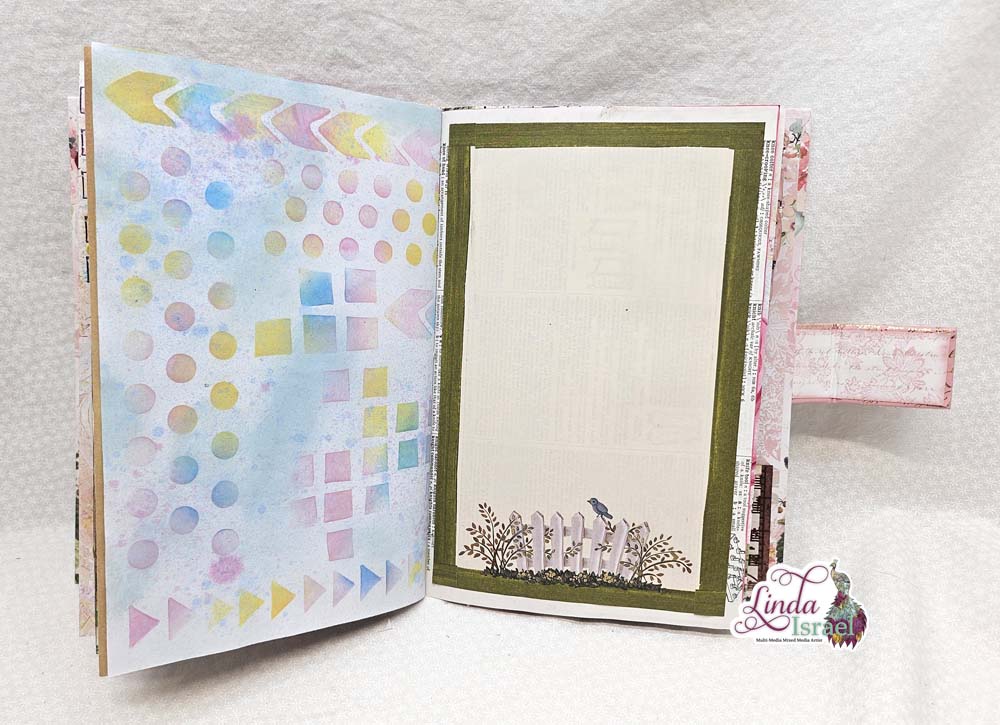
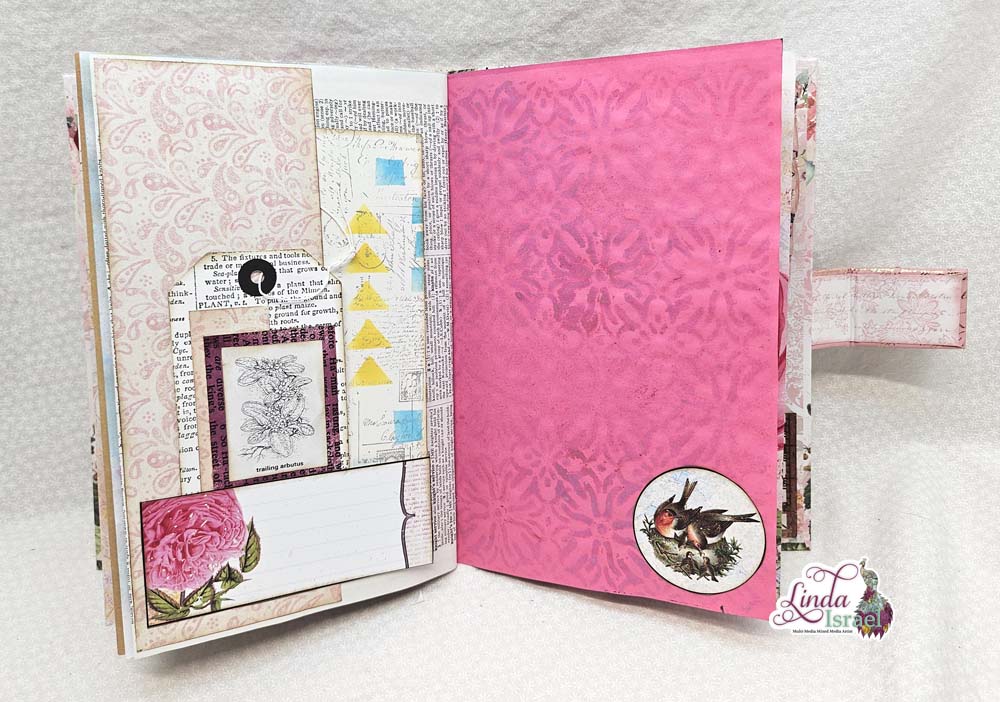
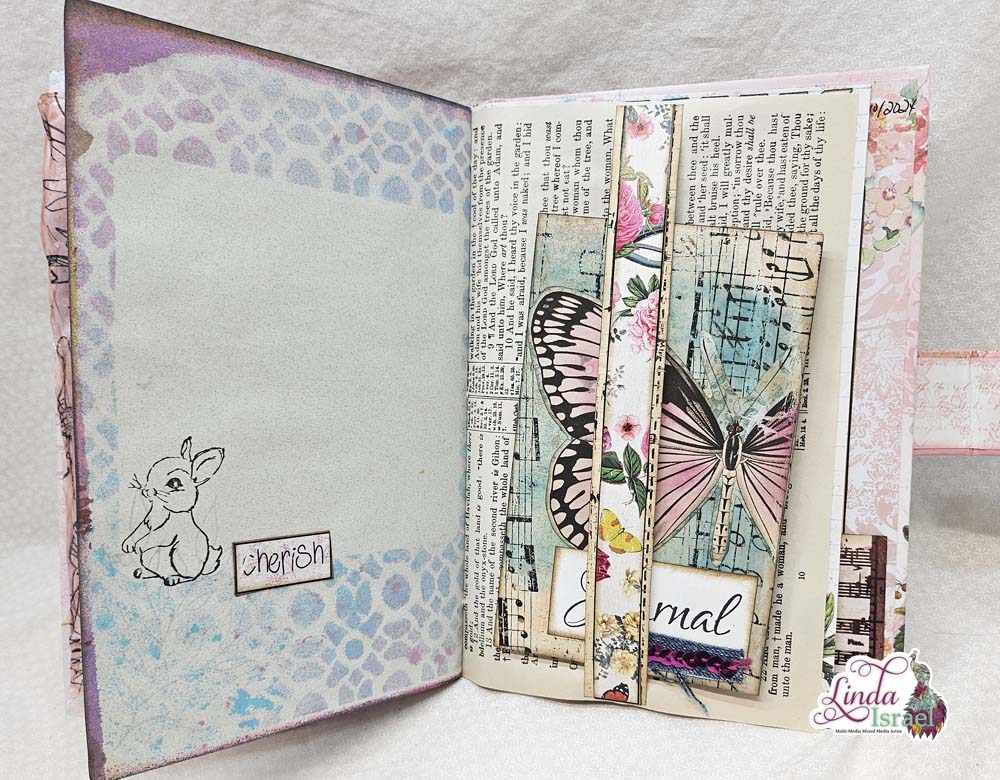
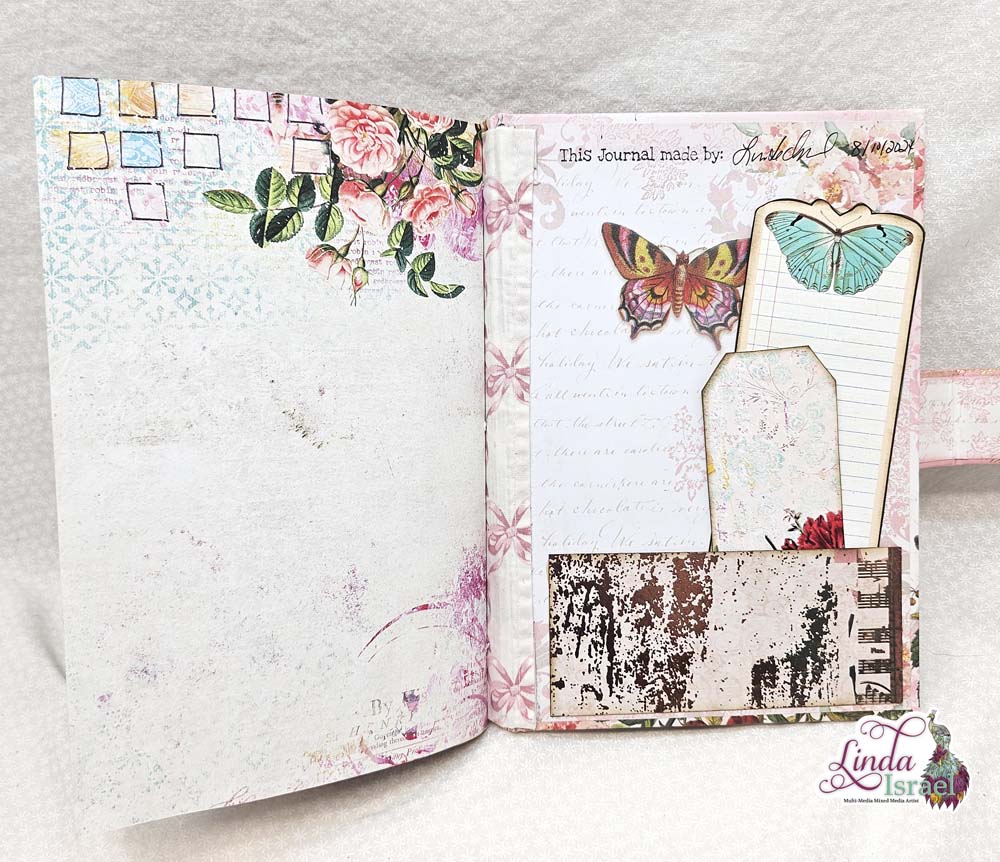
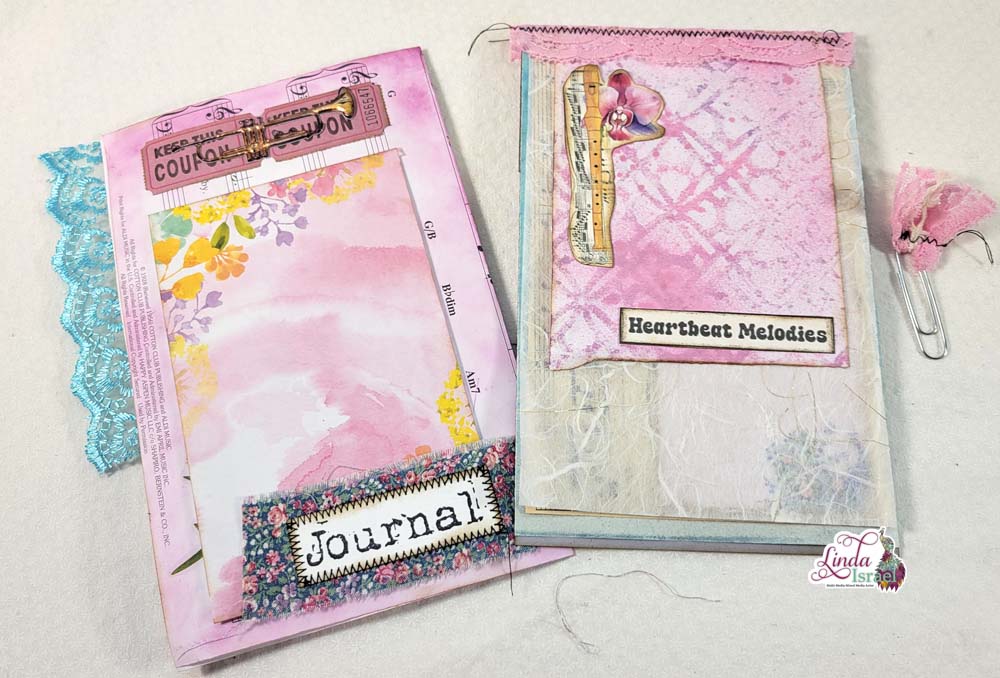
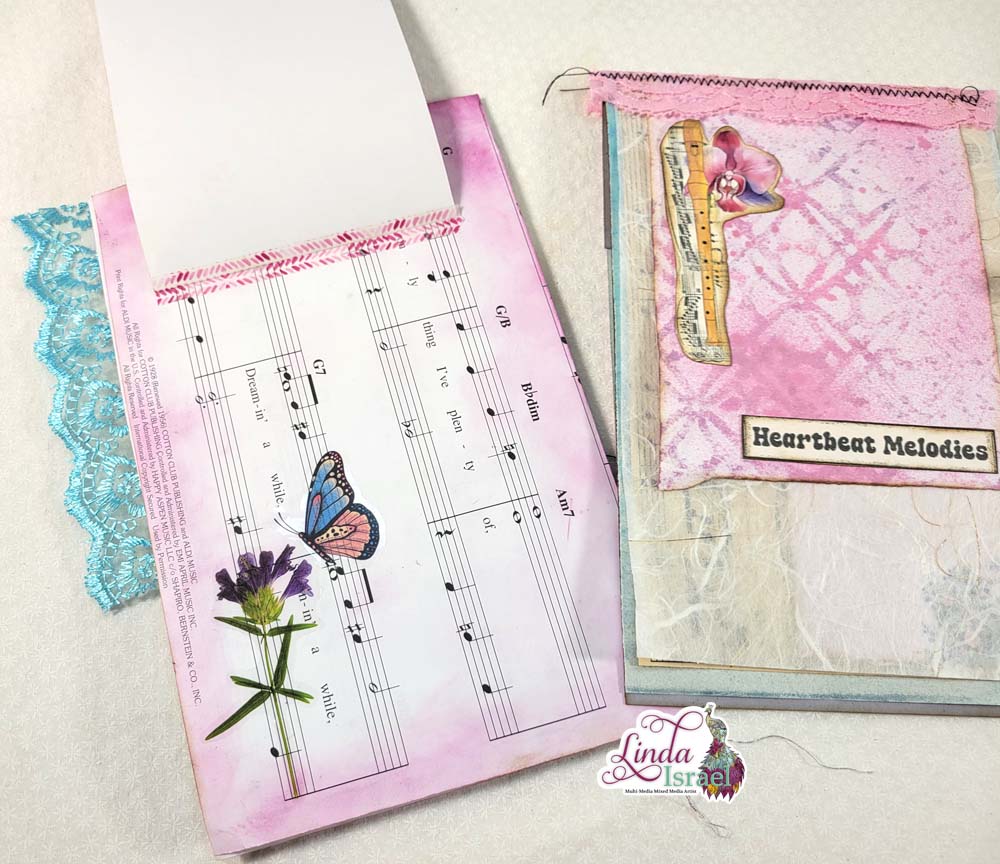
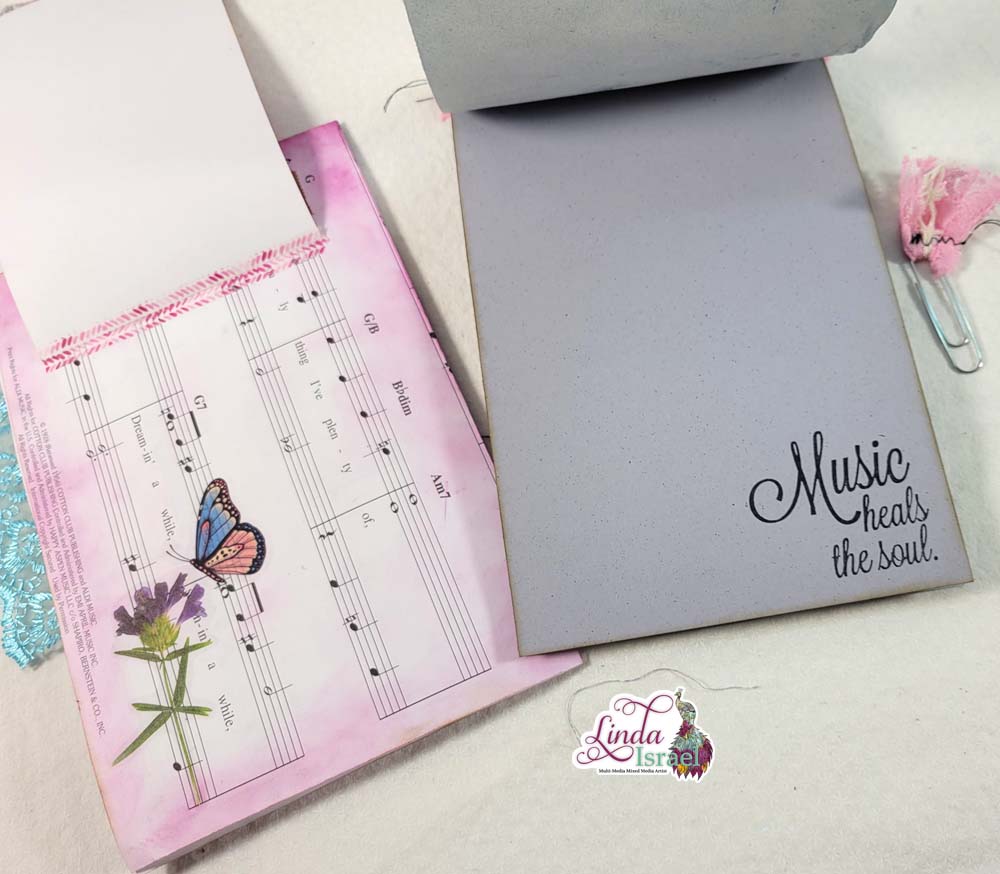
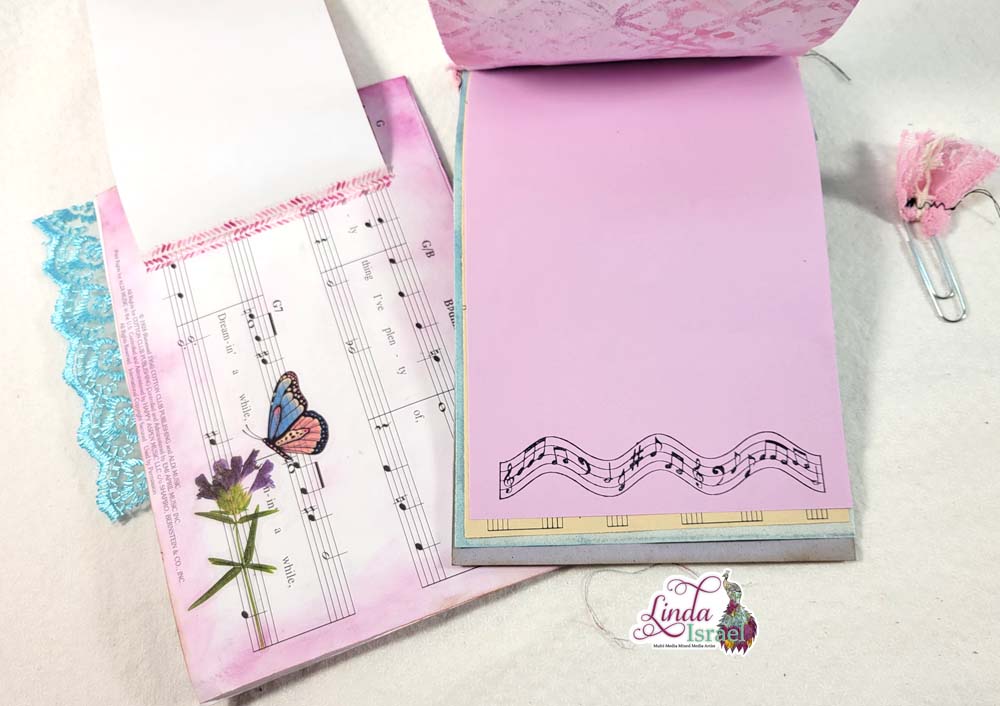
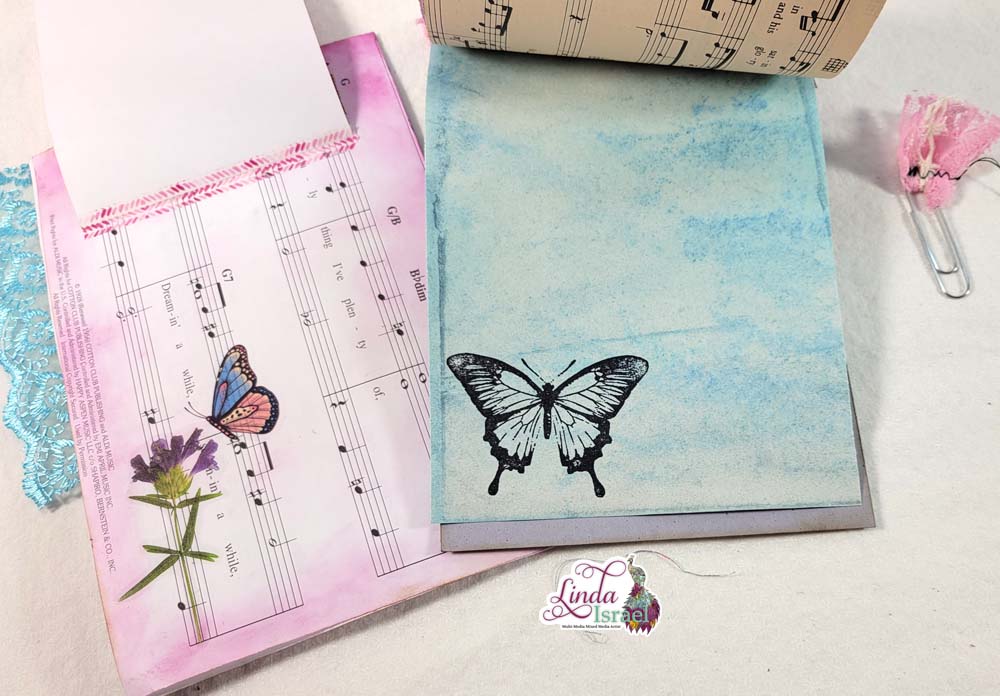
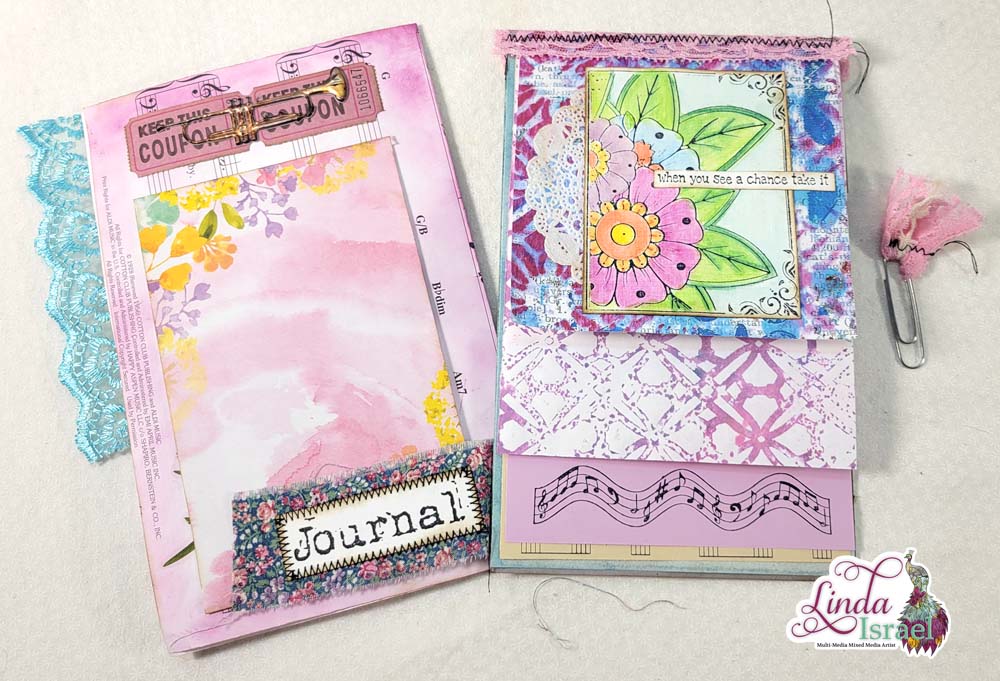
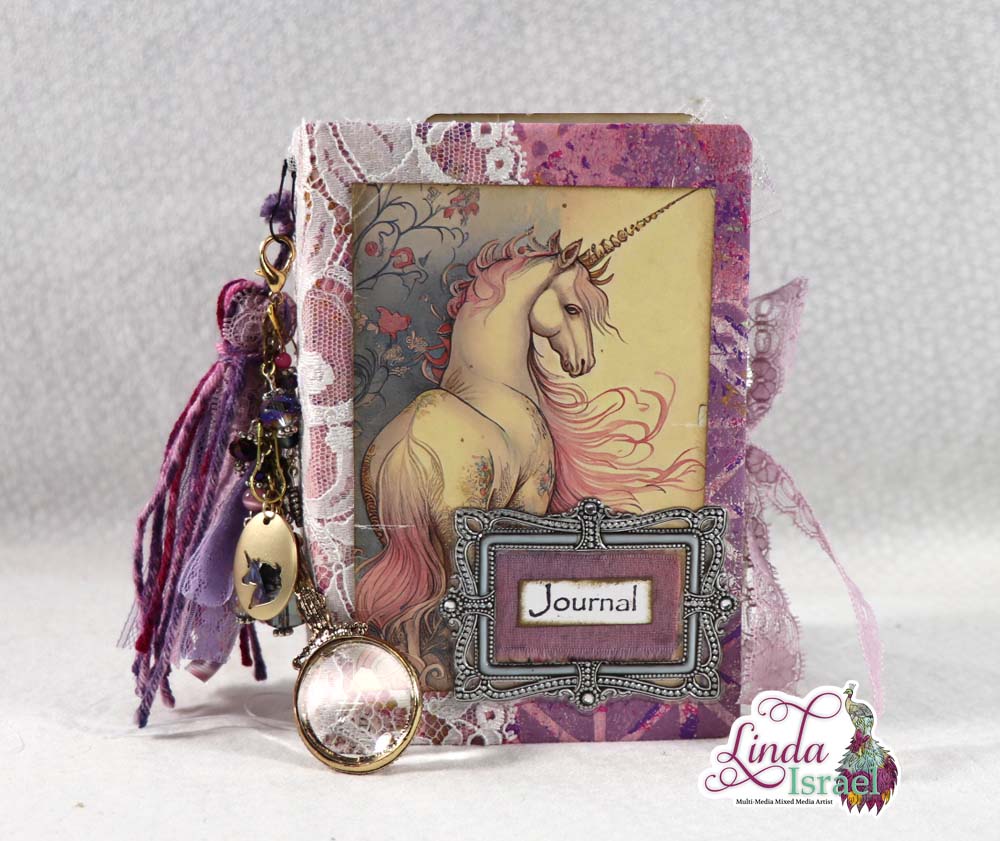
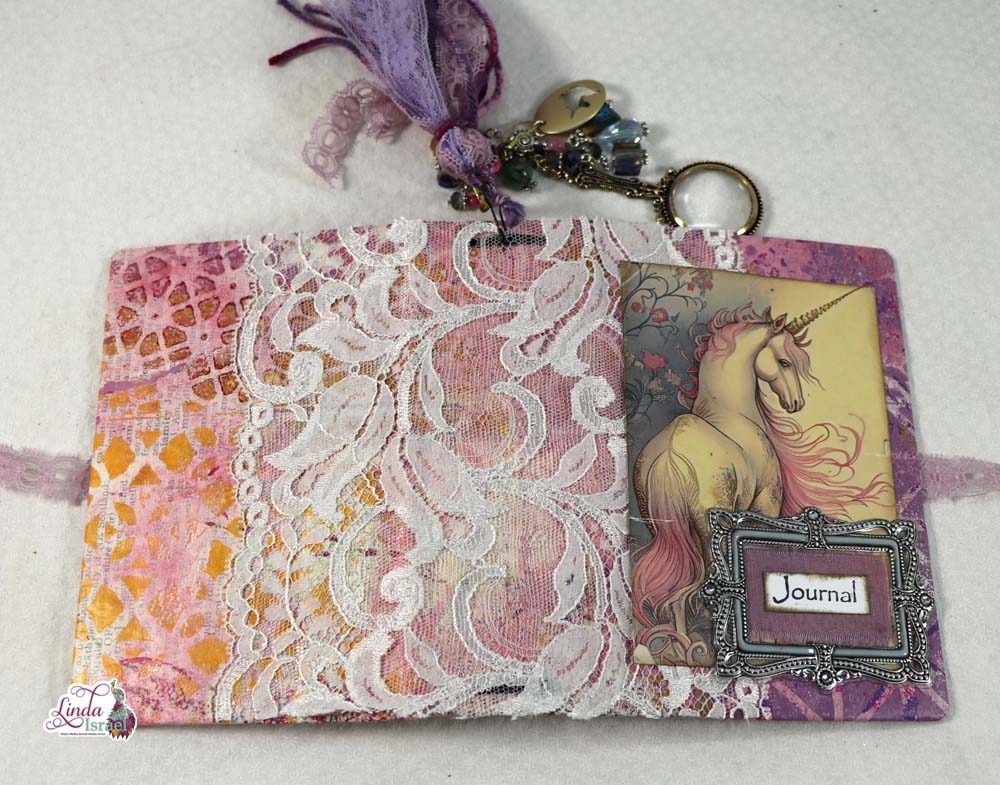
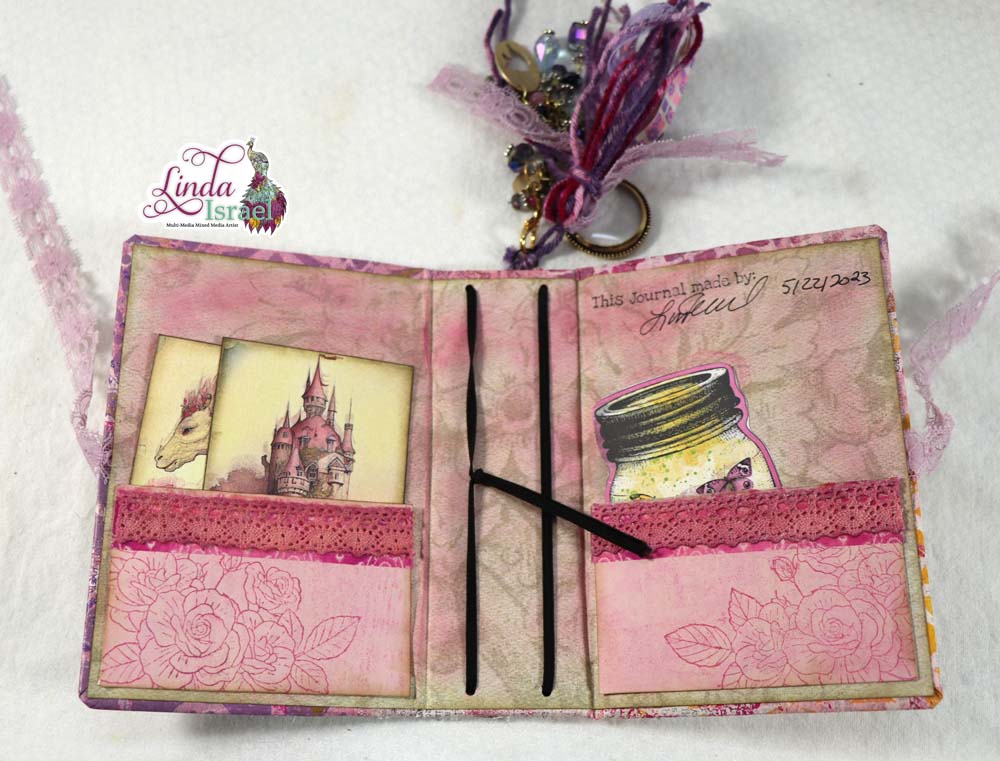
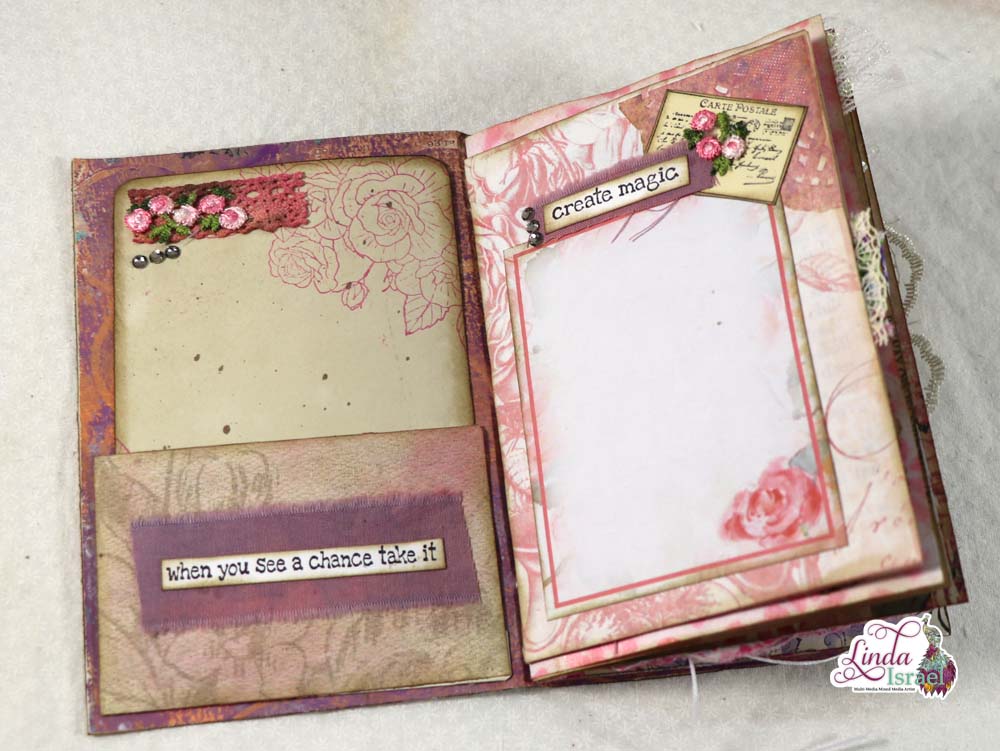
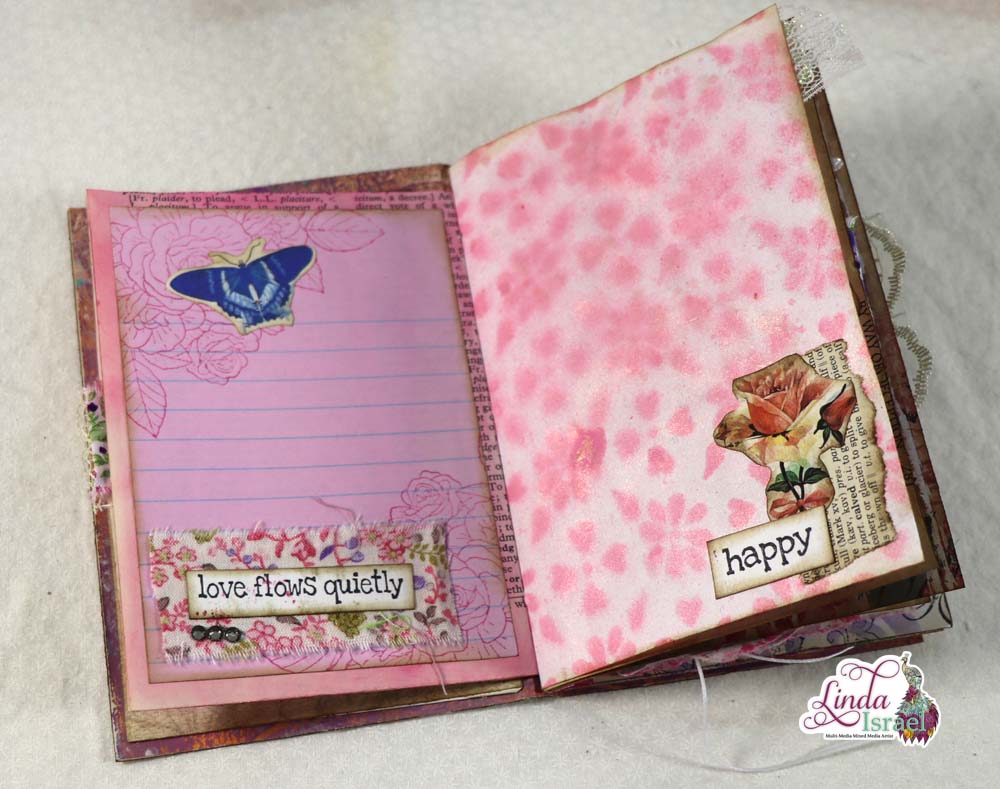
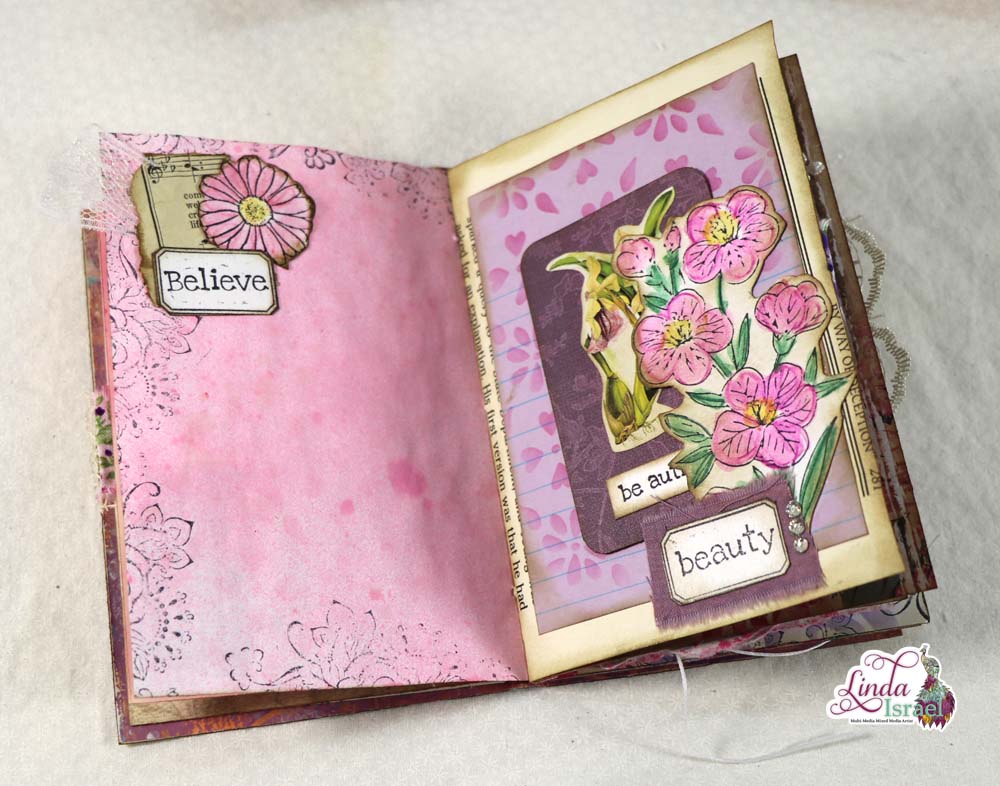
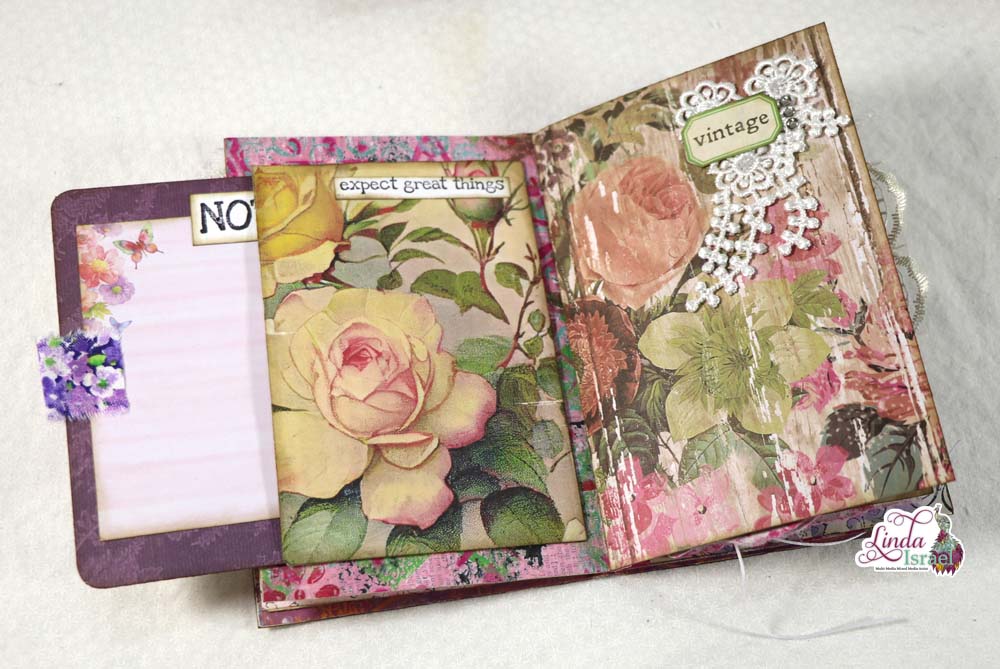
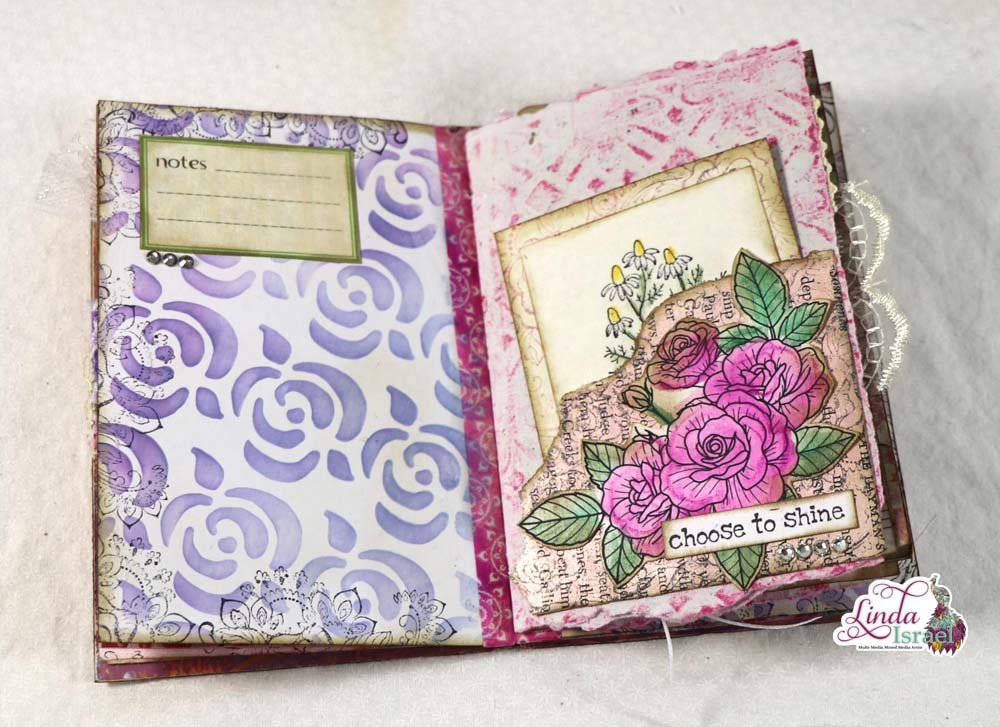
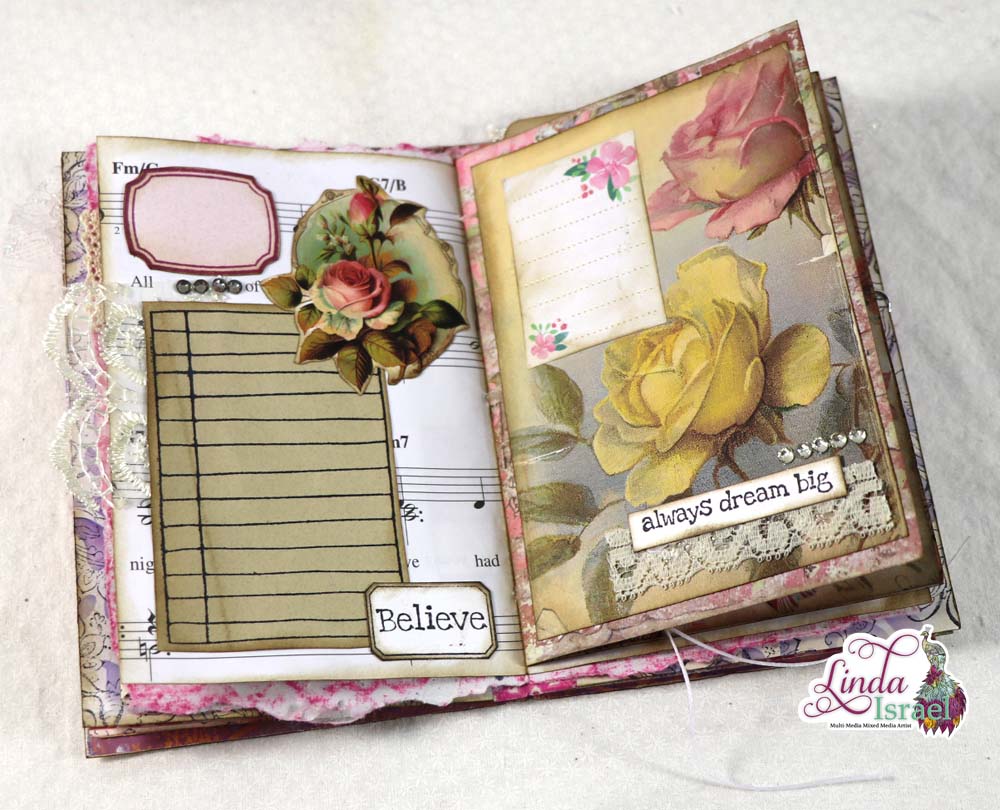
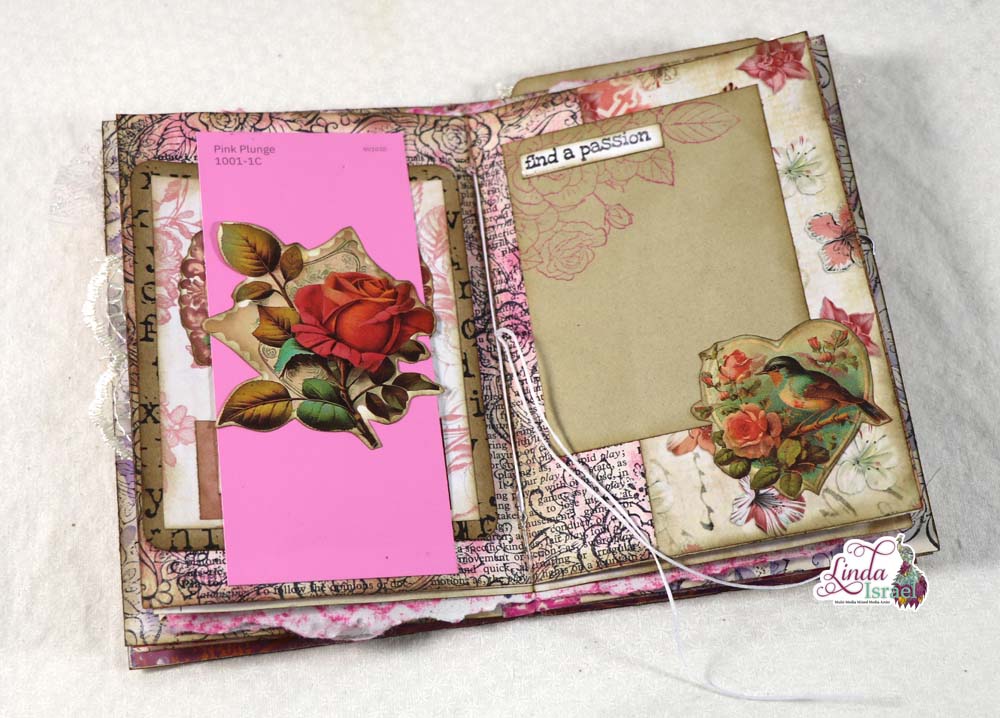
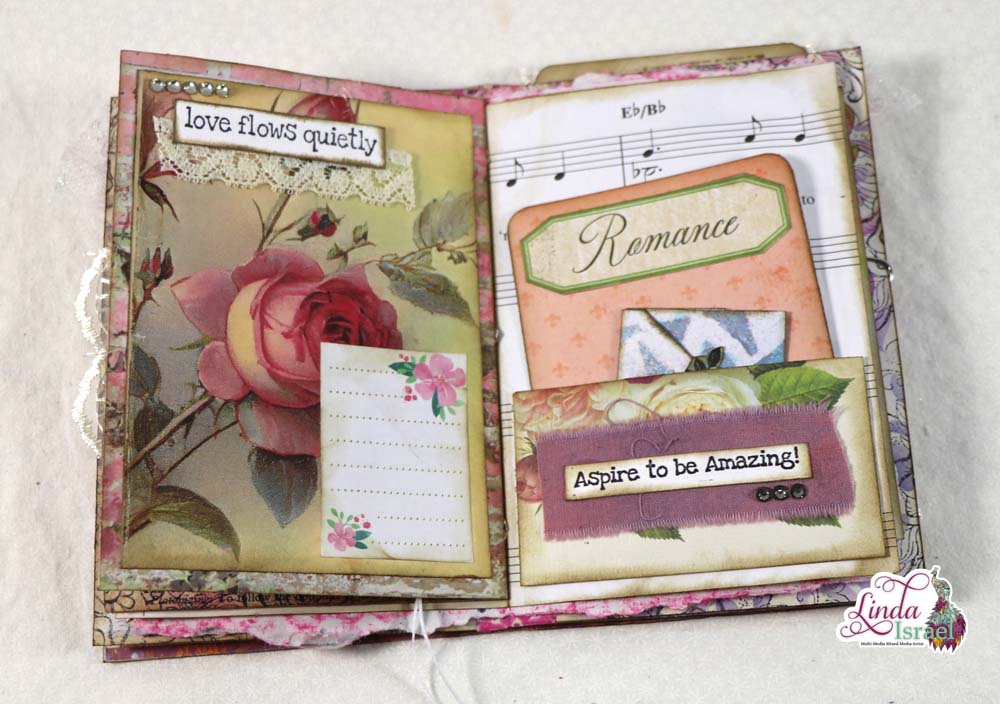
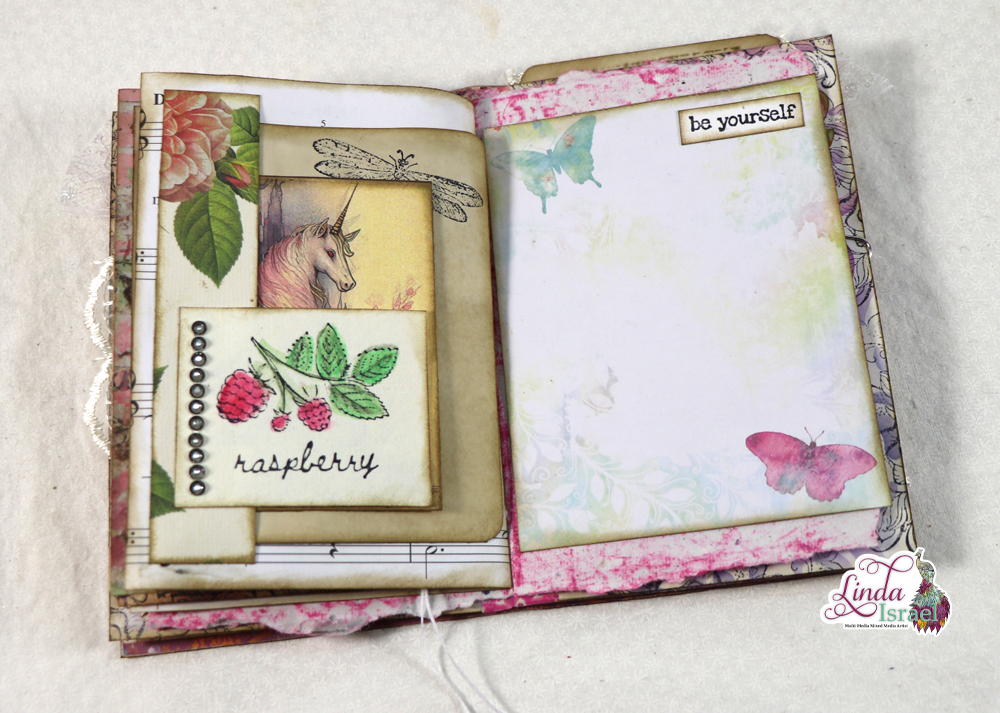
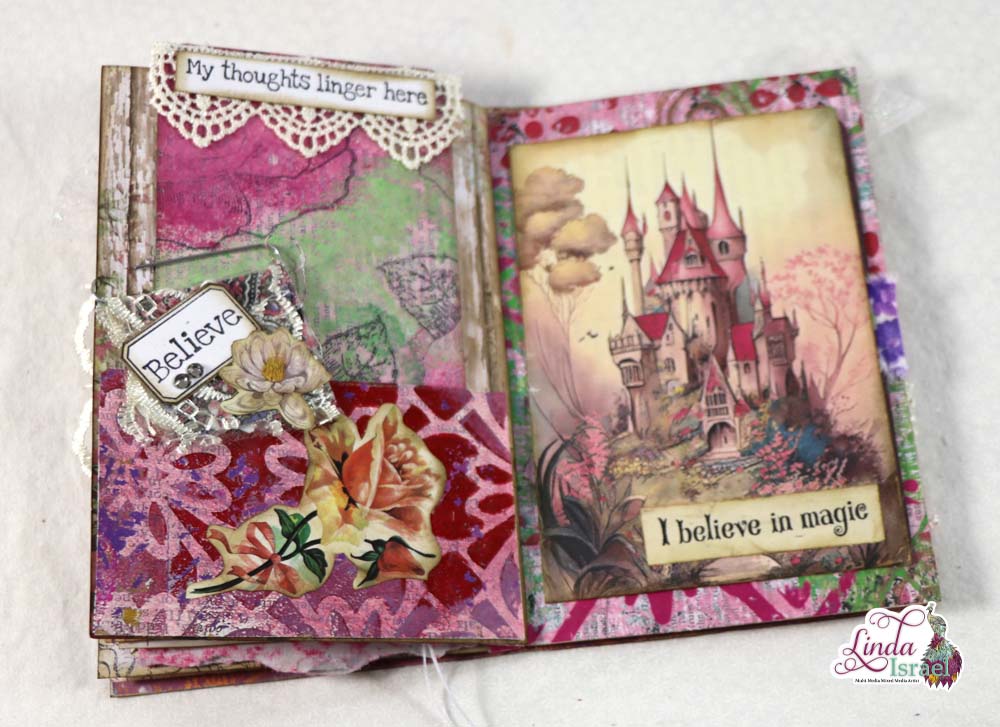
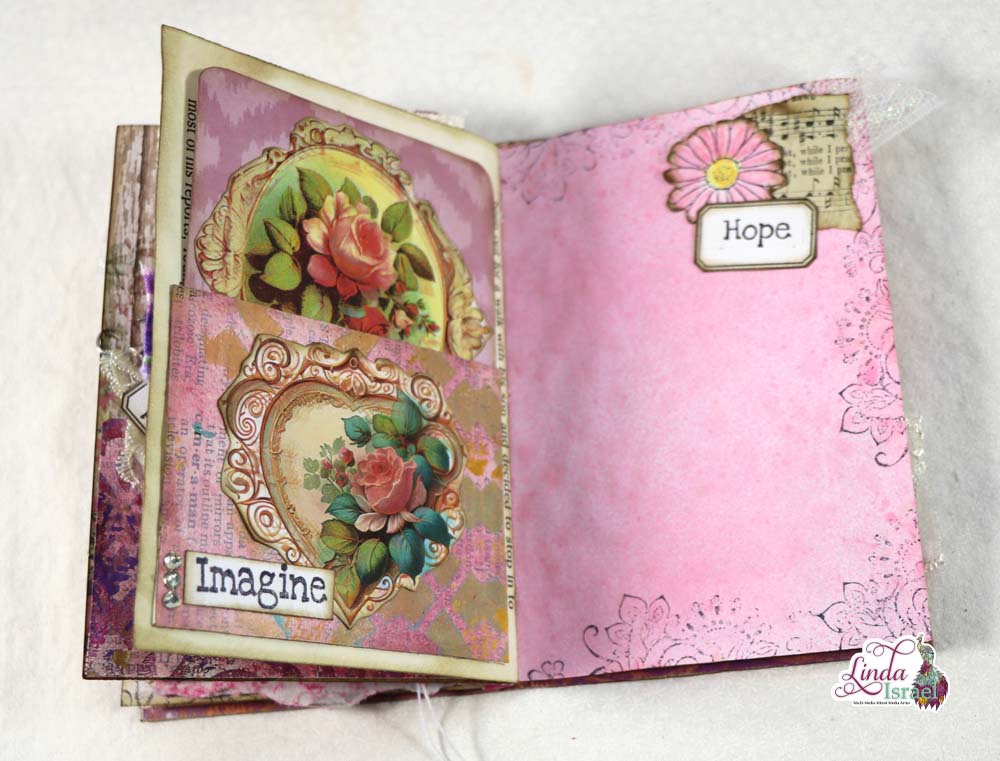
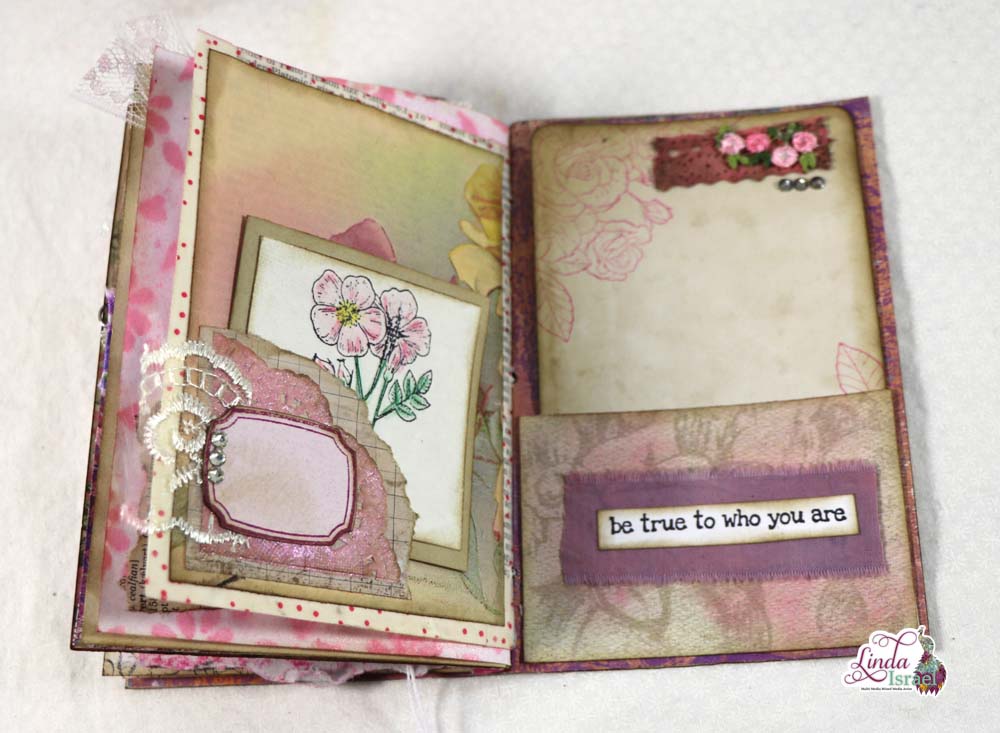
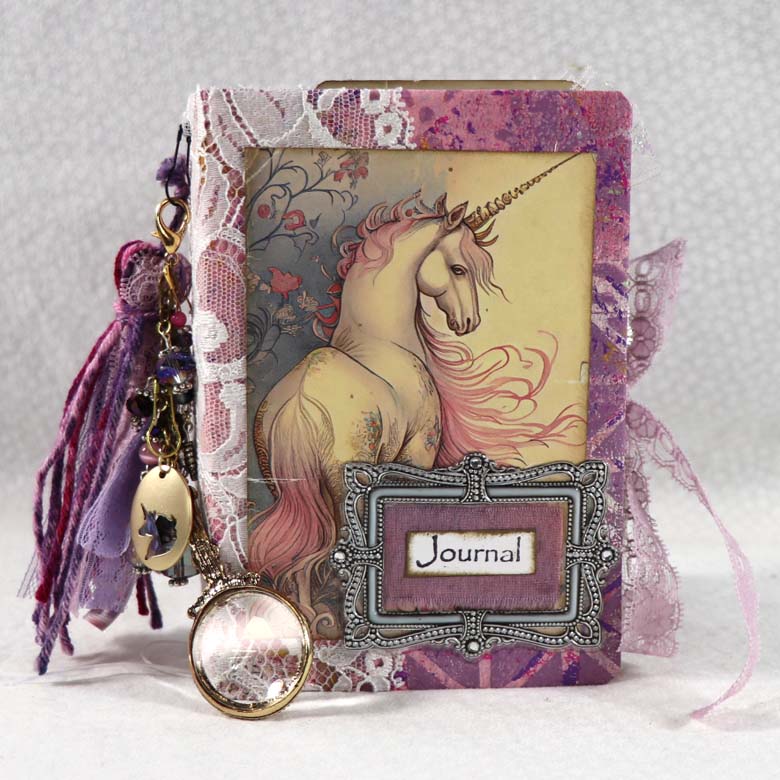
Sharing a Binding Gel Print Junk Journal Tutorial today. Since I’ve made so many gel prints and mixed media pages in the past couple of months, it was time to use these in a project or two.
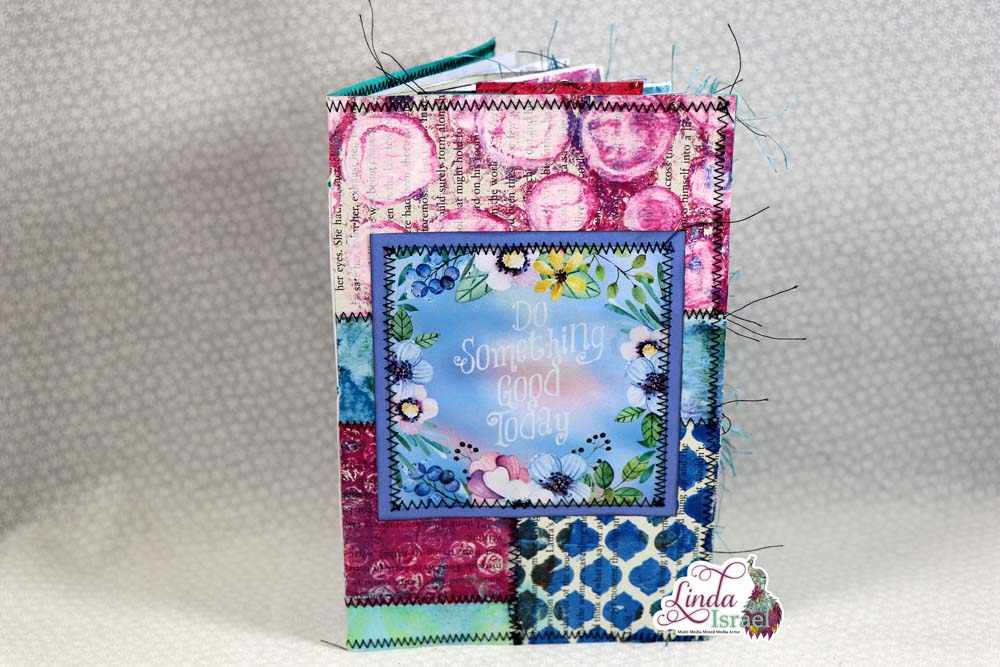 This Inspirational Mixed Media Junk Journal can be found in my shop.
Binding Gel Print Junk Journal Tutorial Video
Supplies used in the Binding Gel Print Junk Journal Tutorial
- Inspirational Words ATC Digital images by Calico Collage
- More Inspirational Words ATC Digital images by Calico Collage
- Cardstock
- Gel Prints
- Acrylic Paint
- Sewing Machine
- Tim Holtz Craft Pick
- Waxed Linen Thread
- Book Binders Needle
- Ruler
- A scrap of cardstock
- Marker
- Giant Paperclips or binder clips
- Fun foam or old phone book
- Pamphlet Stitch Book Binding Template
This Binding Gel Print Junk Journal Tutorial is really simple. Using the pamphlet stitch method in a journal makes binding quick and simple.
Create a guide to know where the holes should be punched. A strip of cardstock that is about 2 inches wide and the same height as the journal works well. Pamphlet Stitch Book Binding Template.
Fold the cardstock in half lengthwise or hot dog style. Then fold the cardstock in half the other way or hamburger style. The center of those two folds is the center of the journal. Mark that with a dot for the center hole that will be punched in the spine of the journal.
Using a ruler mark about 1.25 inches from the top down, Repeat on the bottom. You can also fold the paper in half mark once and punch an awl through the mark to make sure these are even. Write Top on the template in case you plan to make several signatures for a journal so that the hole spacing is always the same.
Gather the pages of the journal and line them up the way you want and place in the center of your journal cover. Hold in place using giant paperclips or binder clips. Place the template in the center of the pages/cover combo.
Use an old phone book, a bookbinders cradle or even fun foam to protect your work surface. Punch the three holes down the center, keeping the pages in a V so that the hole will be in the fold of the pages and not on the side.
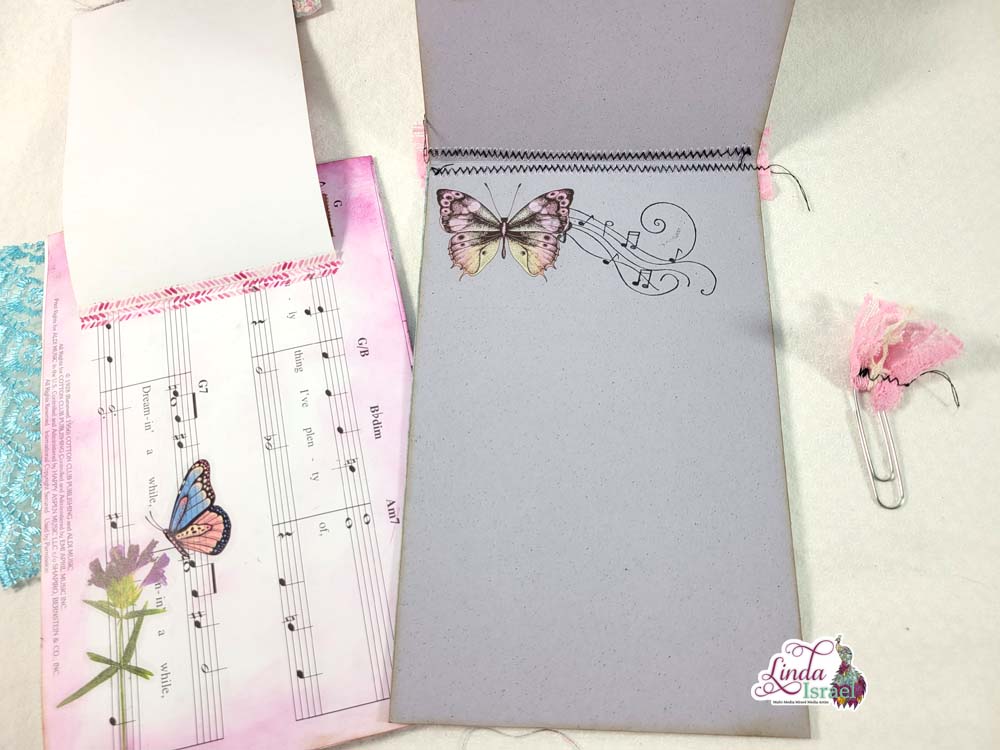
Bind with 3 times the height of the journal in waxed linen thread. Start in the center hole inside the journal, pull the needle to the outside, making sure the tail is held in place. Place the needle in the top hole from the outside and push to the inside. Keep the tail in your hand so you don’t pull it through. Hold the tail up towards the top of the journal and place the needle in the center hole again and push to the outside. Place the needle in the bottom hole on the outside and push to the inside. From the inside, slip the needle under the top thread and gently pull the threads in opposite directions and make sure it is tight on the outside and inside. Tie a square knot or surgeons knot. Cut off the excess thread or leave a tail to add paper charms.
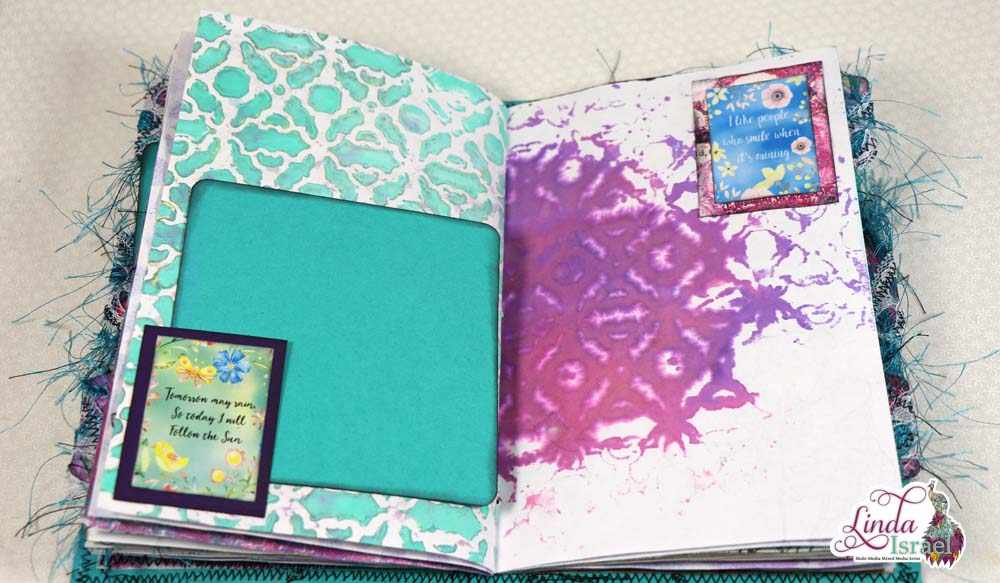
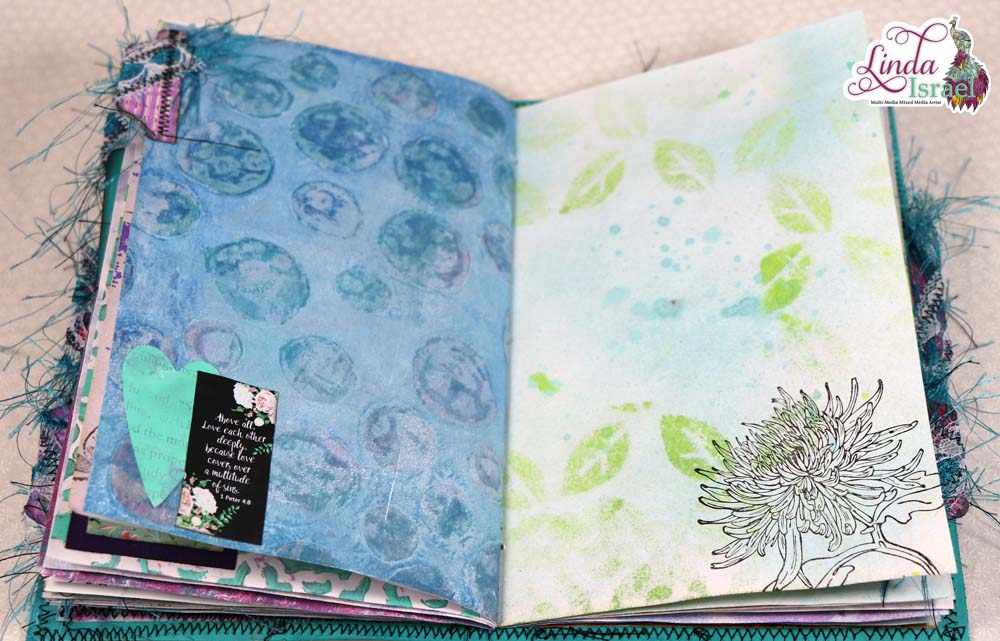 See, wasn’t that a Binding Gel Print Junk Journal Tutorial?
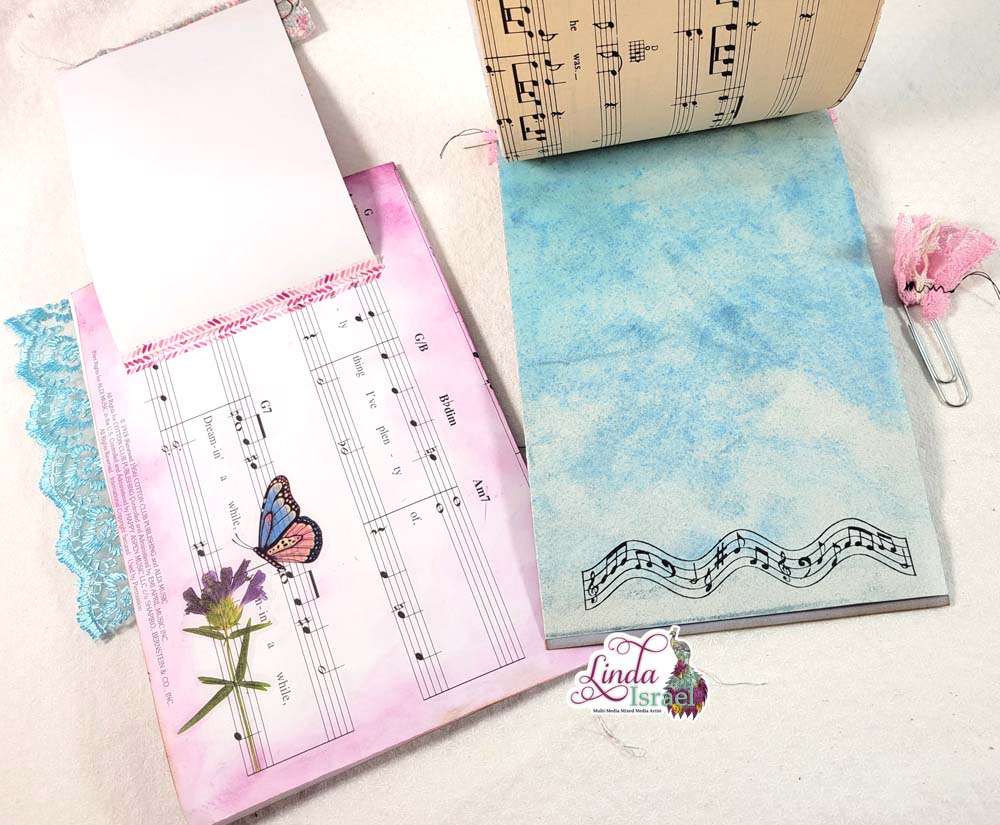
The colors in this Gel Print Junk Journal are amazing! This journal encourages you to write in it daily.
A great way to support me, and continue to see more tutorials and inspirational projects from me is to Become a Patron! When you give me your patronage you will get an exclusive digital download featuring art I created that has now been made into a digital journal kit.
Make sure to check out the Friendly Junk Journal People Facebook group. Of course, you are welcome to join the Friendly Junk Journal People Facebook group. The group is growing daily and we are a friendly group willing to help each other and encourage each other.
Interested in any of the journals I created? Please feel free to contact me through my Facebook Page. Here is my shop, I have a lot of items uploaded and add more weekly.
Keep updated on my posts by following me. Follow my Facebook Page or on Instagram for updates that may not be shared on my blog.
Thanks so much for stopping by my blog today to see Binding Gel Print Junk Journal Tutorial.
