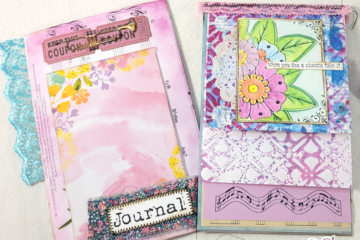
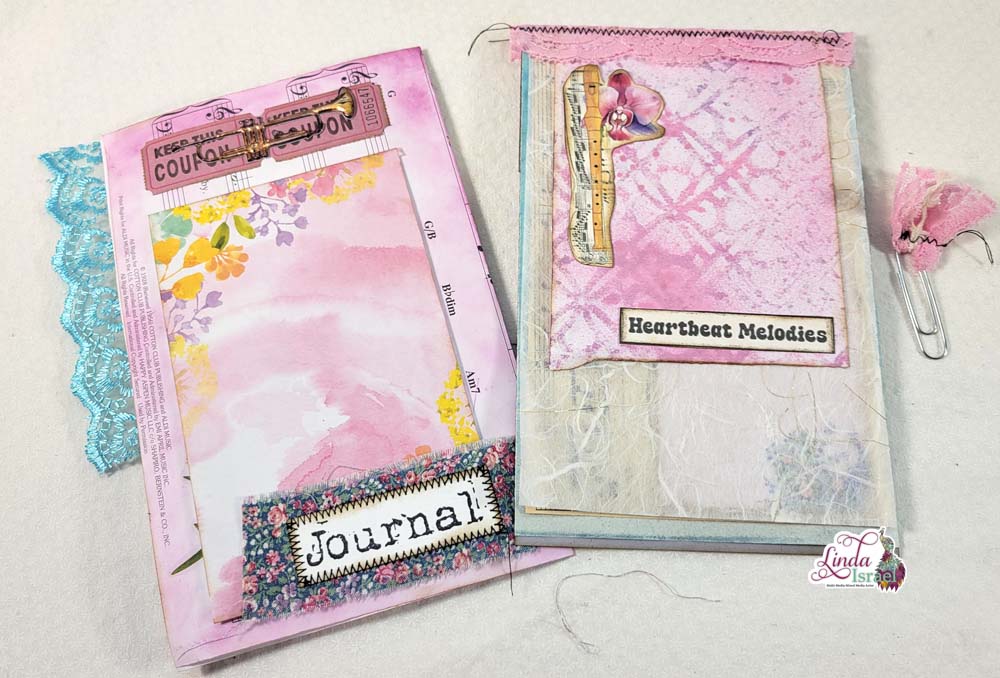
Masculine Junk Journal Tutorial Part One. In this tutorial I’ll share how to use Calico Collage Digital Images, Rubber stamps, Stencils and more to make a masculine junk journal. This is part one in the series. Stay tuned for the second part.
Masculine Junk Journal Tutorial Part One Video, Will Premier at 3:45 pm Central Standard time, January 20th.
Supplies used for the Masculine Junk Journal Tutorial Part One
- Calico Collage My Gentleman Digital journal kit
- Gentleman Quotes Calico Collage Digital
- Route 66 Digital Journal Kit by Calico Collage
- Textured Edges
- Connected Gears Stencil
- Ticket Duo
- Armilla
- Time Stamp
- #2 Large Pencil
- Enameled Plate Cube
- Clocked Out
- Large Nib Stamp
- Medium Nib
- Small Nib
- Bike Duo
- Admiralty
- Wonky Gears Stencil
- Tag Cube
- Hemisphere Cube
- Baggage Room Tag
- On the Road Again Cube
- Bingo Card
- Tick Tick Tick
- Banner Duo
- Mariner’s Compass
- Carry On Stamps
- Time Spent Cube
- Ministries des Transport
- Anchor Large
- Vinolia Stamp
- Queen’s Post
- Jumbo Numbers
- Cancellation Cube
- Nib Card
- Walnut Gold Tattered Angels Glimmer Mist
- Journal Cards by 7gypsies
- 8×8 7gypsies Paper pad
- 7gypsies Mini Ephemera
- Tim Holtz Distress Ink Walnut Stain
- Oval Blending Brushes
- Ranger Heat It Craft Tool
- Aleene’s Tacky Glue
- Archival Ink, Jet Black
- Webster Dictionary Hard Book Cover
- Text Weight Linen Paper
- Ledger Paper
- Green Bar Printer Paper
- Instant Coffee
- Book Pages
- Washi Tape
- Paint Brush
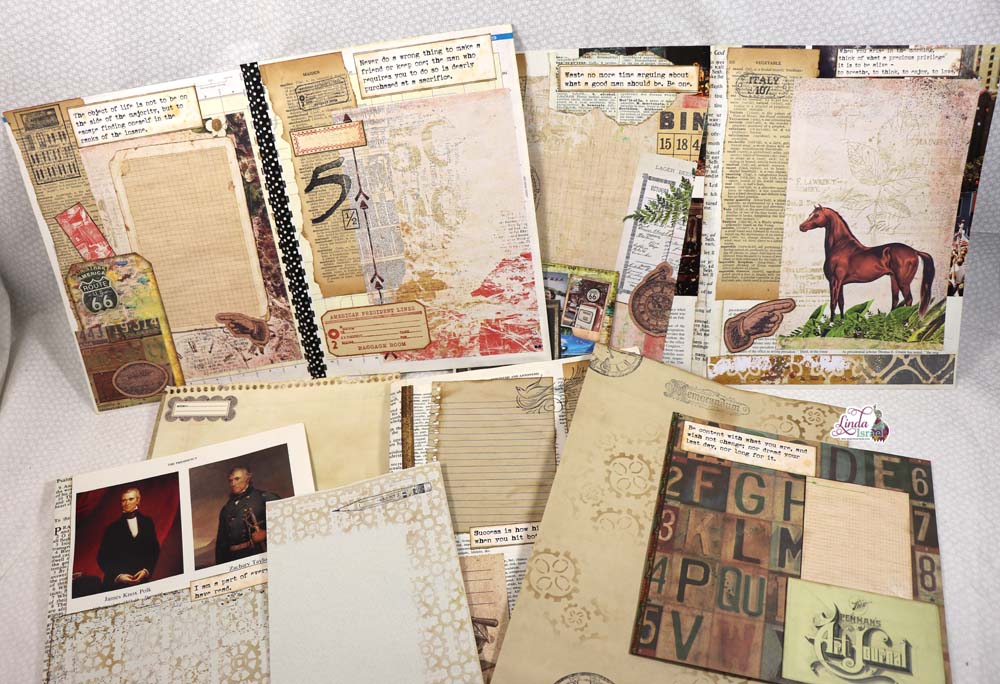
Using Calico Collage Digital Images, a large variety of Rubber stamps, with Stencils, Linda shows us how to make a masculine junk journal.
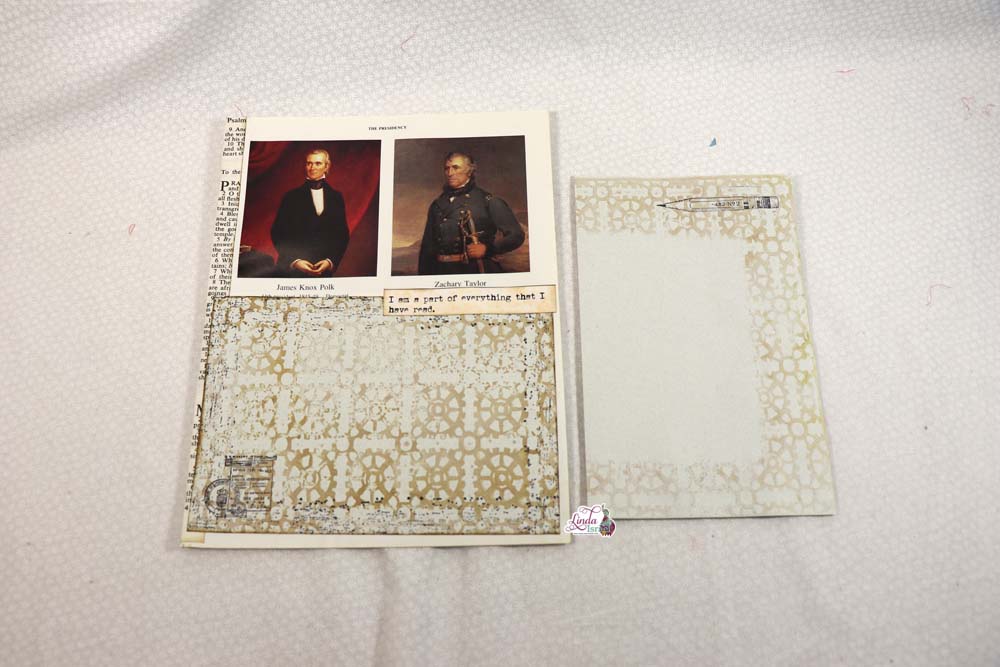
Trimming paper to fit on a book page, Linda used the Connected Gears Stencil with the Walnut Gold Tattered Angels Glimmer Mists to add color. Here’s a tip for you, put a smaller page on top of a larger sheet, you can spray both with the Walnut Gold, so you will then have two pages you can be used in your journal.
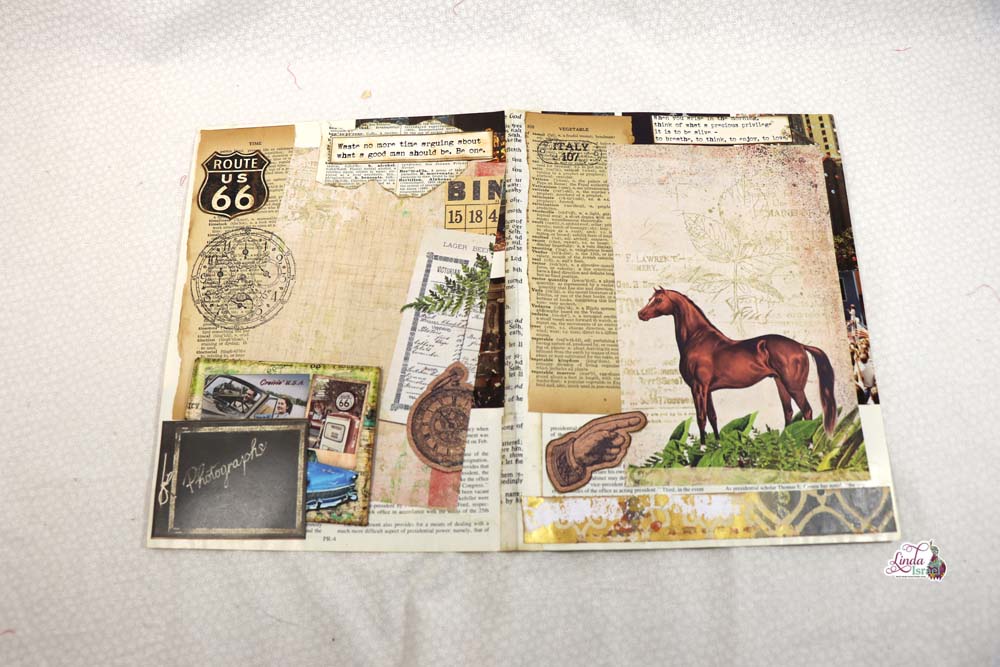
Adding Gentlemen Quotes by Calico Collage with the Hemisphere and Textured Edges Stamps. Linda stamped all around the edges of the page,
Creating a border with the Connected Gears Stencil, Linda stamped the Large Nibs and #2 Pencil rubber stamps. This is another technique you can do using your stencils, they don’t have to go over the entire page all of the time.
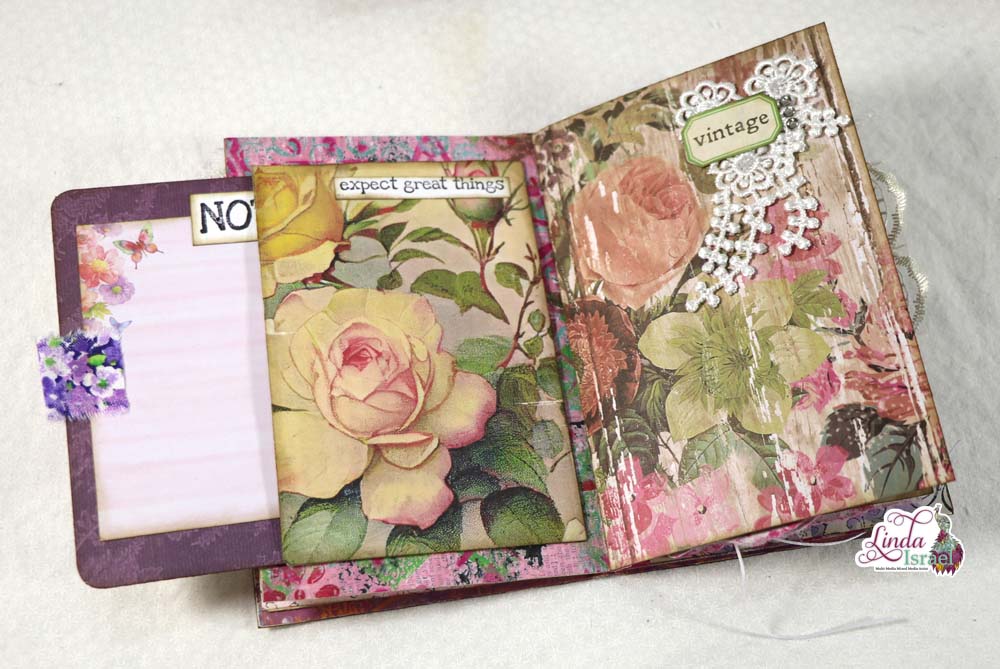
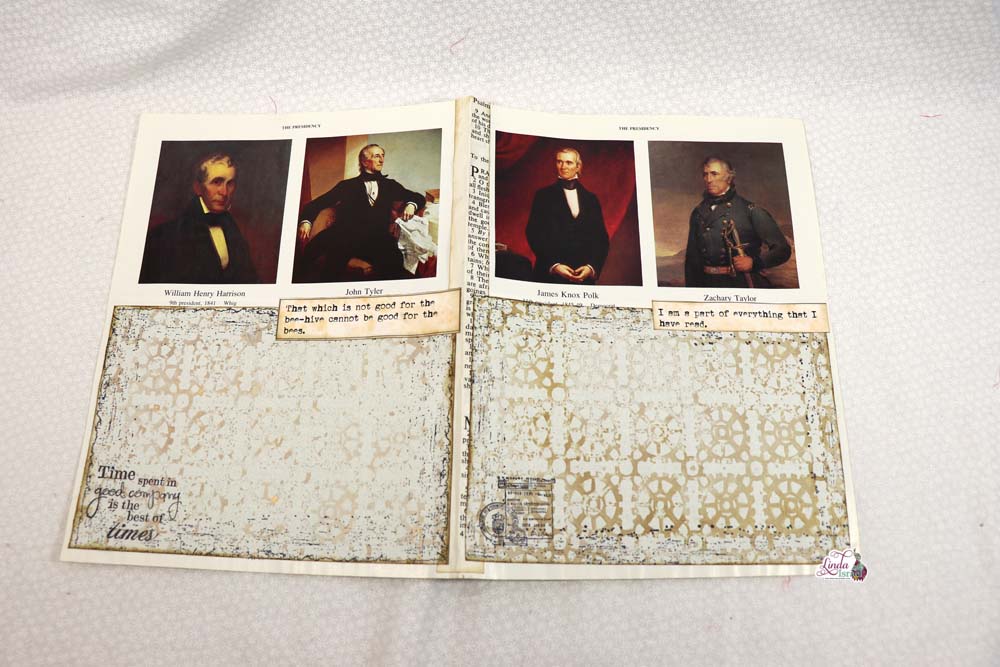
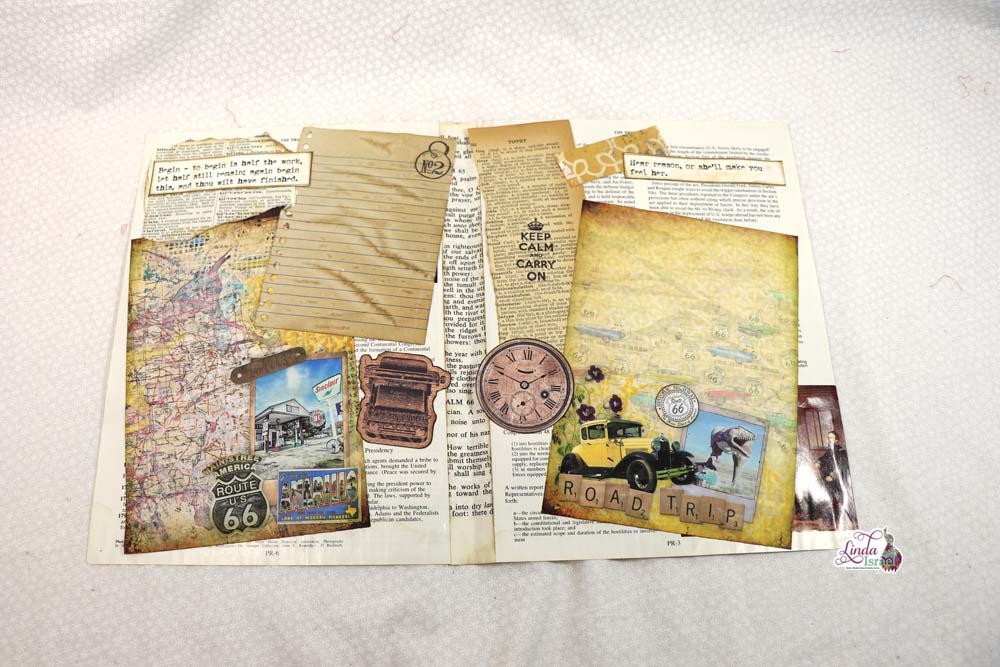
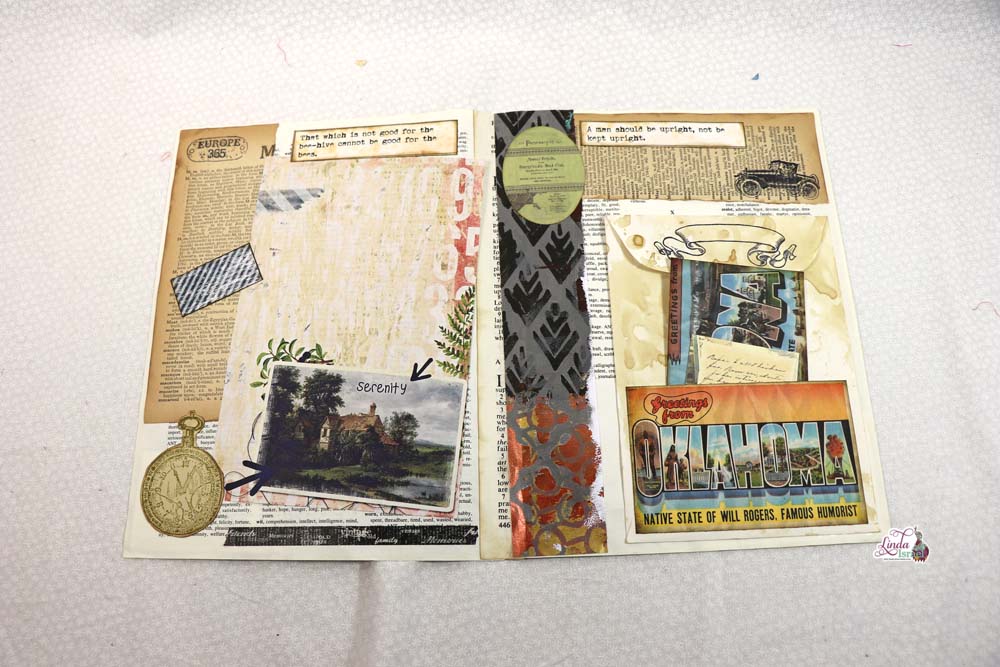
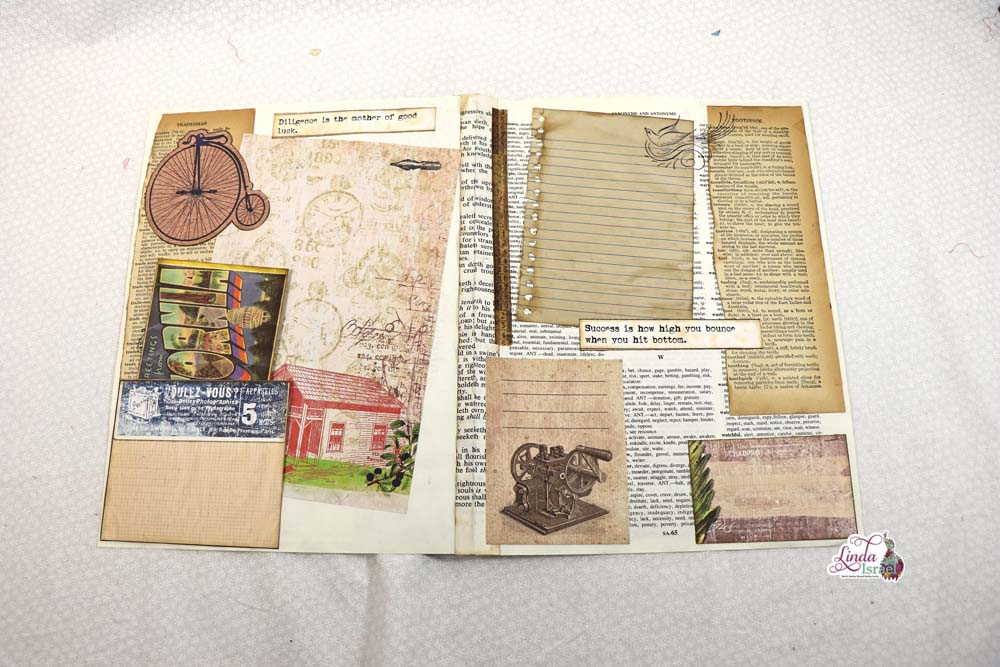
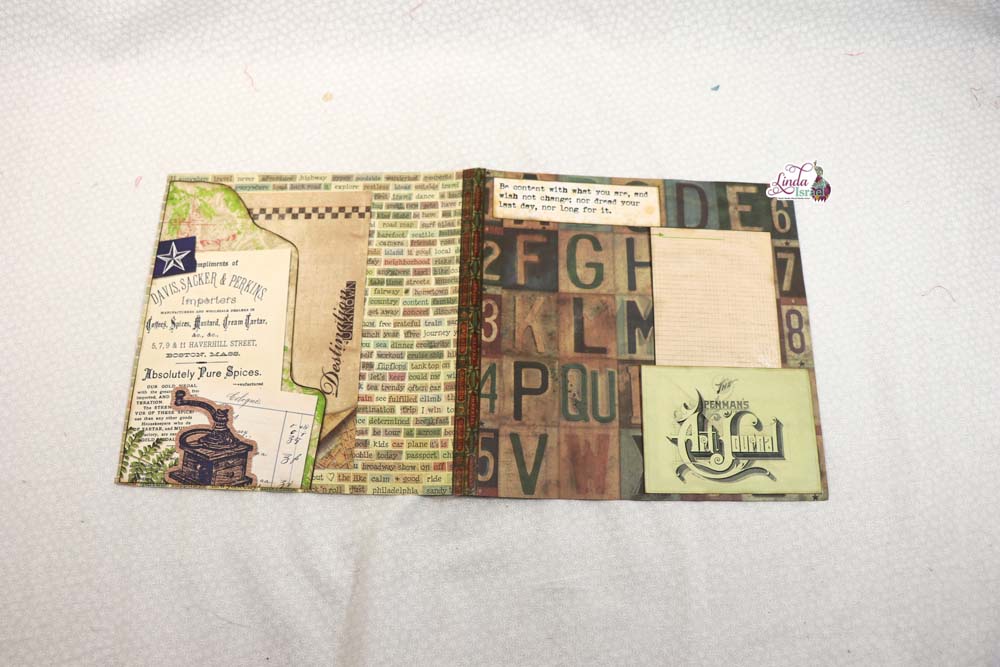
Taking pages from a special edition dictionary that are perfect for the following journal page, Linda combined 7 Gypsies Ephemera, several B Line Designs Stamps. She also used the My Gentleman and Route 66 digital journal kits by Calico Collage with book pages, and a gel print strip
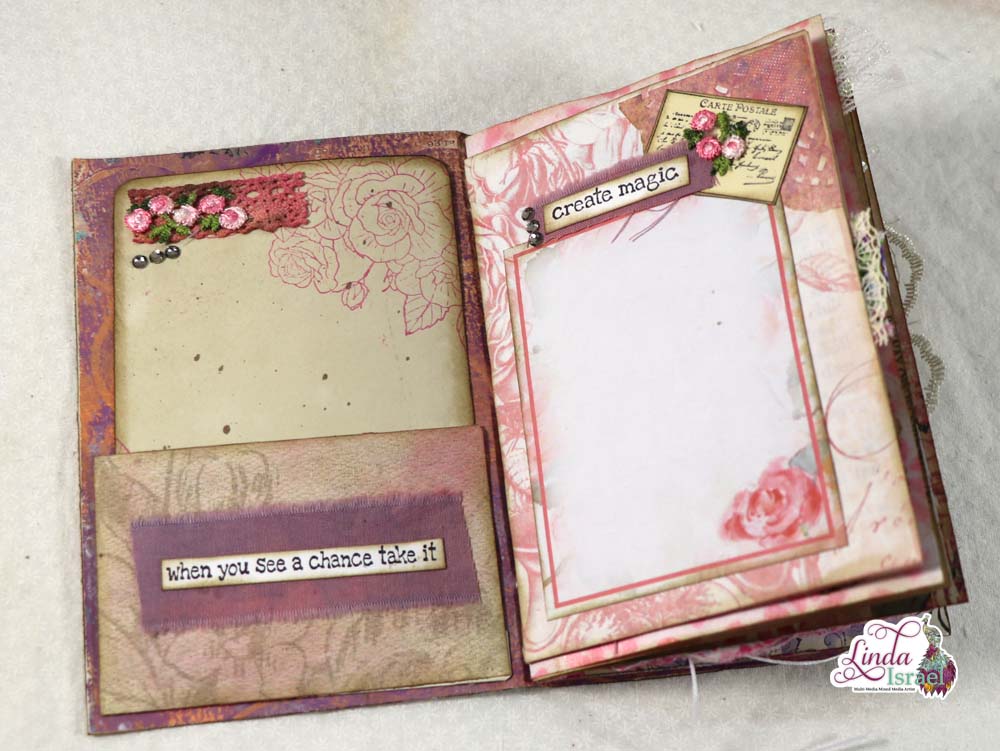
Showing how to add layers to create a collage journal page with plenty of writing space, Linda took Gentlemen Quotes, coffee stained paper, elements from 7gypsies, and Route 66 with various rubber stamps by Bline Designs.
Having two separate pages you can join them together using washi tape, it’s not only decorative but gives strength to the seam edge for binding. 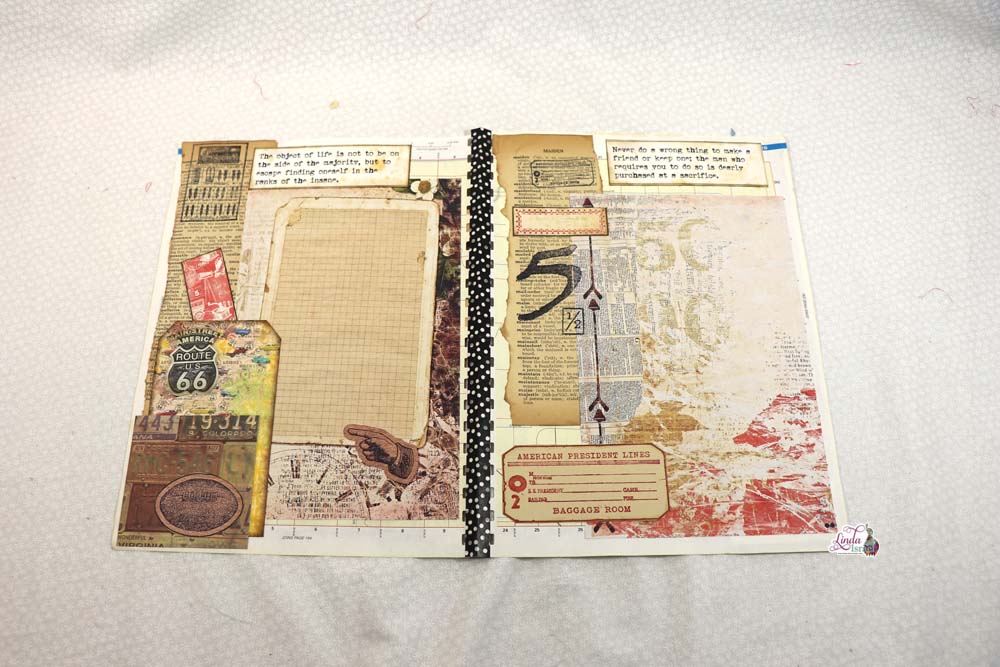
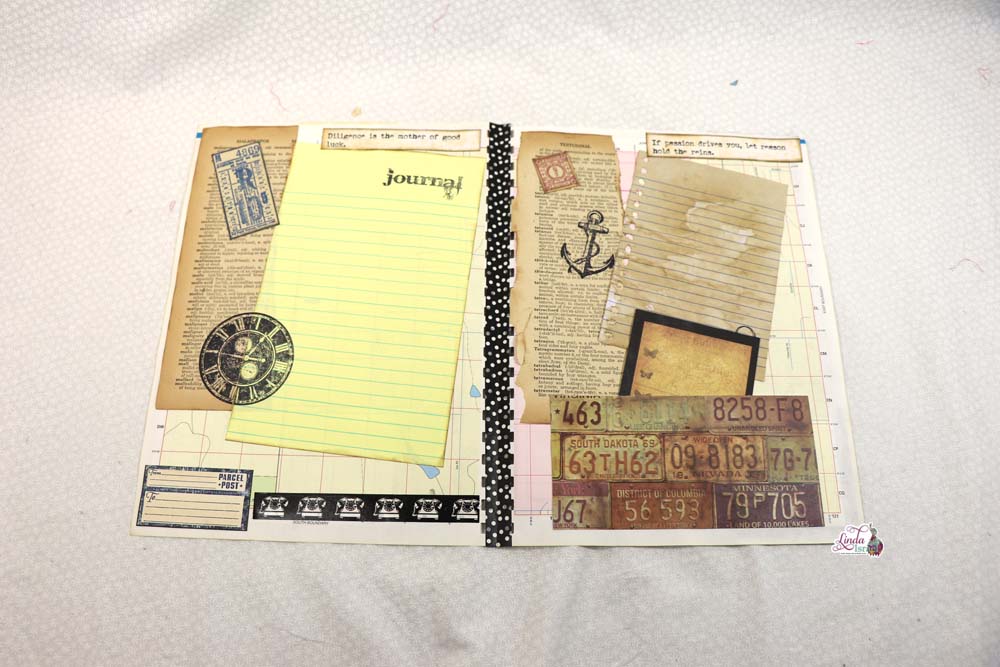
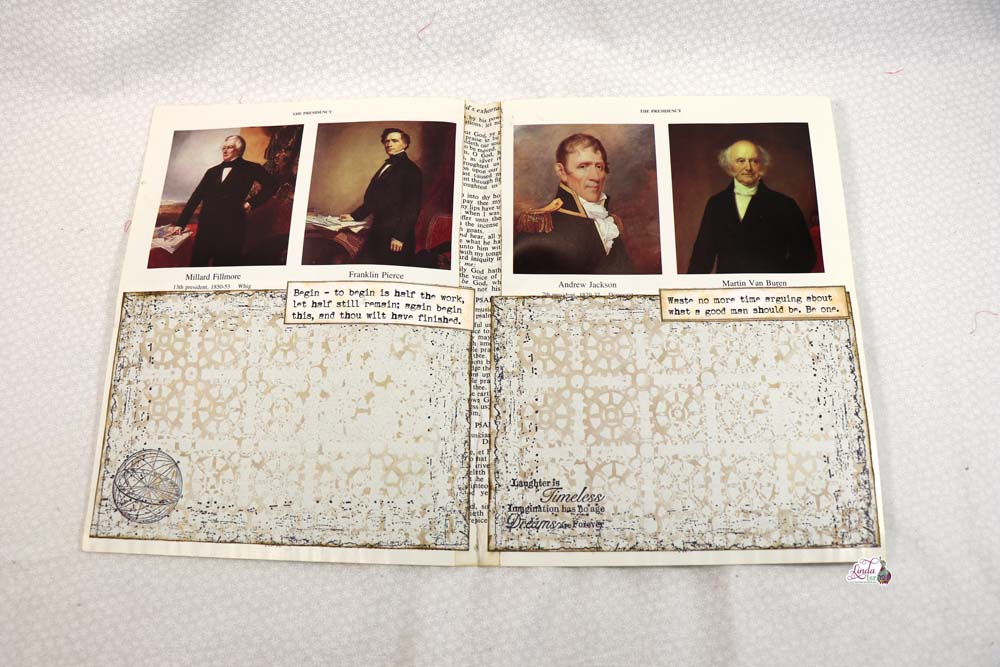
Another way to join loose pages together is to take strips of book pages and adhere them together.
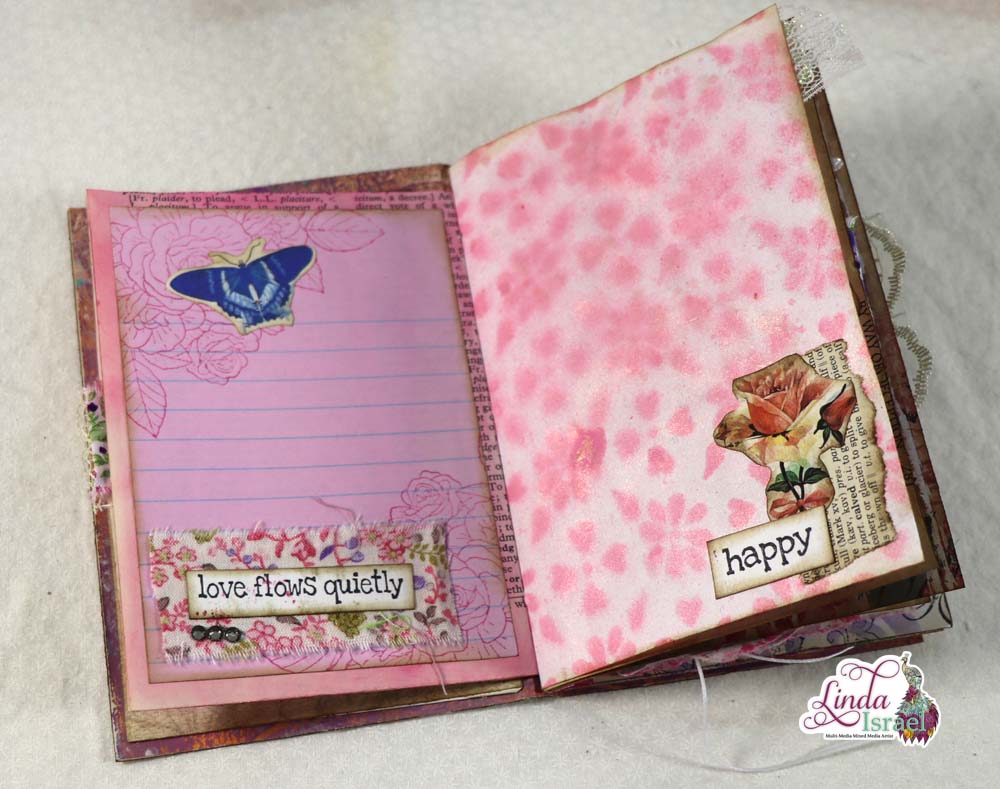
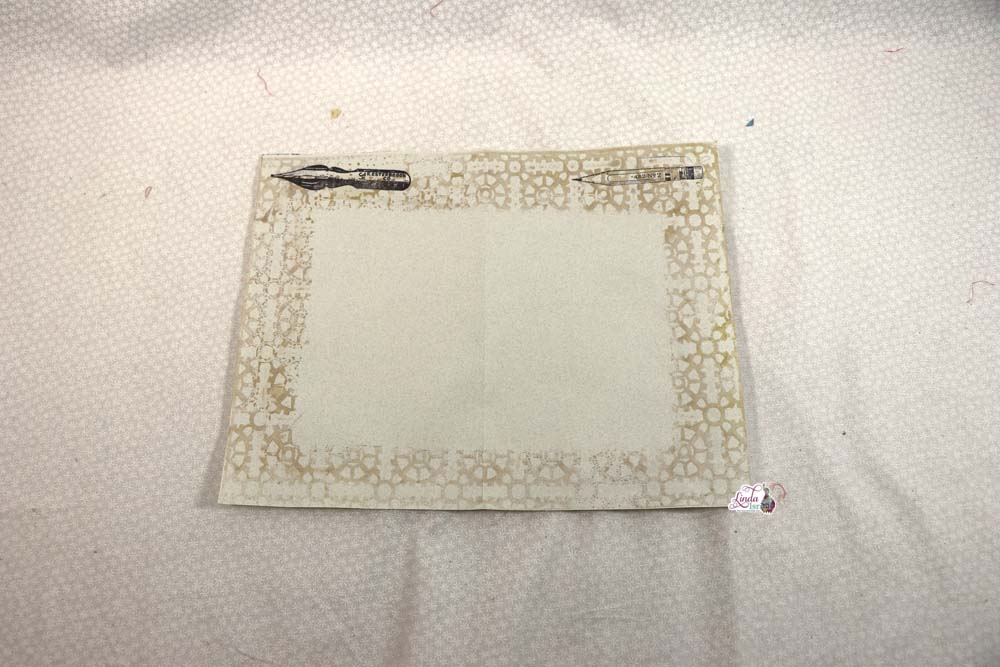
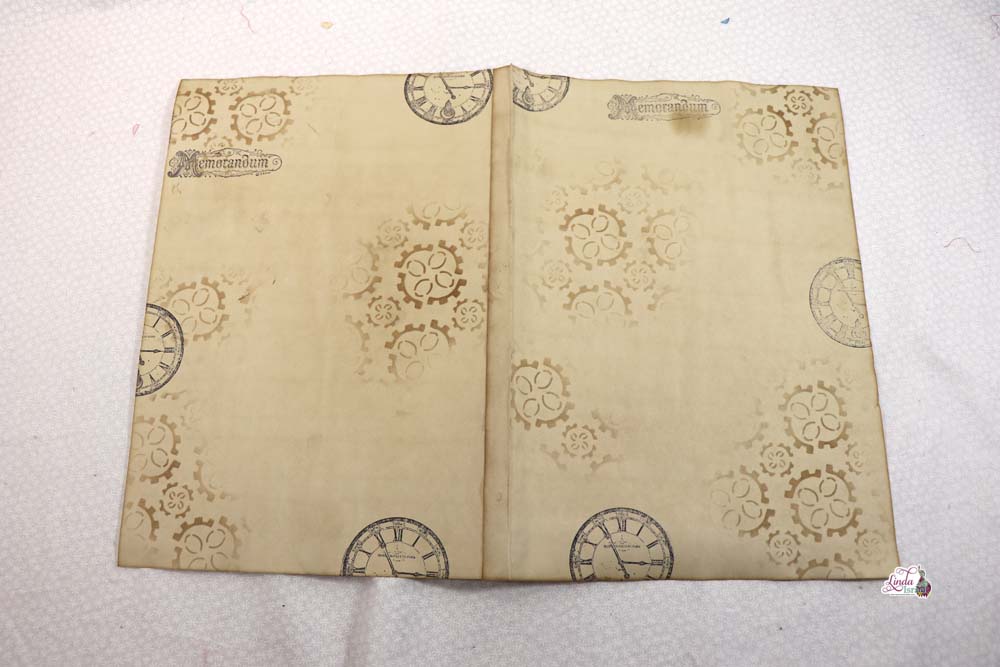
 Showing a technique to coffee dyed paper, Linda used the Wonky Gears stencil and walnut stain ink, she then stamped with archival ink using the Clocked out rubber stamp on all sides of the journal page.
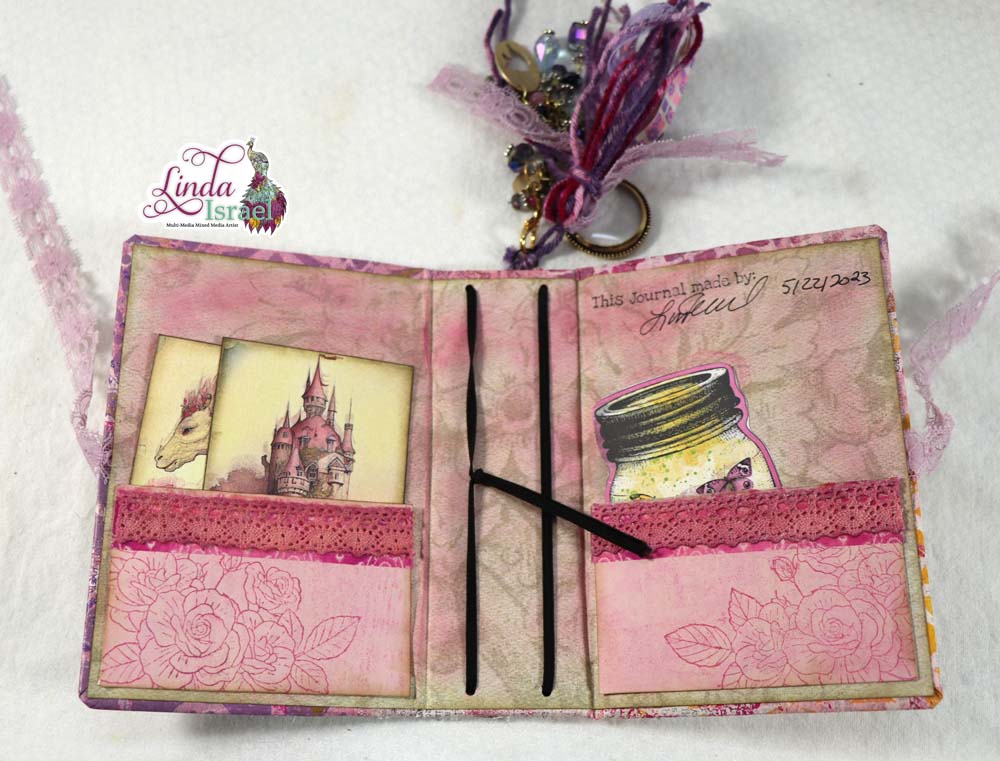
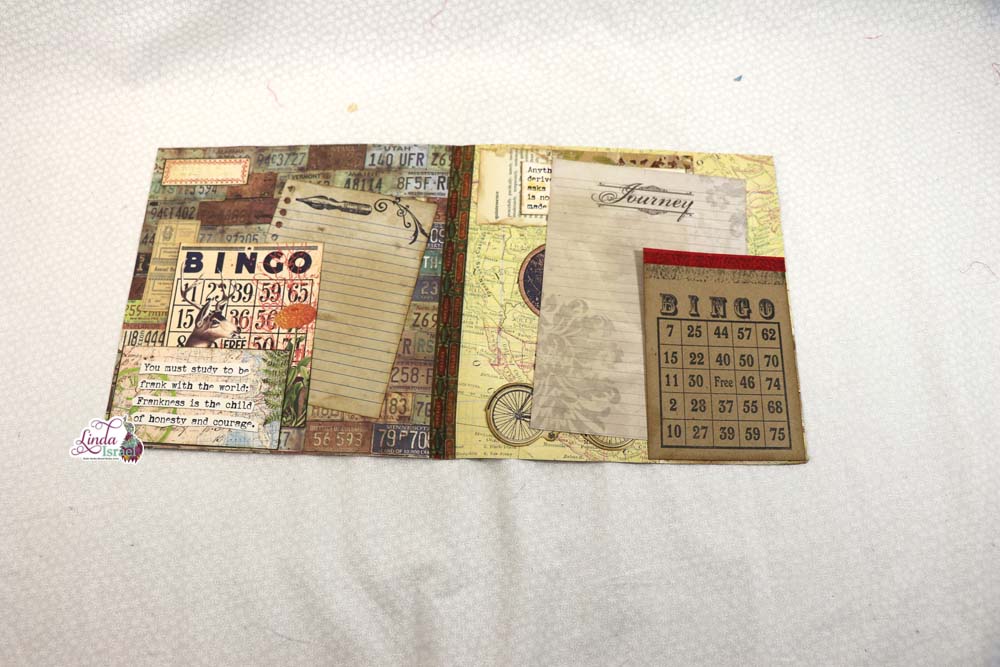
Using the Bingo Stamp to create a tuck spot Linda took red washi tape and then stamped over it with the textured edges stamp to give it a fun textured look.
Create collage pages using a variety of elements is a lot of fun! How will you create your Masculine Journal pages?
Robin Fennessy
Make sure to check out the Friendly Junk Journal People Facebook group. Of course, you are welcome to join the Friendly Junk Journal People Facebook group. The group is growing daily and we are a friendly group willing to help each other and encourage each other.