Here to share a Pin Up Girl Mini Junk Journal Tutorial with everyone today. In July I will be attending a Pin Up Girl Bazaar and was asked to bring different items with pin up girls. They loved the Pin ups on Route 66 junk journals and I thought why not make mini junk journals too.

Pin Up Girl Mini Junk Journal Tutorial Video.
Supplies used for the Pin Up Girl Mini Junk Journal Tutorial.
- Pin Up Girls Digital Images from Calico Collage
- Watercolor paper for cover measuring 6 x 9 inches
- Scrapbook paper measuring 4 x 5.5 inches
- Notebook paper, graph paper and other pieces of paper measuring about 8.5 x 5.5 inches.
- Best Glue Ever by ScraPerfect
- No-Clog Writing Cap by ScraPerfect
- Lace
- Phrases created on Silhouette Cameo 3
- Distress Ink, Vintage Photo
- Ranger Blending Tool
- Fiskars Paper Cutter
- Tulip Dimensional Paint
- Paint Brush
- Best Cleaner Ever by ScraPerfect
- Fiskars Scissors
- Jumbo Paperclips
- Craft Pick by Tonic Studios/Tim Holtz
- Book Binders Needle
- Waxed Linen Thread
- Bone folder
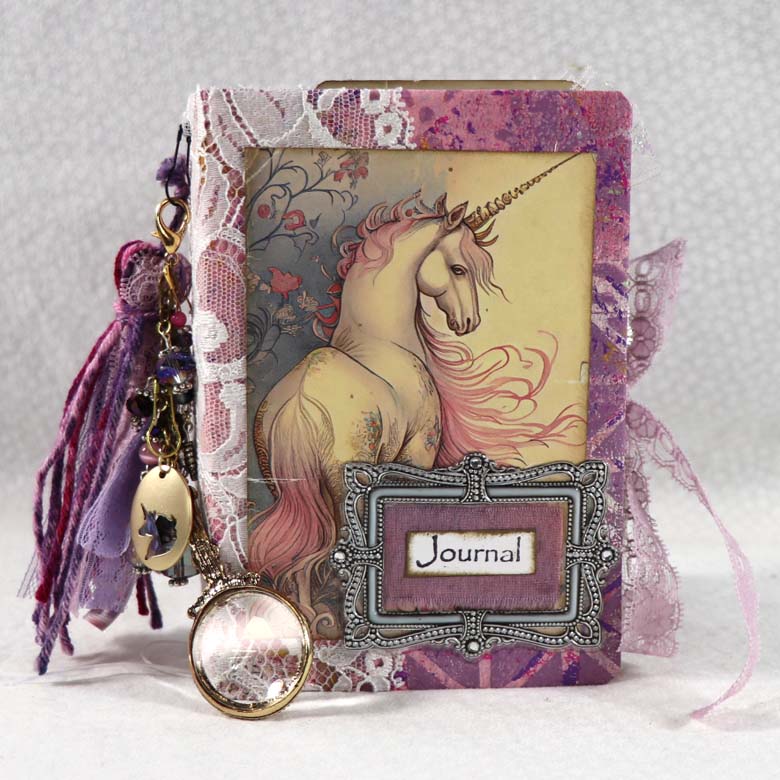
Print the Pin Up Girls images from Calico Collage. The size of these images is two to an 8.5 x 11 inch sheet of paper creating 5 x 7 images. With my computer, I chose the print option of putting one page as a 5 x 7 image which makes the images about 3 x 4 inches in size that fit for my cover.

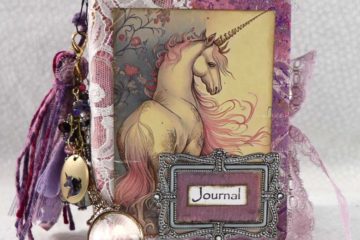
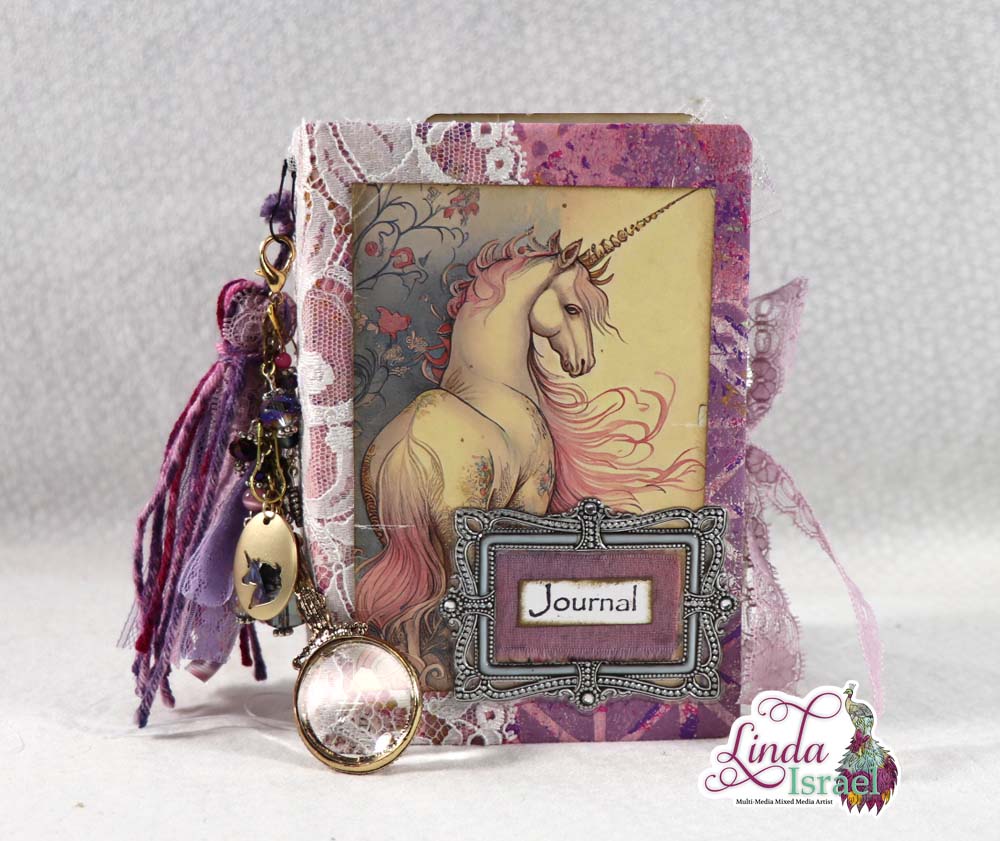
The Cover of this journal is a heavy watercolor paper cut at 6 x 9 inches and folded in half. It is what I had and I really need to use up my stash! lol
Cut scrapbook paper or other papers for the background down to 4 x 5.5 inches. If using 12 x 12 inch scrapbook paper you can get 6 pieces for the covers.
Print sayings on cardstock. I used the Silhouette software to design the words. Printed with an inkjet printer and then cut with the Silhouette Cameo 3.
Distress the edges of the cover, the digital images, scrapbook paper and sayings with Vintage Photo Distress Ink.

Adhere the digital images with the Best Glue Ever by ScraPerfect, then sew with a zig-zag stitch. If you don’t have a sewing machine you could hand stitch.
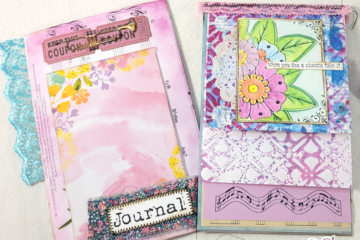
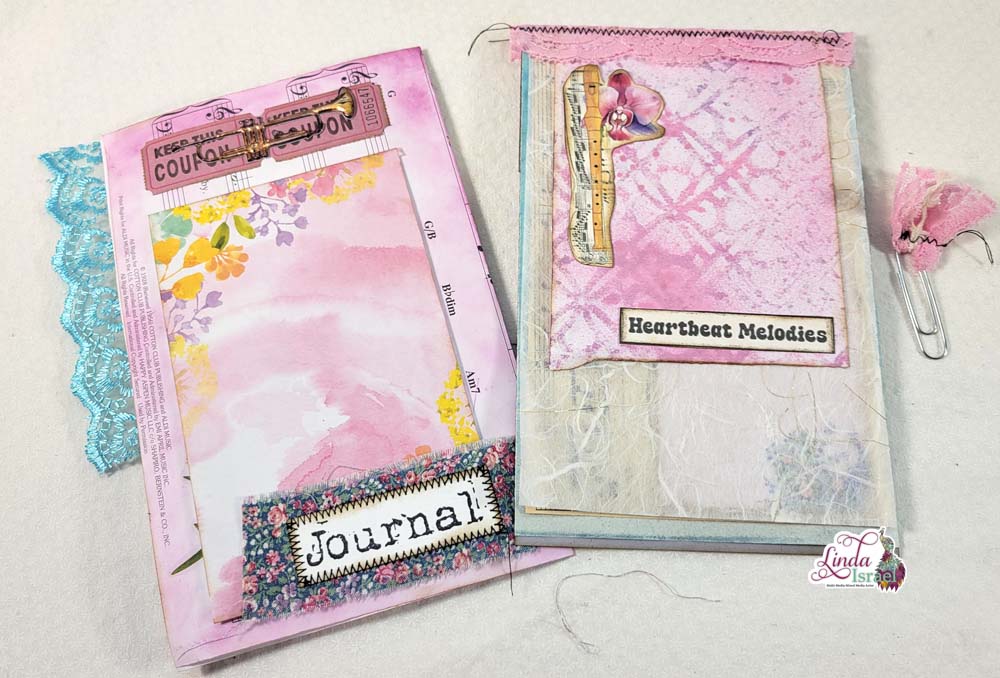
Attach the saying over the digital image and add a bit of lace, then zig-zag stitch. Once the topper has been created, attach to the cover using a zig-zag stitch. The cover is ready to have pages added.

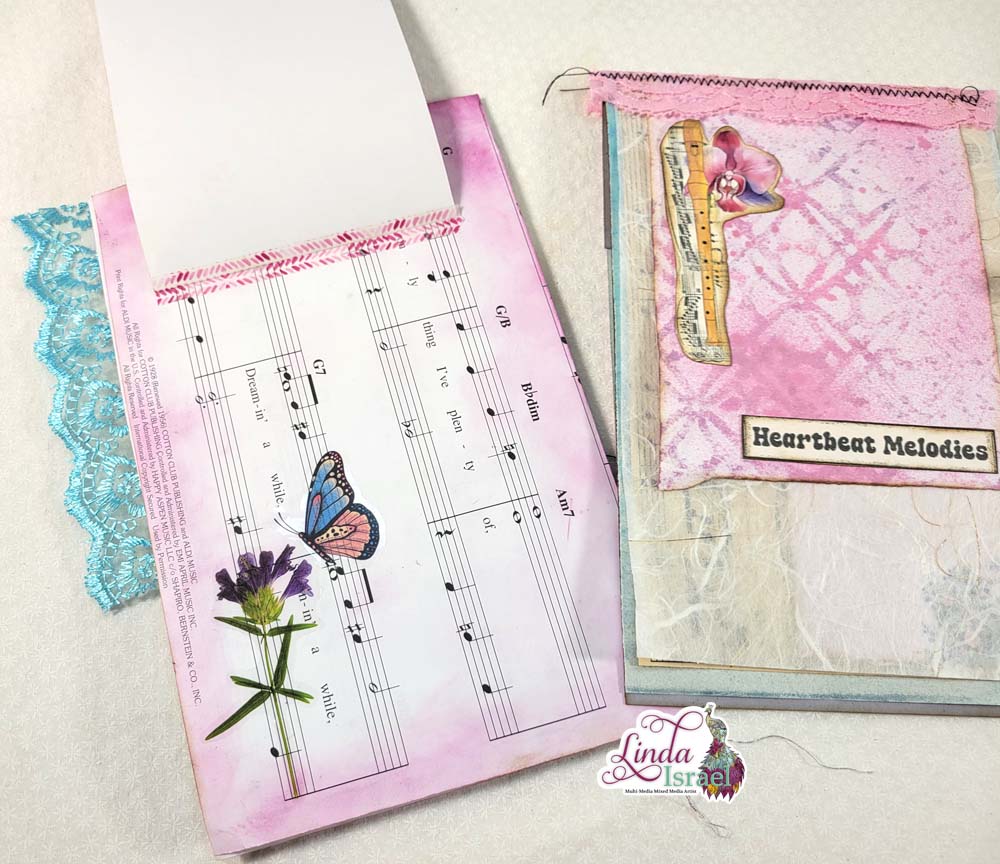
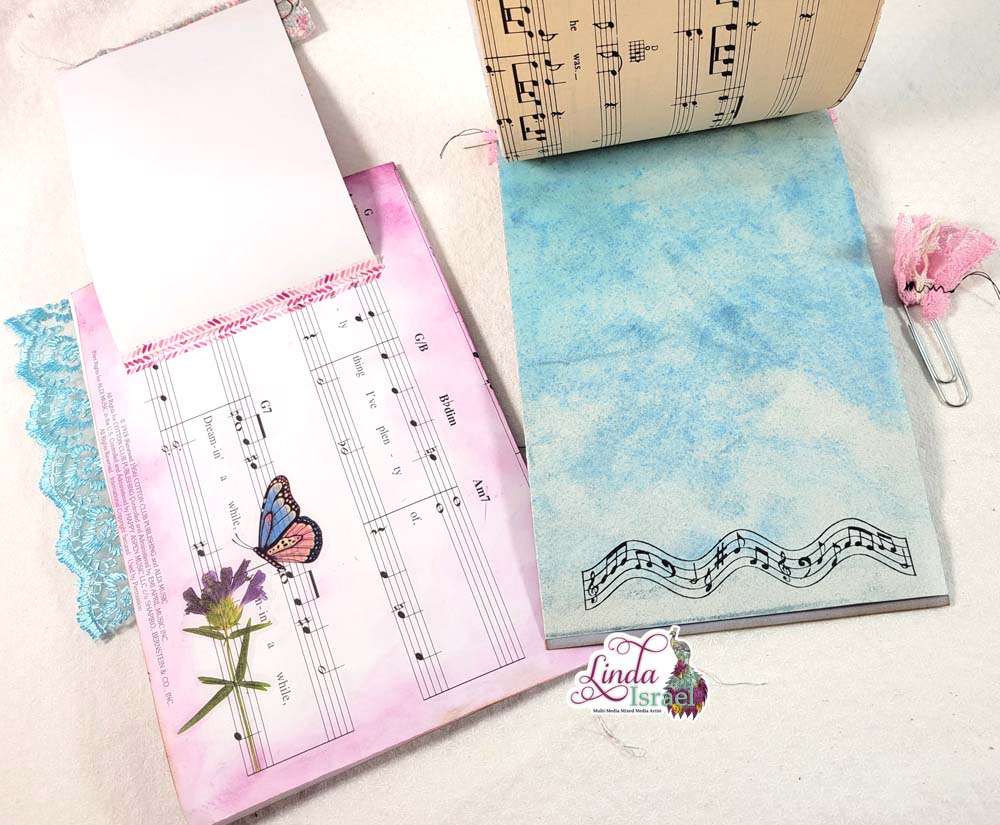
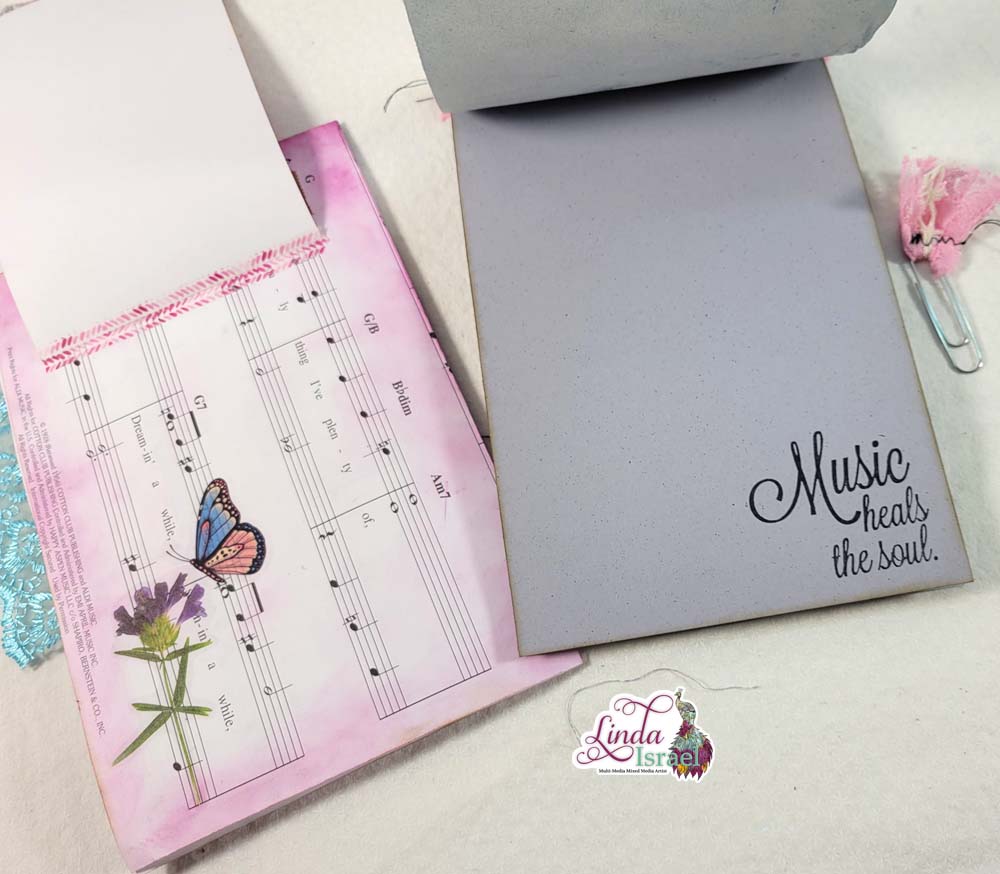
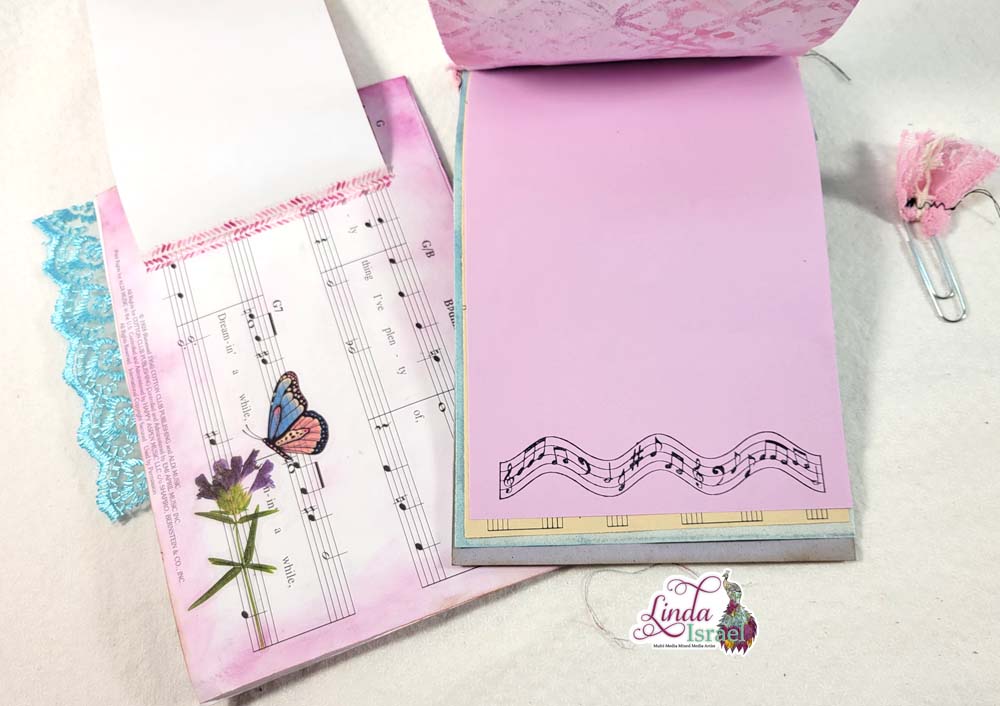
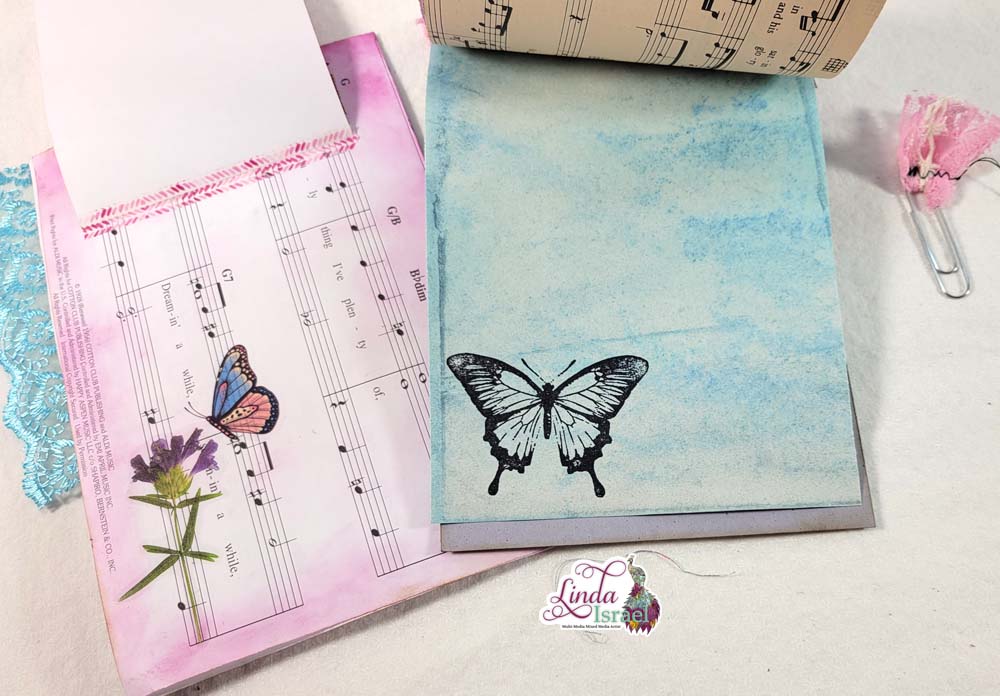
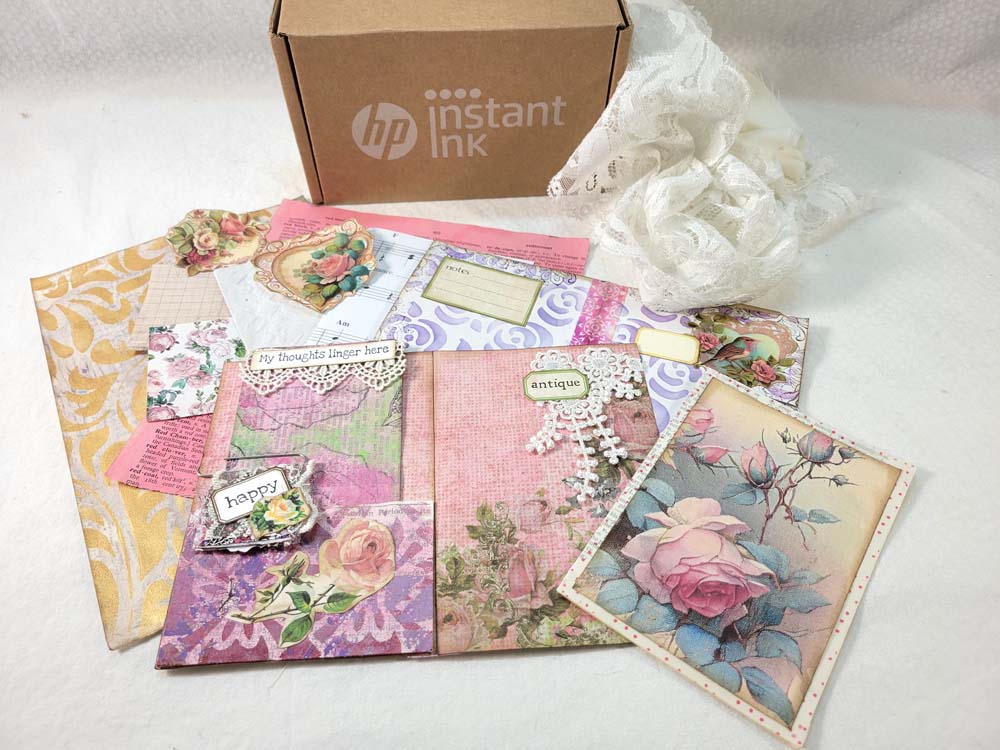
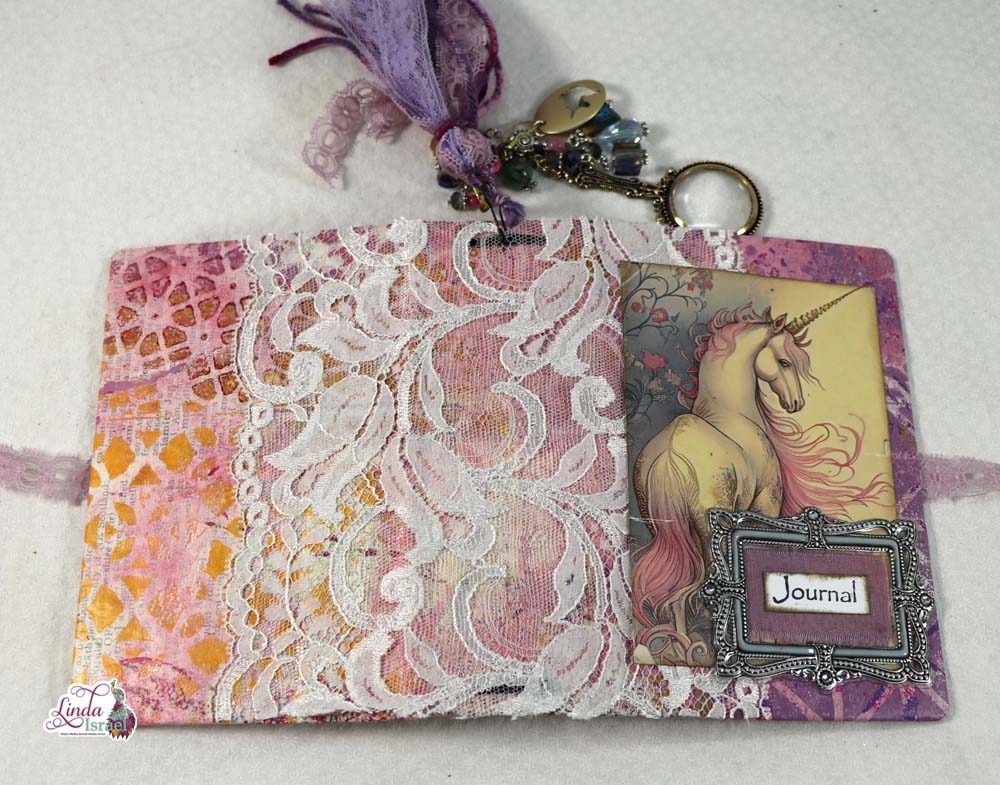
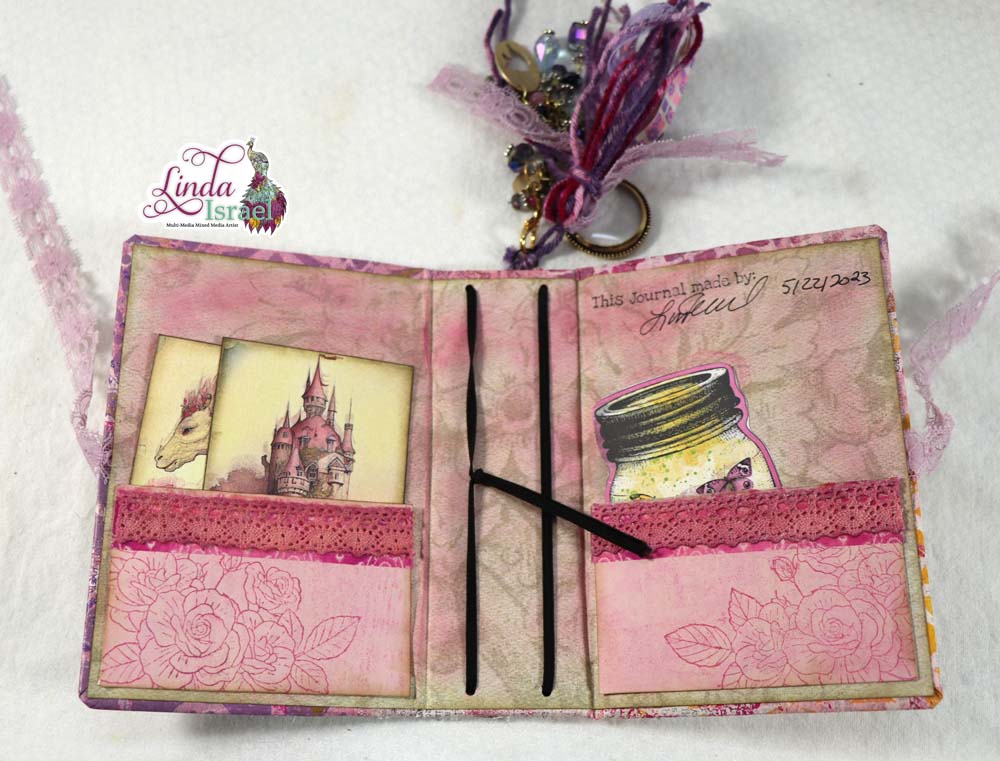
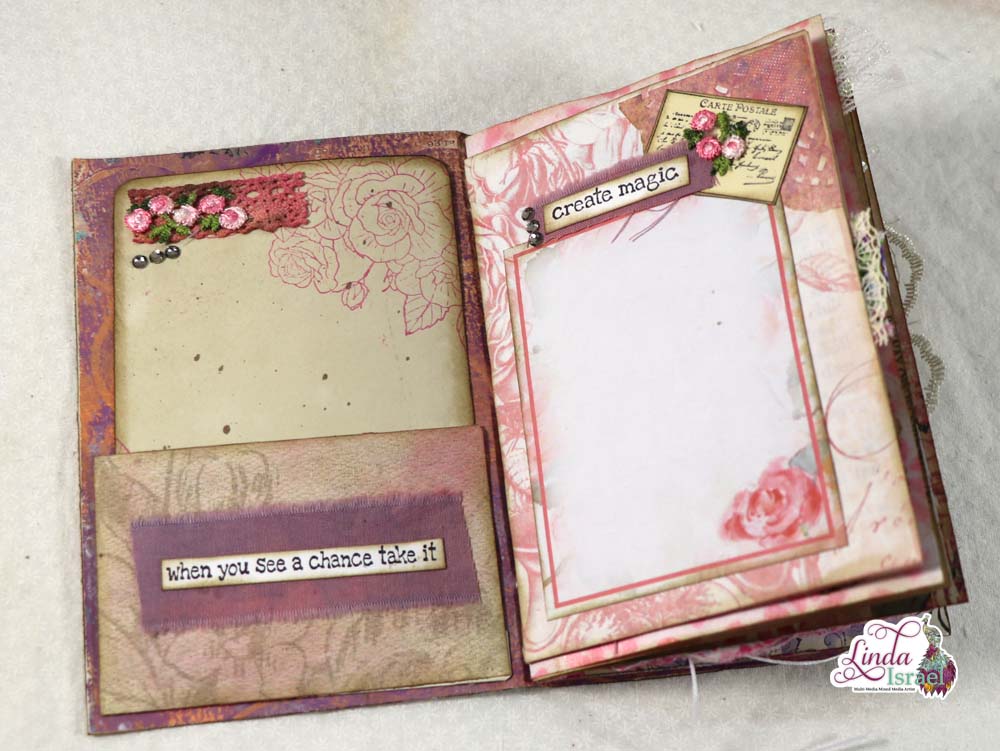
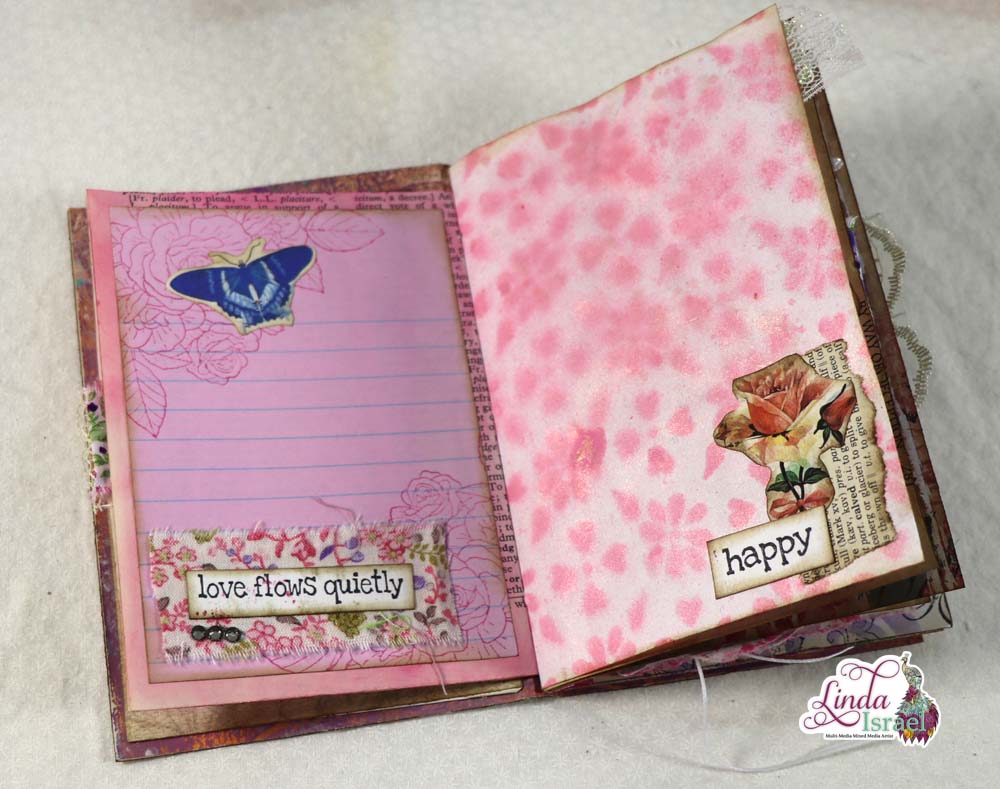
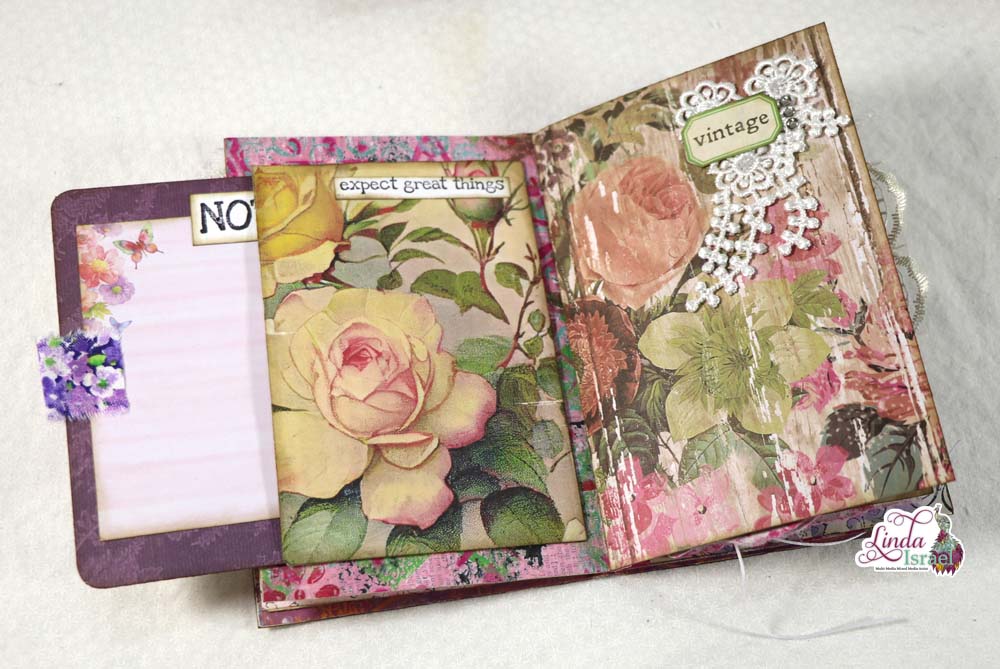
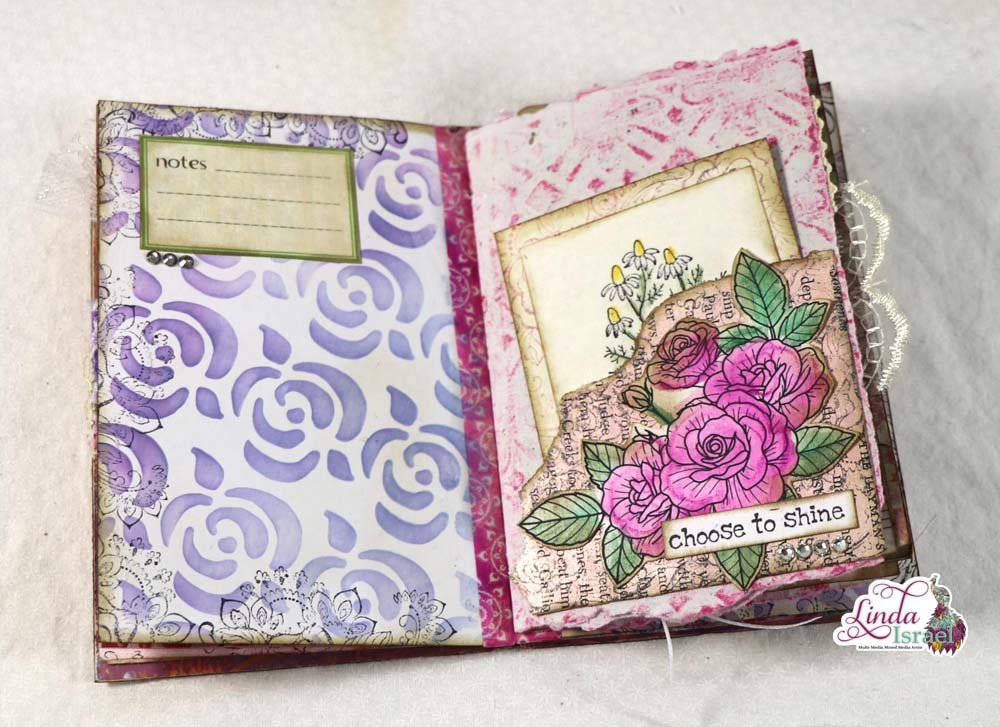
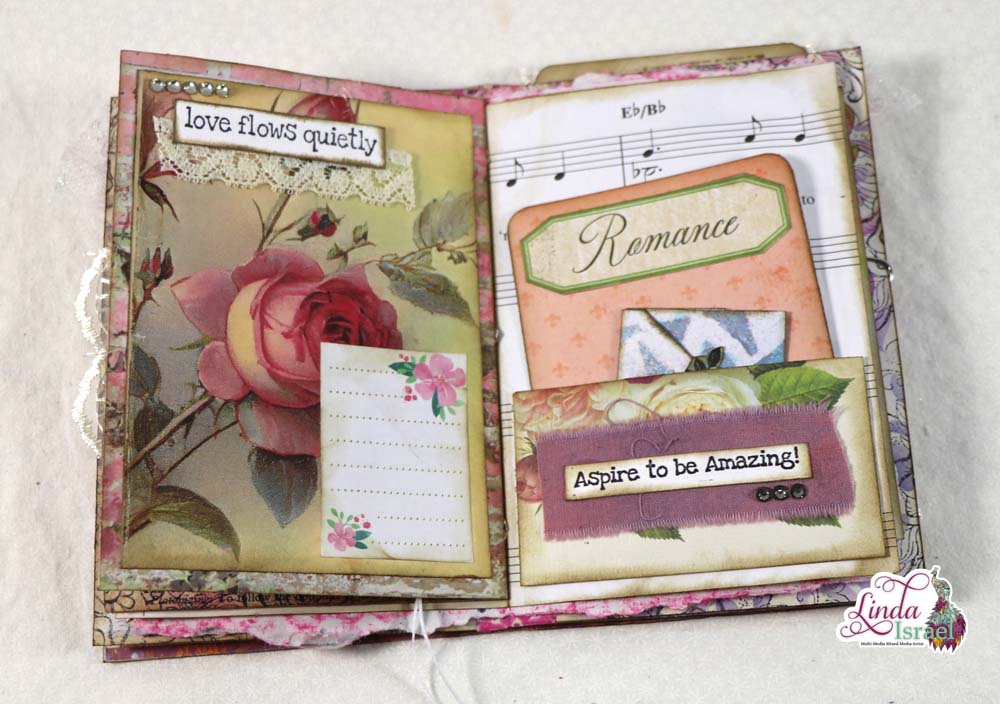
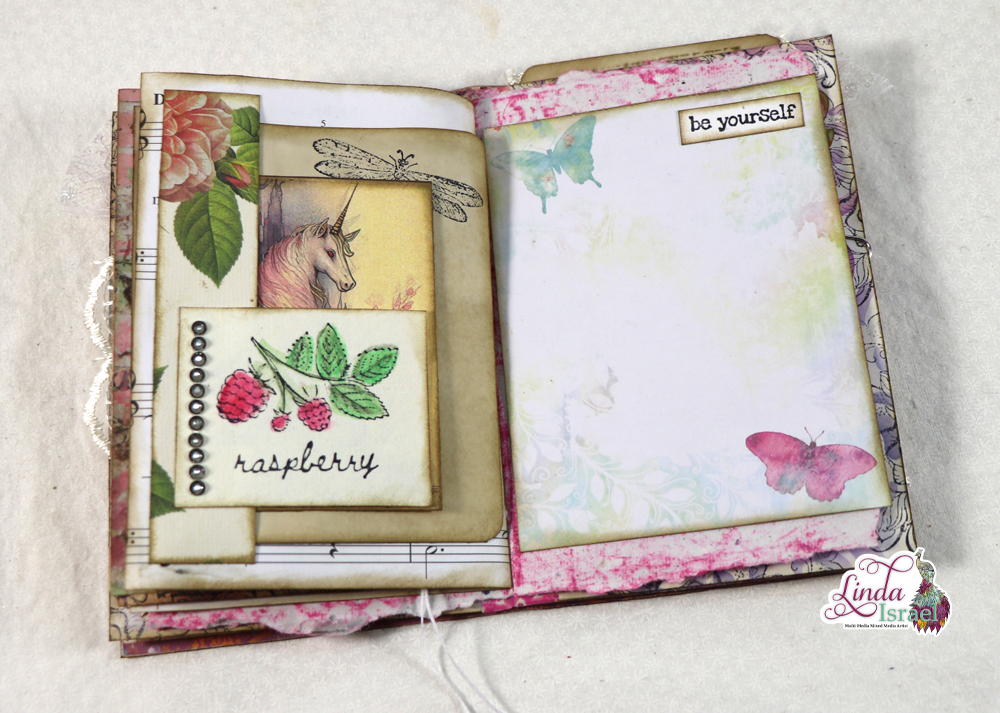
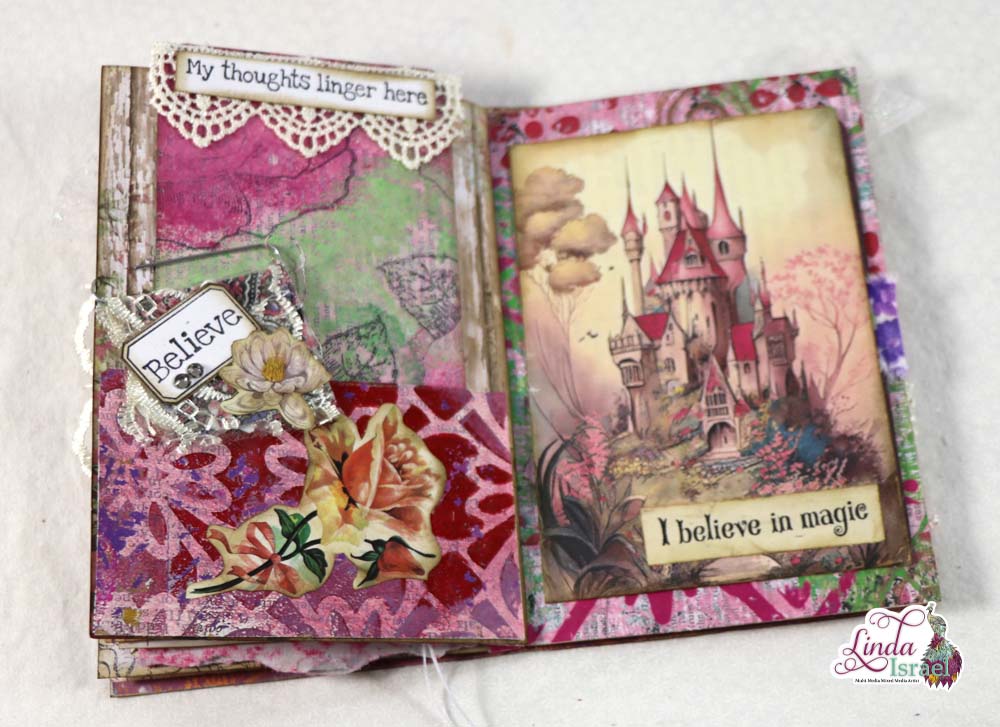
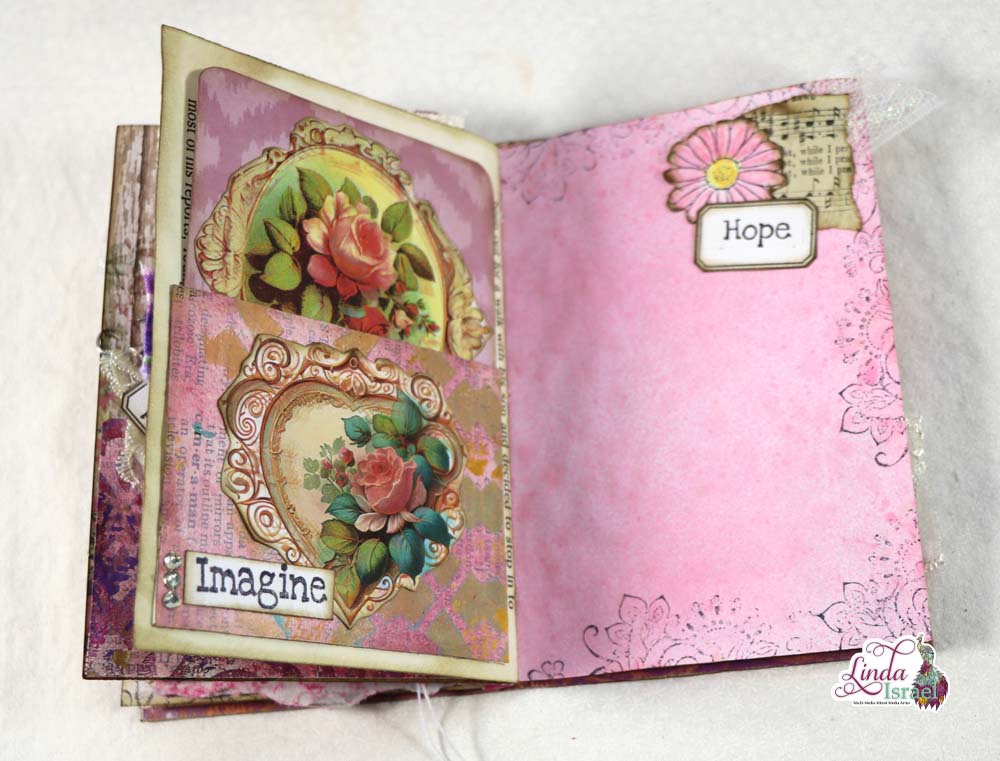
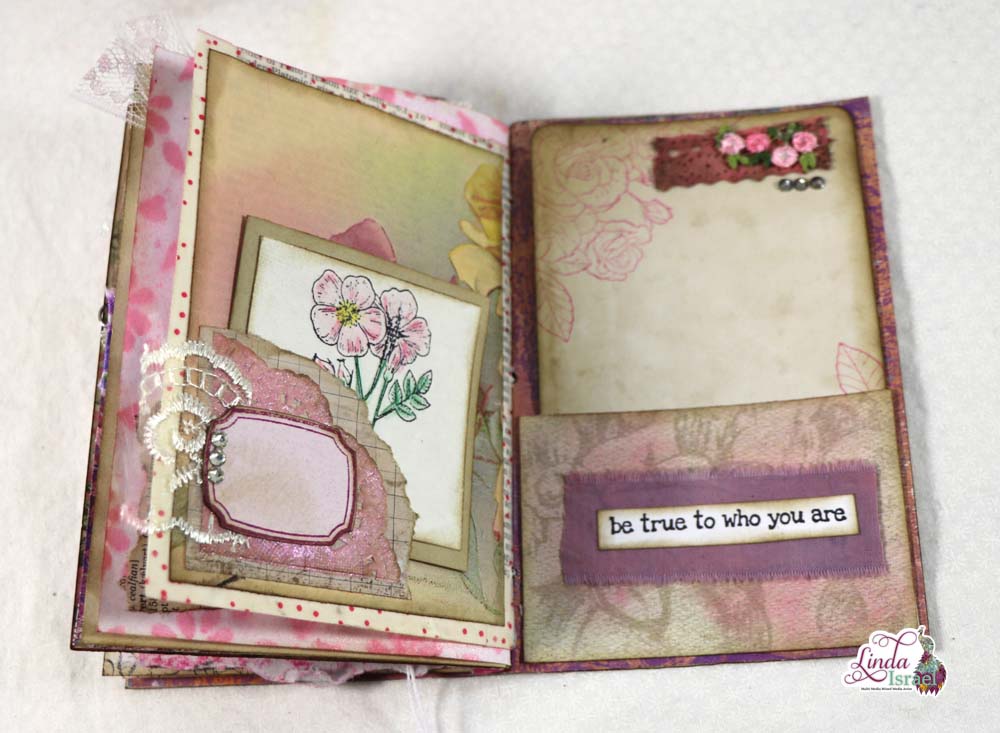
The pages are a variety of mop-up pages, notebook paper, graph paper and even scrapbook paper. These are all cut to 8.5 x 5.5 in size and folded in half. Select ten sheets of paper to create 40 pages in the journal.

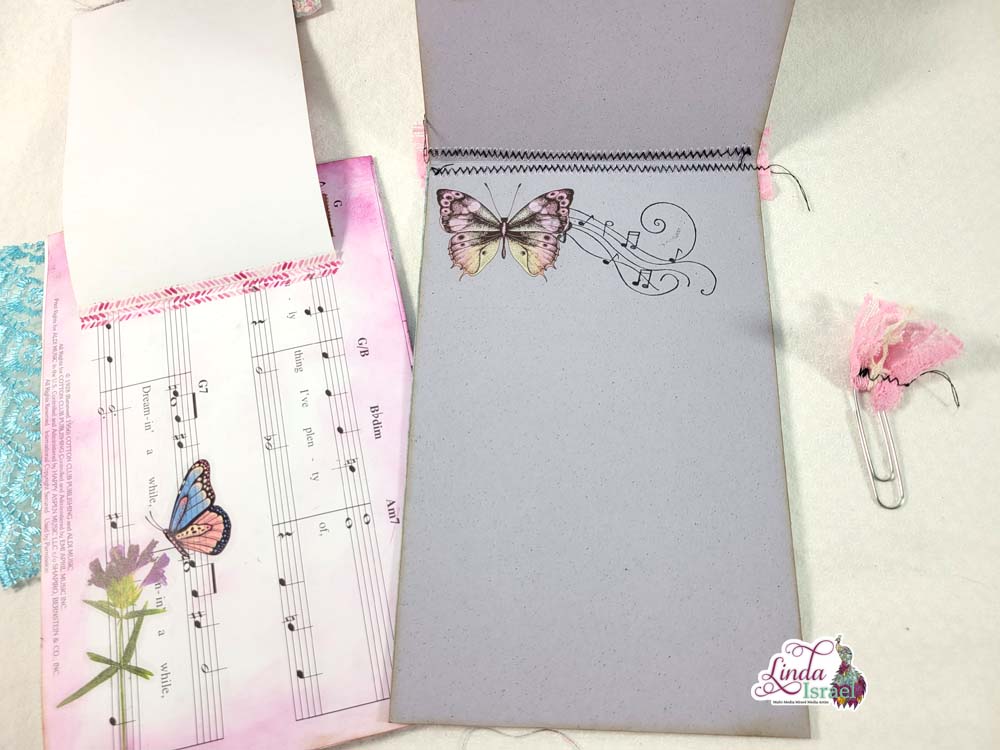
Line up the pages. I like for the smaller pages to be in the center of the other pages. Once all the pages are lined up, use jumbo paperclips to old the pages to the cover.
Pierce the pages and cover using a template that has three holes marked. The Center and about 1.5 inches from the edges. Use the Pamphlet Stitch to attach the pages to the cover.

These are really easy to make and once you get started you will find that you will make a lot. What did you think of the Pin Up Girl Mini Junk Journal Tutorial?

Make sure to check out the Friendly Junk Journal People Facebook group. Of course, you are welcome to join the Friendly Junk Journal People Facebook group. The group is growing daily and we are a friendly group willing to help each other and encourage each other.

Interested in any of the journals I created? Please feel free to contact me through my Facebook Page. Here is my shop, I have a lot of items uploaded and add more weekly.
Keep updated on my posts by following me. Follow my blog with Bloglovin. Or Follow my Facebook Page or on Instagram for updates that may not be shared on my blog.
Thanks so much for stopping by my blog today to see the Pin Up Girl Mini Junk Journal Tutorial.