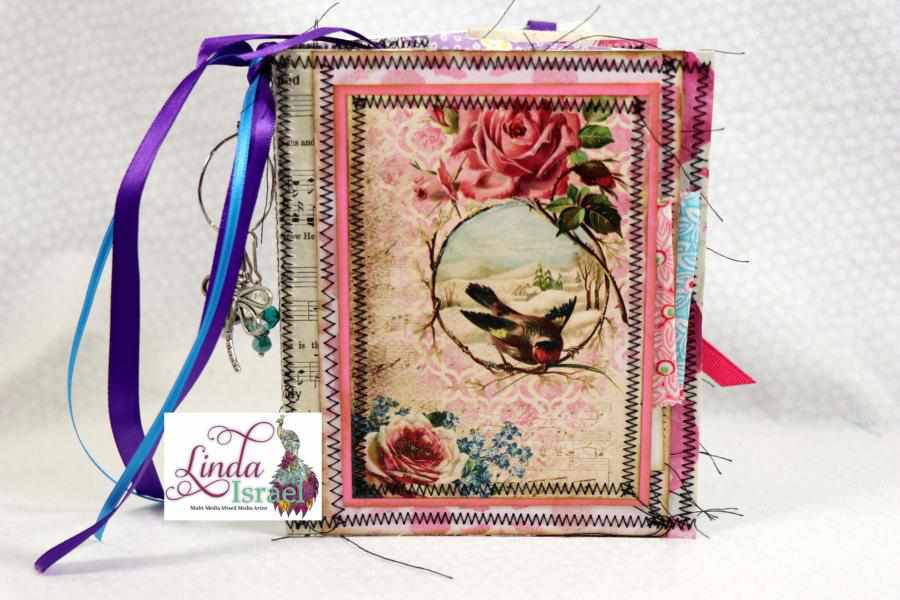
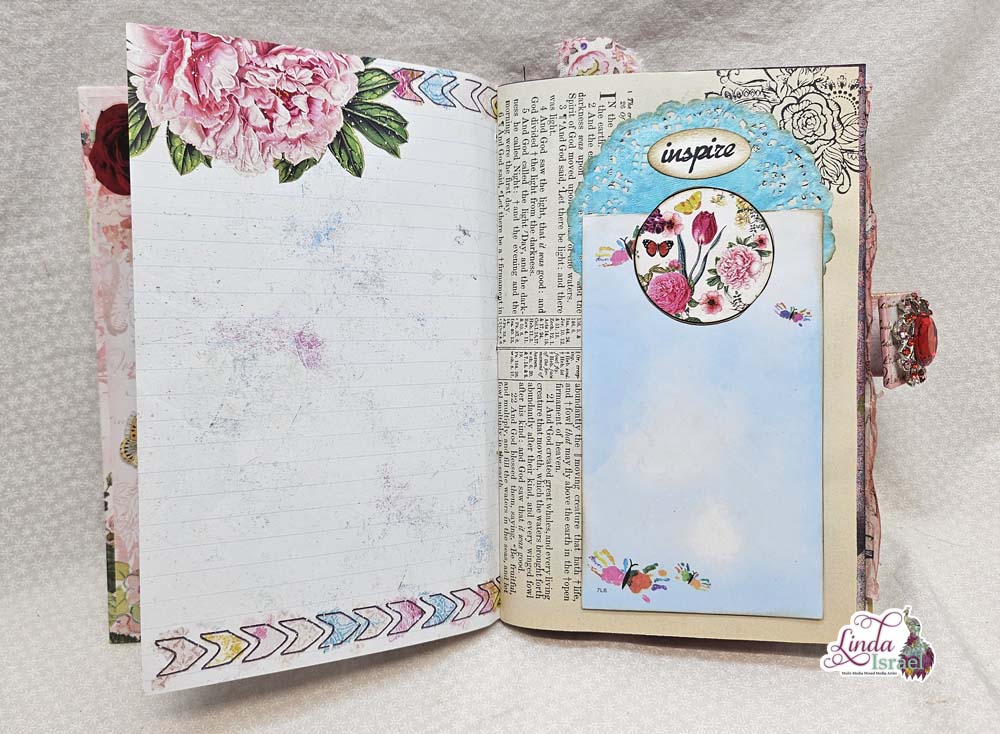
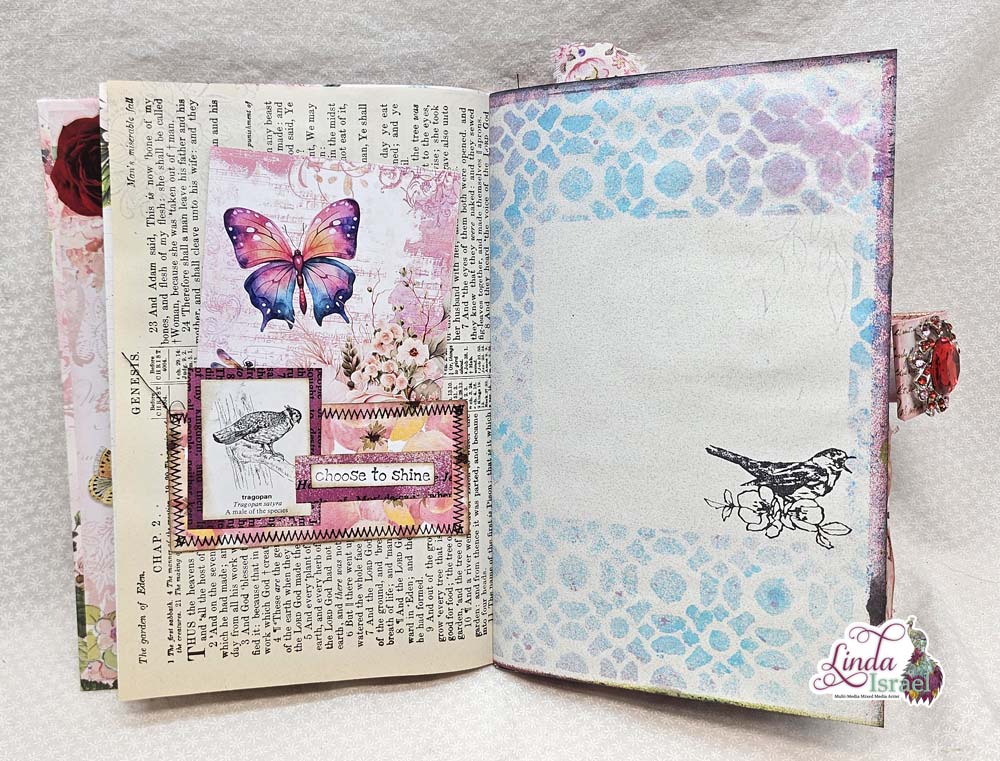
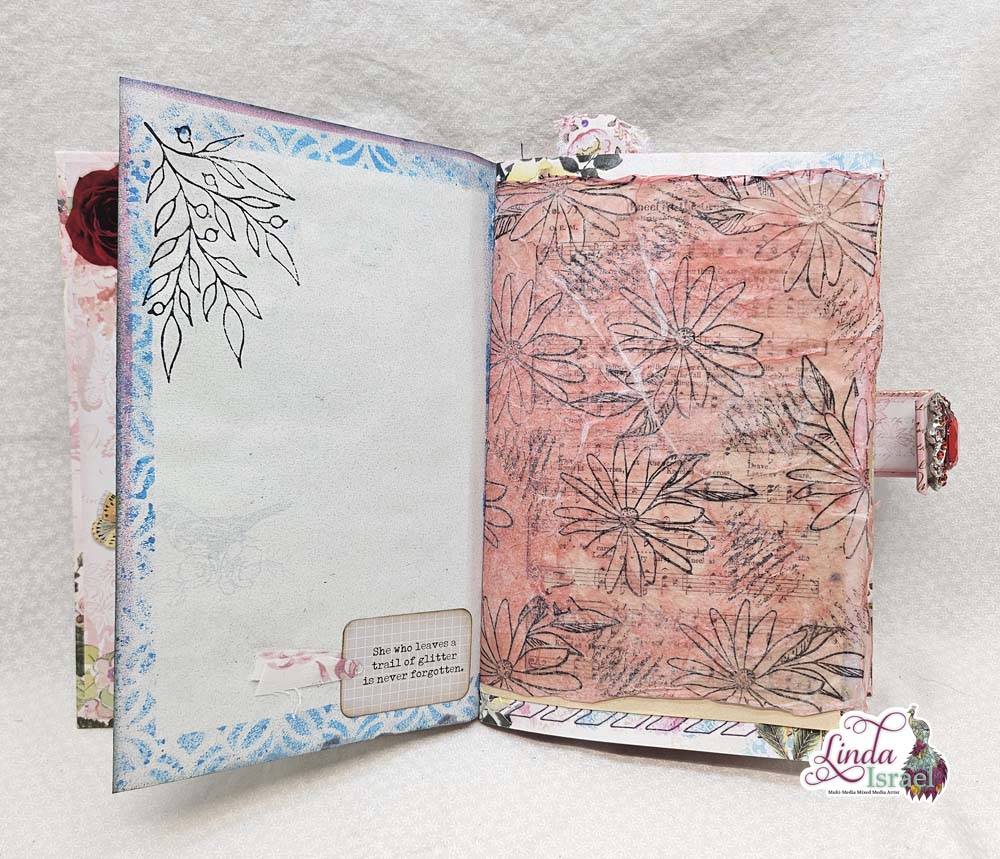
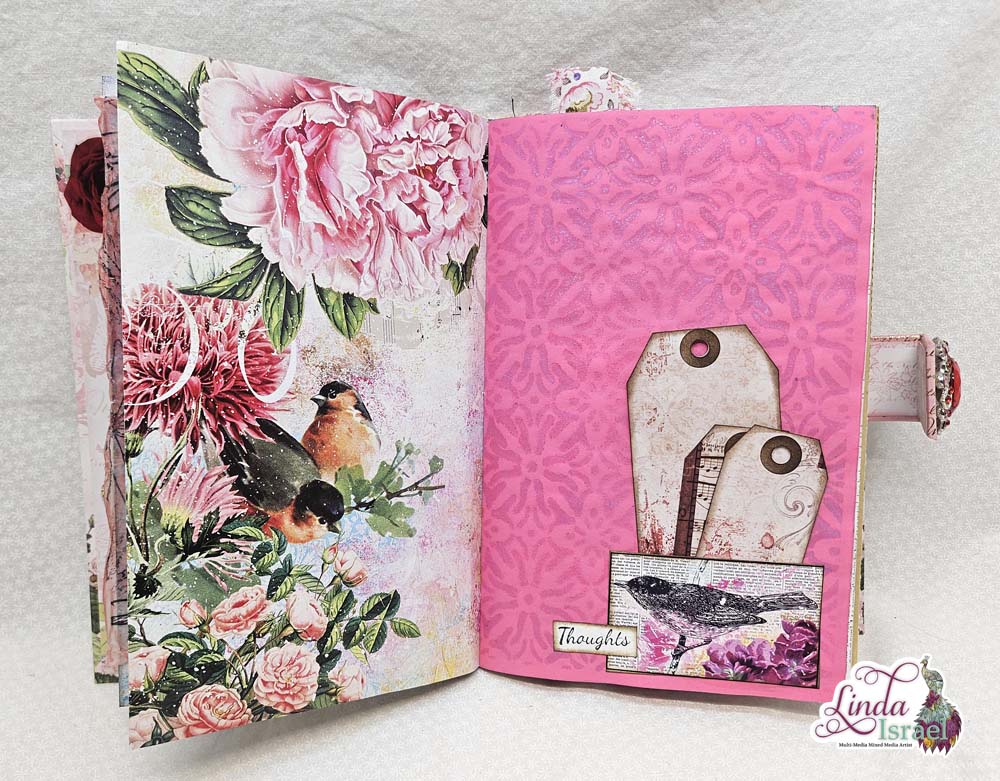
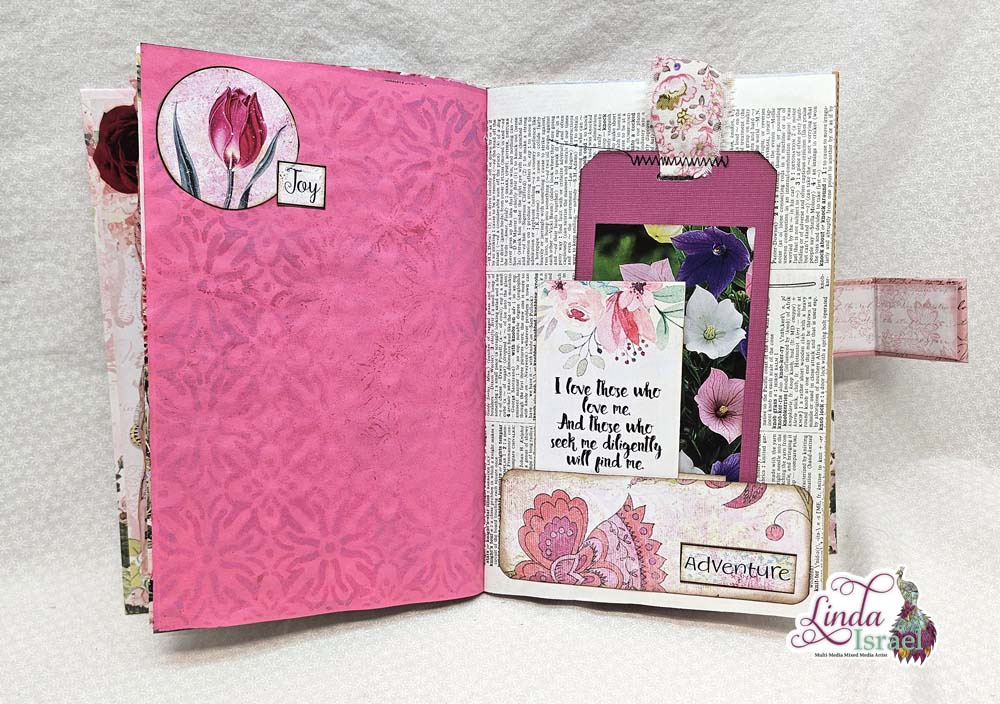
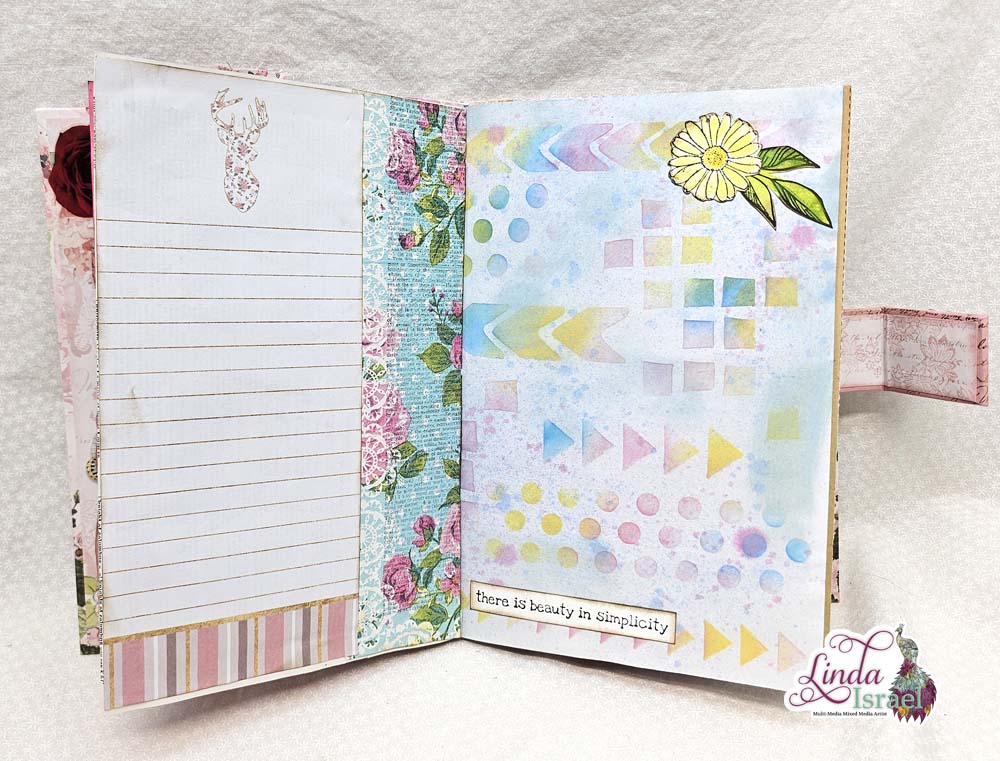
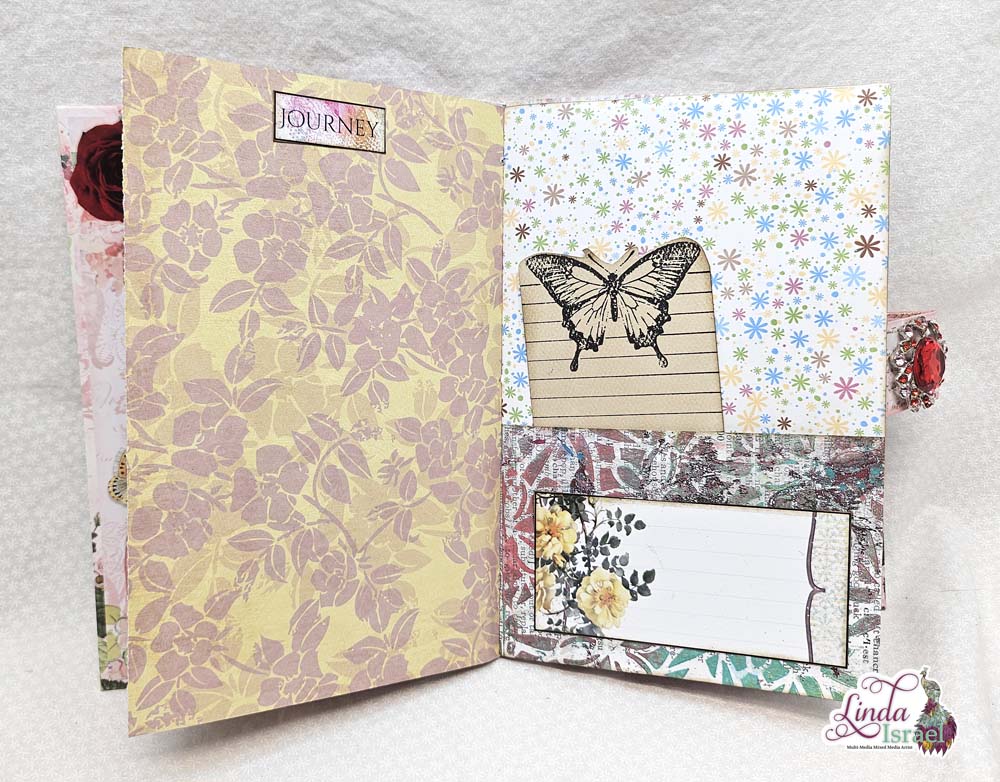
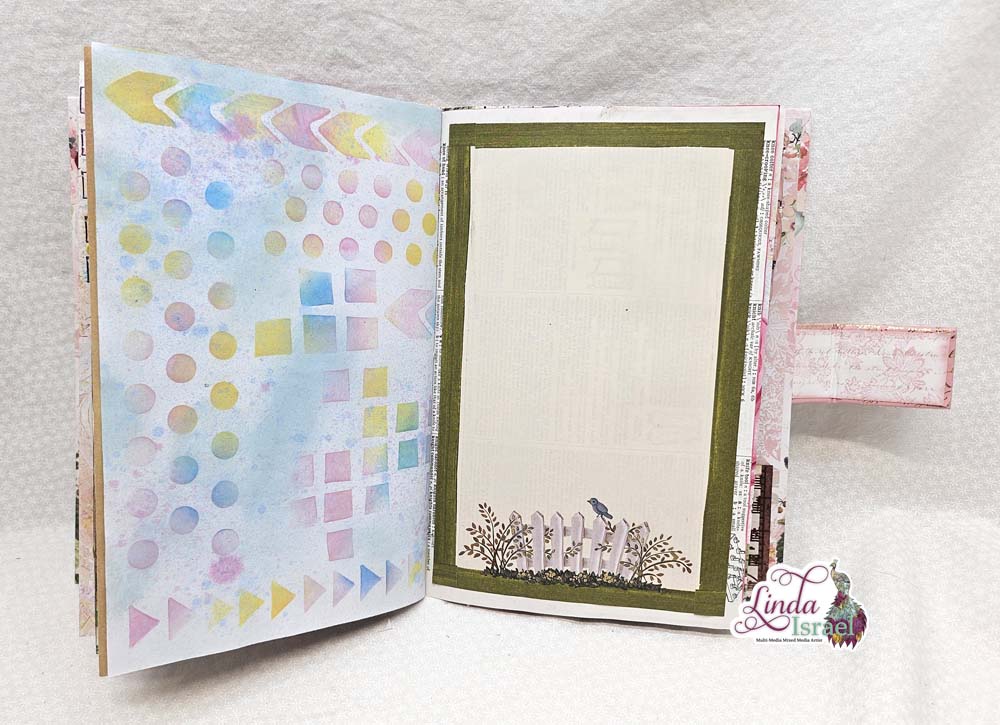
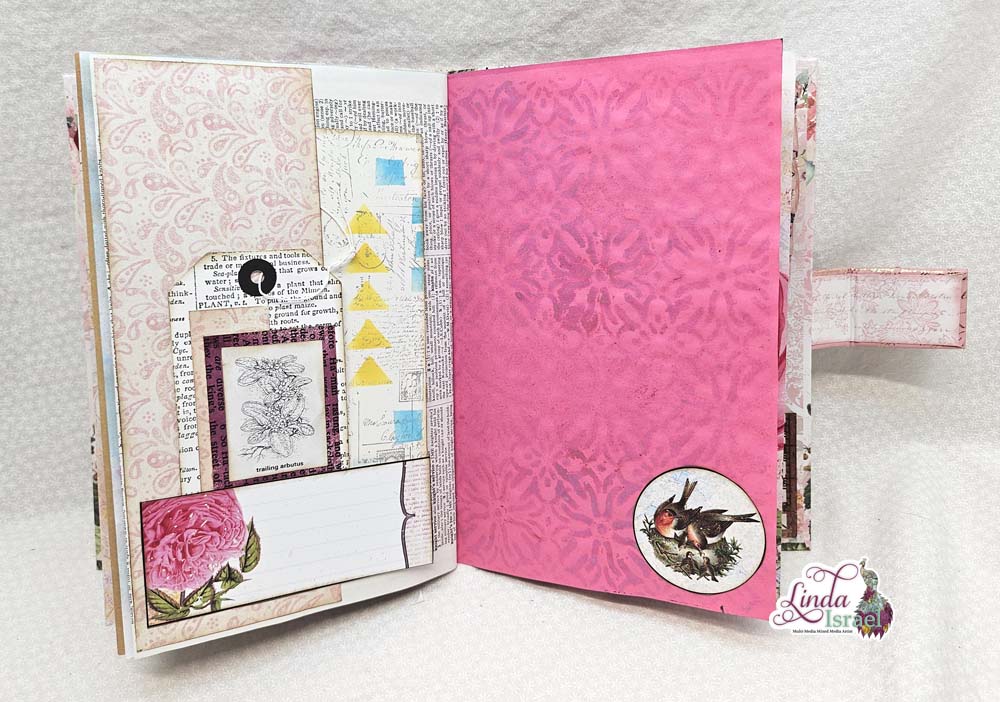
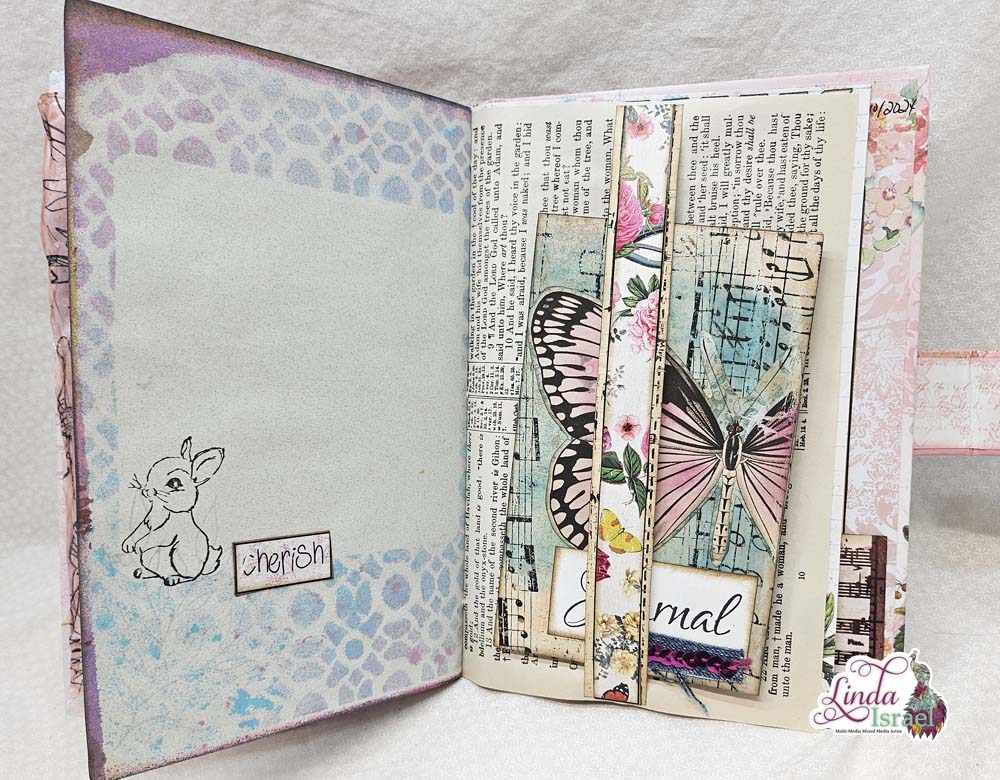
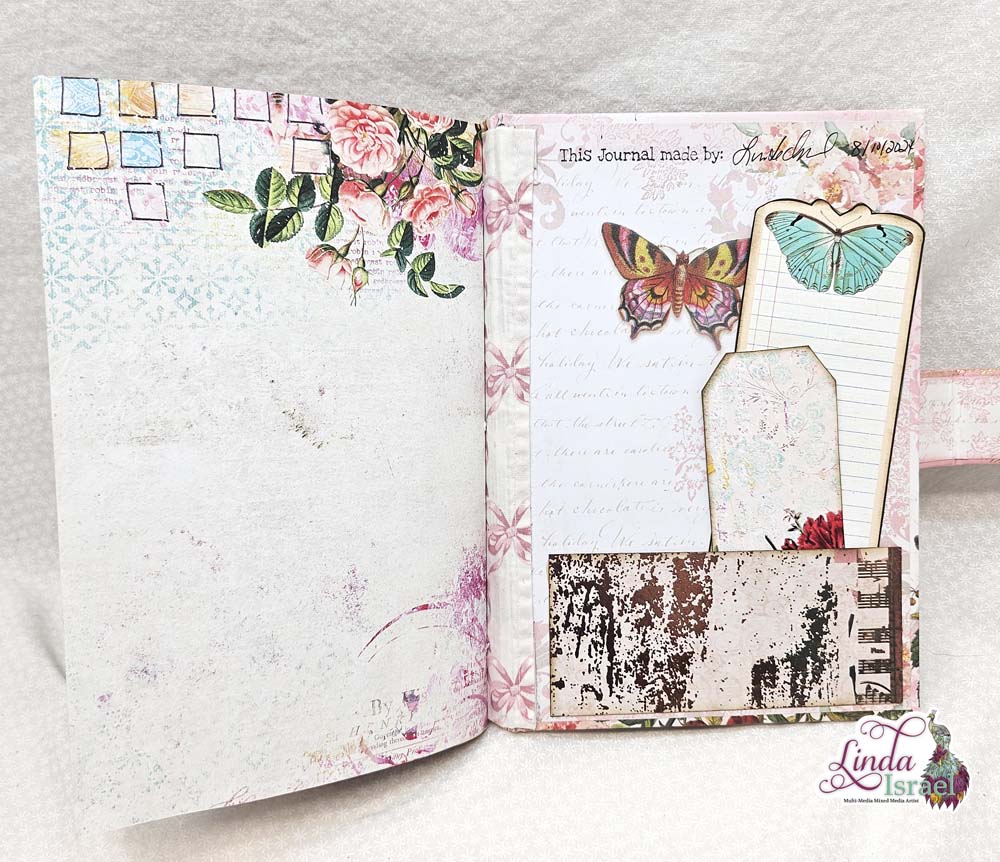
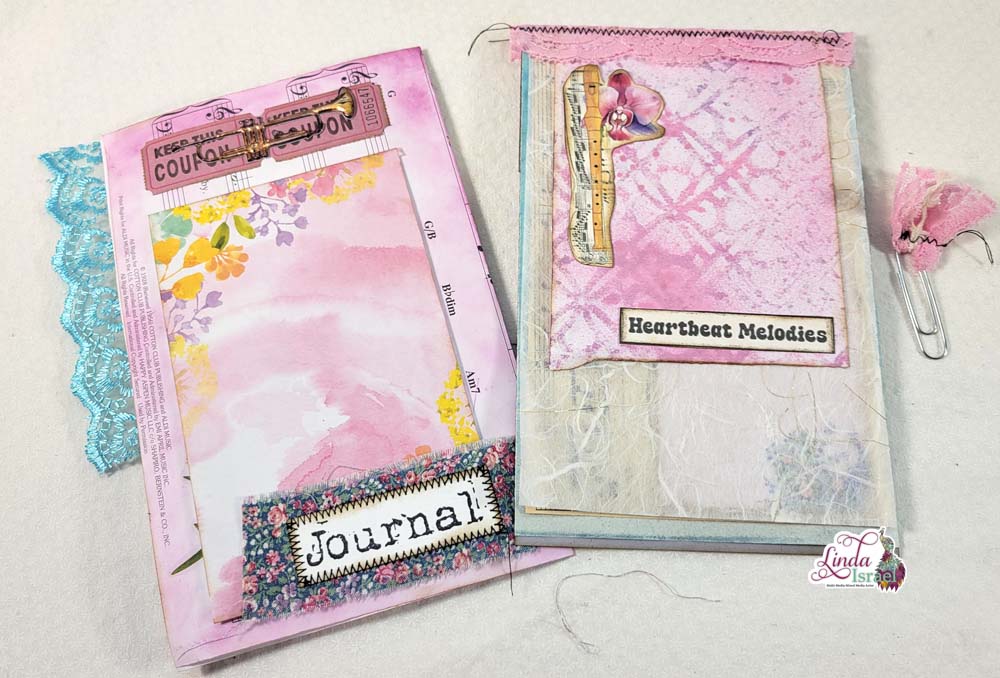
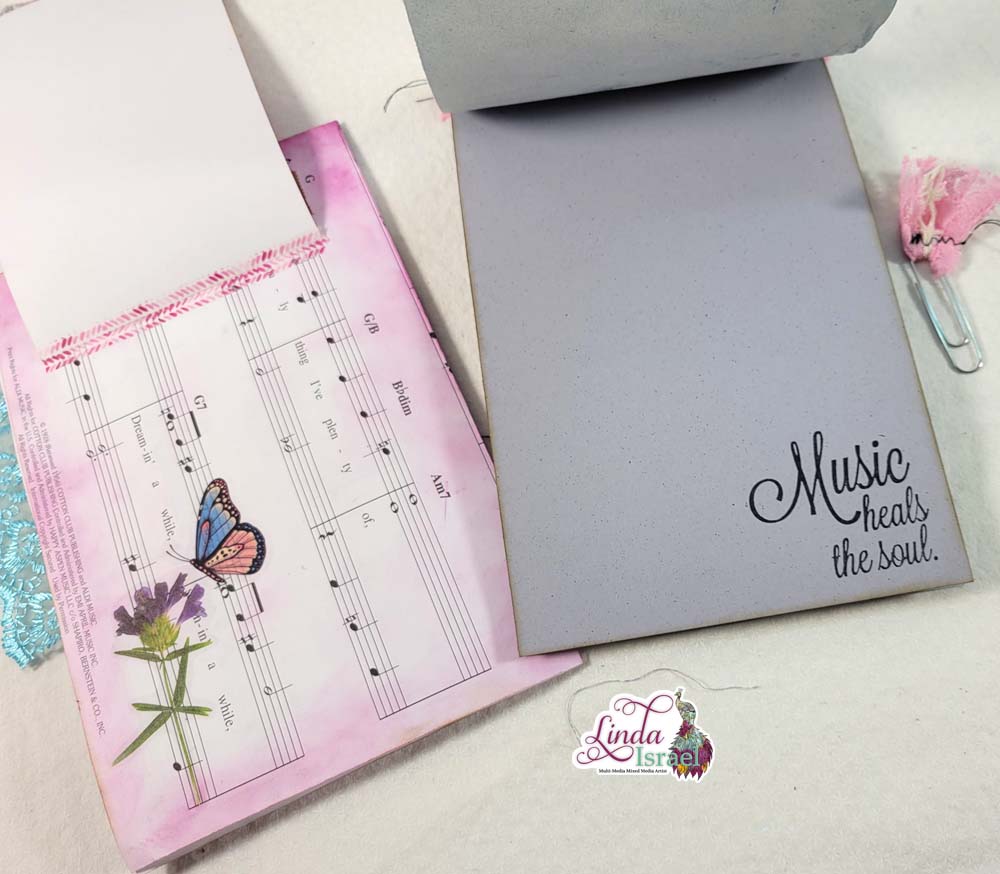
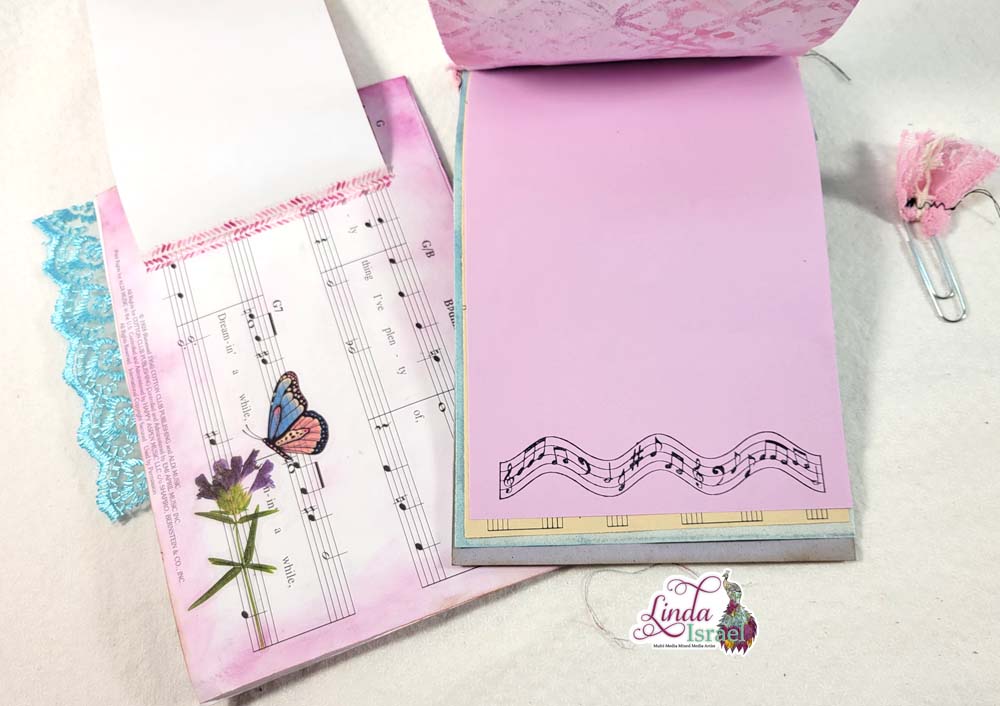
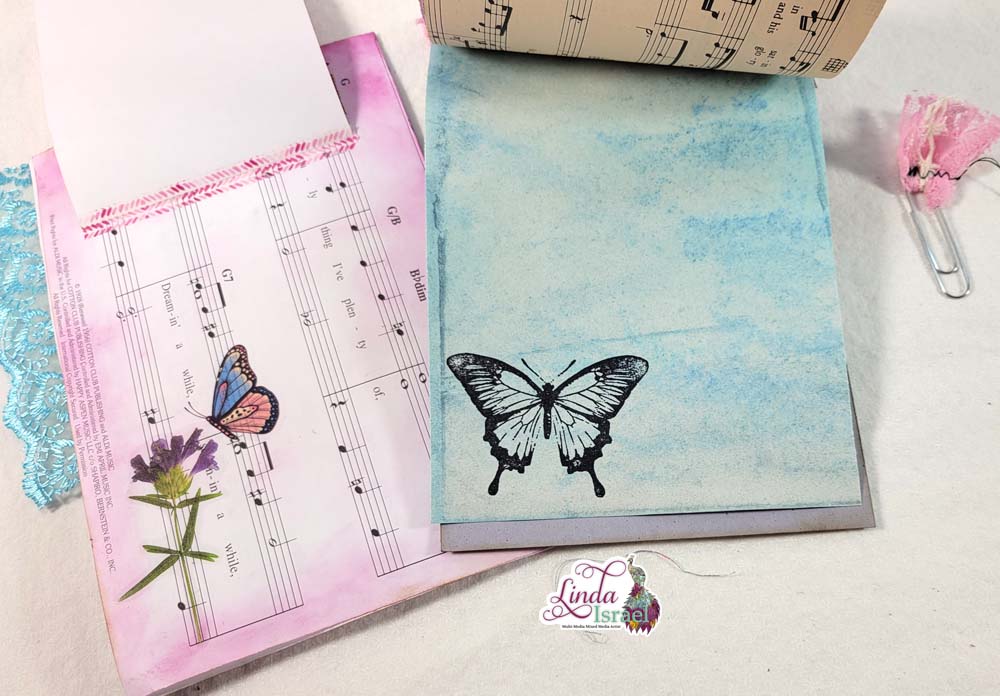
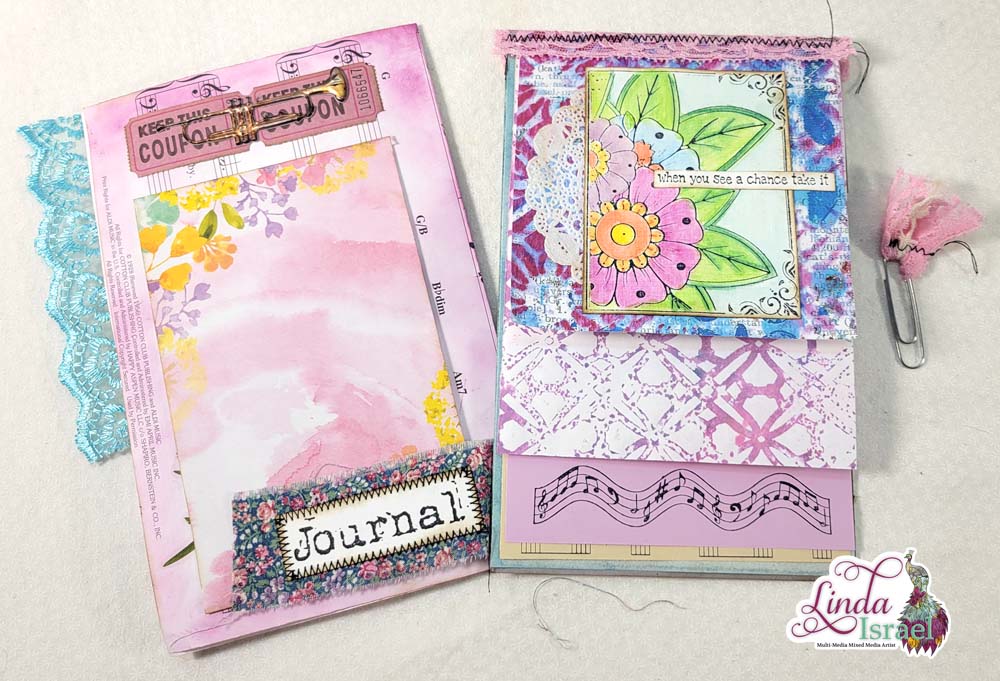
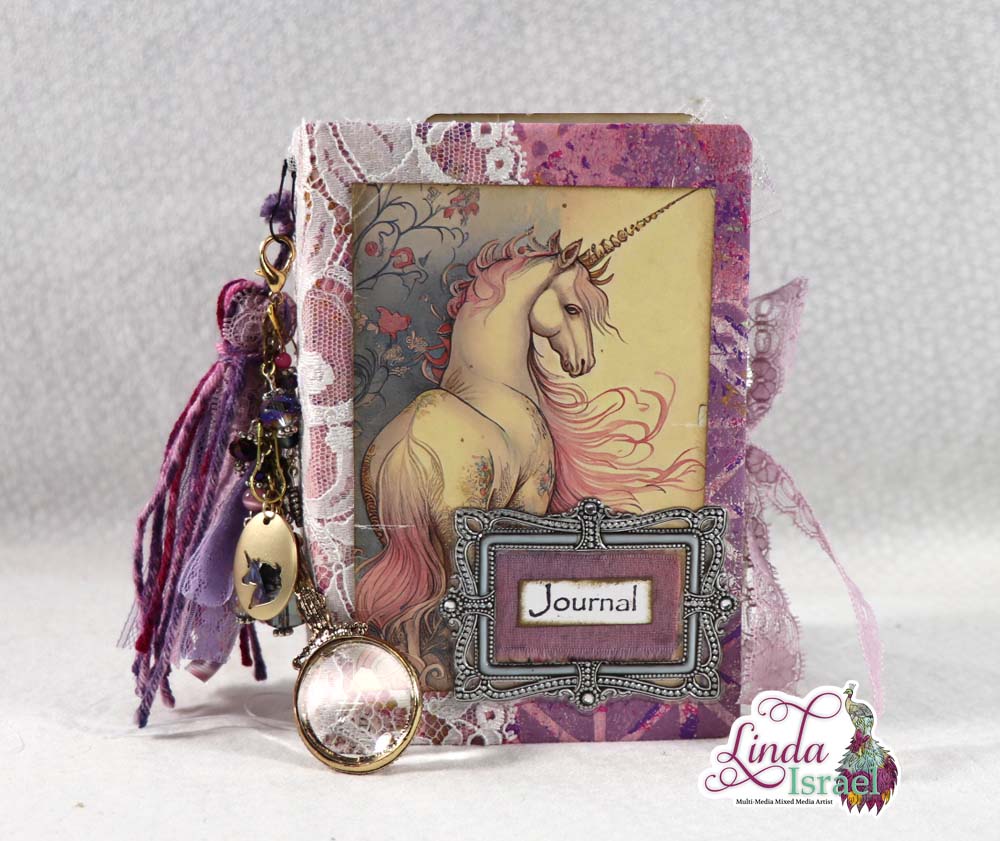
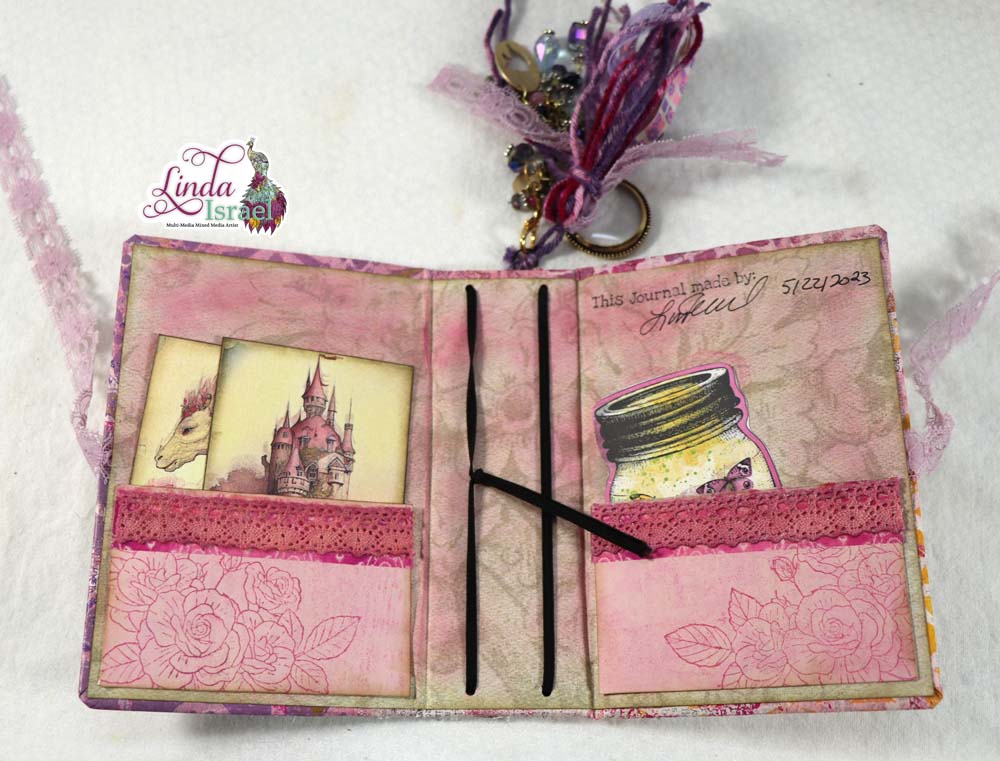
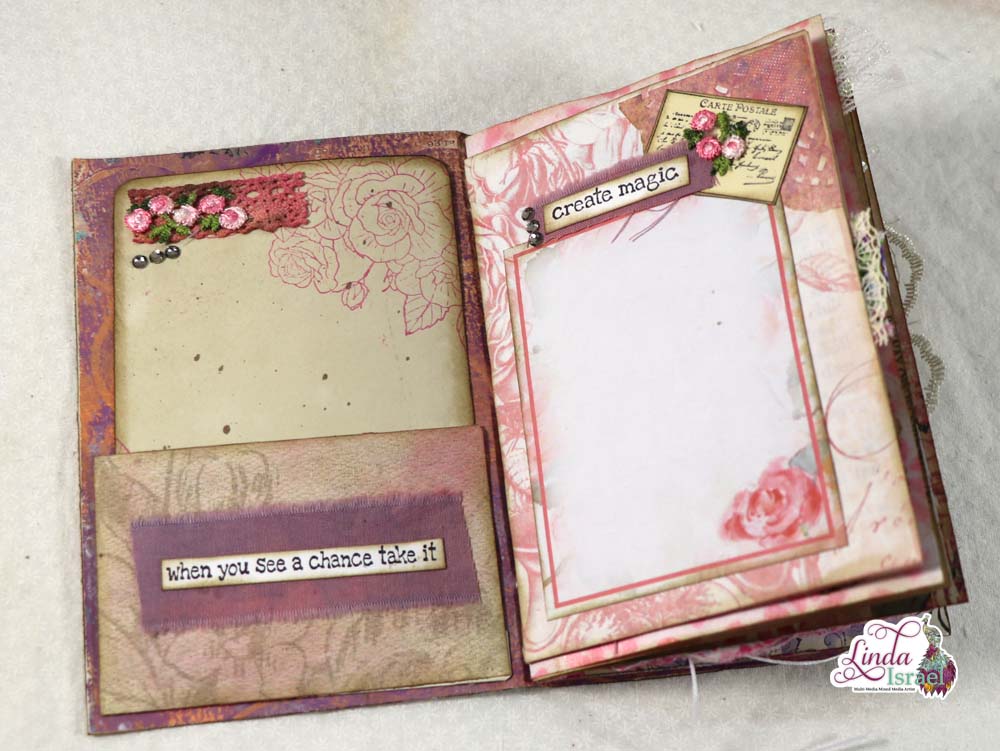
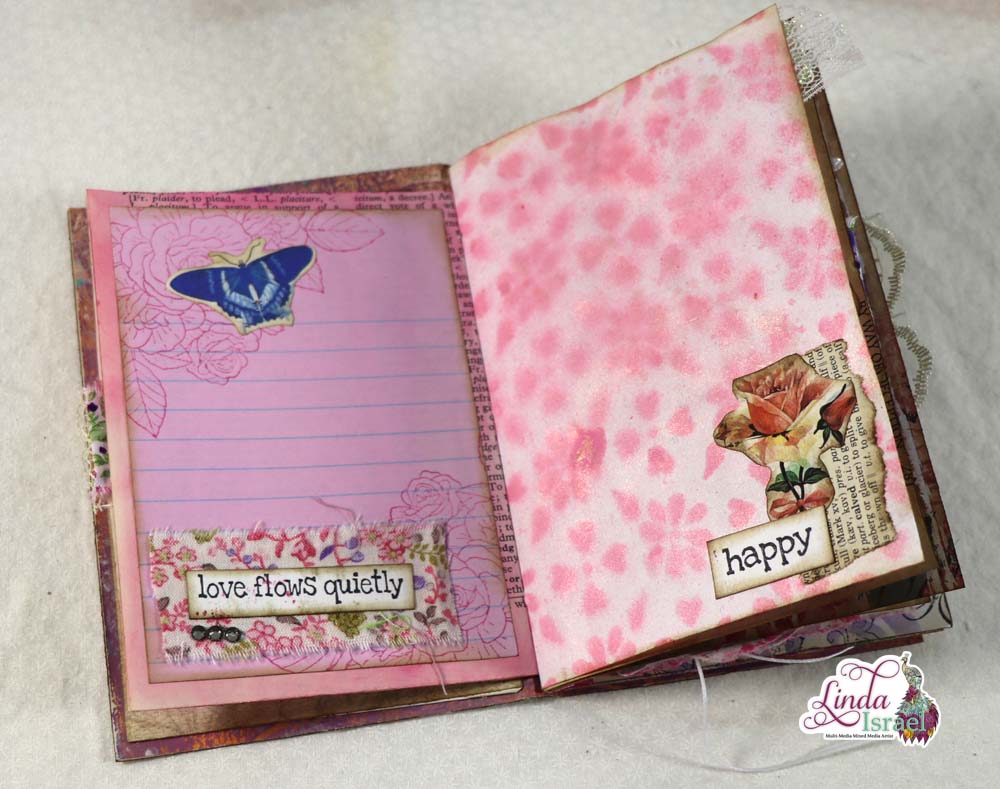
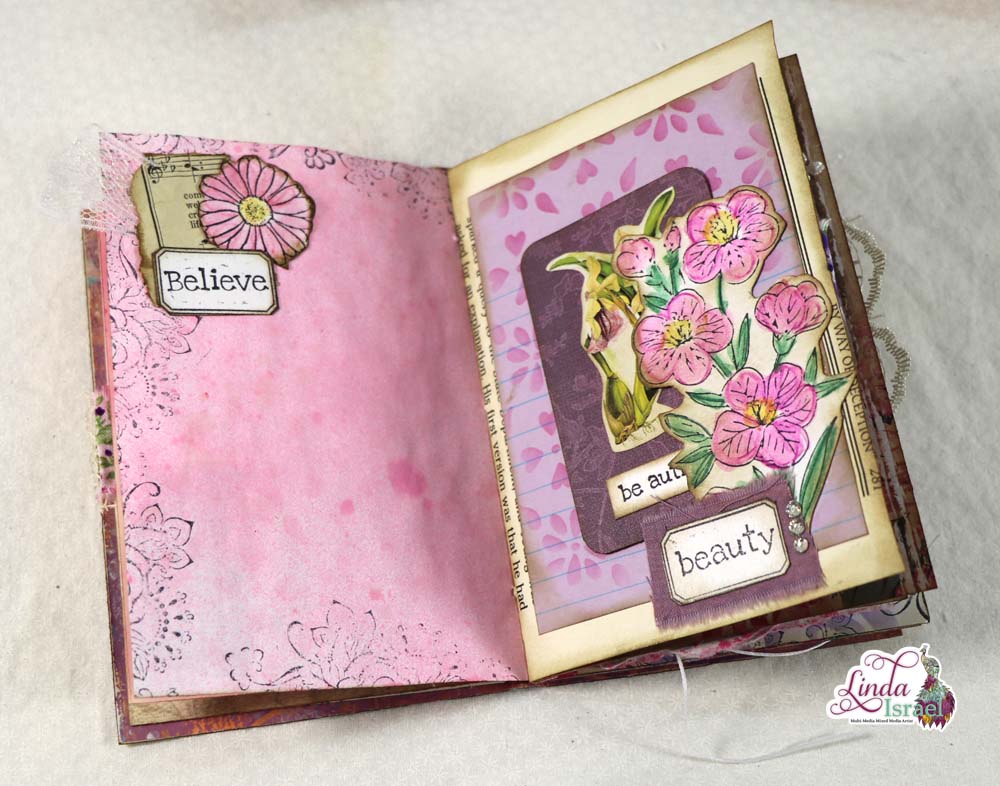
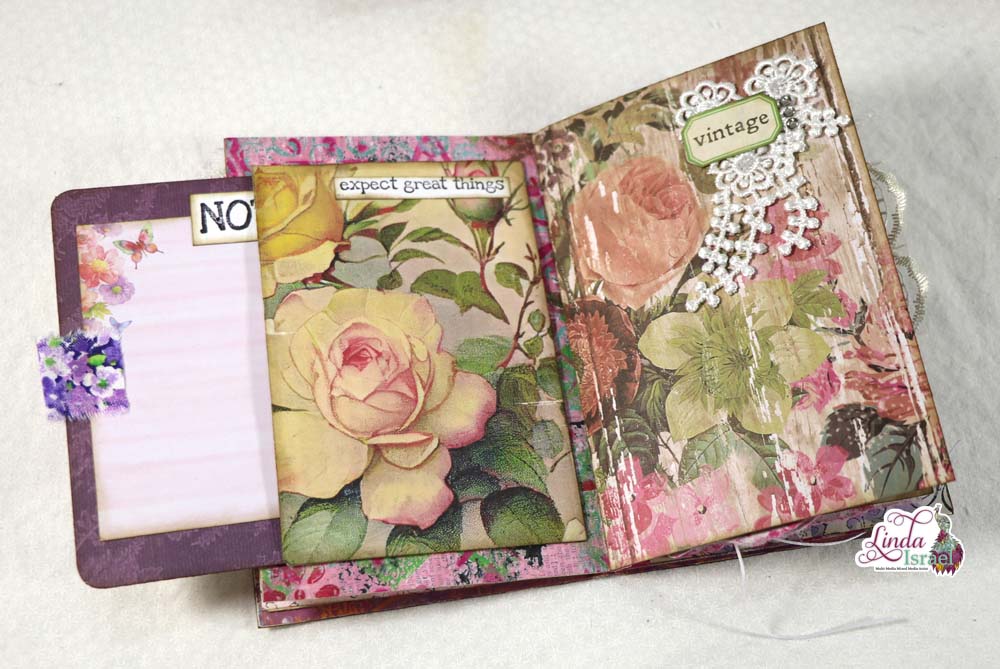
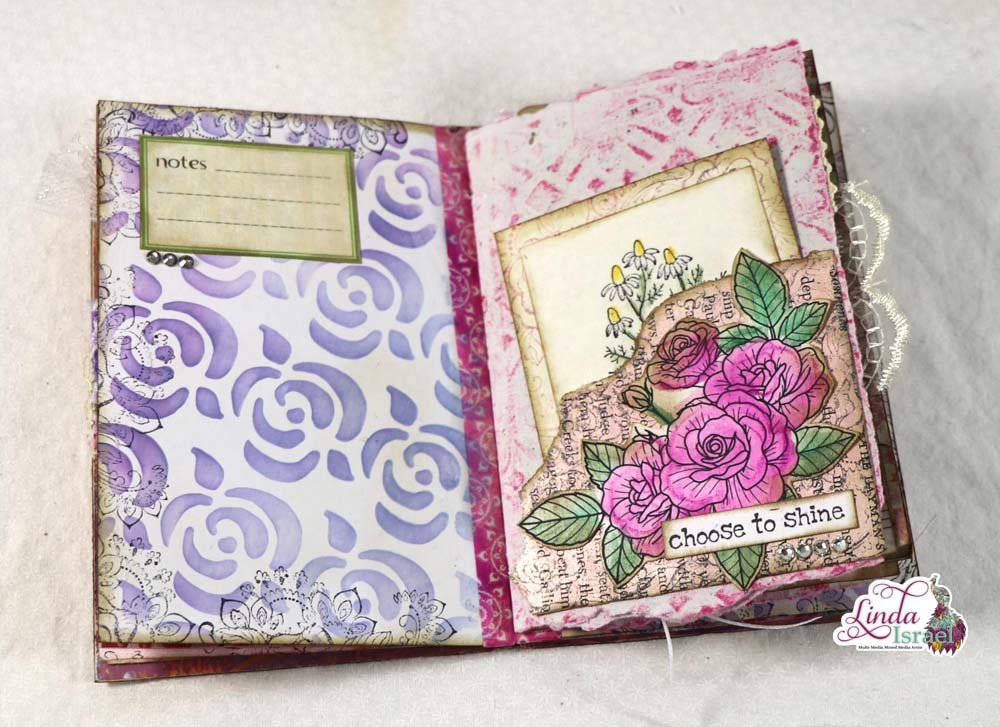
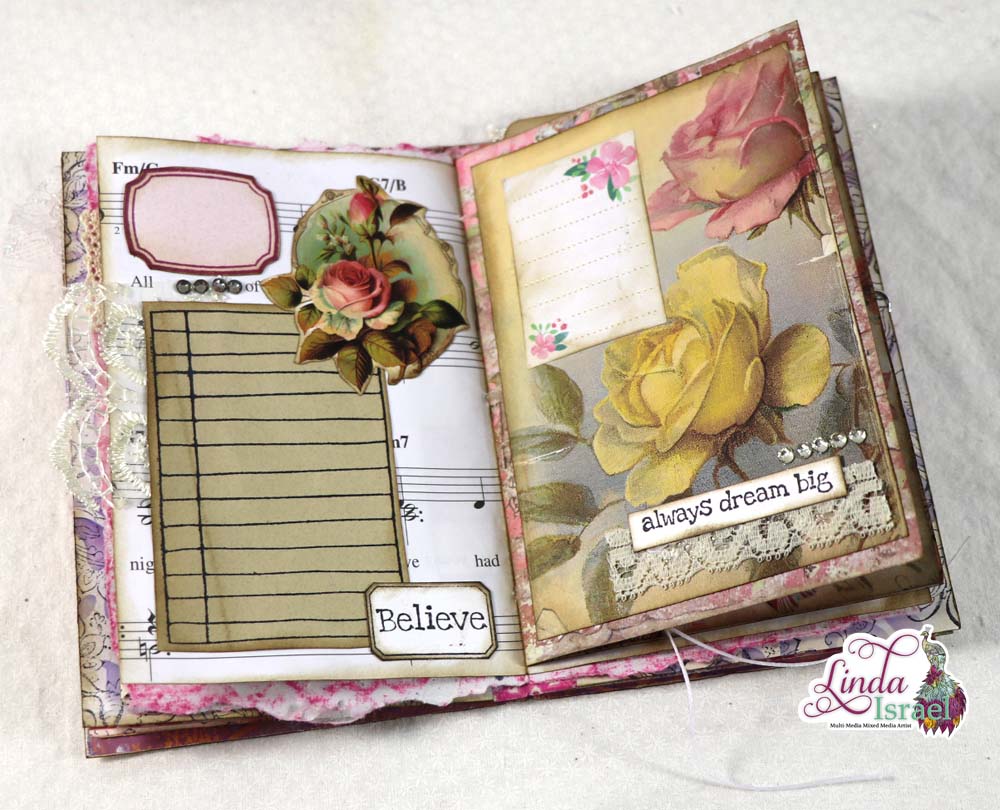
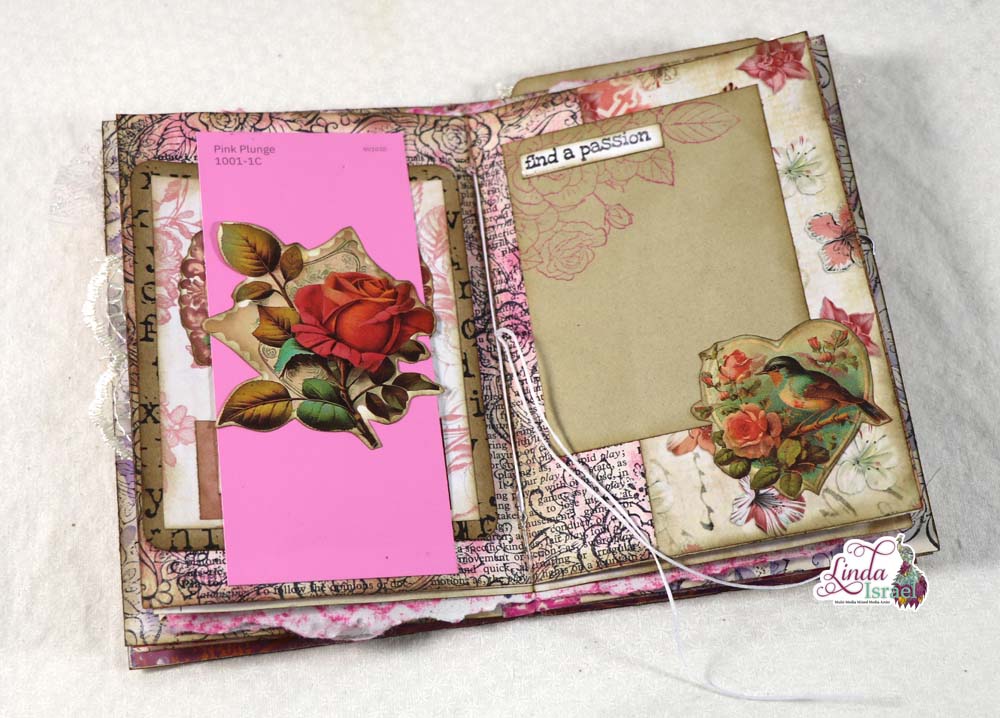
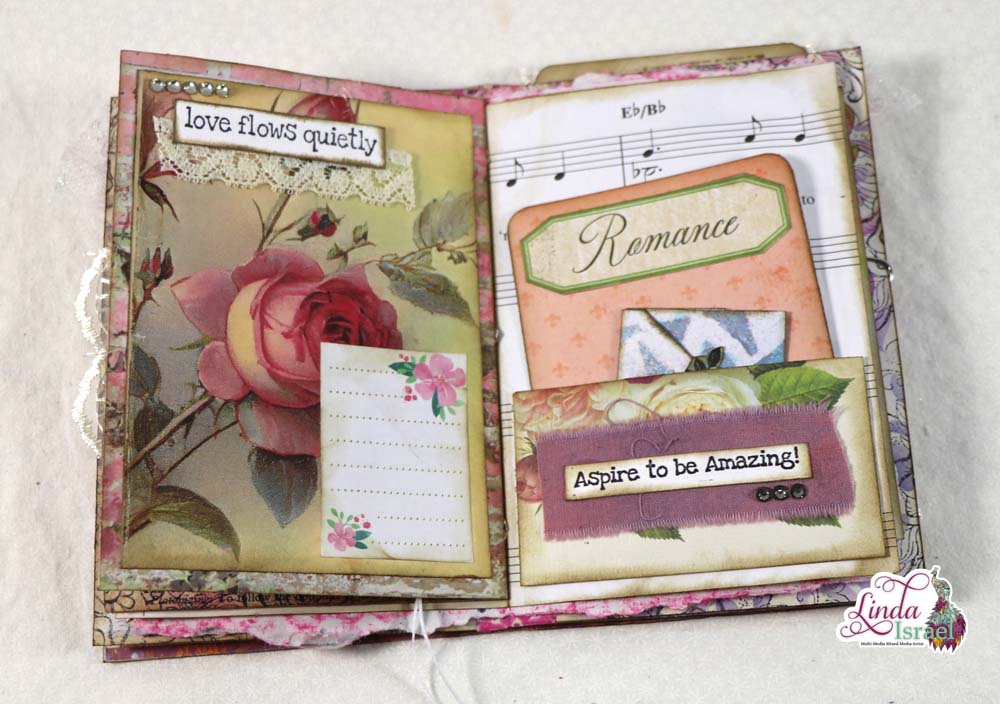
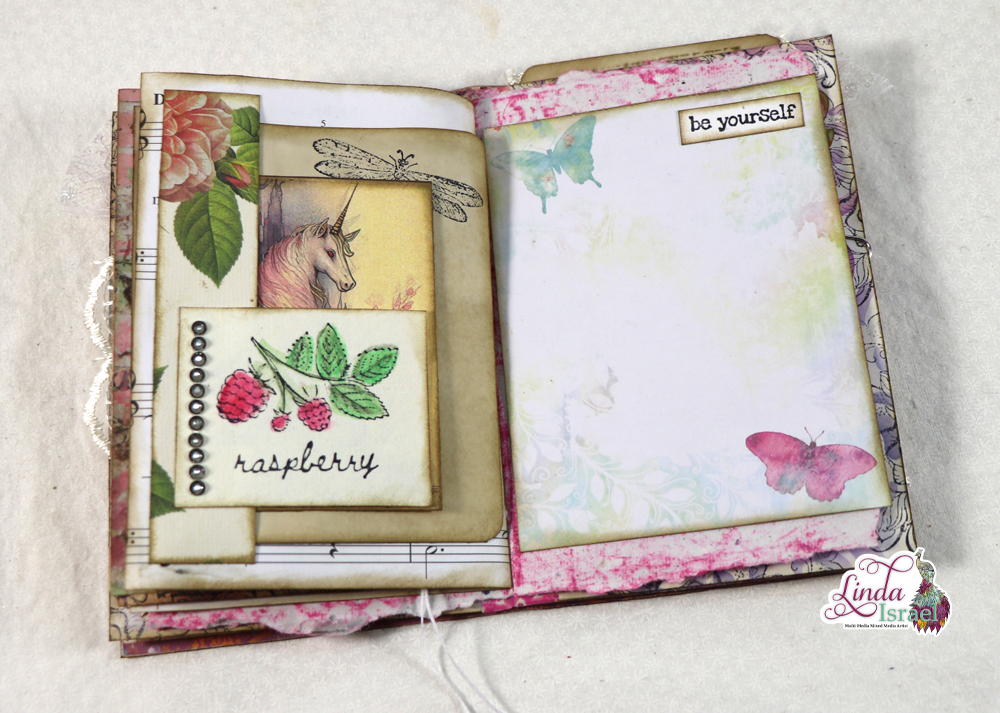
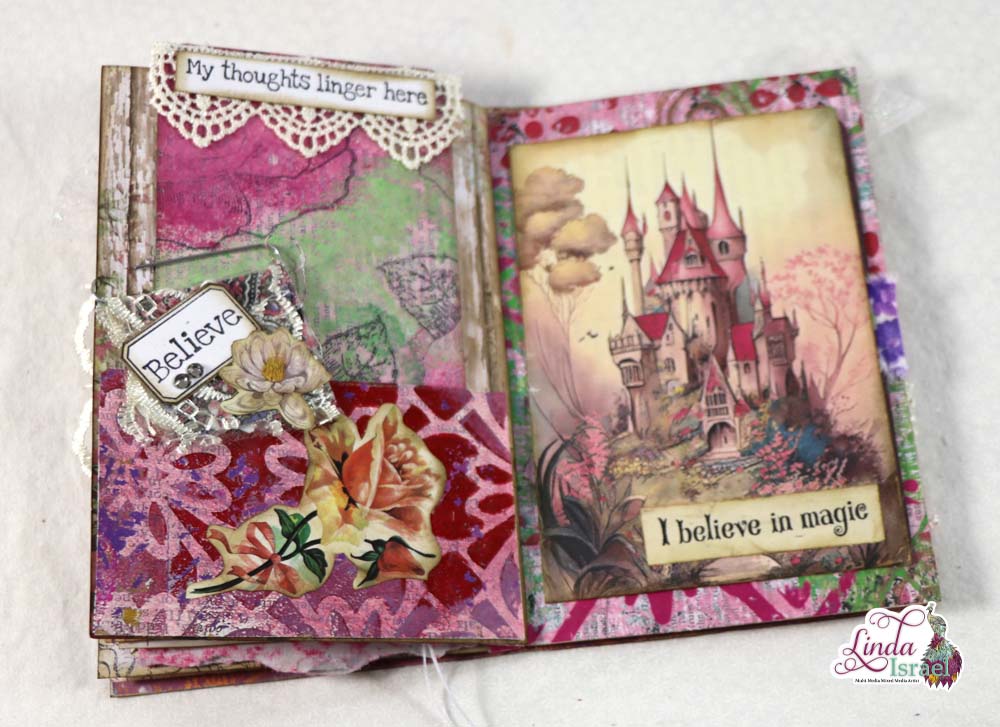
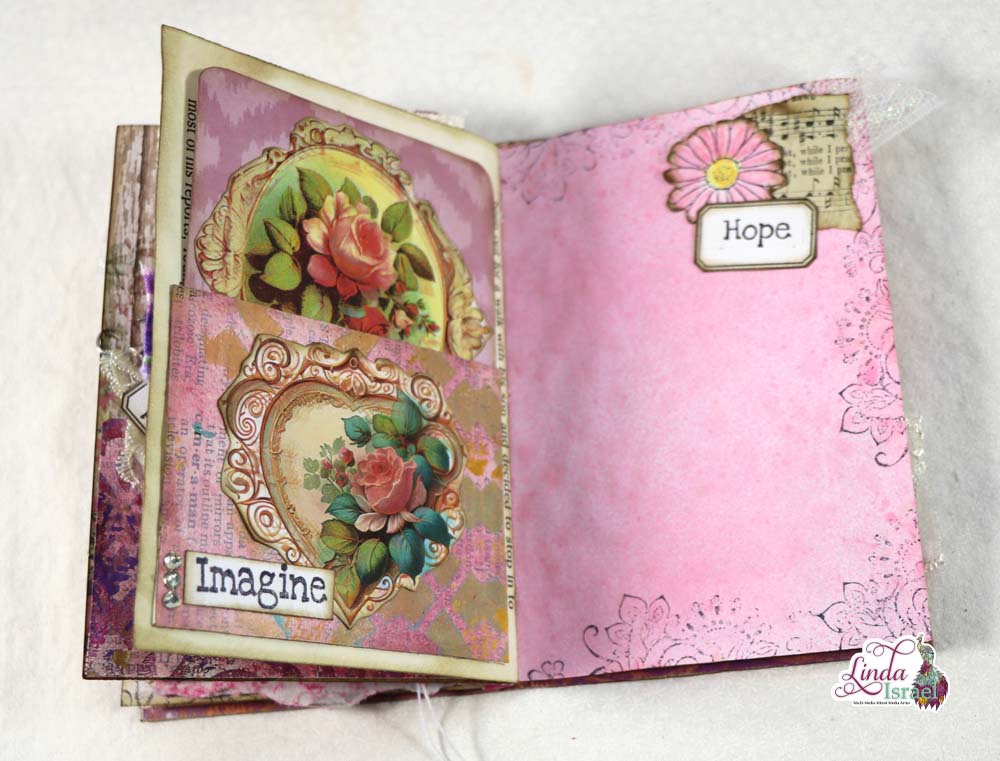
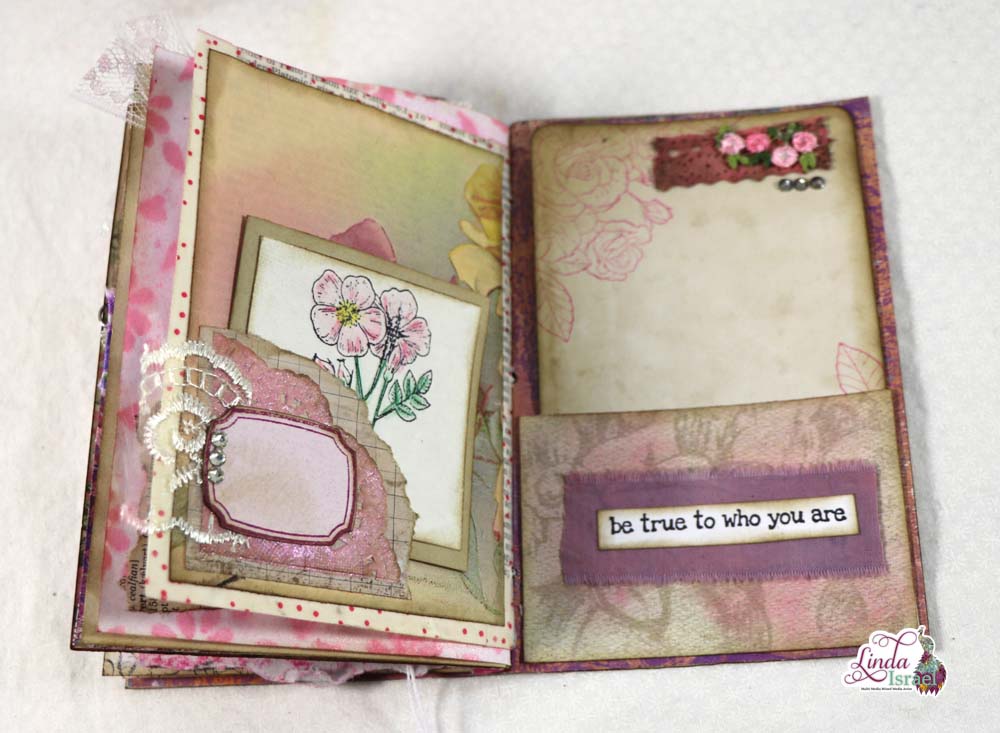
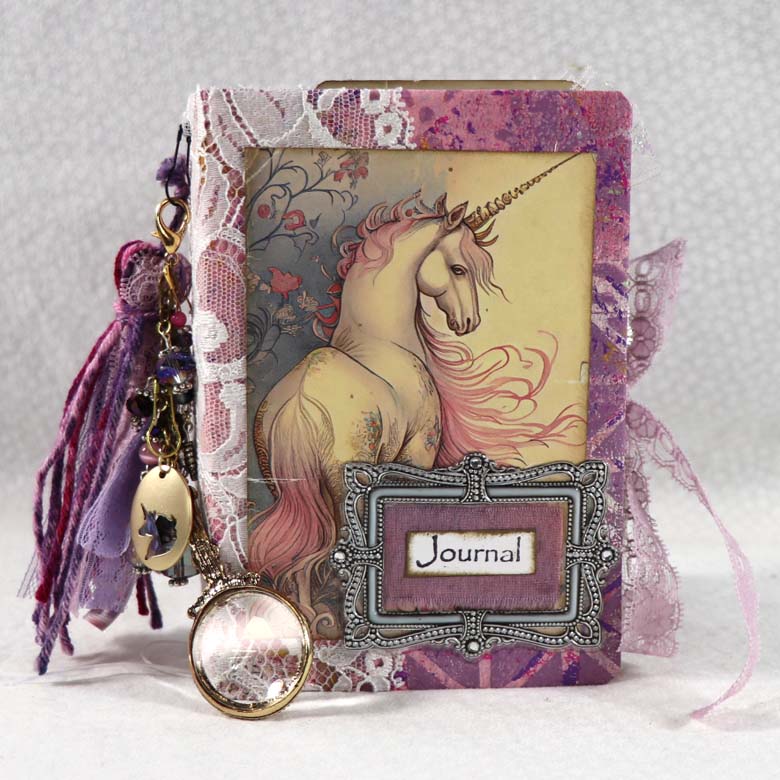
Day 12 of #useitupjuly and I’m sharing an Embellishment Junk Book Tutorial. One of my followers Cara Brandon shared her project for the use it up July and it was an Embellishment book. Cara got her idea from CraftingwithLiller. I really liked what Cara shared and took a look at what Liller created and decided I would make my own version and make it geared towards Junk Journals.
Embellishment Junk Book Tutorial Video.
https://youtu.be/7mBDbBQxOww
Supplies Used for the Embellishment Junk Book Tutorial
- Calico Collage Digital Images from Song Bird, Day Dreaming, Flowers and Lace and One Fine Day.
- Heavy Watercolor Paper – can use cardstock
- Junk Mail – Giant postcard
- Fiskars Rotary Paper Cutter
- Stylis
- Glue Sponge Container
- Brother Sewing Machine
- Cardstock for the mats
- Old book pages and hymnal pages, painted/sprayed
- Scraps of fabric
- Ribbon
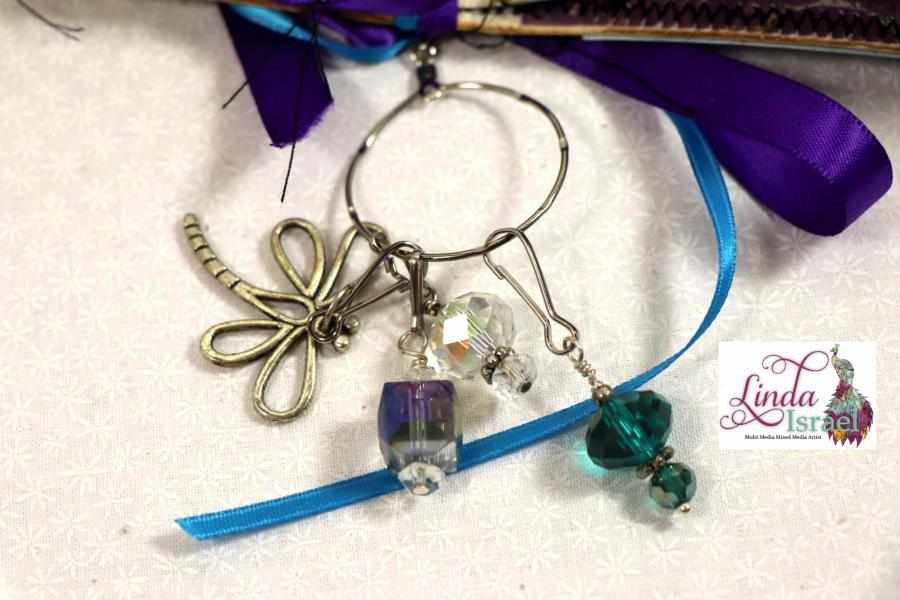
- Charms
- Fiskars Scissors
- White mini paper bags 2.5 x 3.5 from Canvas Corp Brands
- Lace
- Washi Tape
- Paint chip samples
- Little decorative notepads
- The Paper Studios Tag punch
- Best Glue Ever by ScraPerfect
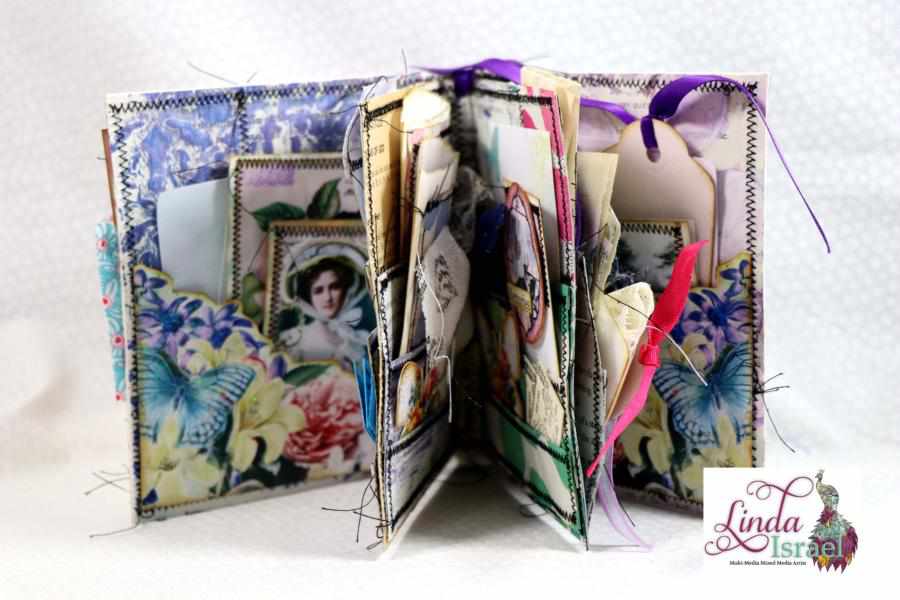
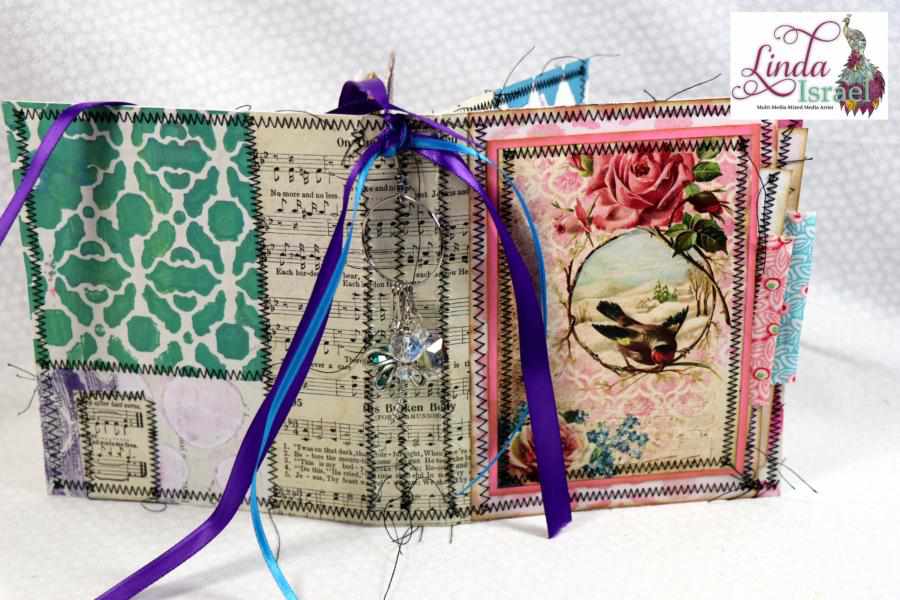
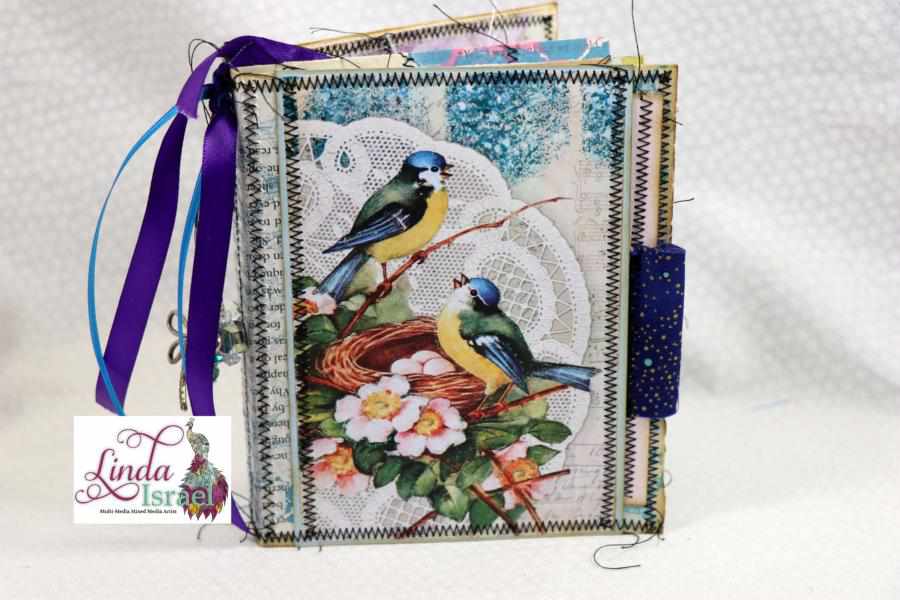
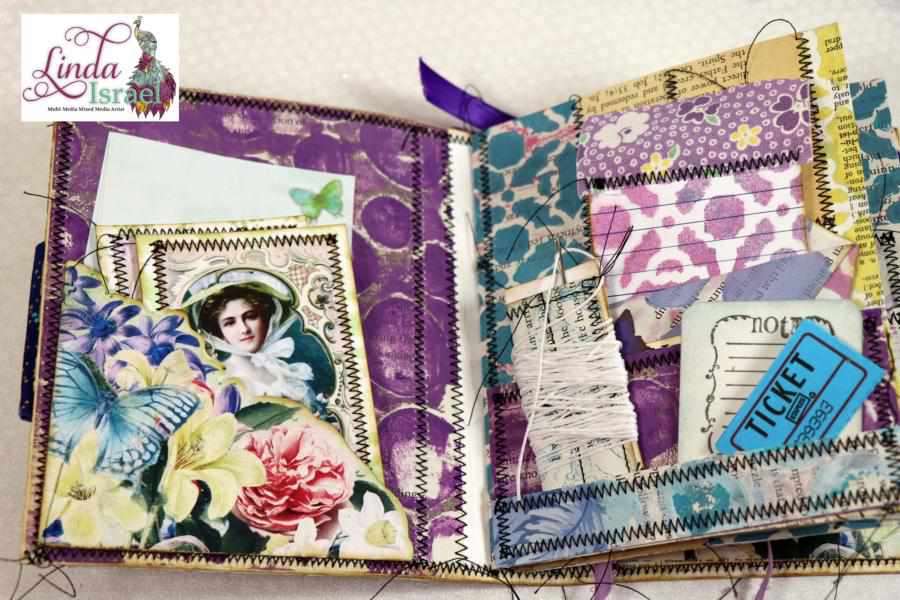
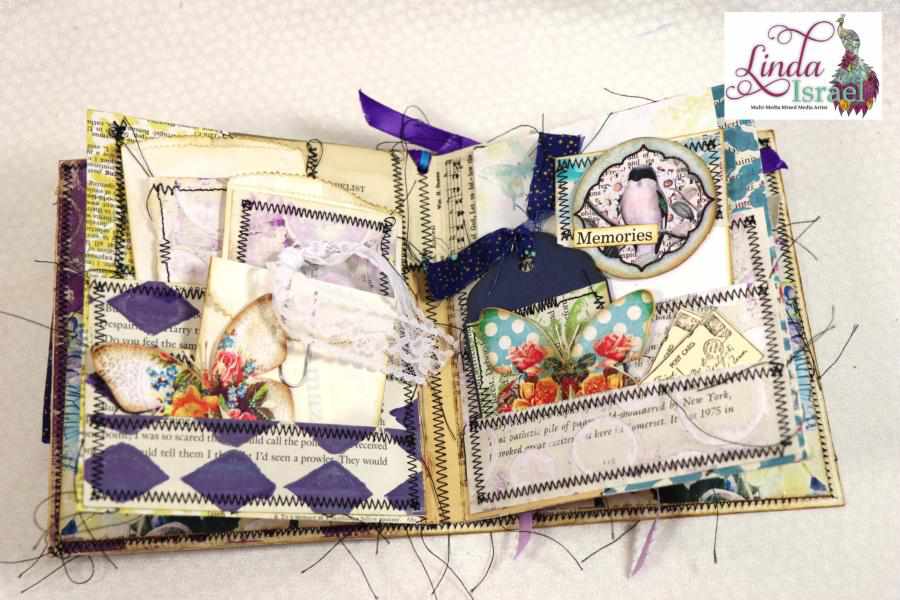
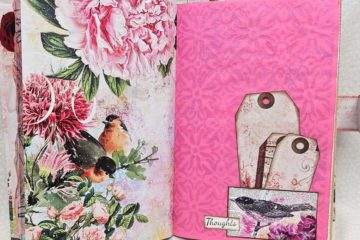
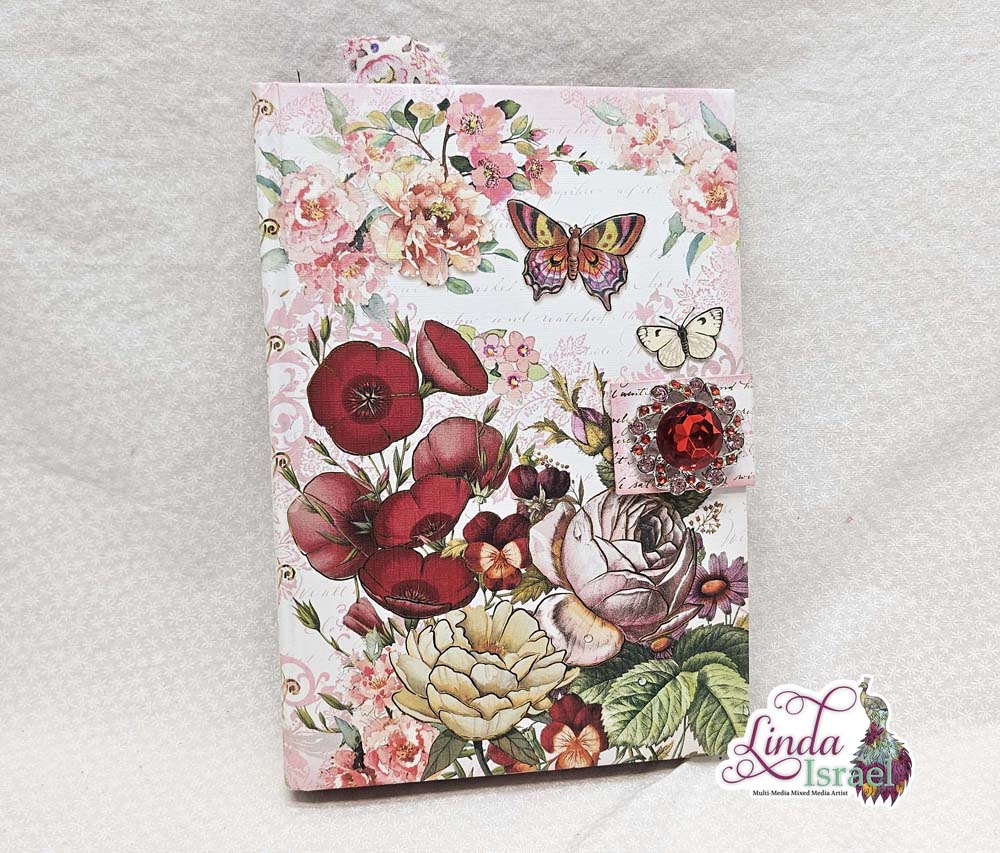
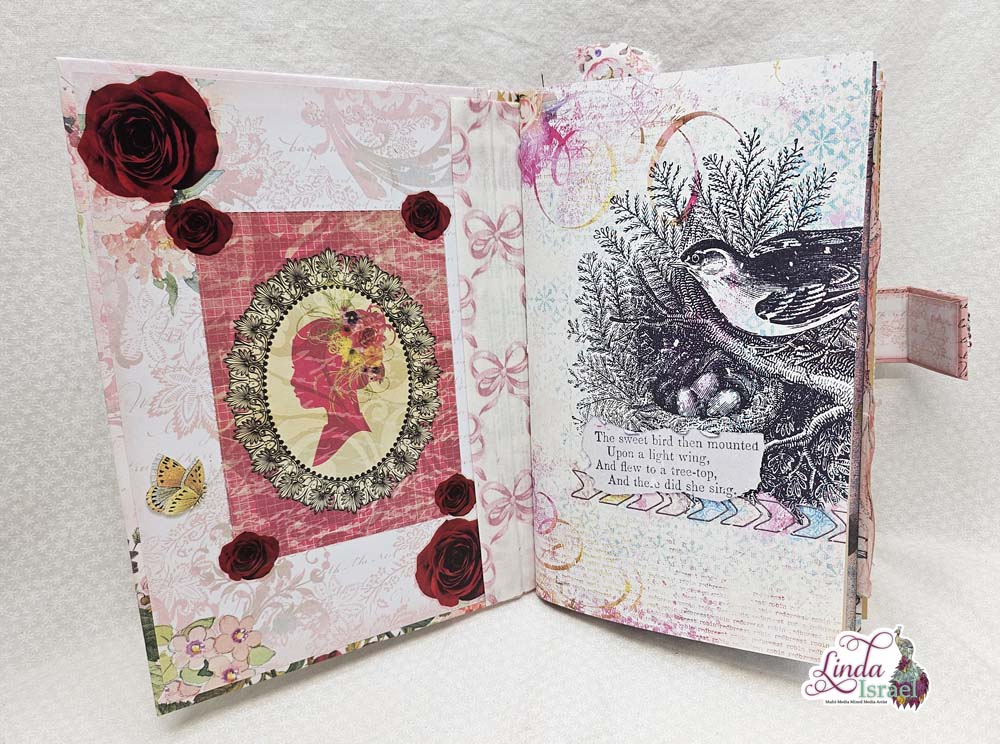
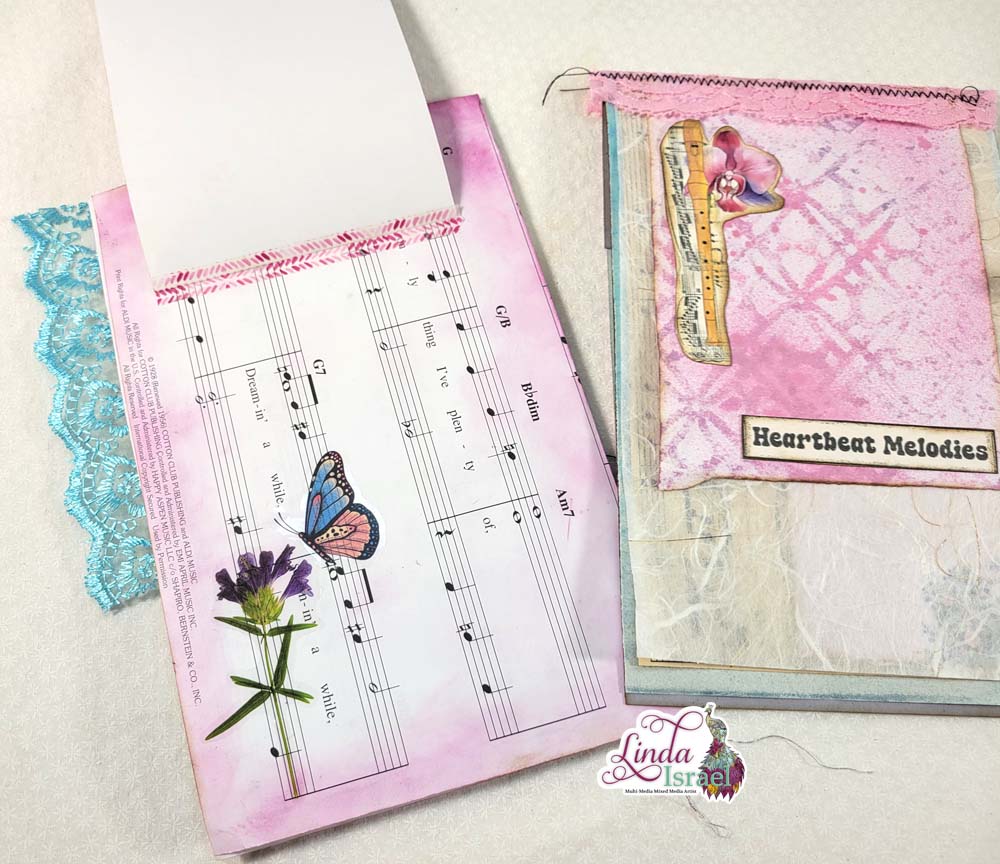
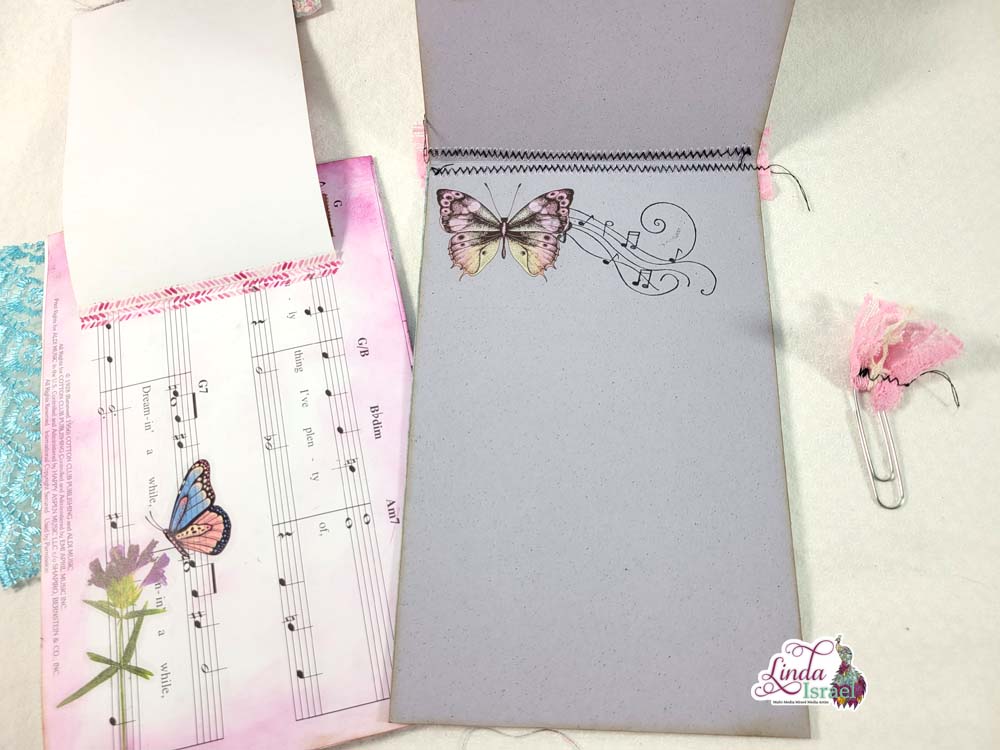
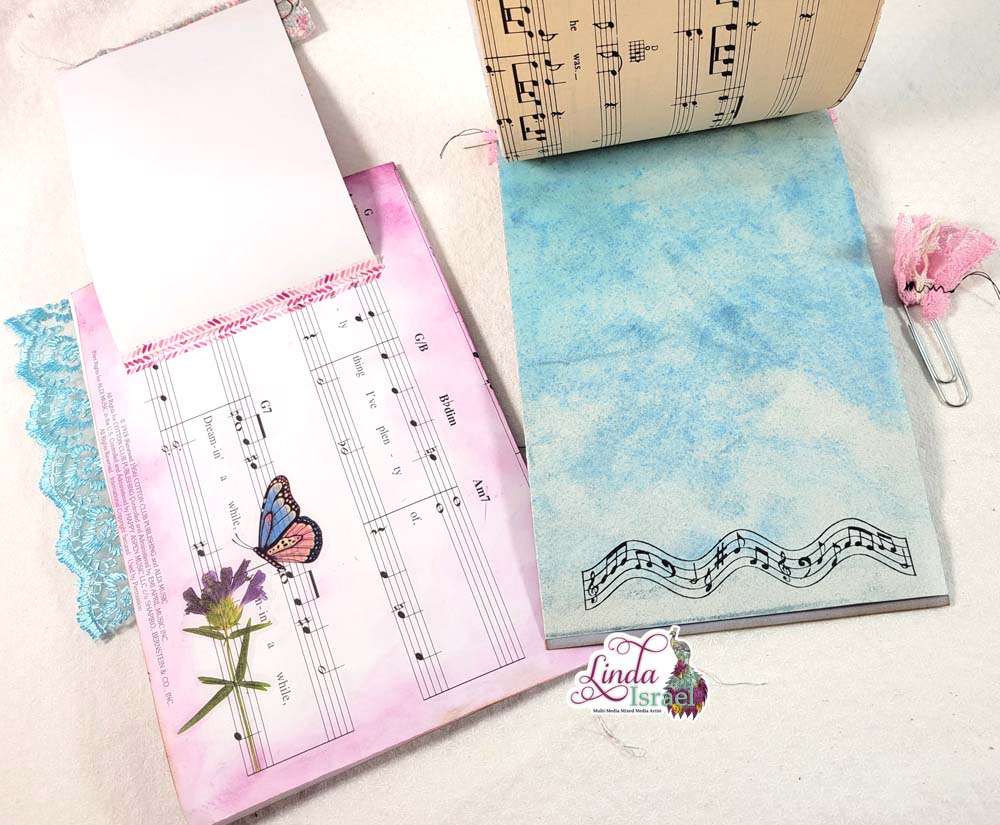
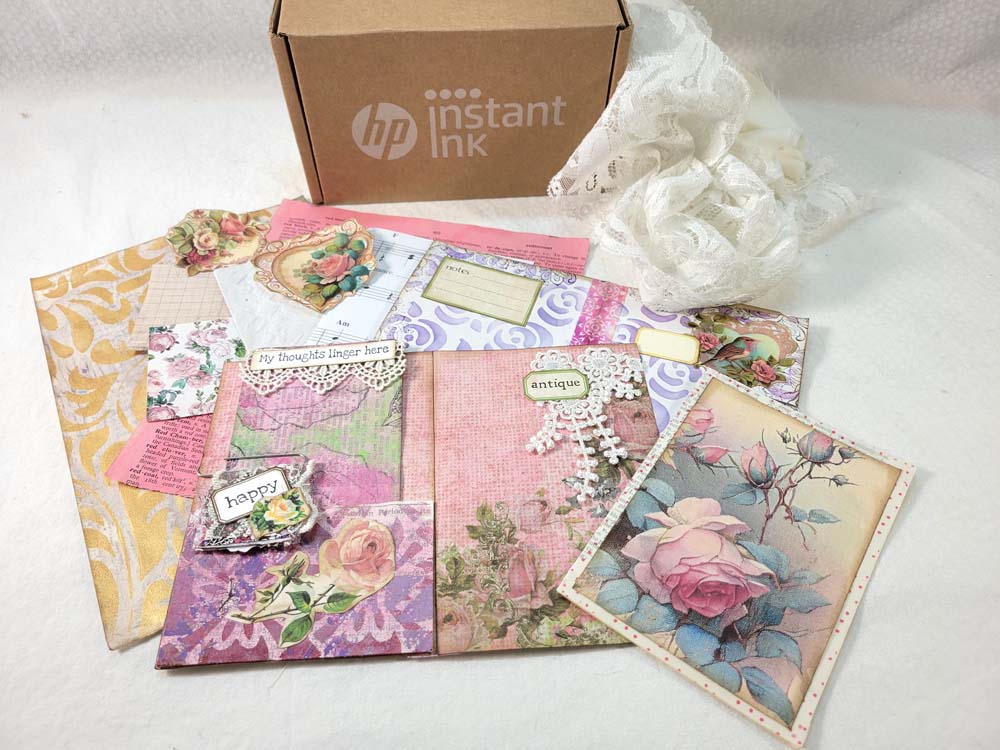
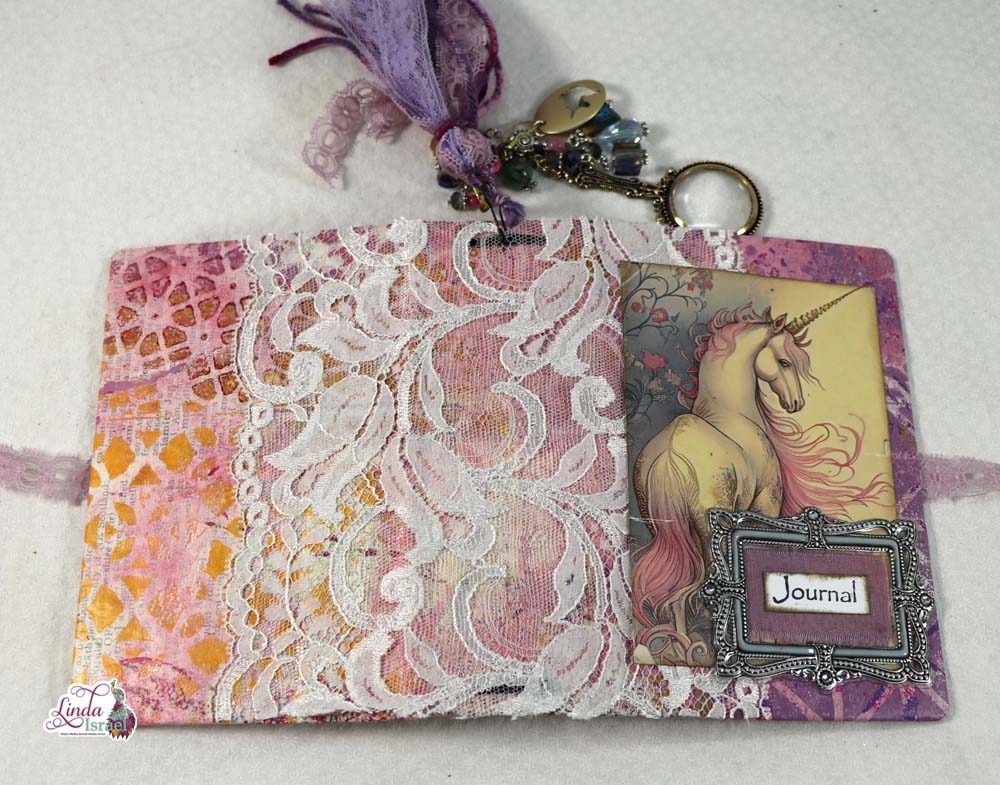
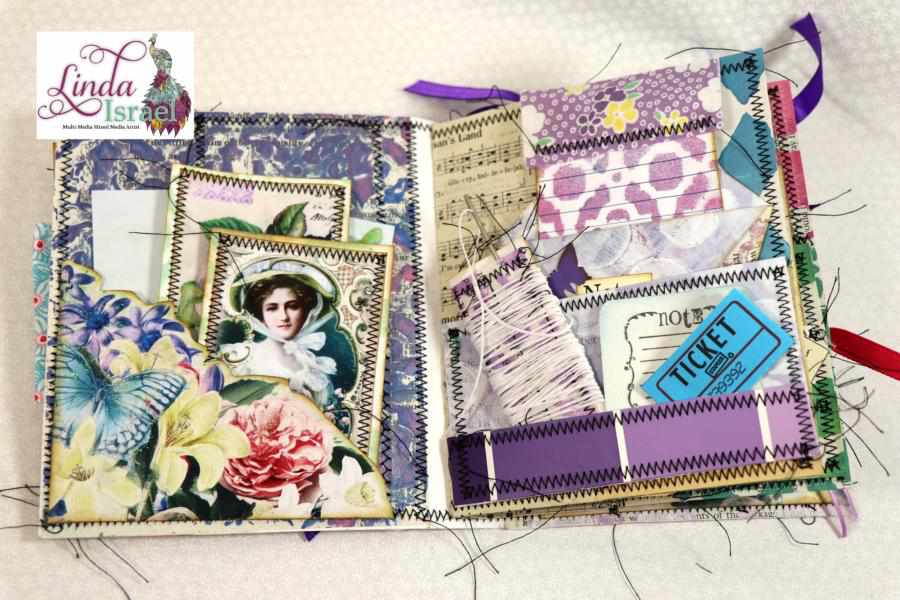
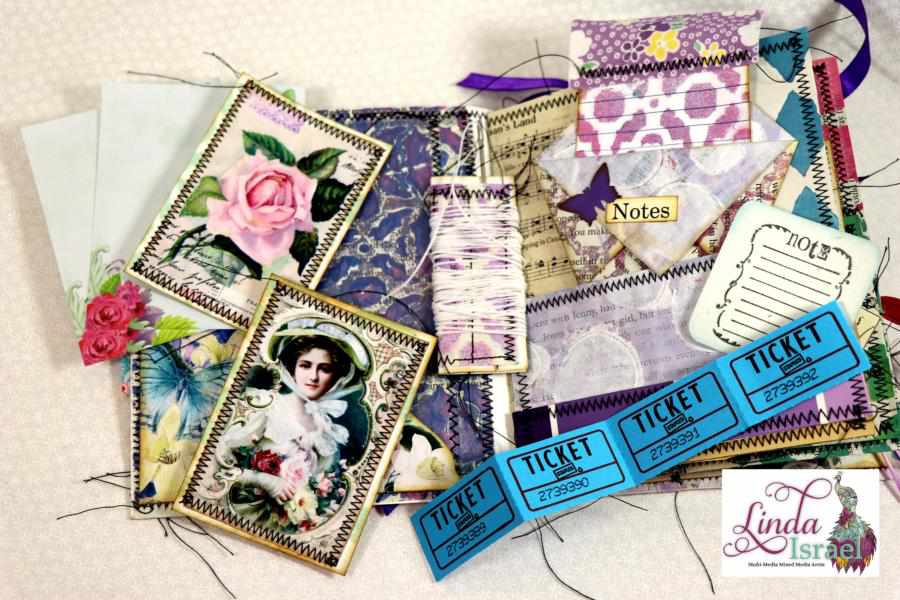
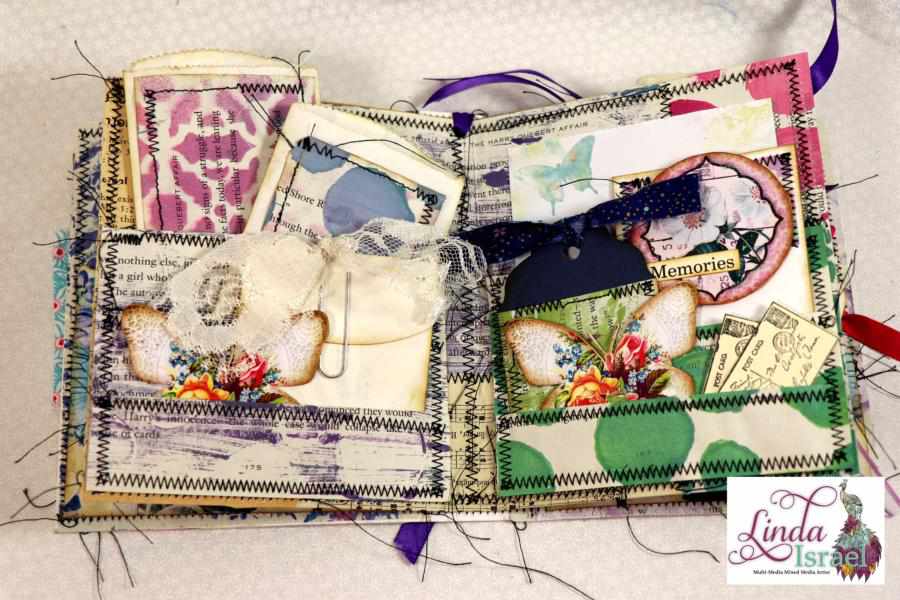
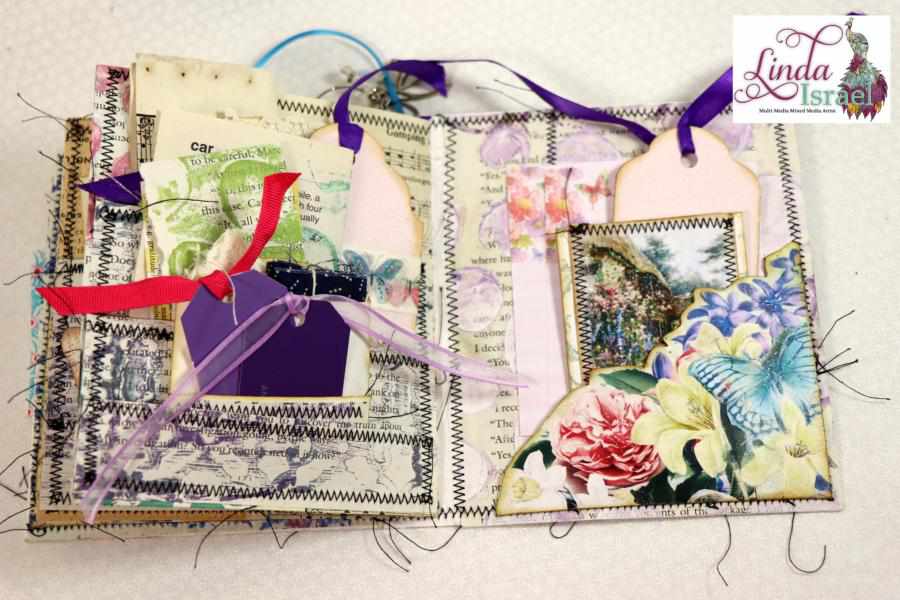
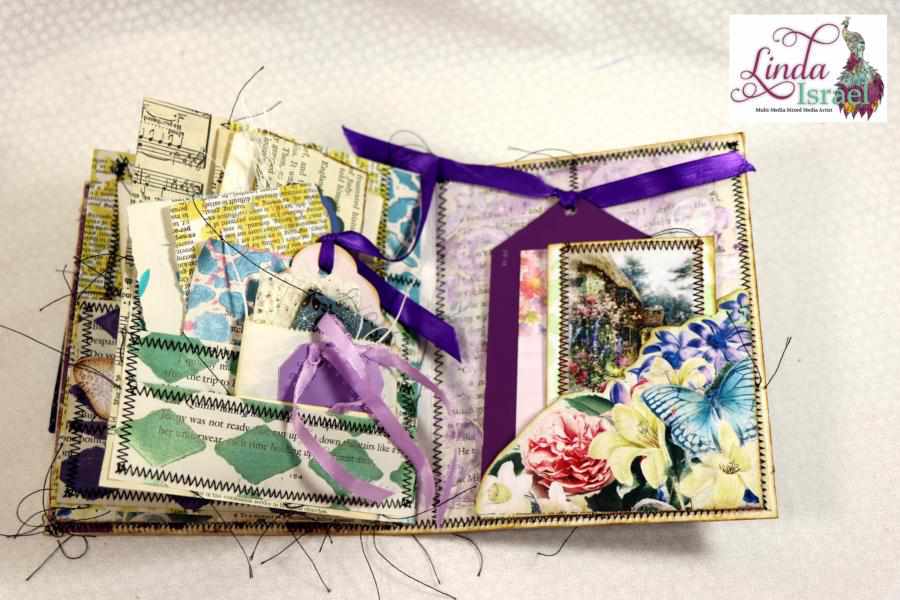
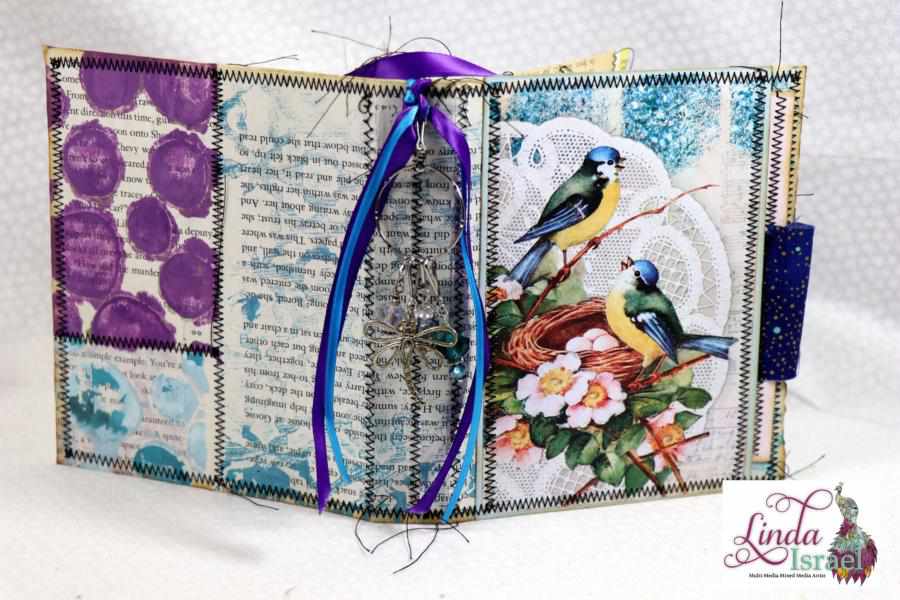
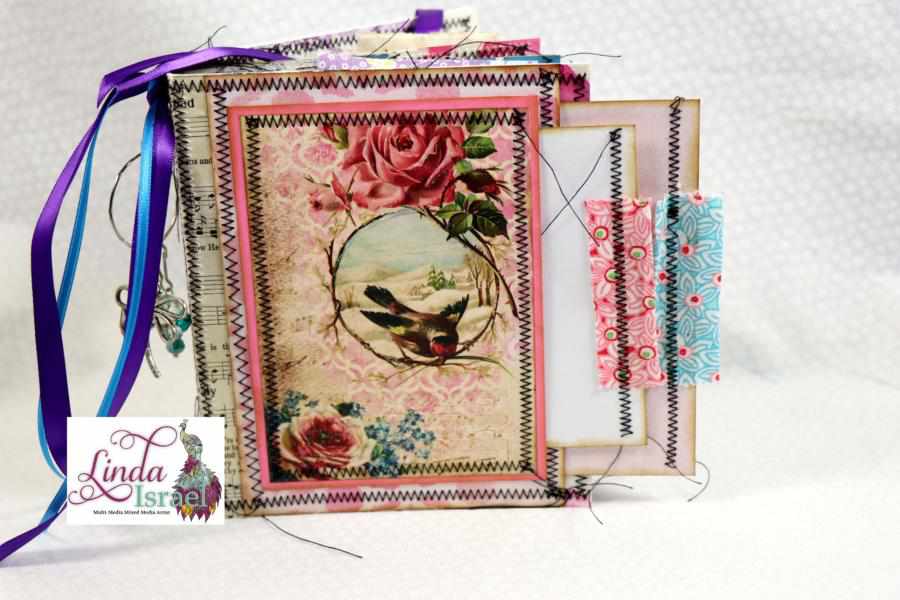 The embellishment book measures 5 inches wide by 6 inches tall with a one-inch spine and has four pages inside. There are pockets on each page and on the inside of the front and back cover. Lots of embellishments to use in this little junk book.
 Cut the watercolor paper down to 6 x 11 inches. Score at the five-inch mark, and again at the six-inch mark. Fold on score lines and this will be the foundation of the cover.
 Trim giant postcard down to 5.75 x 10 inches. Score at the 4.75-inch mark and again at 5.25 inches fold on score lines.
 Apply scraps of paper using my version of Frankenpages. Basically, adhere random scraps on the front cover and the over the whole postcard. I like to use rectangular shapes and rotate the text when applying the pieces.
Sew around the paper borders on both the cover and the page. Attach the cover image with the sewing machine.
 Adhere the spine of the pages in the center of the cover, allow to dry then stitch with a sewing machine. This ensures that it won’t fall apart.
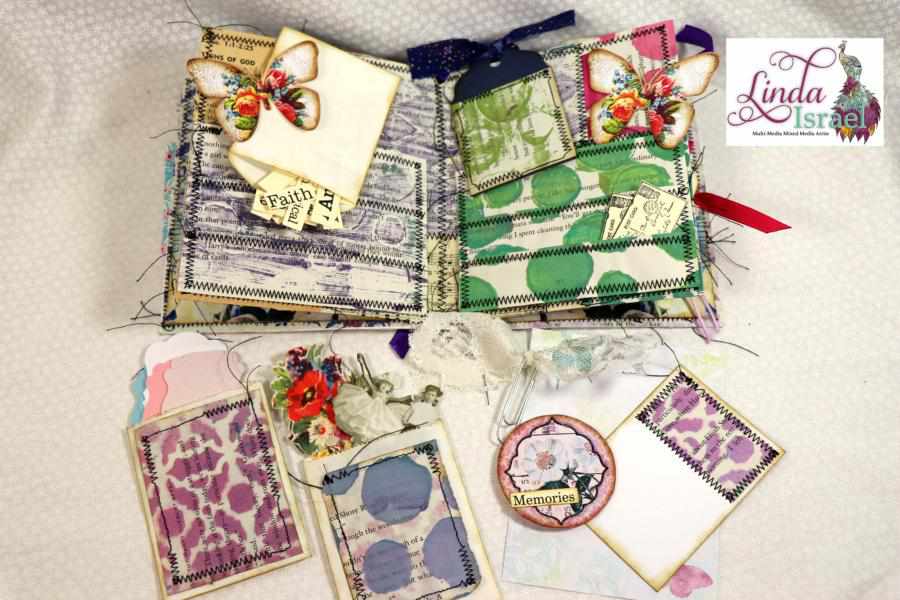
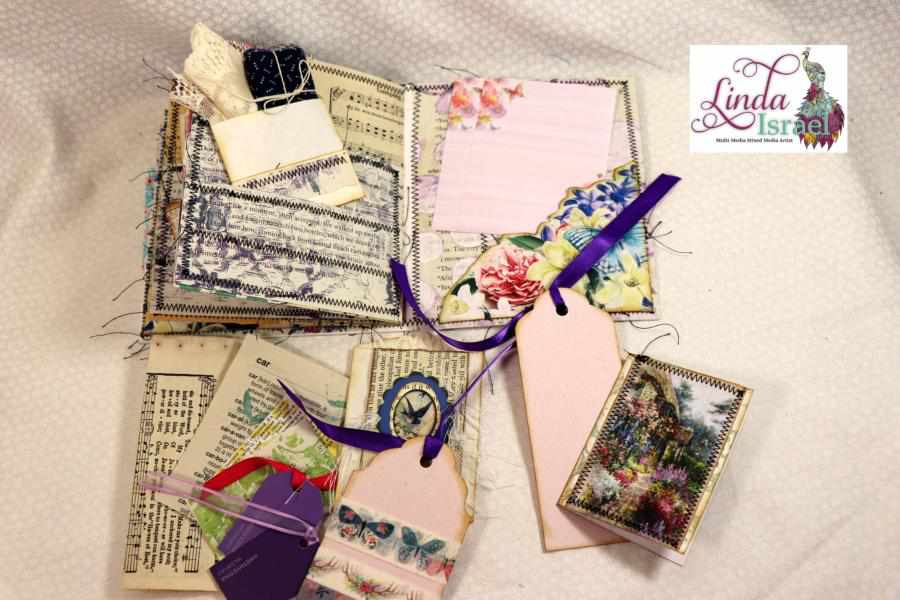
Attach pockets to each page to hold the embellishments. The embellishments can be anything that you like. Get creative on adding items inside little paper bags, attaching things to little cards. Making each piece something useable.
 Use the Embellishment Junk Book Tutorial to help you use up those leftover pieces and make a great gift or swap item. These little books would be great to hold different themes of embellishments that you can grab when you are creating.
Once all the embellishments have been used the book can be used as a journal, by adding journal cards. Or cut the book apart and use each cover and page as an added element in another project. Remember with Junk Journals there are no rules. Have fun using up your stash for this project.
It was so much fun creating the Embellishment Junk Book Tutorial that I ended up making two Embellishment Junk Books, these are listed in my shop.
 Make sure to check out the Friendly Junk Journal People Facebook group. Of course, you are welcome to join the Friendly Junk Journal People Facebook group. The group is growing daily and we are a friendly group willing to help each other and encourage each other.
Interested in any of the journals I created? Please feel free to contact me through my Facebook Page. Here is my shop, I have a lot of items uploaded and add more weekly.
Follow my Facebook Page or on Instagram for updates that may not be shared on my blog.
Thanks so much for stopping by my blog today to see the Embellishment Junk Book Tutorial.
