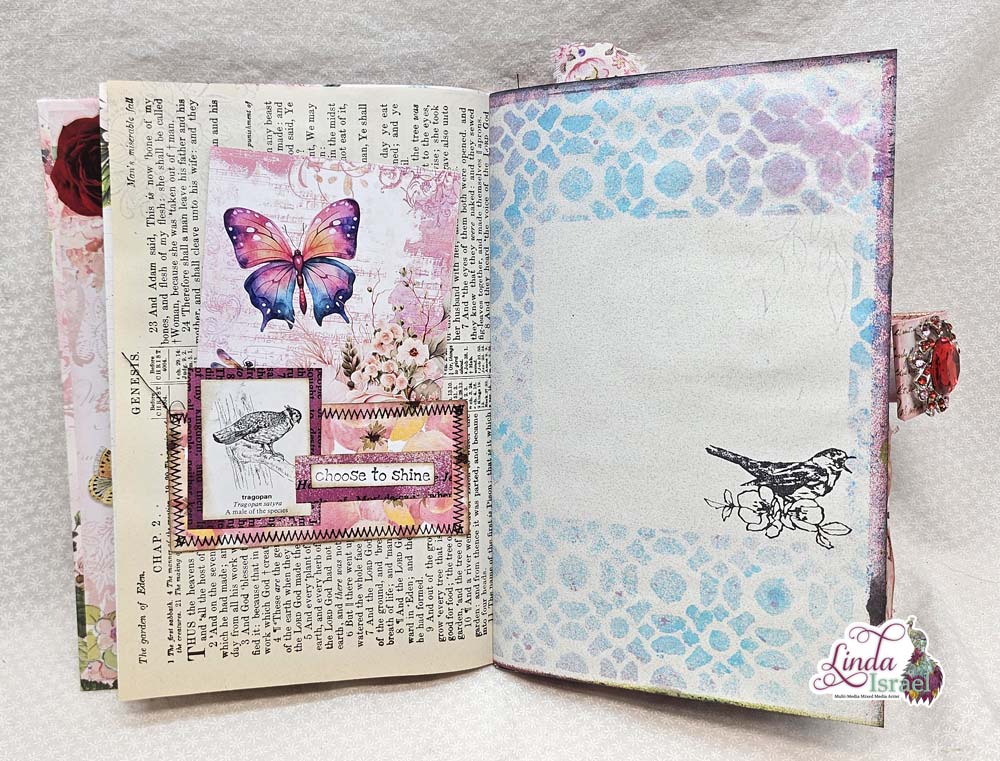
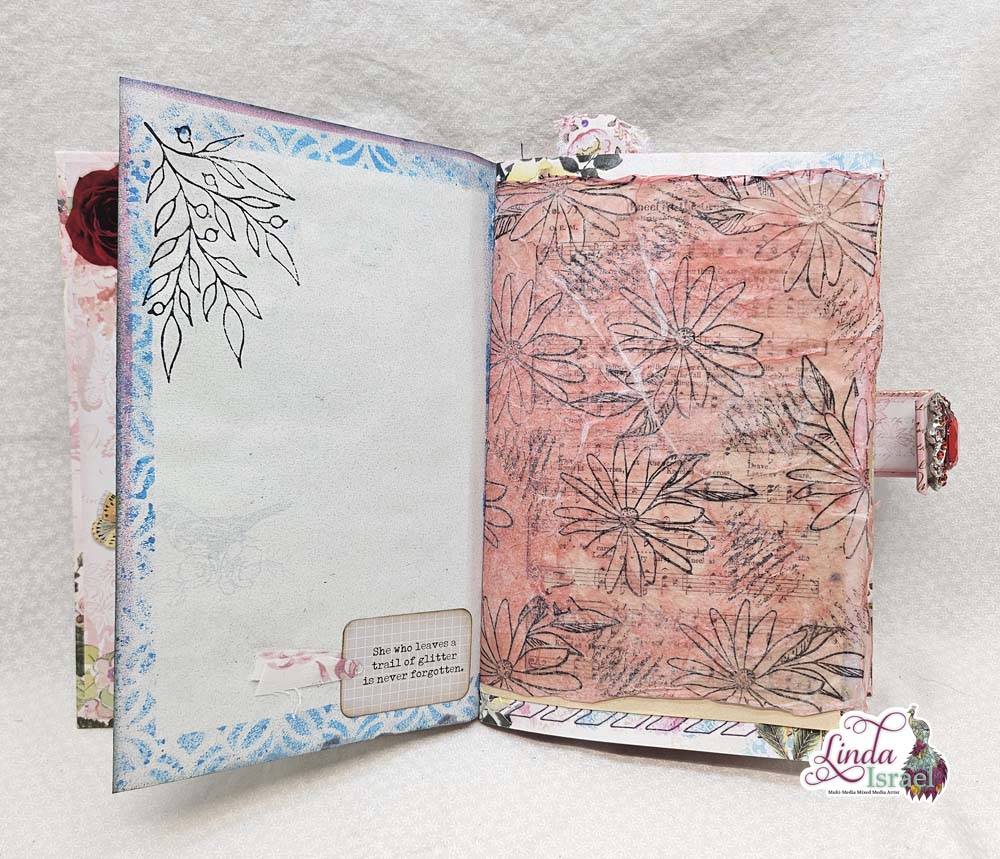
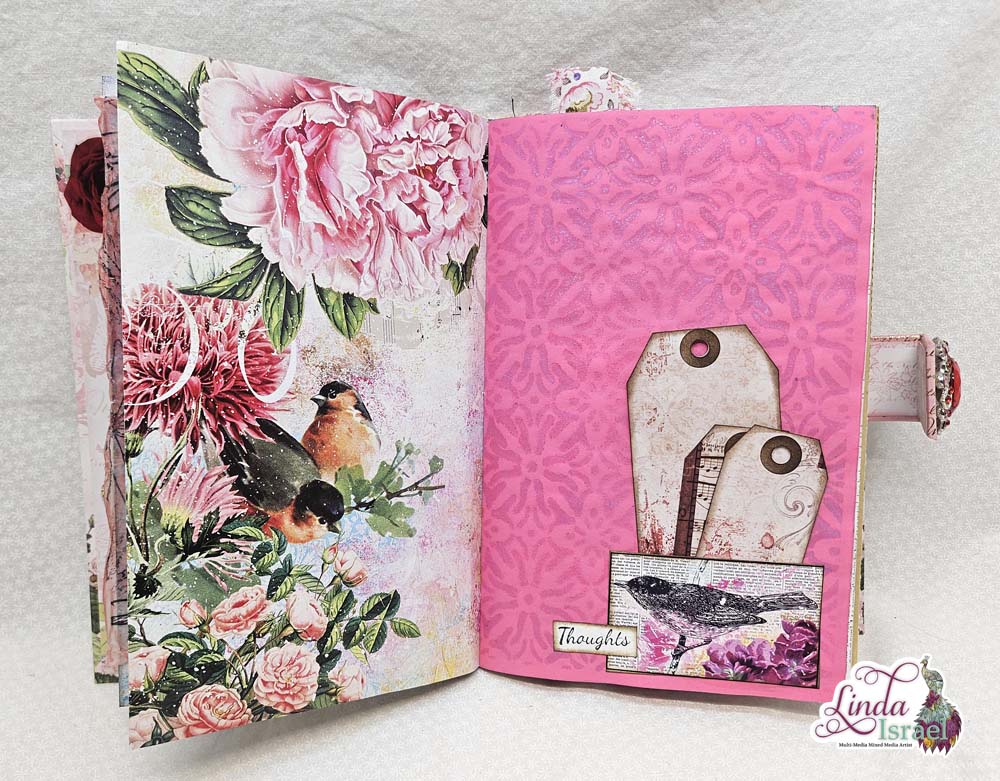
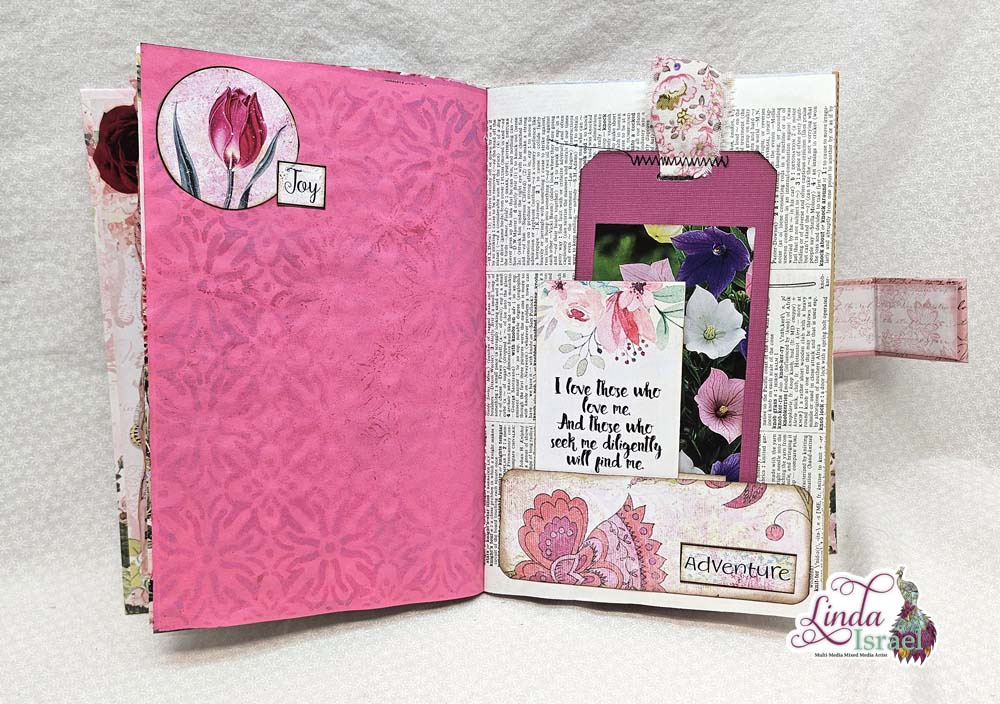
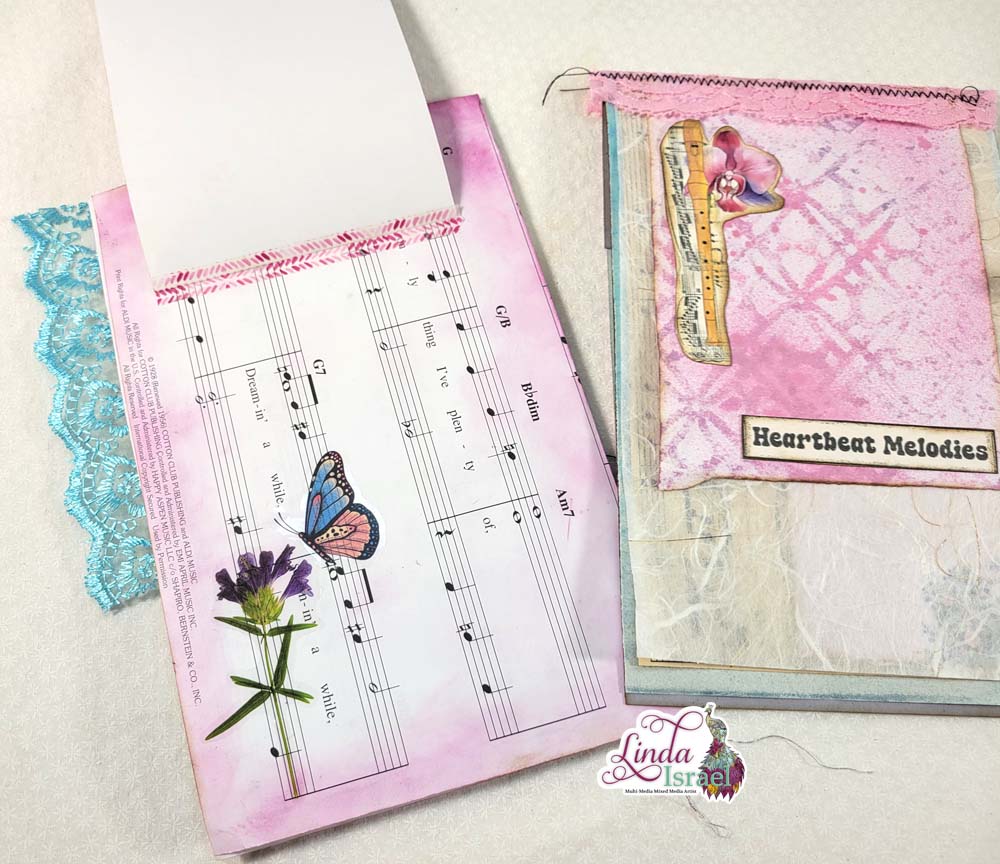
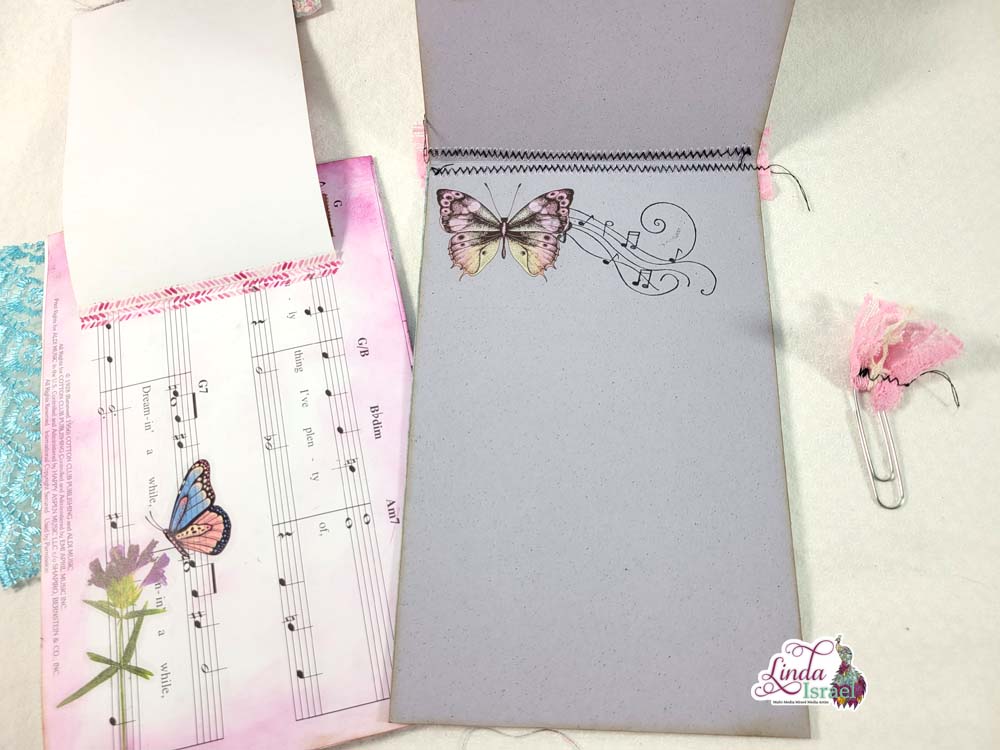
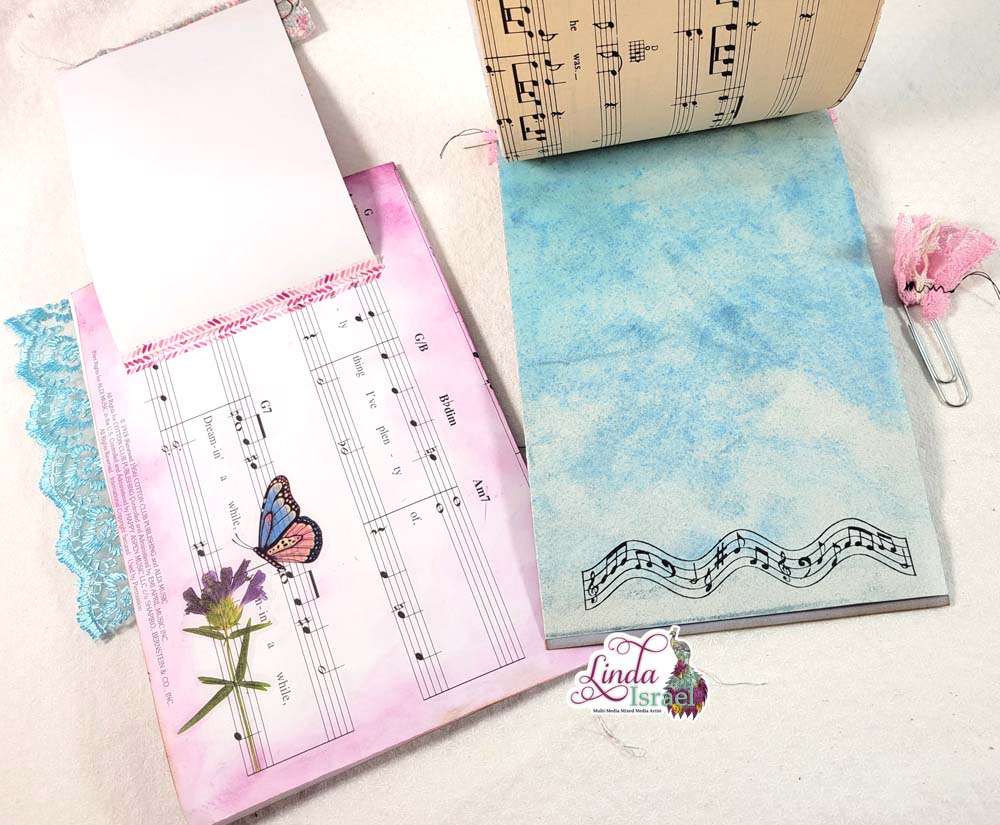
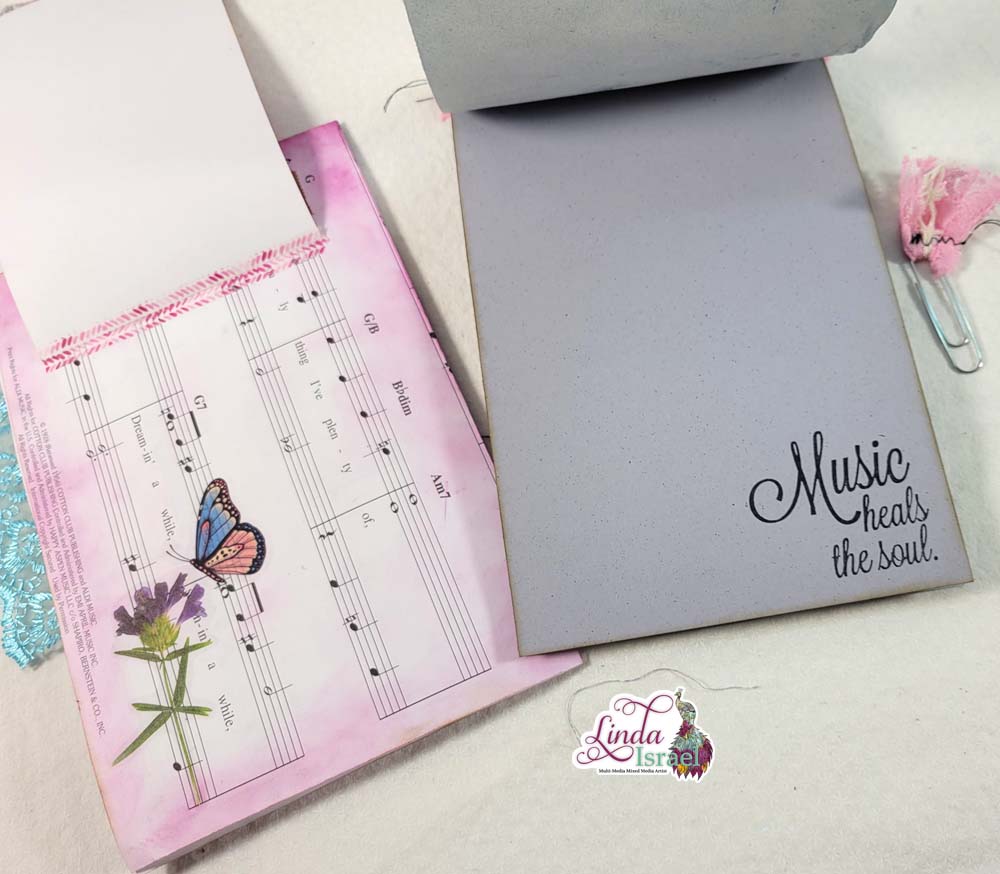
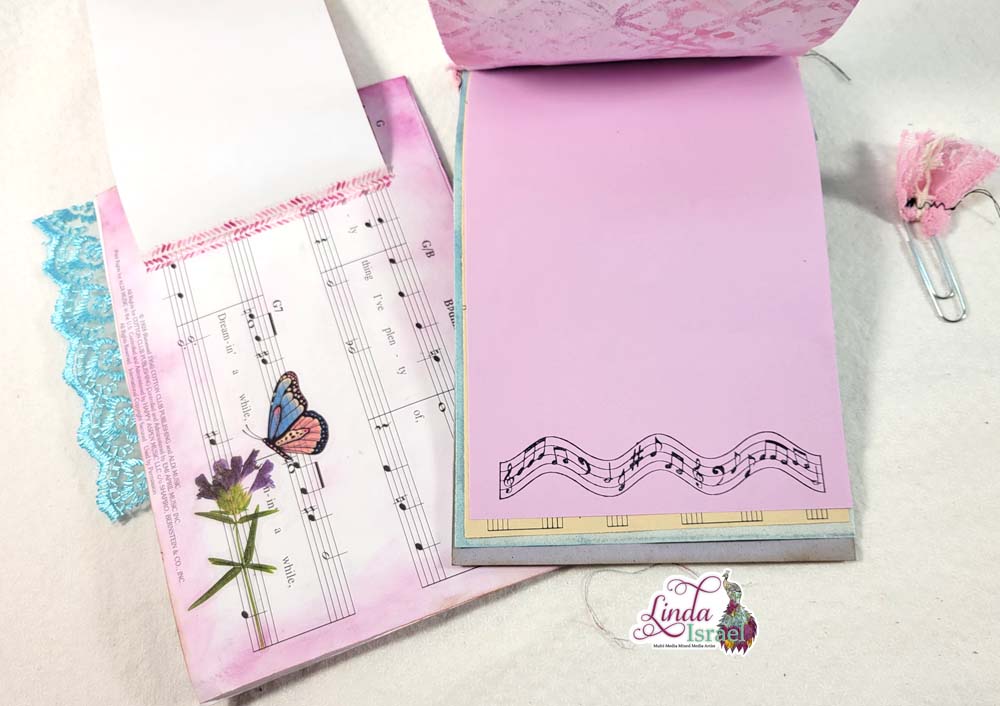
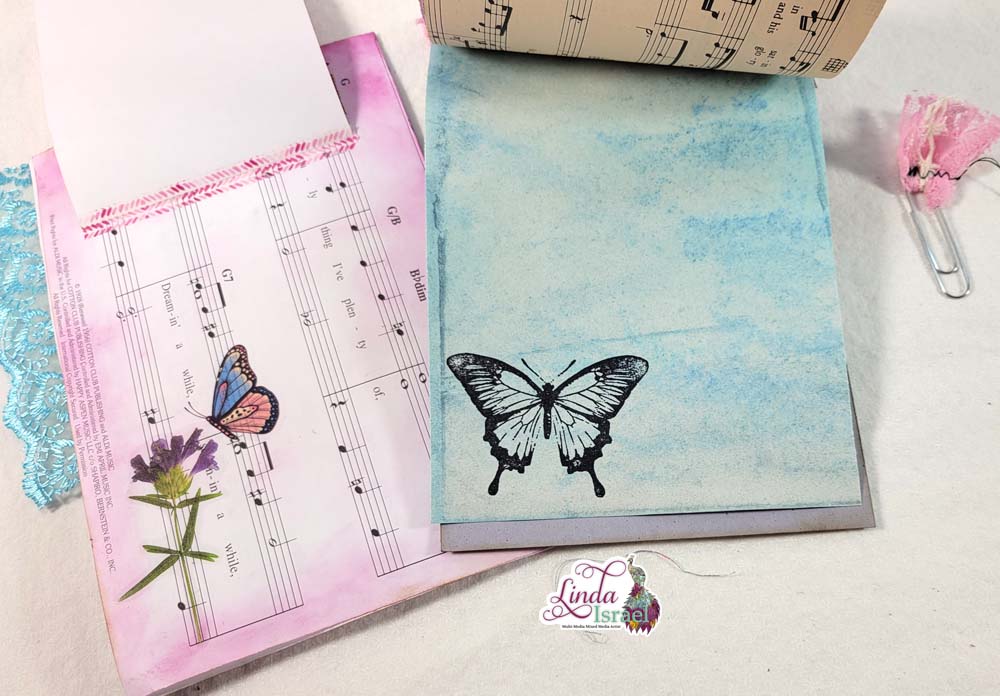
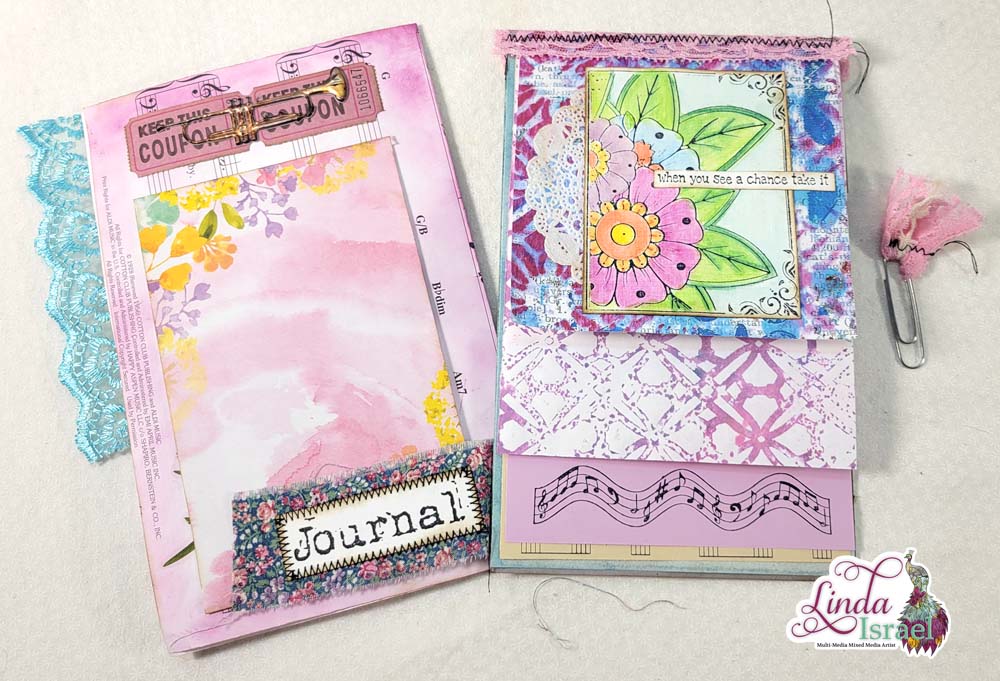
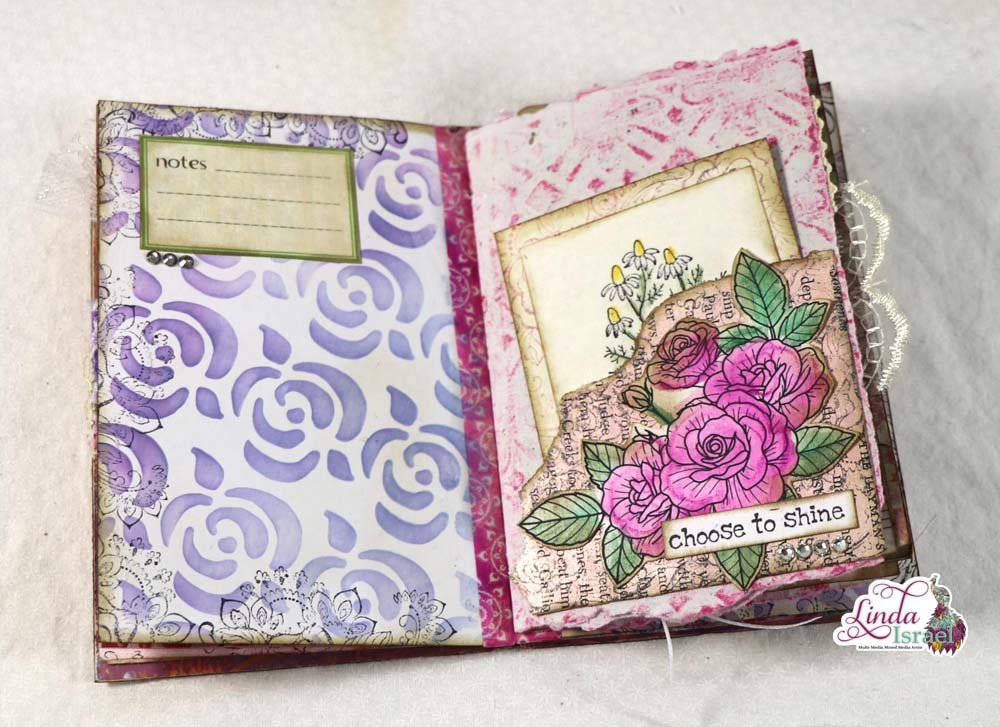
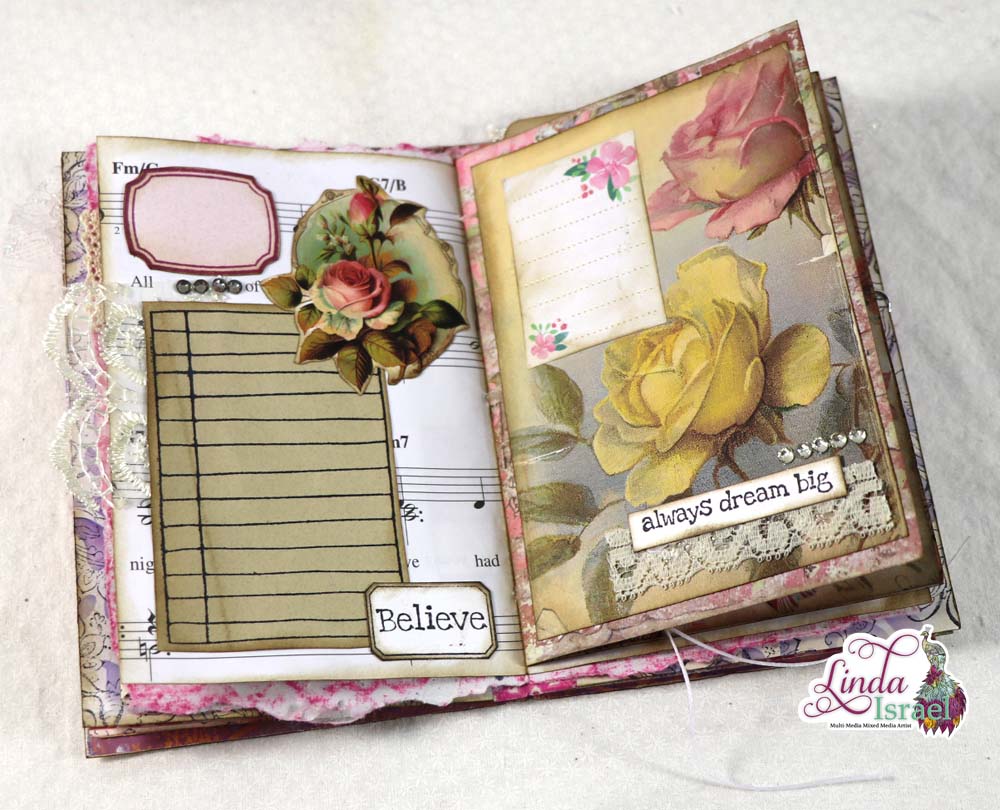
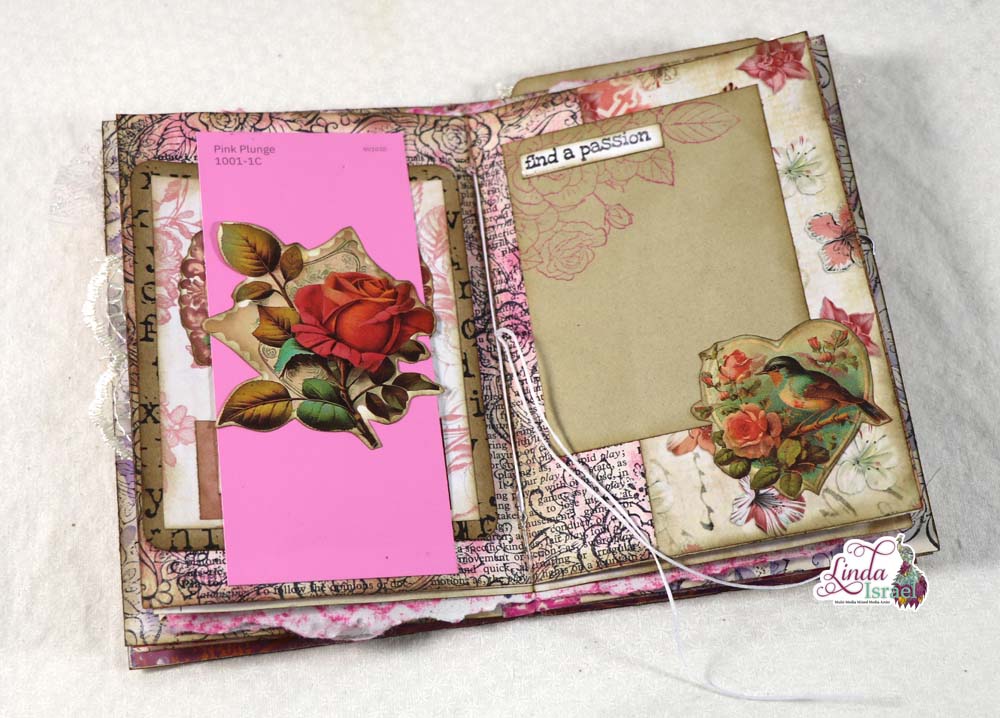
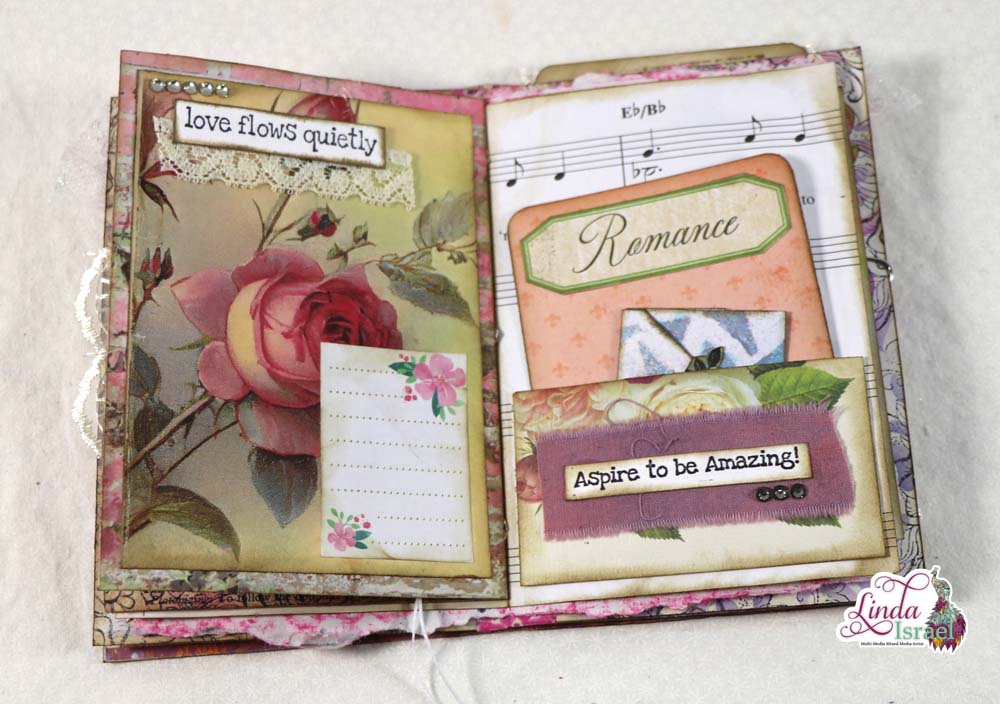
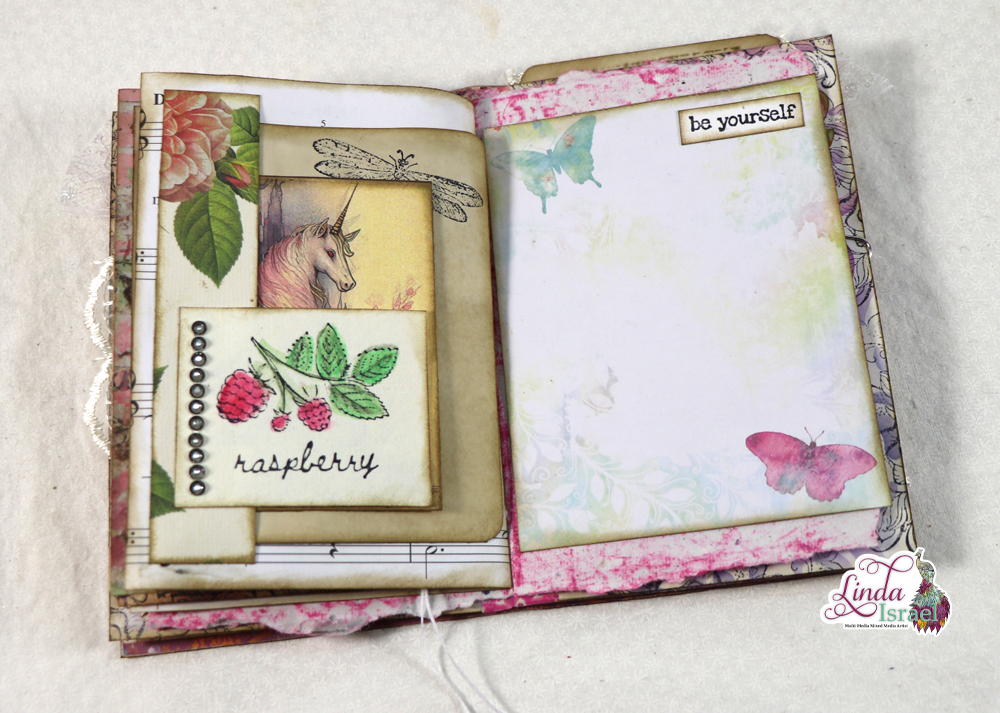
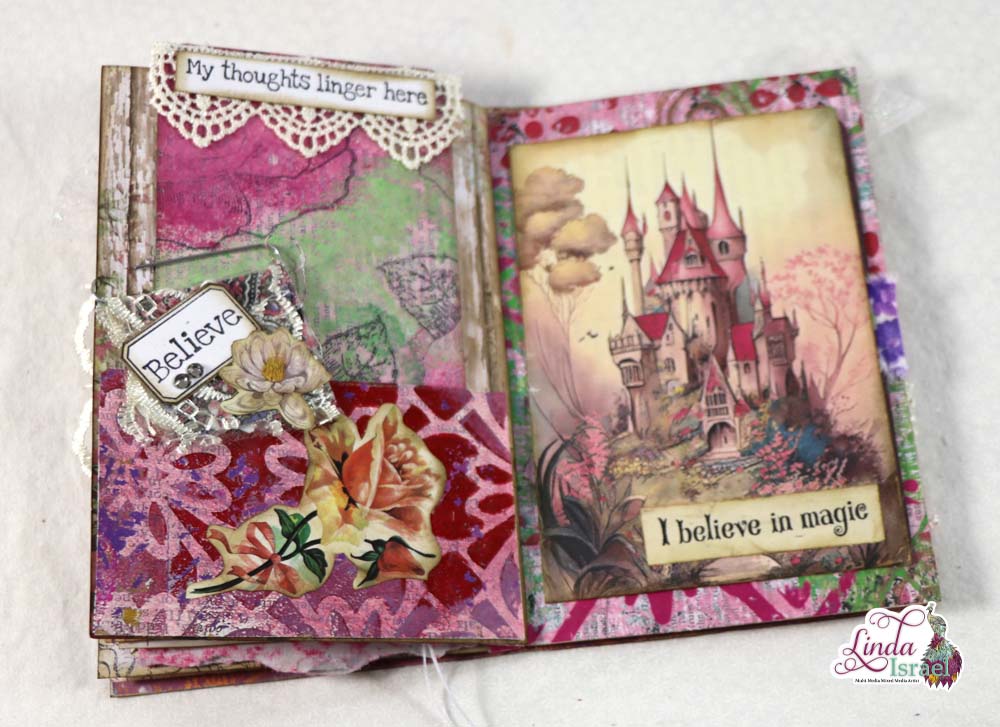
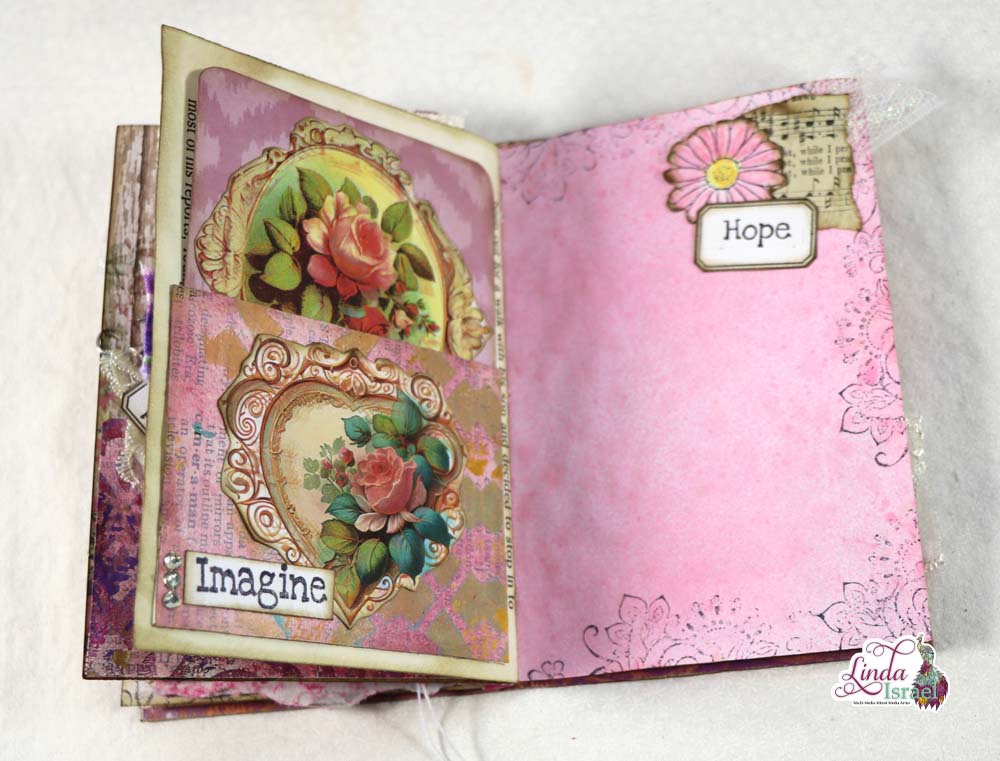
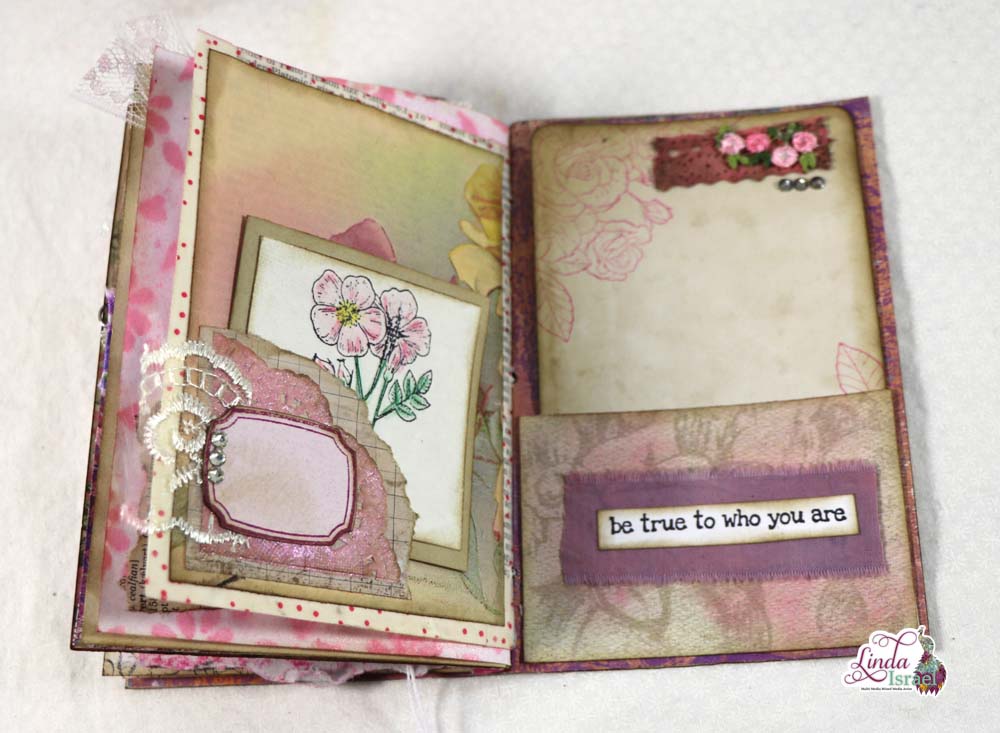
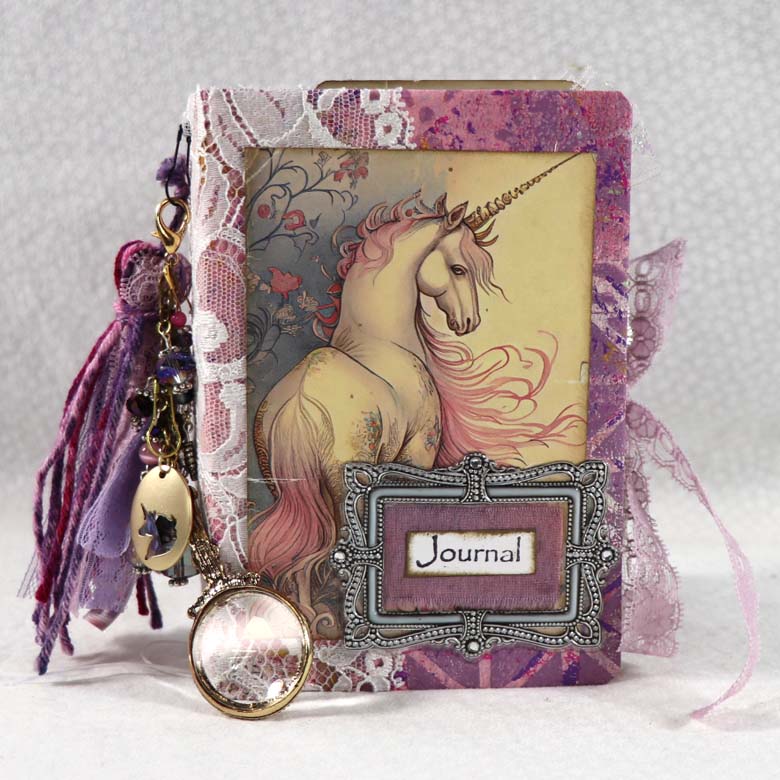
Sometimes you just need more writing space. That is why I’m sharing this Large Halloween Journal Card Tutorial with you. The cards in this tutorial are going inside a paper bag journal. Lots of room to write when you make cards this large.
Large Halloween Journal Card Tutorial Video.
Supply List for the Large Halloween Journal Card Tutorial
- Calico Collage Digital Halloween Images
- Hallowed Gothic Kit
- 1283 Fortune Tellers
- 652 Witchery Digital Collage Sheet
- 956 Raven Digital Collage Sheet
- 1428 Witches
- 945 Gothic 1 x 2 Inches
- 1284 Gypsy Women
- 062 Black Cats
- 739 Vintage Halloween
- 942 Gothic 1.5 x 1.5 inches
- 1287 All Hallows Eve Library Cards
- 1434 Witchy Ladies 1 x 3 inches
- 342 Black Cats & Witches 1 inch
- 1055 Macabre Ovals
- 1433 Witchy Ladies 1 x 2 inches
- 718 Vintage Halloween
- 021 Witch Ephemera
- 1266 All Hallows Eve ATC Images
- 1432 Witches 4 x 5 inch
- 1430 Macabre Coffin Tags
- 1429 Gothic Raven Coffin Tags
- 1427 Vintage Halloween Coffin Tags
- Cardstock 5.75 x 11.5 inches To fit inside 6 x 12 paper bag
- Book page about 6 x 9
- Stencils
- Die cut shapes from Cricut
- Halloween Words
- Skull and Bat
- Tattered Angels Glimmer Mist, It’s Black, Halloween Orange, Maple Yellow
- Ranger HIT00471 Heat It Craft Tool
- Black Marker
- Stencil
- Ruler
- Distress Ink, Walnut Stain, Black Soot
- Blending tool
- Best Glue Ever
- No-Clog Writing Cap
This is a very easy Large Halloween Journal Card Tutorial. Begin by cutting the card base, 5.75 b 11.5 inches. This will fit inside a 6 x 12 paper sack opening. Next, select a book page that measures about 6 x 9 inches.
Use a Stencil and Tattered Angels Glimmer Mists on the book page. Experiment with different colors and stencils to get the look you like the best. Dry with a heat tool or allow drying. Trim the book page to 5.5 inches square and save the extra bit and cut down to 5.75 – this will become a pocket later.
Use a ruler and a black marker to give each piece of paper a border. Doing this will give the appearance that papers had a black mat behind each one.
Apply Distress ink to the edges of the papers using a blending tool. Add distress ink to the edges of the words. Add a little distressed Walnut Stain to the skull die cut image.
Layer the book page on top of the card base using the Best Glue Ever with the No-Clog Writing Cap. Make sure to be aware of the fold so that your card is in the correct orientation.
Adhere the digital image and the other elements using the Best Glue Ever with the No-Clog writing cap.
See how easy the Large Halloween Journal Card Tutorial was to create?
What images will you use on your Large Halloween Journal Cards? Feel free to share with me using the tag #motivatedcreator I would love to see what you are creating using the posts as inspiration.
Make sure to check out the Friendly Junk Journal People Facebook group. Of course, you are welcome to join the Friendly Junk Journal People Facebook group. The group is growing daily and we are a friendly group willing to help each other and encourage each other.
Interested in any of the journals I created? Please feel free to contact me through my Facebook Page. Here is my shop, I have a lot of items uploaded and add more weekly.
Keep updated on my posts by following me. Follow my blog with Bloglovin. Or Follow my Facebook Page or on Instagram for updates that may not be shared on my blog.
Thanks so much for stopping by my blog today to see the Large Halloween Journal Card Tutorial.


