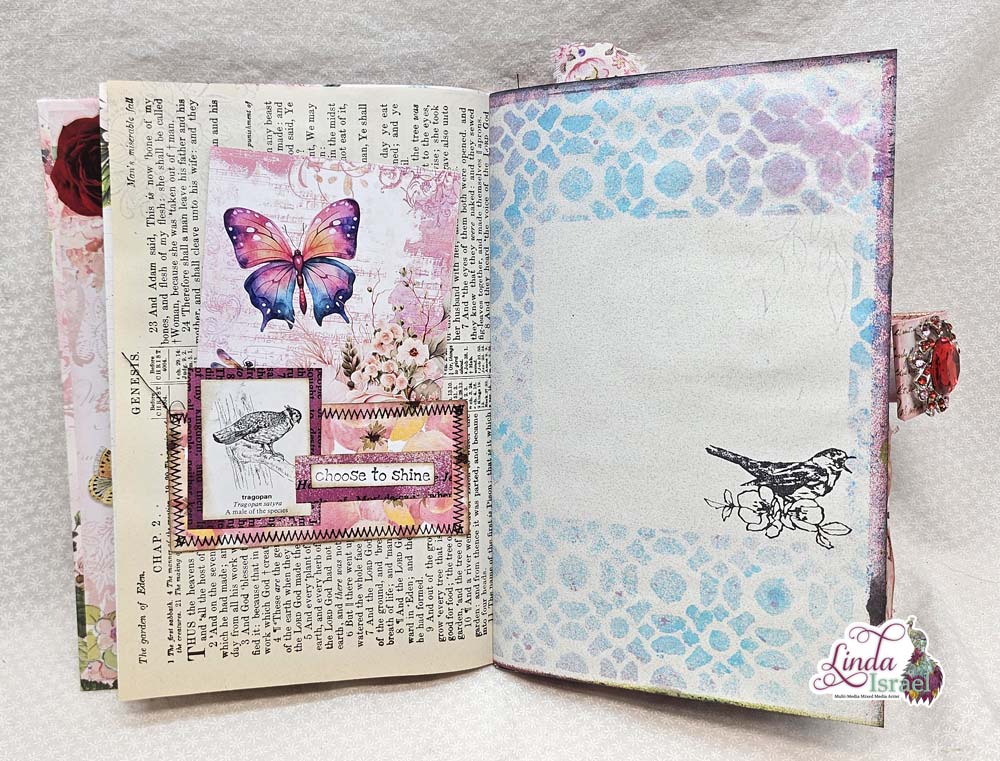
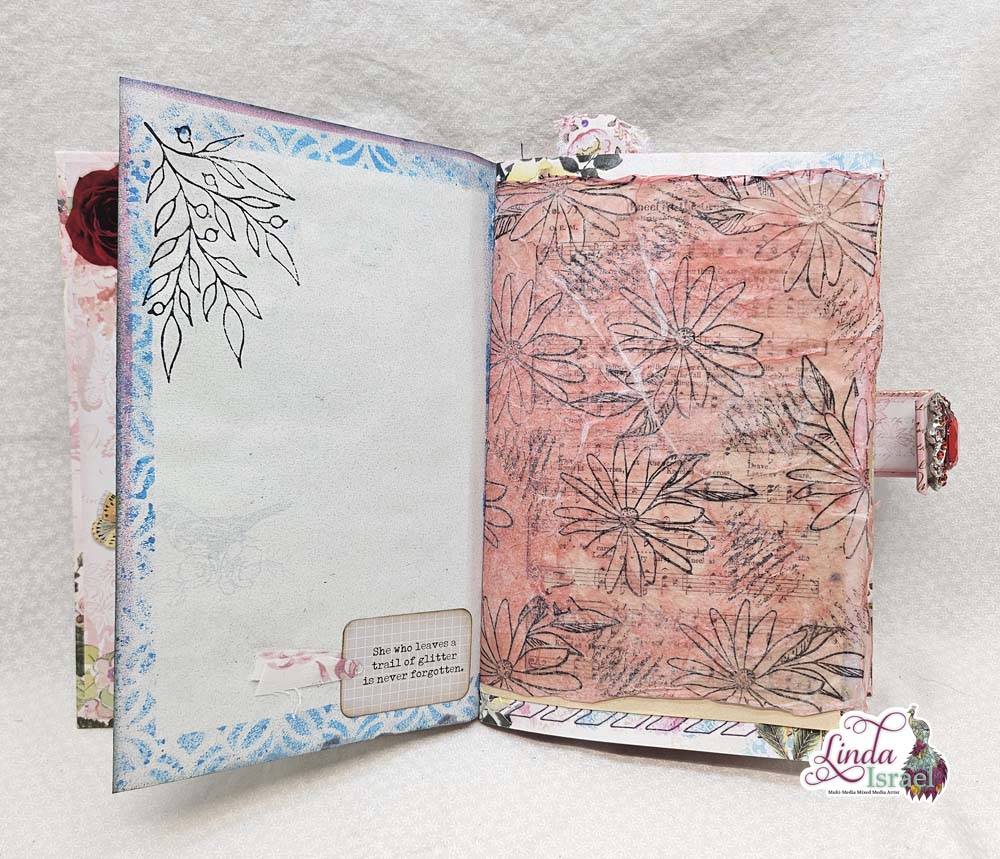
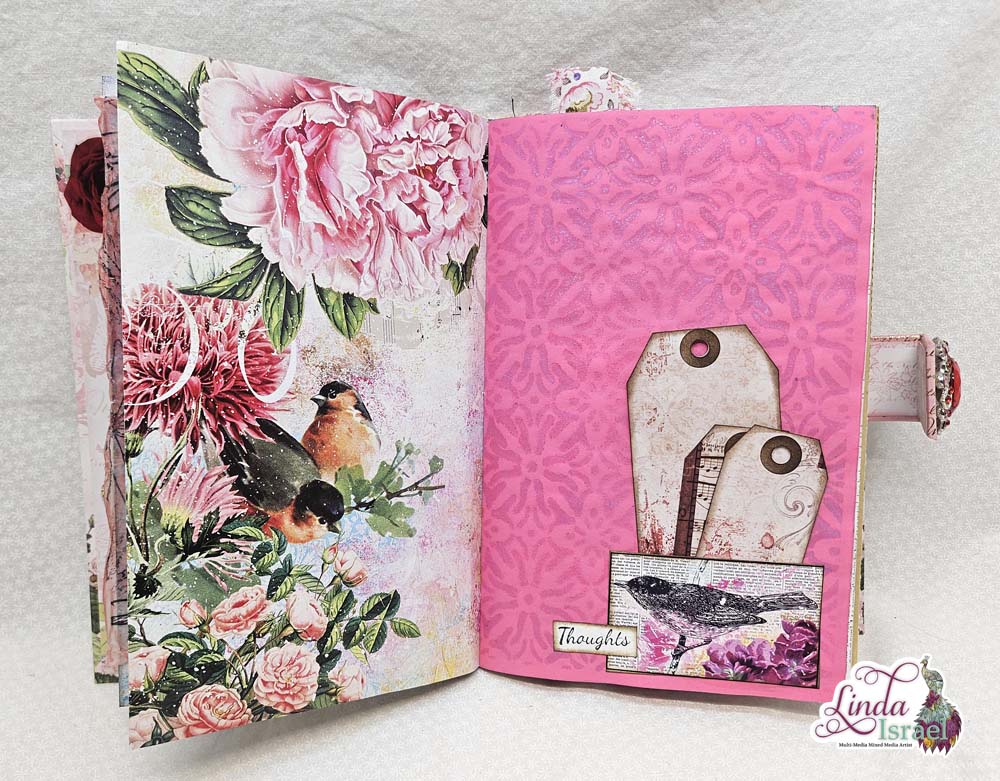
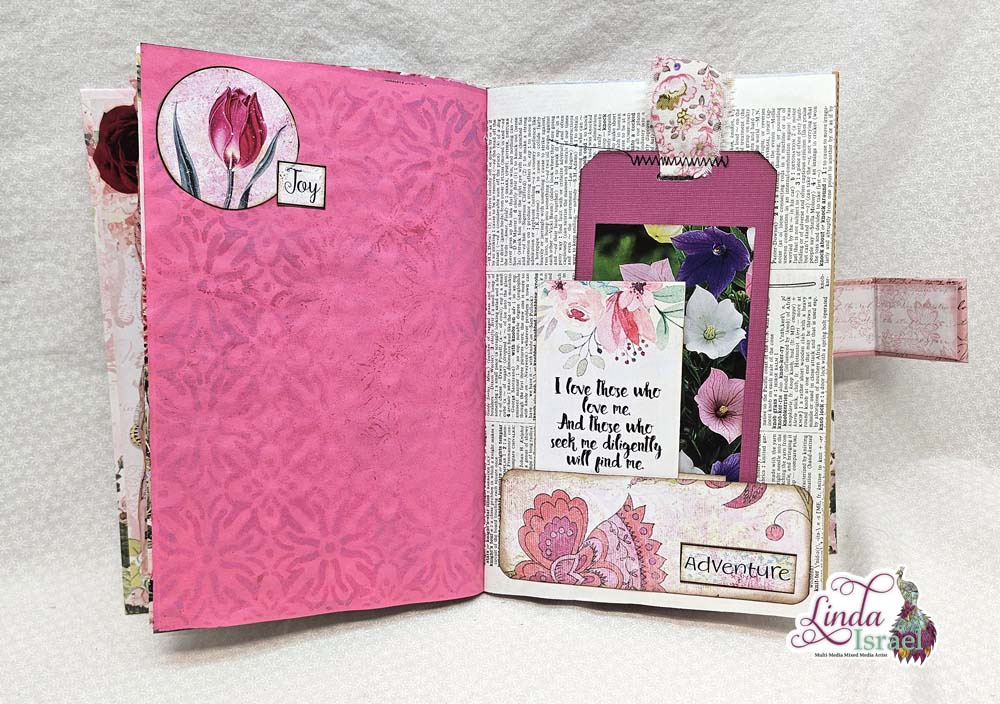
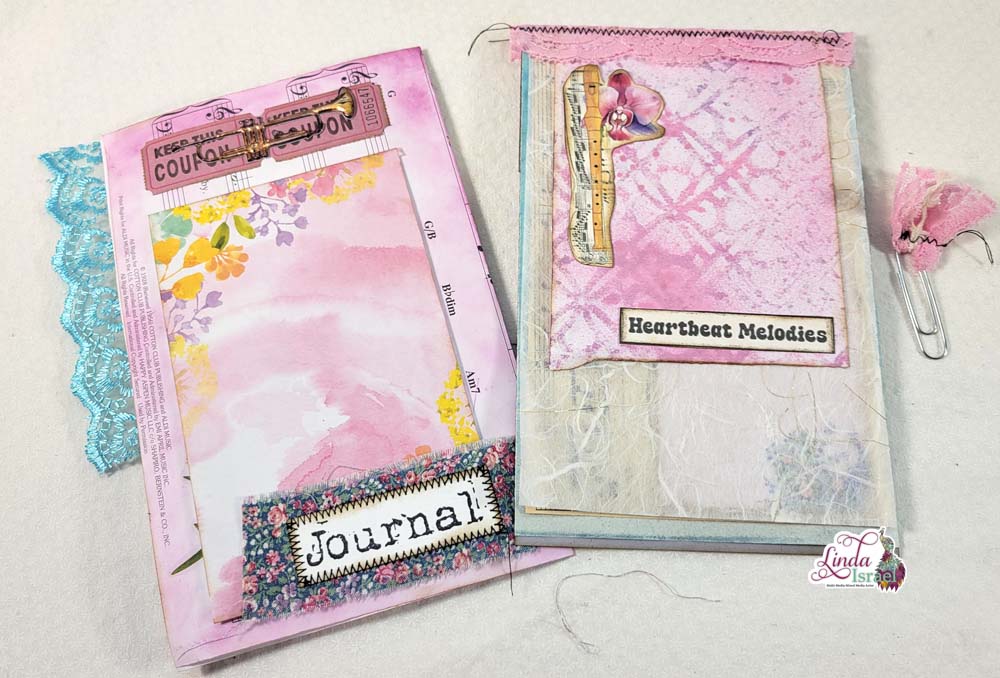
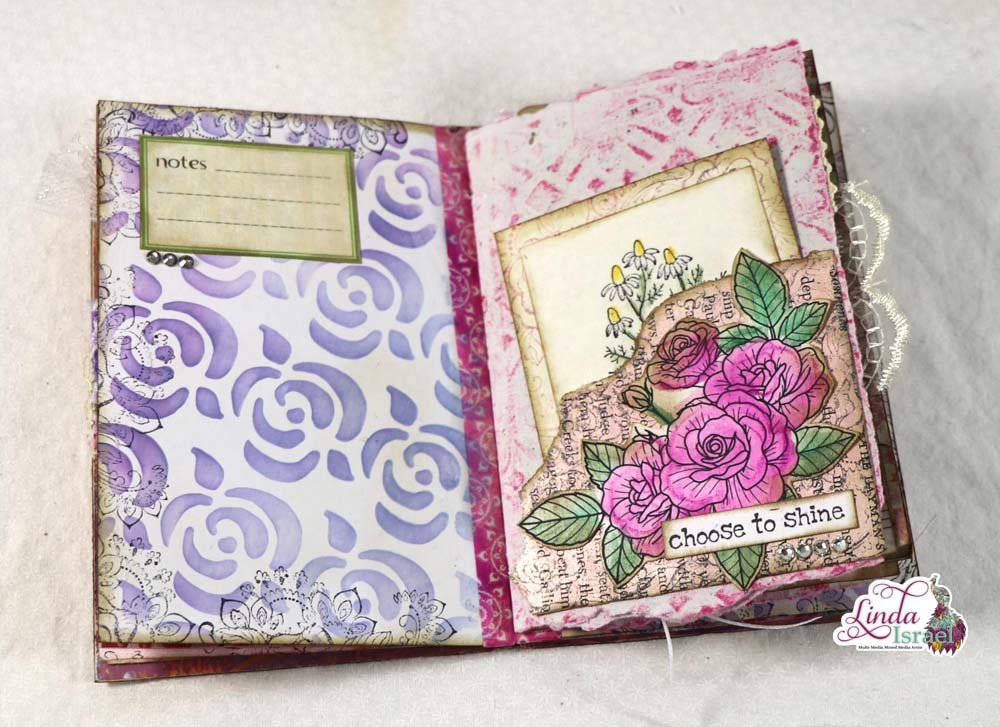
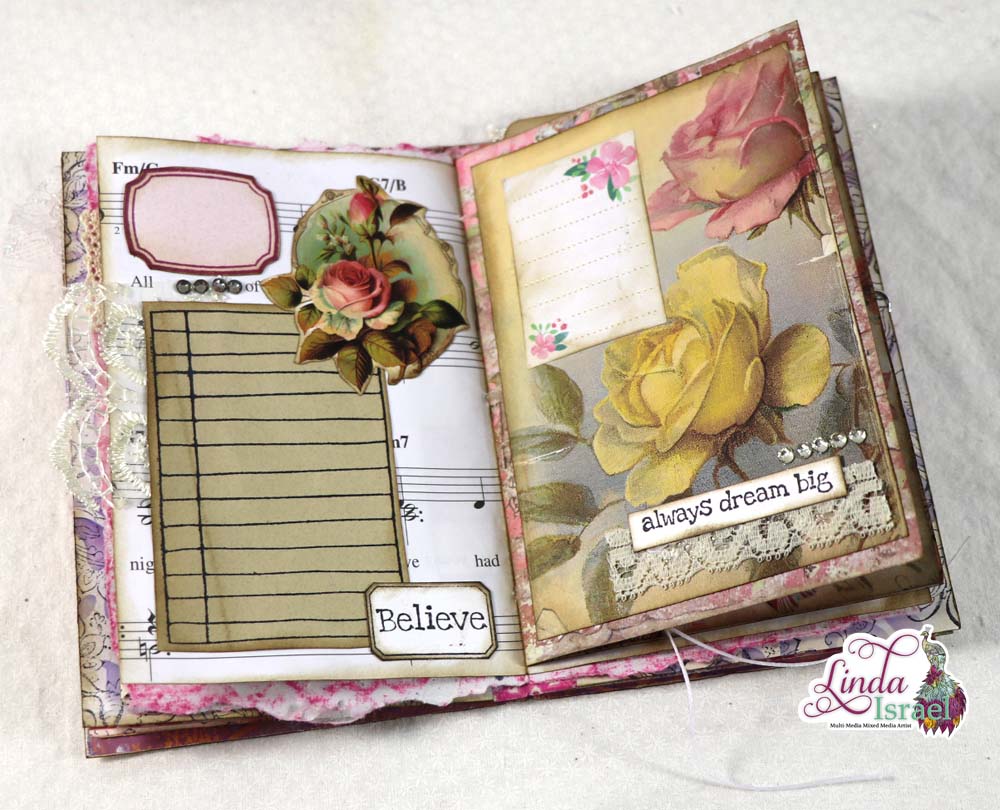
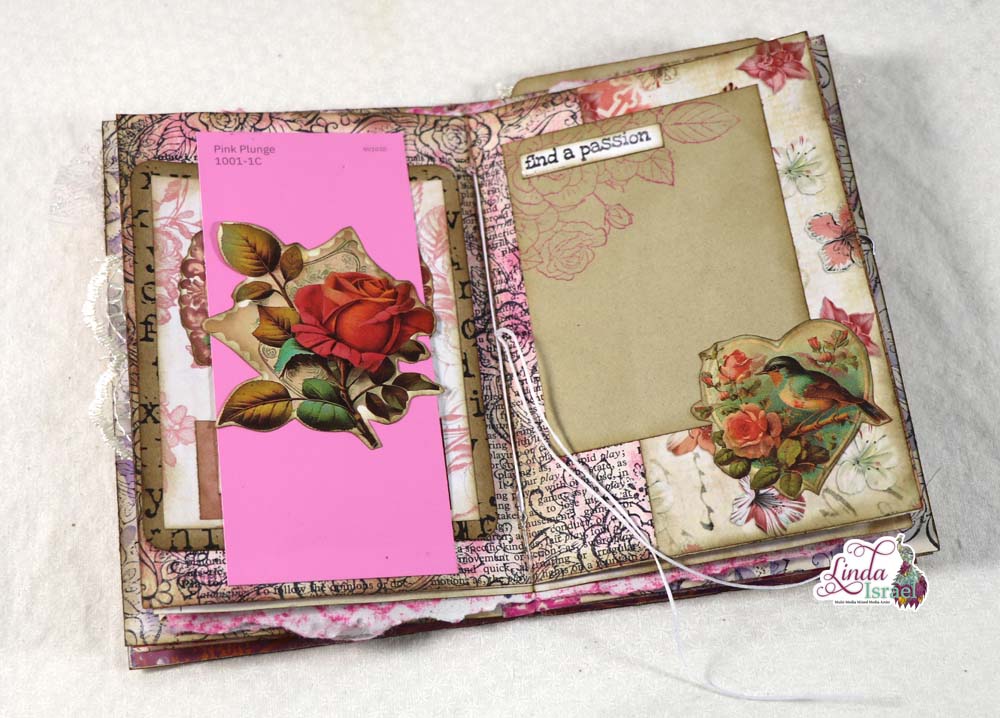
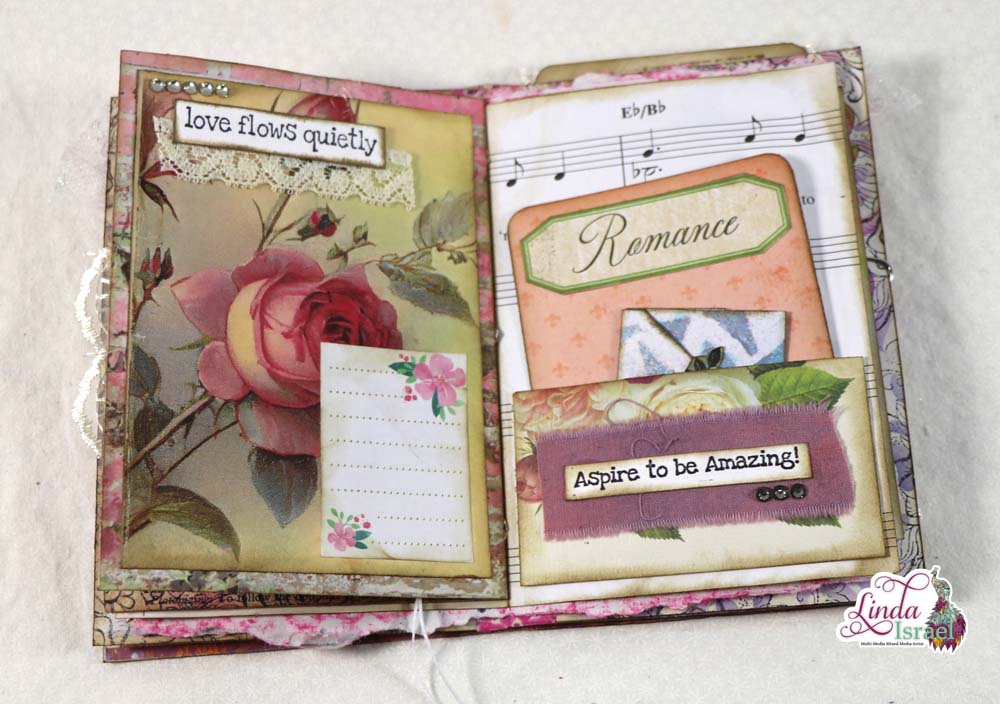
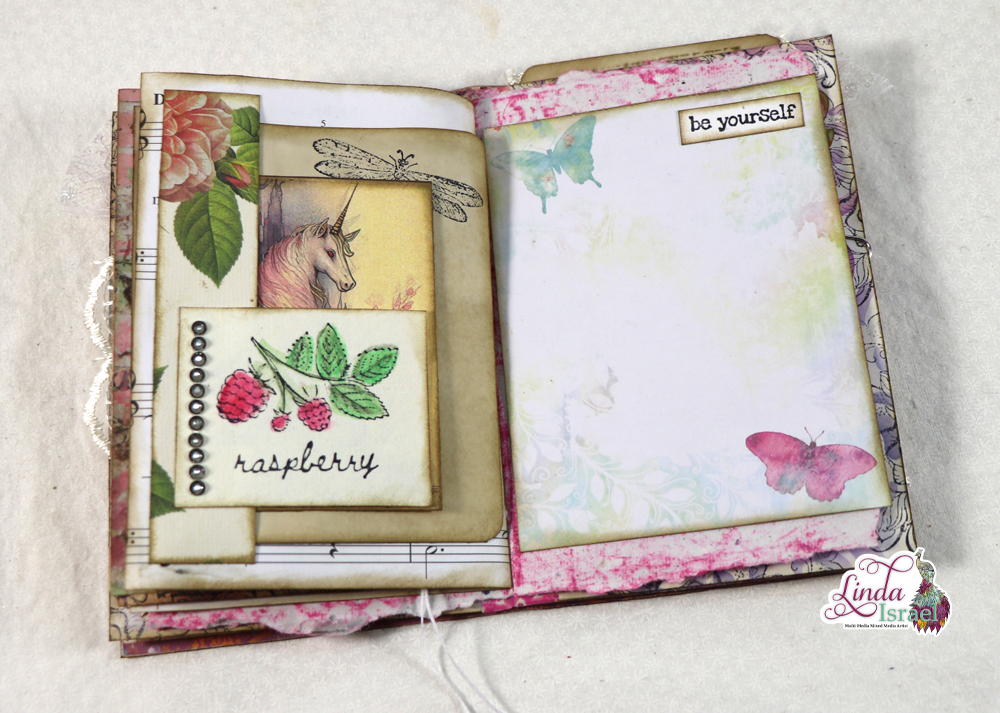
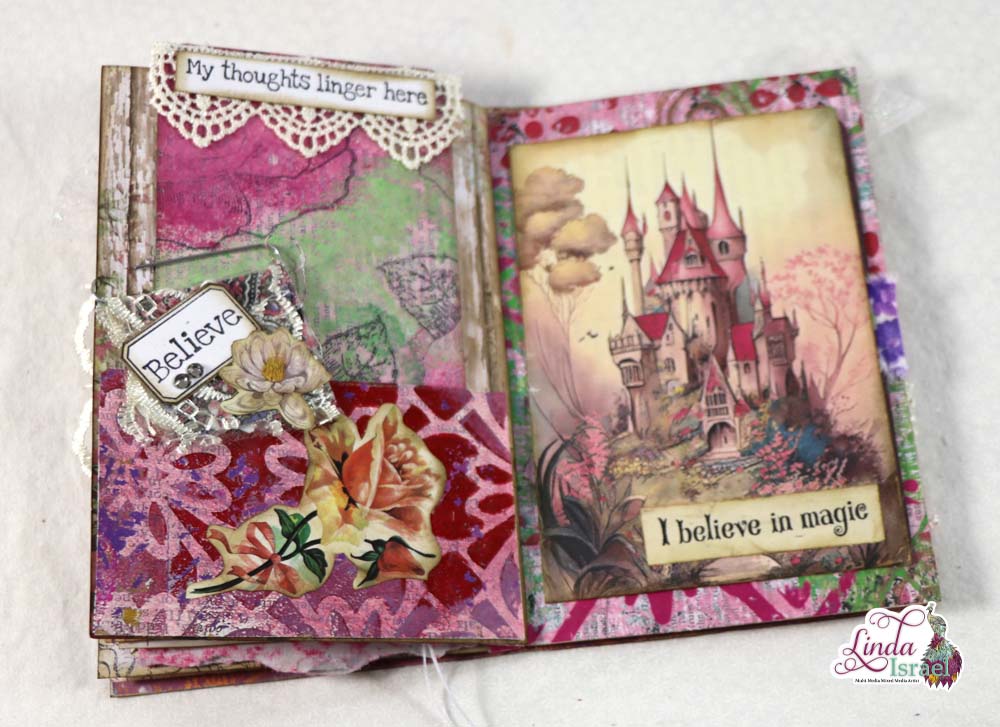
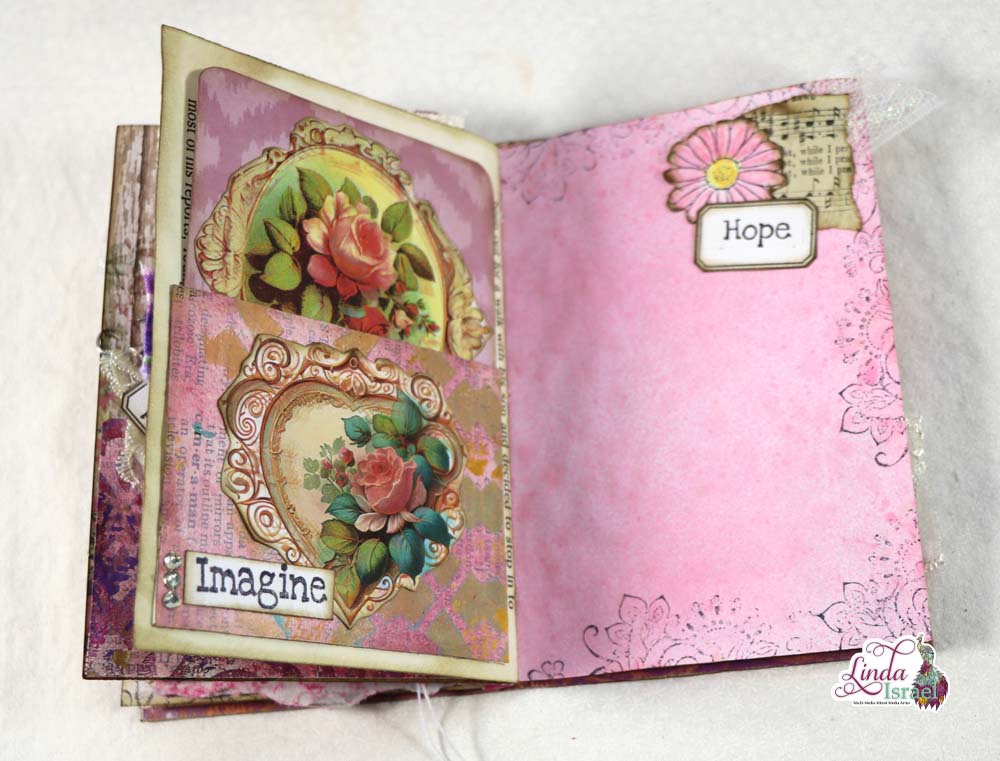
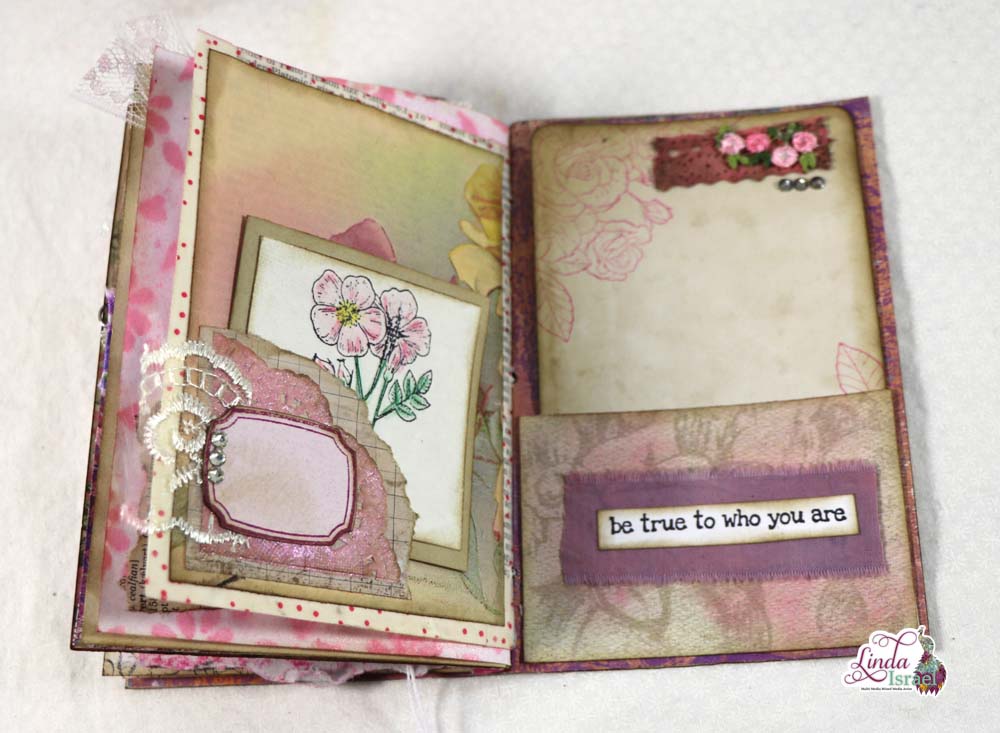
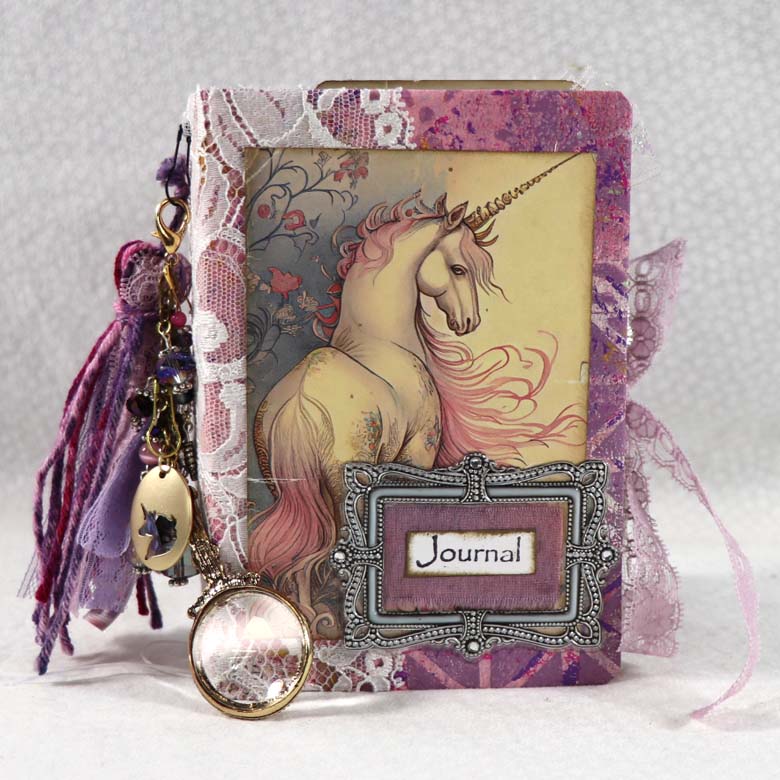
Day 20 of #useitupjuly, today it is a Cluster Embellishment Tutorial. Using some leftover items and images from Calico Collage I share how to make three different Cluster Embellishments.
Cluster Embellishment Tutorial Video.
Supplies used for the Cluster Embellishment Tutorial
- Calico Collage Digital Botanical Images, 1×1 Inch Squares
- Kraft Cardstock from Canvas Corp Brands
- Calico Collage Digital Burlesque and Roses
- White Words on Black
- Calico Collage Whimsy 1 inch circles digital images Whimsy, 1 inch Circles
- Lace
- Distress Ink, Frayed Burlap
- Blending tool
- Cardstock cut into squares and circles for mats with the images Cricut Explore Air and Silhoutte Cameo 3 used for today’s project
- Glitter cardstock, pink and gold
- Printed Cardstock with a cool image, or apply book pages to thicker paper
- Heart punch Tim Holtz, No longer on the market try: CADY Crafts Punch Set 8mm 15mm 25mm paper punches 3pcs/Set (heart)
- Flag punch EK Tools 54-10053 Mini Punch Set, 2 Point Flag Design, Pennant, Punches 0.25-Inch by 0.25-Inch
- Flourish Square Paper Punch from EK Success
- Brother Sewing Machine
- No-Clog Writing Cap from ScraPerfect
- Best Glue Ever by ScraPerfect
- Aleene’s Tacky Glue
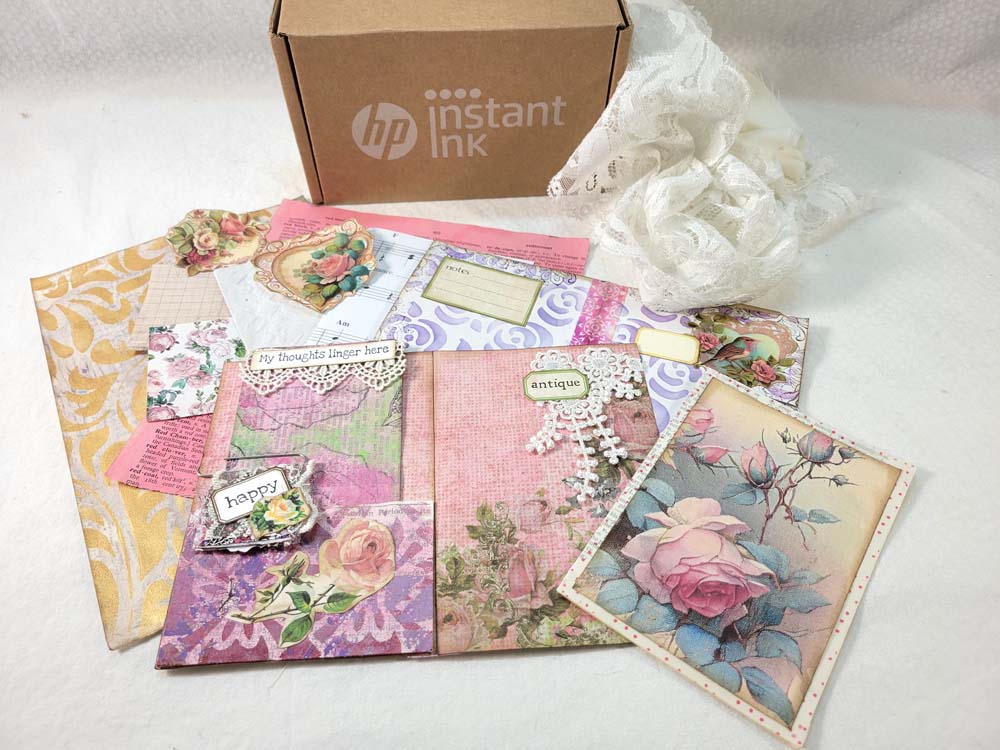
When getting prepared for the Cluster Embellishment Tutorial I collected the items I knew I wanted to use. First I imported the Calico Collage images into the Silhouette software. Adjusted the size and created cut lines. Printed the images and then cut with the Silhouette Cameo 3. While I was cutting I also cut squares and circles for the mats on my Cricut. Handy to have two different machines so I could get done fast. lol
Using papers from my stash, some I’ve had for years, I then proceeded to use the Flourish Square paper punch and create shapes for bases.
The tuck spot or journal card was made using a scrap of Kraft Cardstock. Distress Ink, frayed burlap was applied to the edges, then overstamped with a script rubber stamp for a background.
Lace was sewn down the side and then the elements I wanted to use were arranged on top. Adding stitches with a sewing machine gives each the handmade look and a bit of charm.
Little words were added to tell a story. In the past, I wouldn’t put words as I didn’t have any and then I realized I could make my own!
Have fun using your stash and making little cluster embellishments. Hope you enjoyed the Cluster Embellishment Tutorial today!
Make sure to check out the Friendly Junk Journal People Facebook group. Of course, you are welcome to join the Friendly Junk Journal People Facebook group. The group is growing daily and we are a friendly group willing to help each other and encourage each other.
Interested in any of the journals I created? Please feel free to contact me through my Facebook Page. Here is my shop, I have a lot of items uploaded and add more weekly.
Keep updated on my posts by following me. Follow my blog with Bloglovin. Or Follow my Facebook Page or on Instagram for updates that may not be shared on my blog.
Thanks so much for stopping by my blog today to see the Cluster Embellishment Tutorial.


