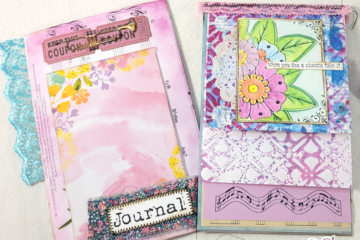
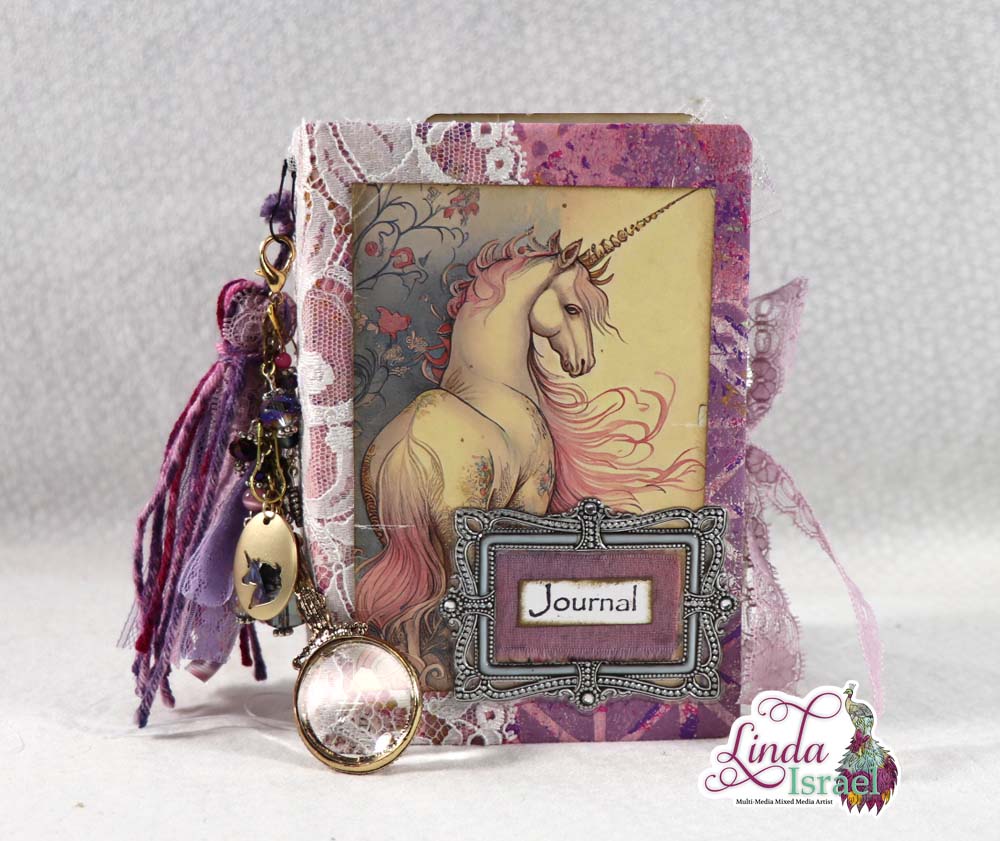
Sharing a super fun Red Junk Journal Pocket Tutorial today. Using elements from the Radiant Red Creative Box and a few things from my stash I show how to make some neat pockets that can be used in a junk journal, or given as a gift inside a greeting card.
Red Junk Journal Pocket Tutorial Video
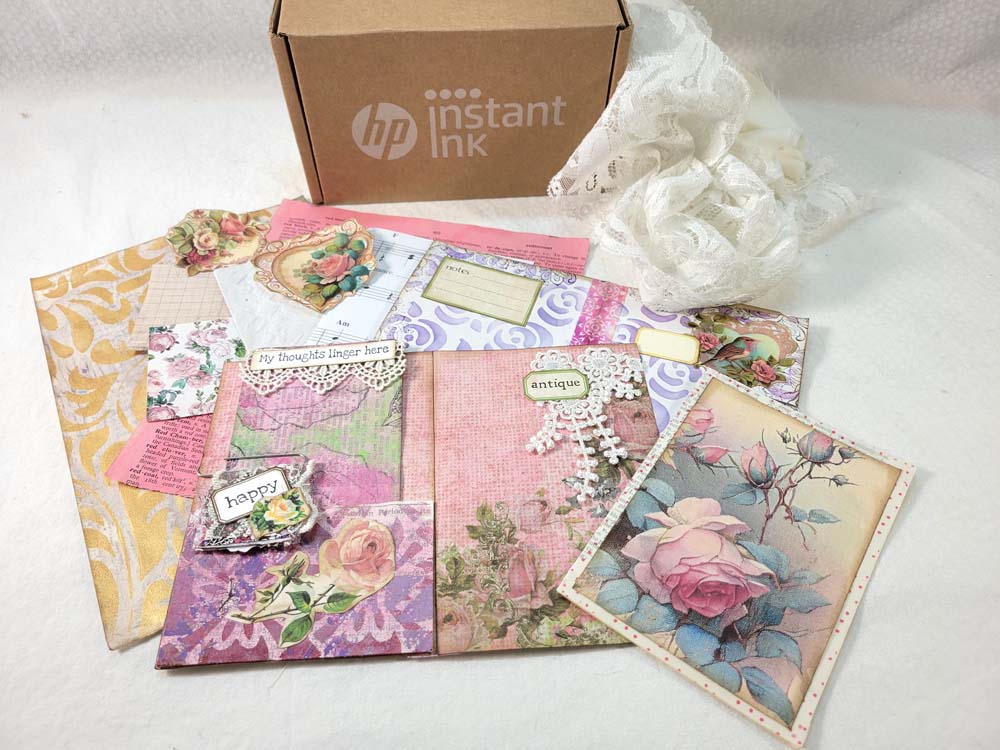
Supplies Used for the Red Junk Journal Pocket Tutorial.
- Radiant Red Creative Box items, Digital Download, Romantic Swirl Rubber Stamp, Tattered Angels Glimmer Mist, Watercolor card, journal card button, Eyelash Yarn and Twine.
- Shabby Stitches Rubber Stamp
- Brilliance Graphite Black Ink
- Diamond Bar Rubber Stamp part of a bundle
- Moroccan Stencil
- Aleene’s Tacky Glue
- Crop a dile hole punch
- Tag punch from Paper Studios
- Distress Ink, Walnut Stain, Black Soot, Fired Brick
- Blending tool
- Fiskar Scissors
- Ribbon
- Dictionary Page
- Tattered Angels Glimmer Mist, Kraft
- Heat tool
- Best Cleaner Ever by ScraPerfect
- Scrap of red cardstock
- Clear tape
- Best Glue Ever by ScraPerfect
- Large No-Clog Writing Cap By ScraPerfect
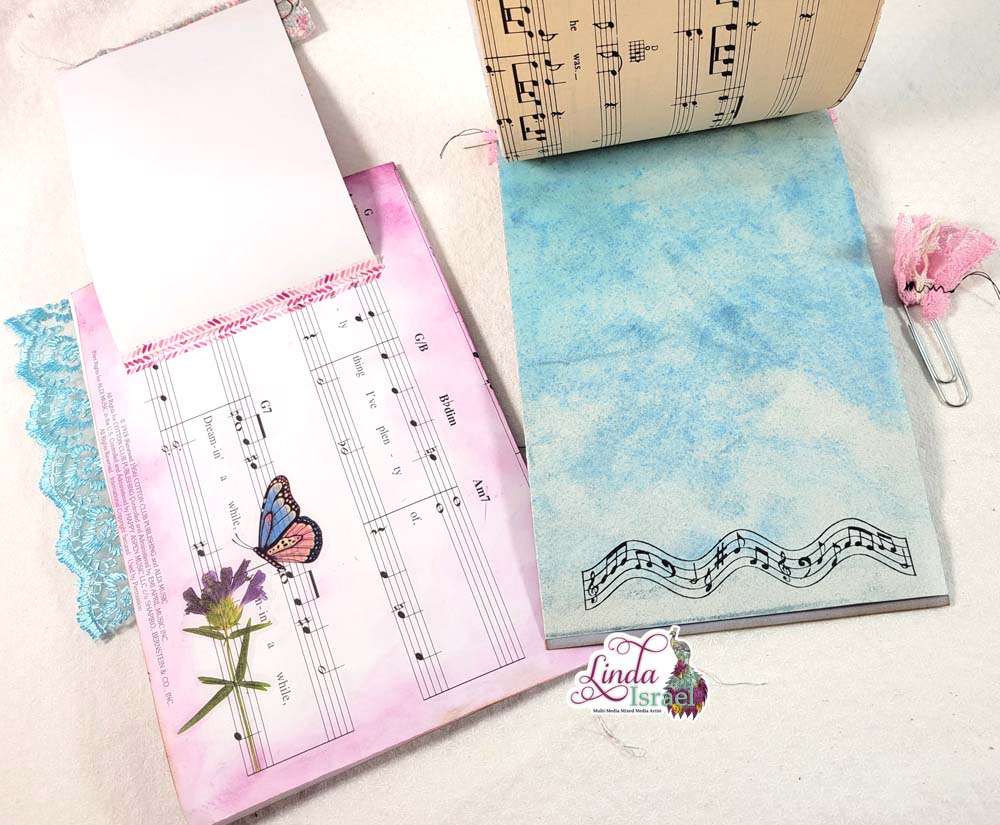
Let’s get started on this Red Junk Journal Pocket Tutorial by selecting a large dictionary page or junk mail that is about 8.5 x 11 inches in size. A larger page is better. When it is folded into fourths that is the size it will be so if you have really large sheet think about what size it will be when folded, mine is about 4.25 wide by 5.5 tall. Fold in half from top to bottom, what some call hamburger style. Now fold in half from left to right. Then fold down the top layer at a diagonal until it meets the edge. Next fold the next two layers down just slightly above the first fold to give layers.
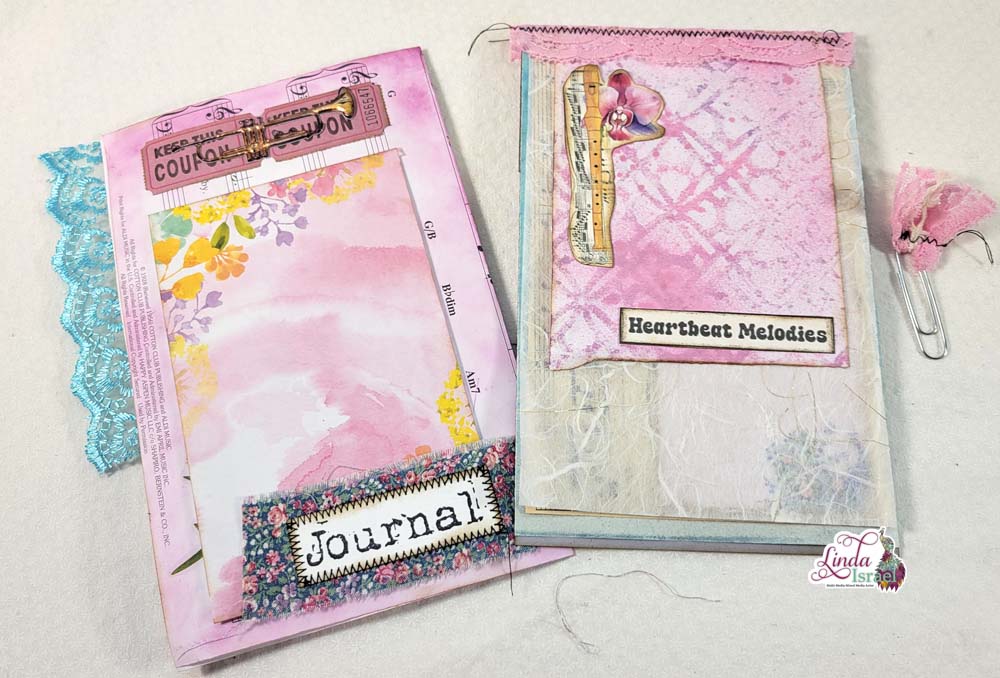
Spray the Radiant Red Tattered Angels Glimmer Mist through the Moroccan Stencil. Dry with heat tool.
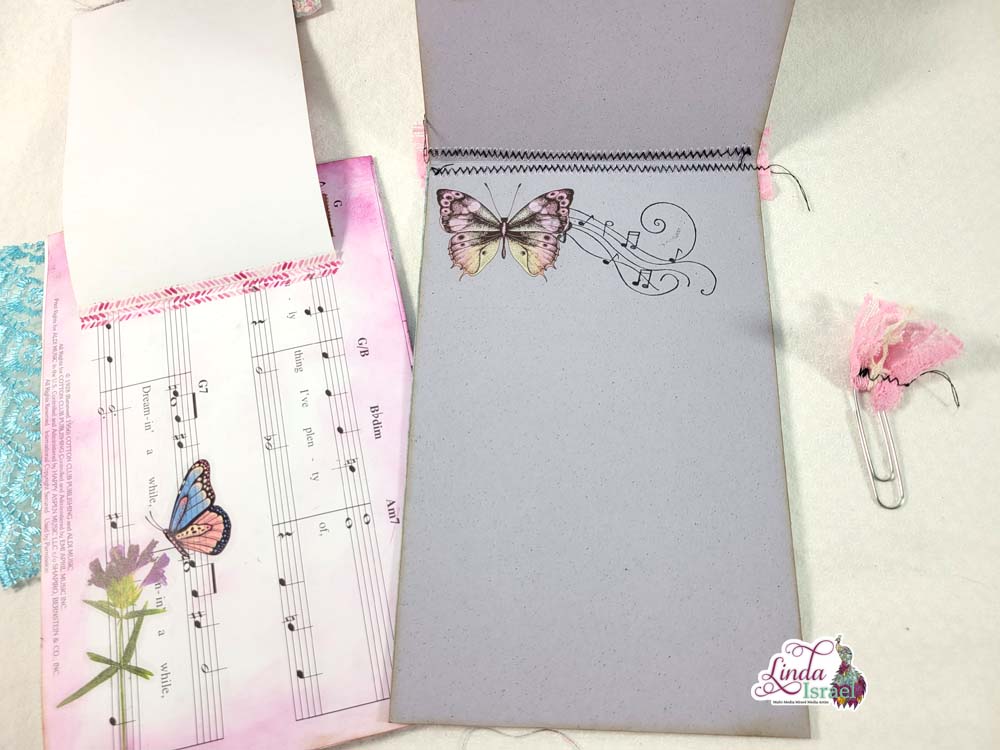
Stamp Zig Zag image from the Shabby Stitches stamp set using Black ink, I used Brilliance Graphite Black. If using a pigment ink, set with a heat tool. Apply Walnut Stain Distress Ink to each edge of the pocket layers.
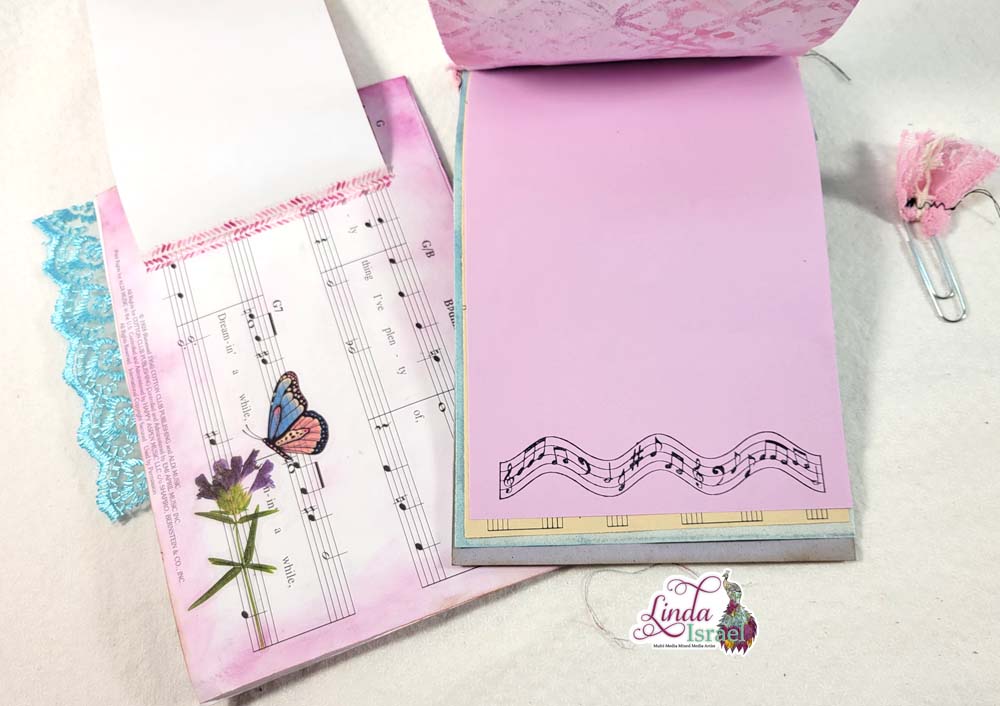
Cut a piece of red cardstock the same width as the pocket and about 1.5 inches tall. Ink up Diamond Bar with Black in and stamp on the red cardstock. Apply Black Soot Distress Ink around the edges using a blending tool. Attach a piece of the red twine with clear tape on the back running the length of the piece. Adhere on the folded page to create a pocket on the front lower edge. Attach a piece of eyelash yarn and then a button in the center of the red stamped piece.
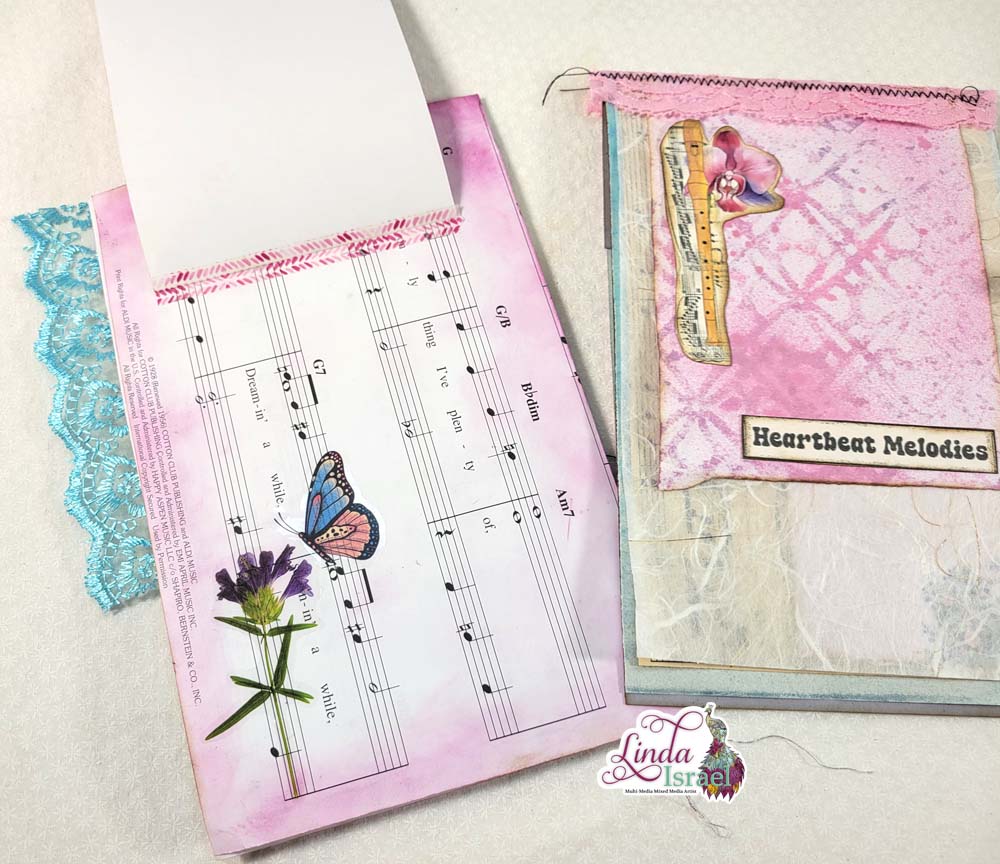
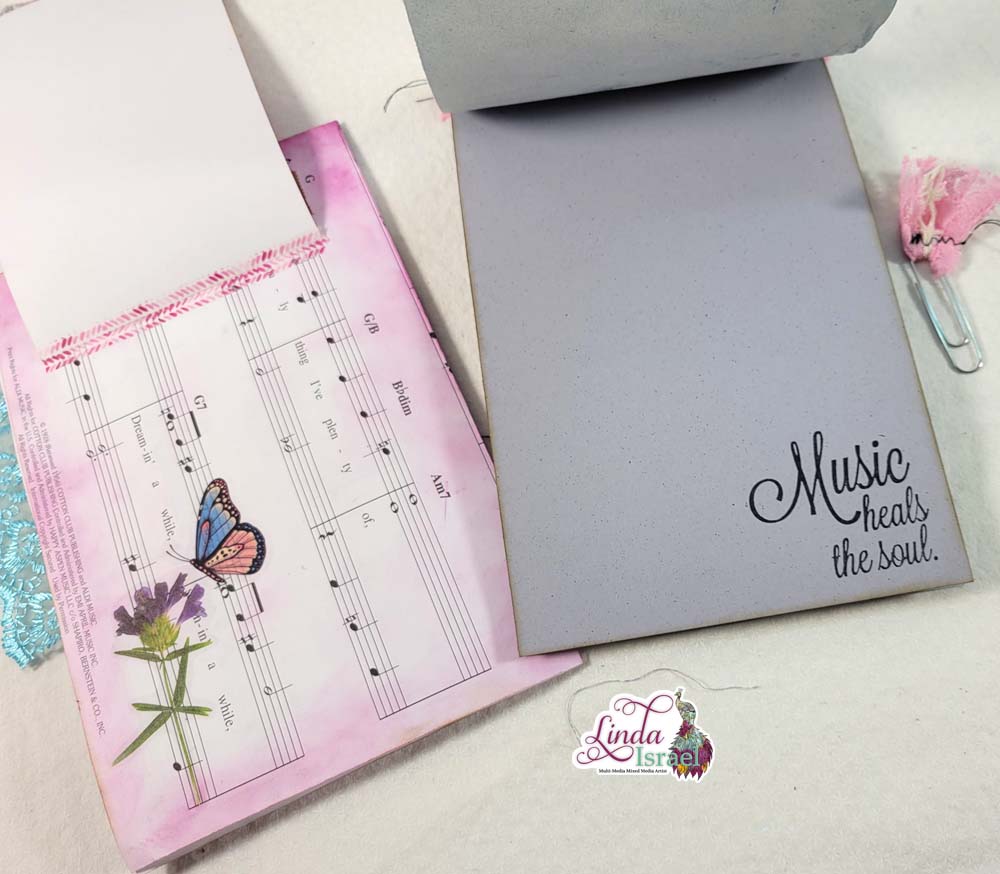
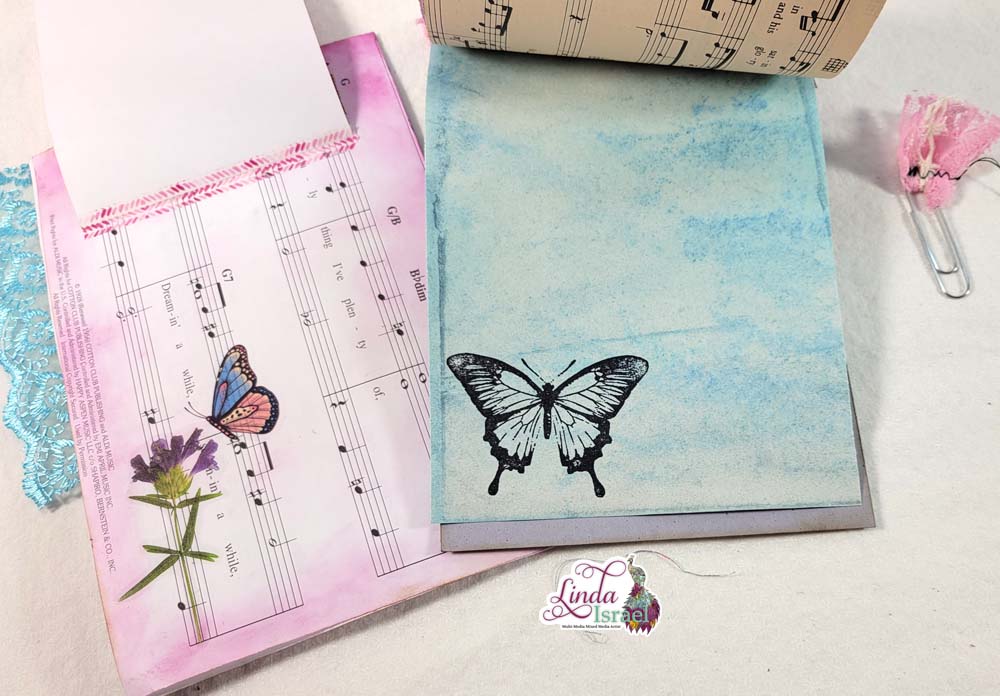
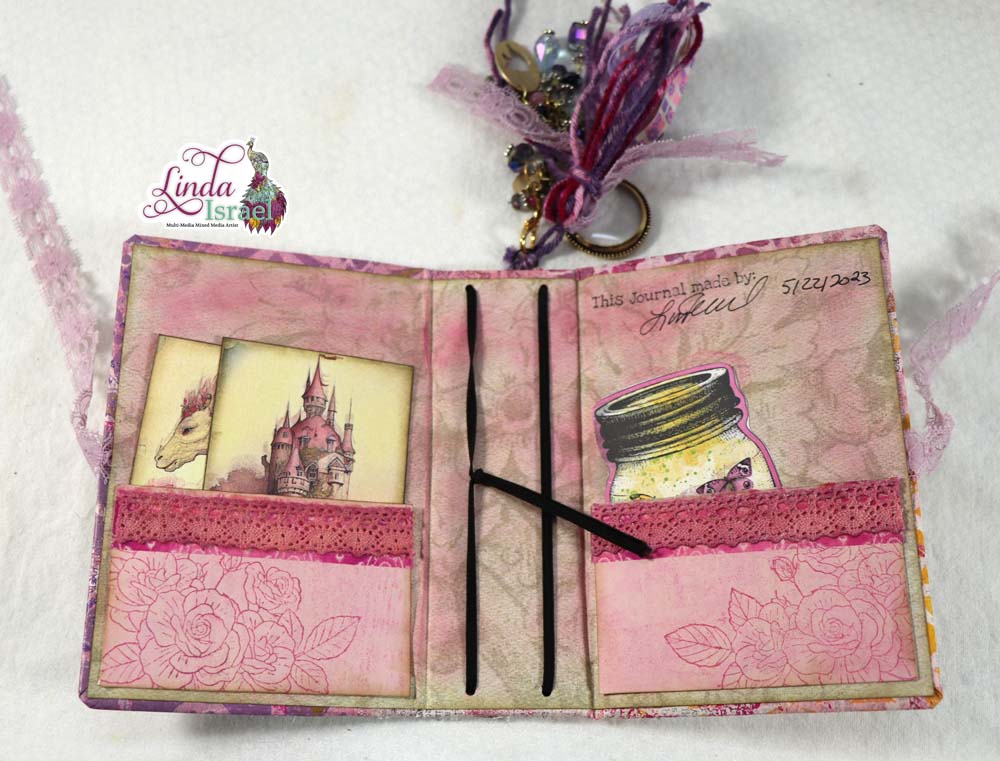
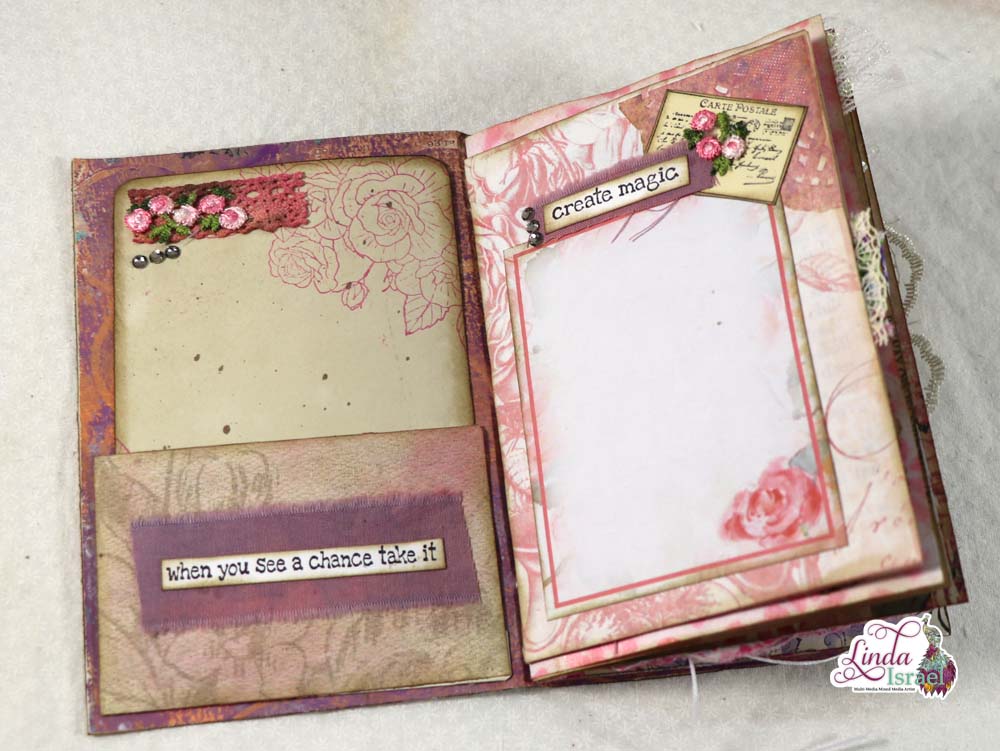
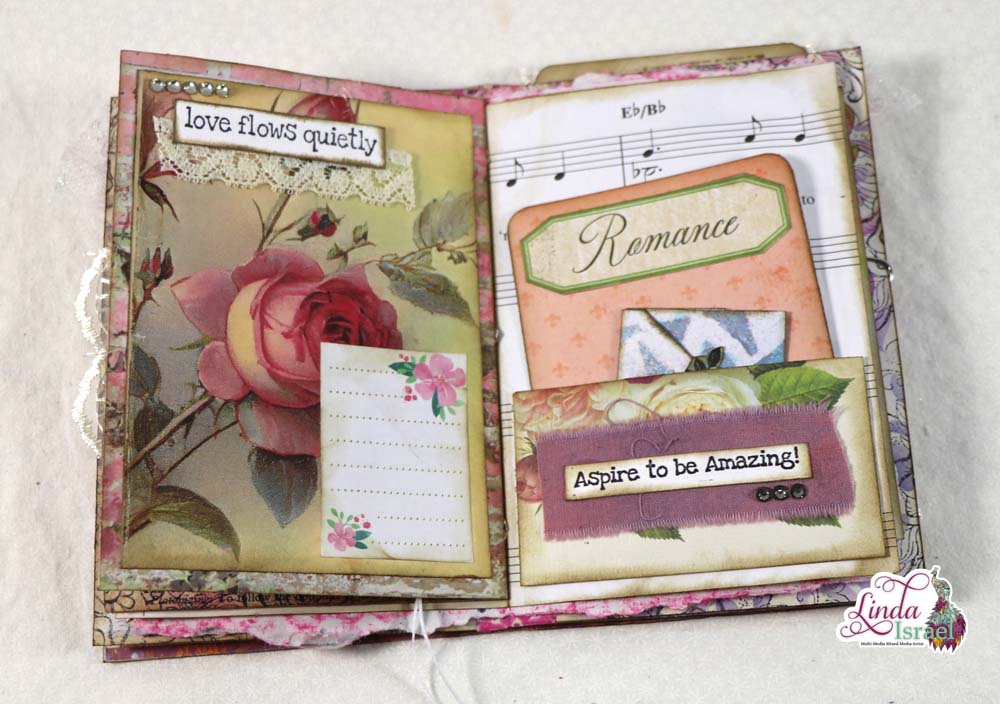
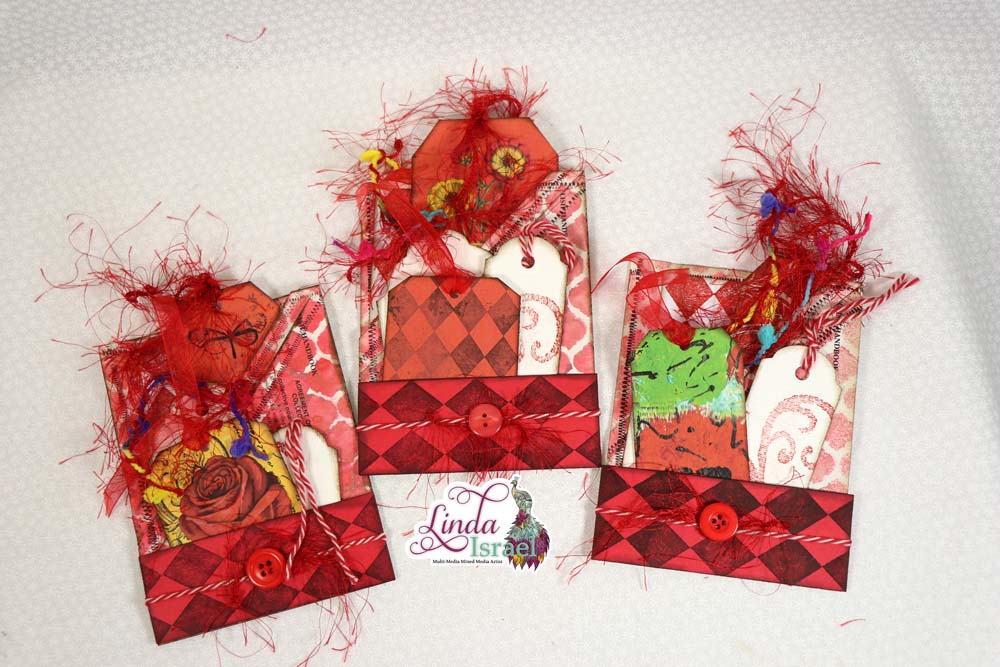
Create the tags for the pockets by using images from the Radiant Red Digital Download and journal cards from the Radiant Red Creative Box. On the white tags stamp the Romantic Swirl Stamp with Fired Brick ink. Stamp the Diamond Bar with Fired Brick on the journal card on one side. Attach fibers to the tags.
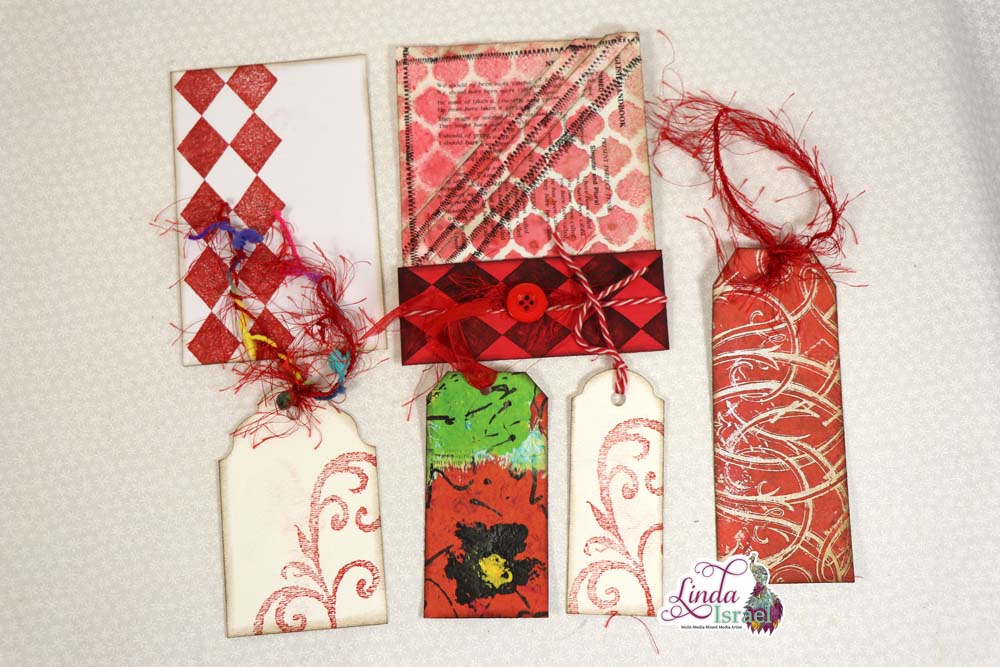
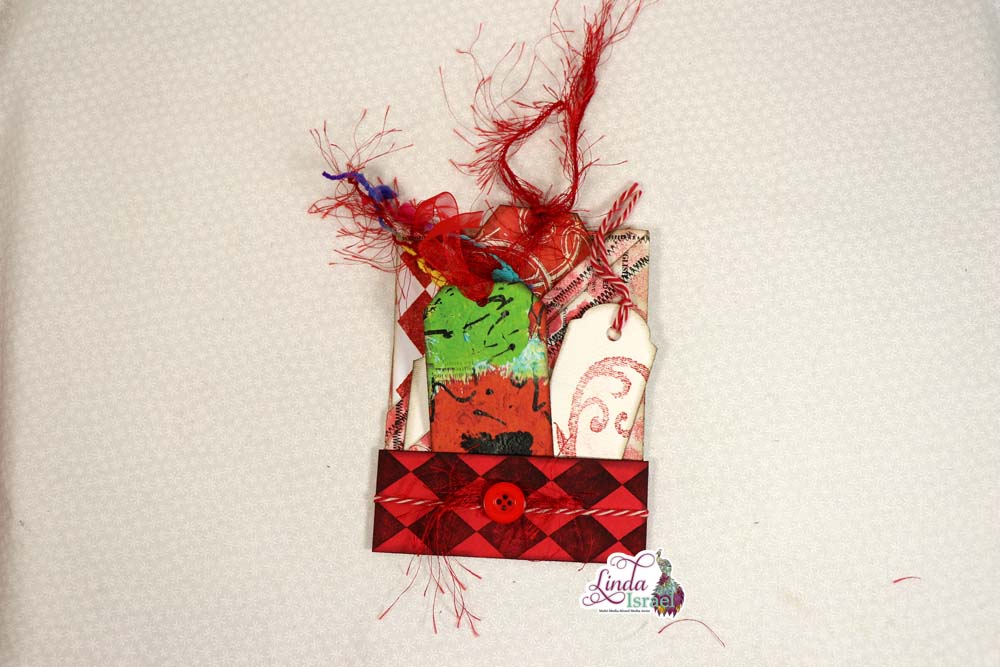
Load the Red Junk Journal Pocket with the tags and journal card and it is now ready to be added to a journal. You could also attach a piece of cardstock to the back and then it could be additional journaling space. These would make great gifts in a greeting card too!
A great way to support me, and continue to see more tutorials and inspirational projects from me is to Become a Patron! When you give me your patronage you will get an exclusive digital download featuring art I created that has now been made into a digital journal kit.
Make sure to check out the Friendly Junk Journal People Facebook group. Of course, you are welcome to join the Friendly Junk Journal People Facebook group. The group is growing daily and we are a friendly group willing to help each other and encourage each other.

Interested in any of the journals I created? Please feel free to contact me through my Facebook Page. Here is my shop, I have a lot of items uploaded and add more weekly.
Keep updated on my posts by following me, add your email. Follow my Facebook Page or on Instagram for updates that may not be shared on my blog.
Thanks so much for stopping by my blog today to see the Red Junk Journal Pocket Tutorial.