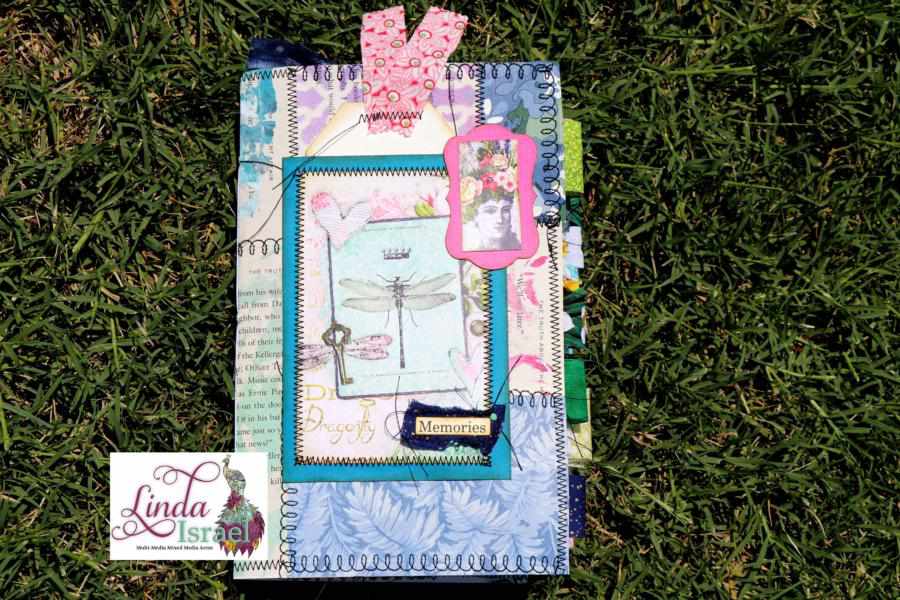
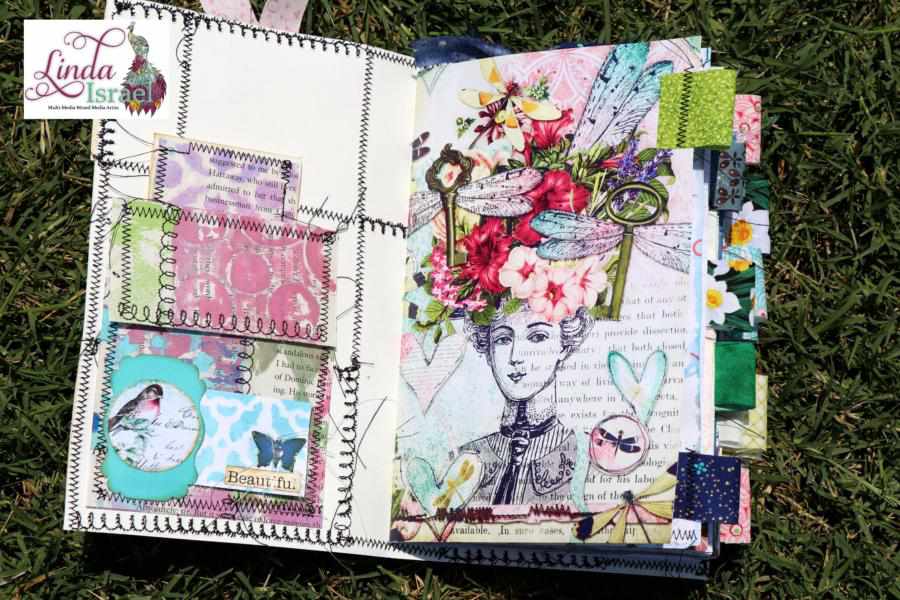
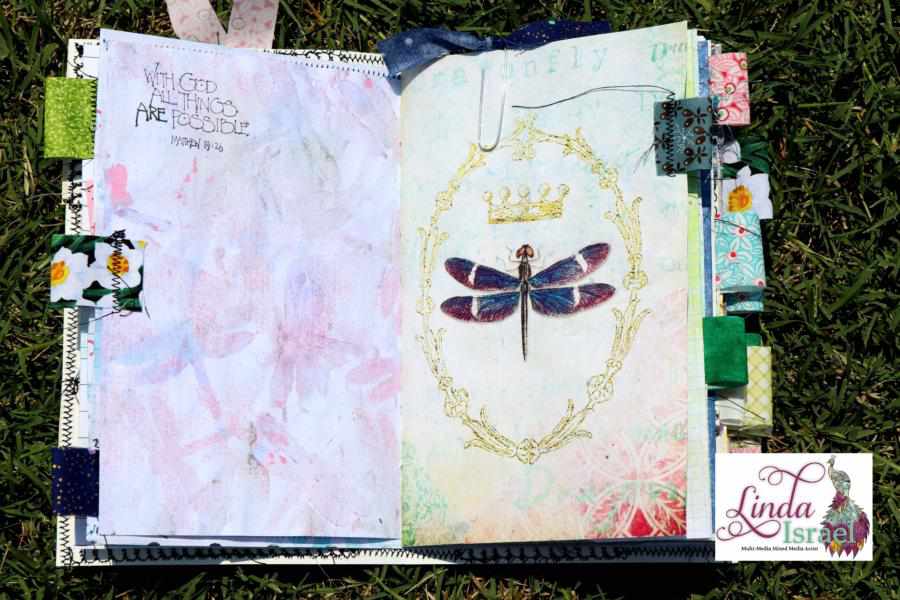
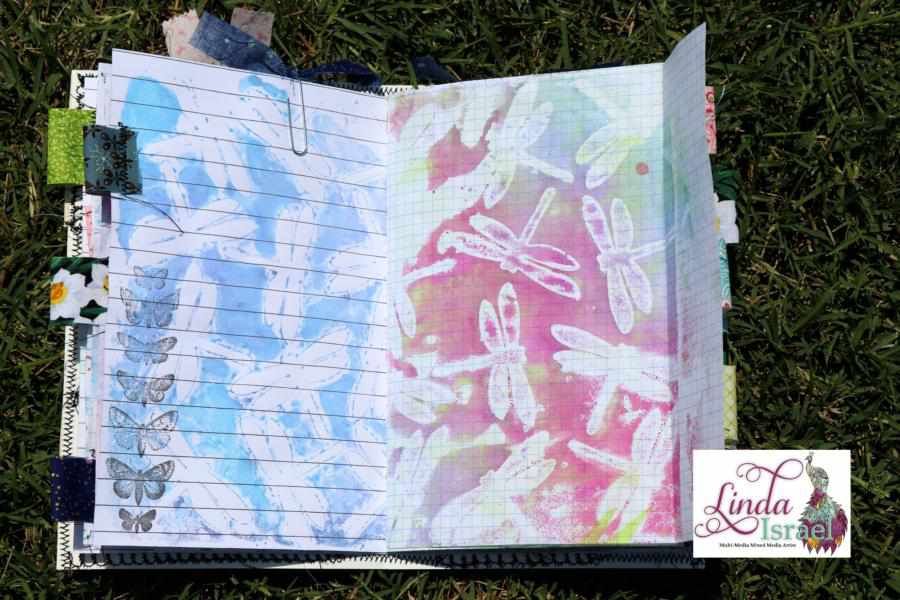
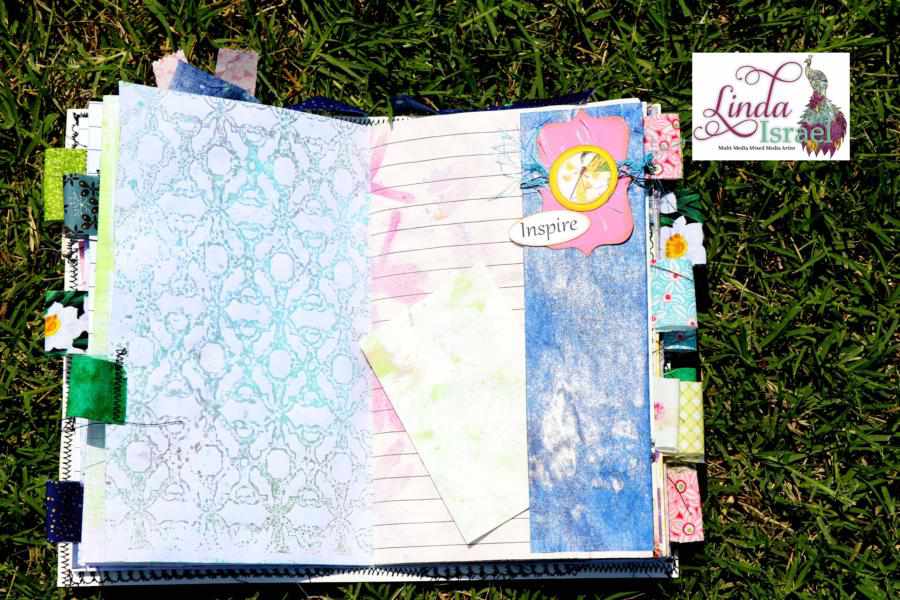
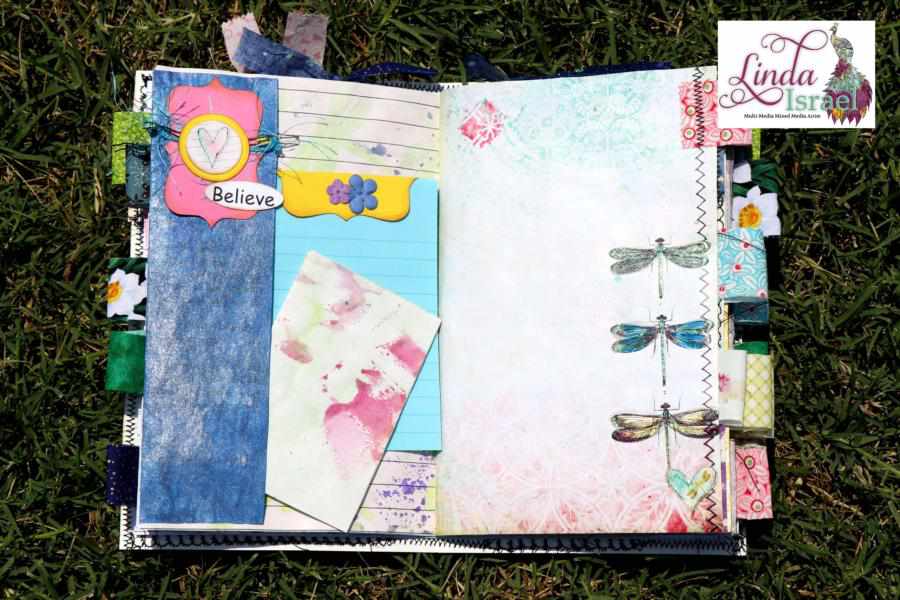
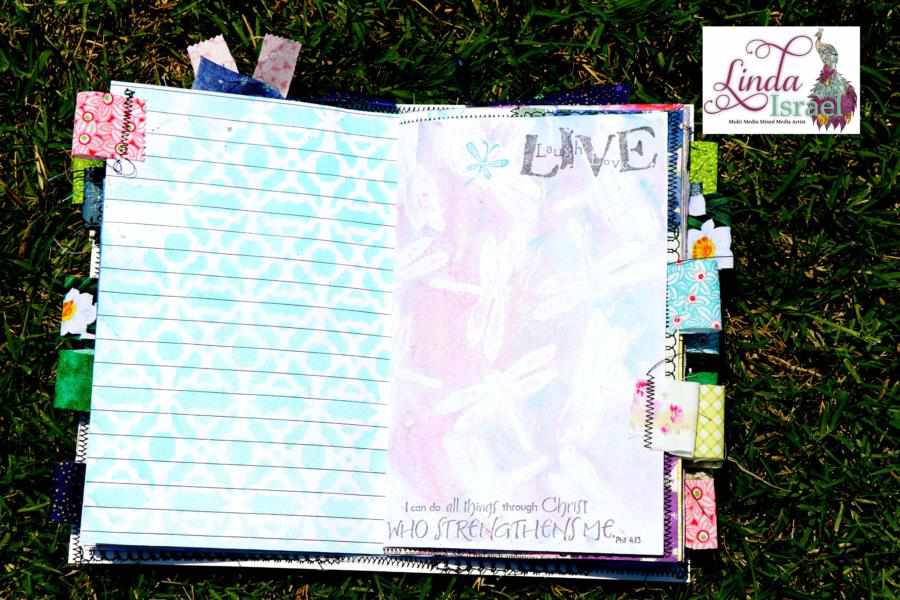
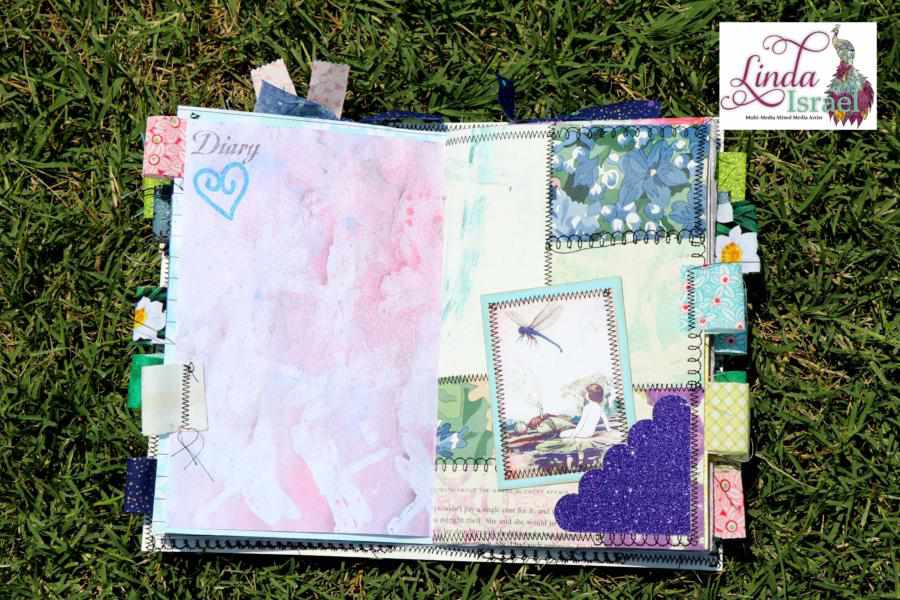
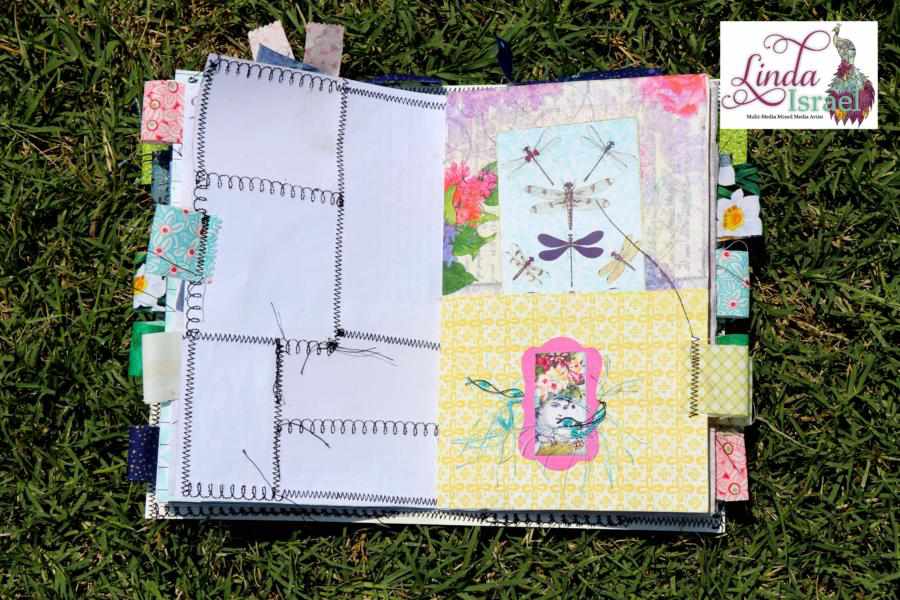
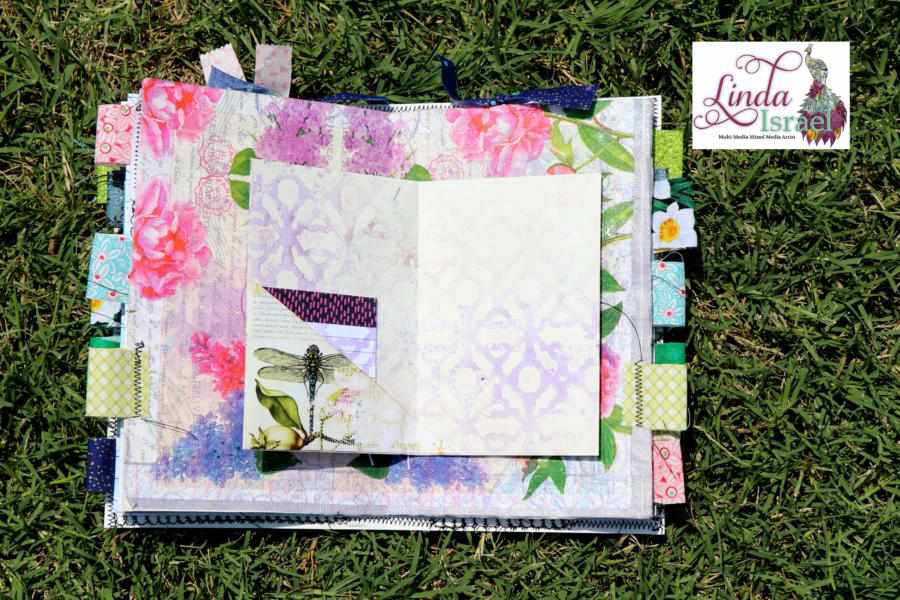
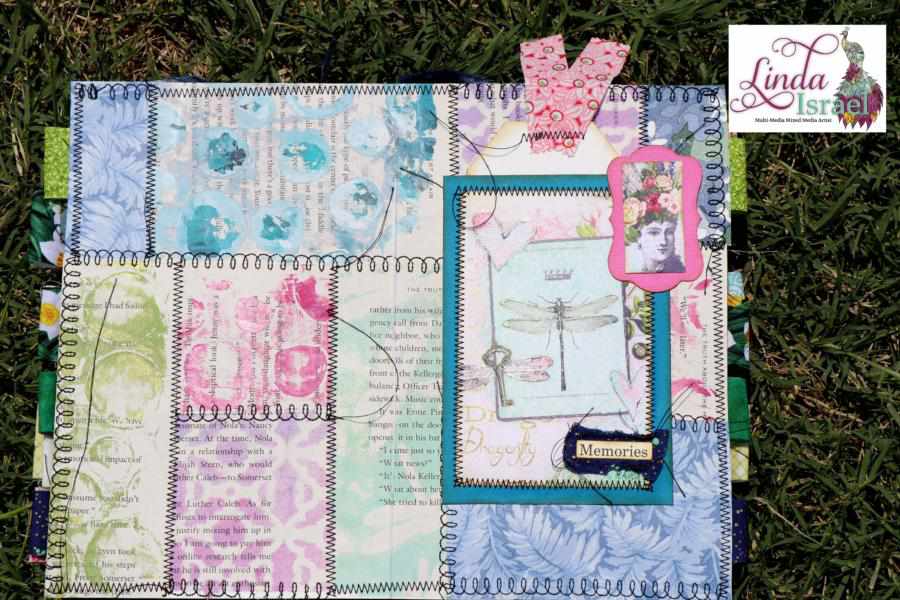
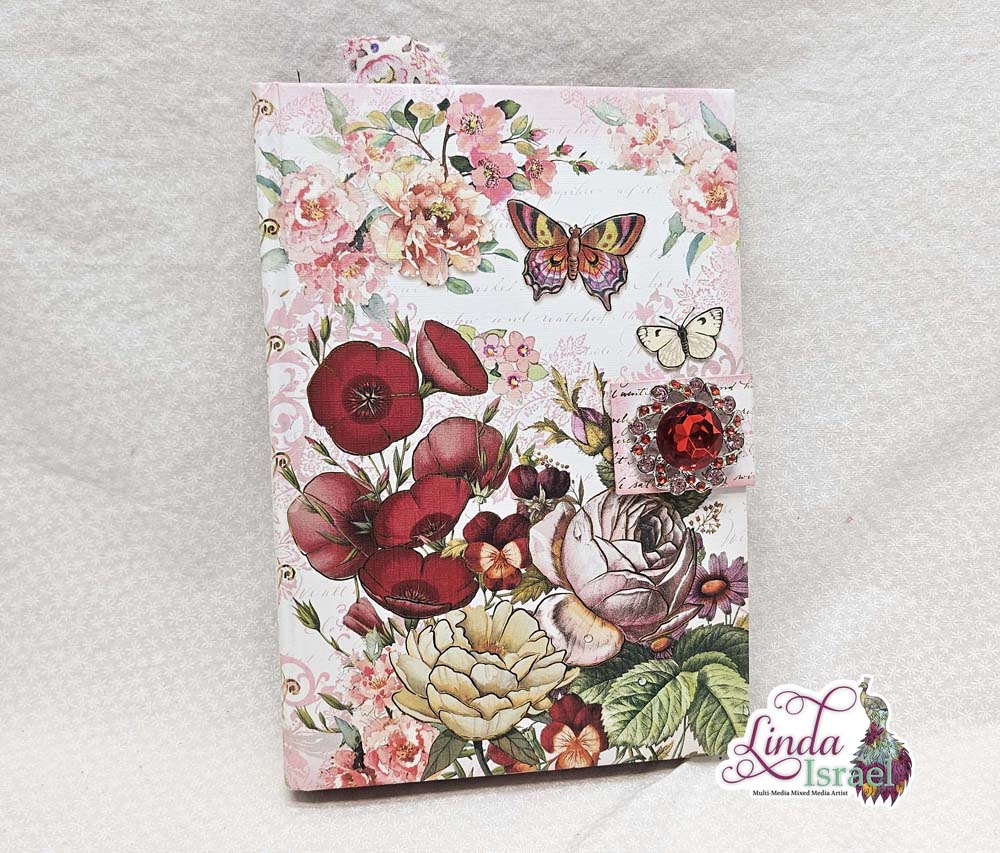
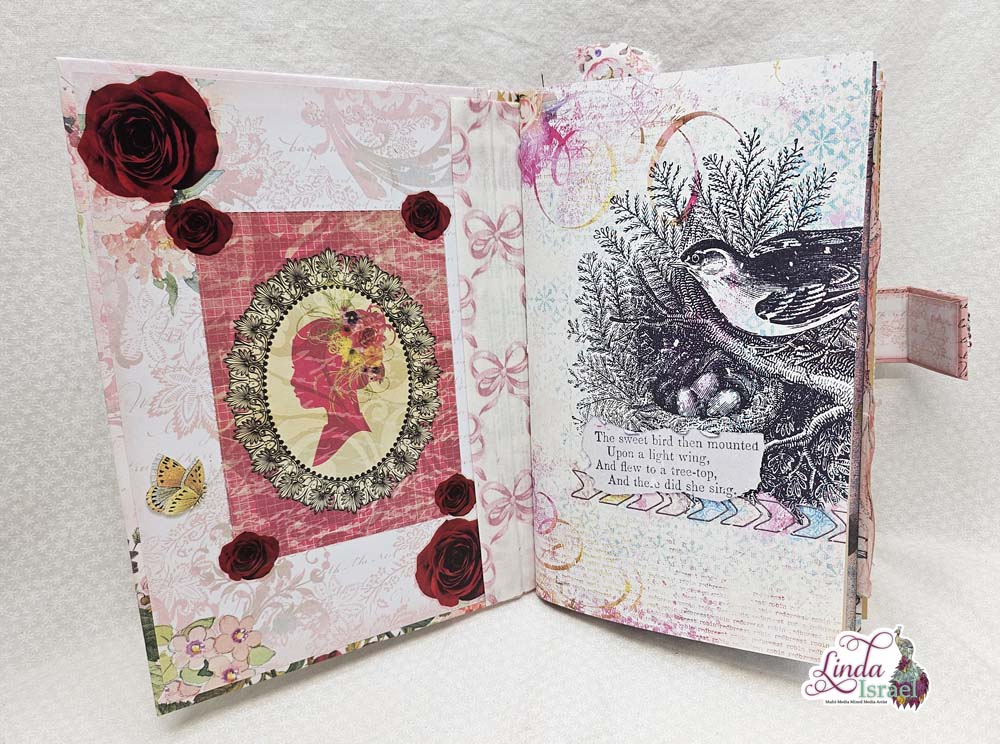
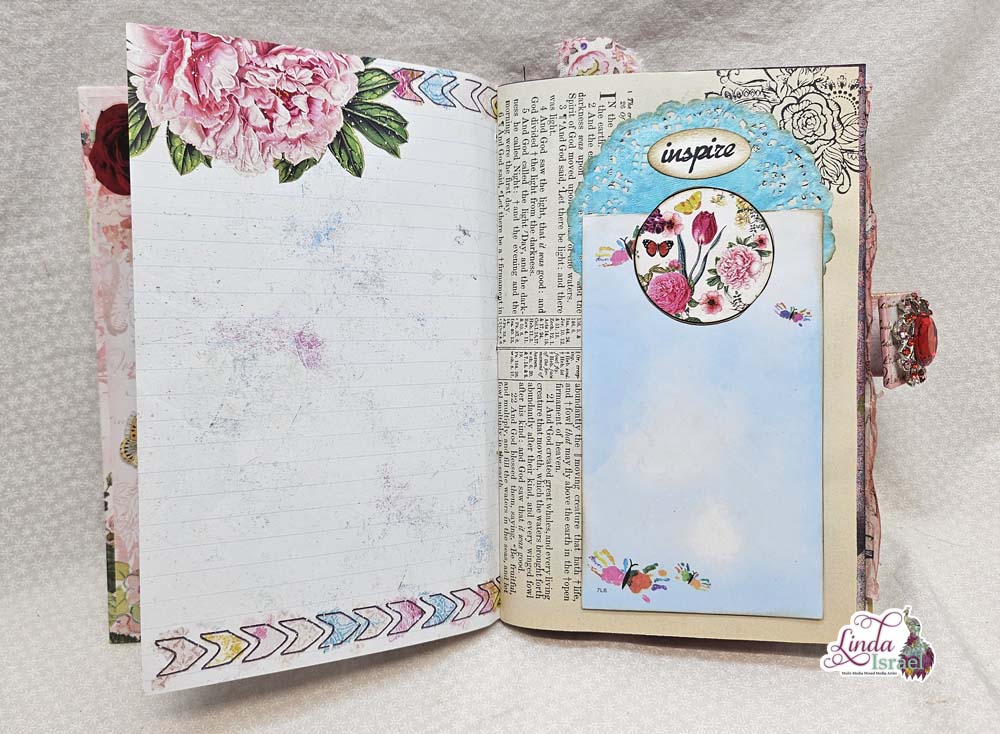
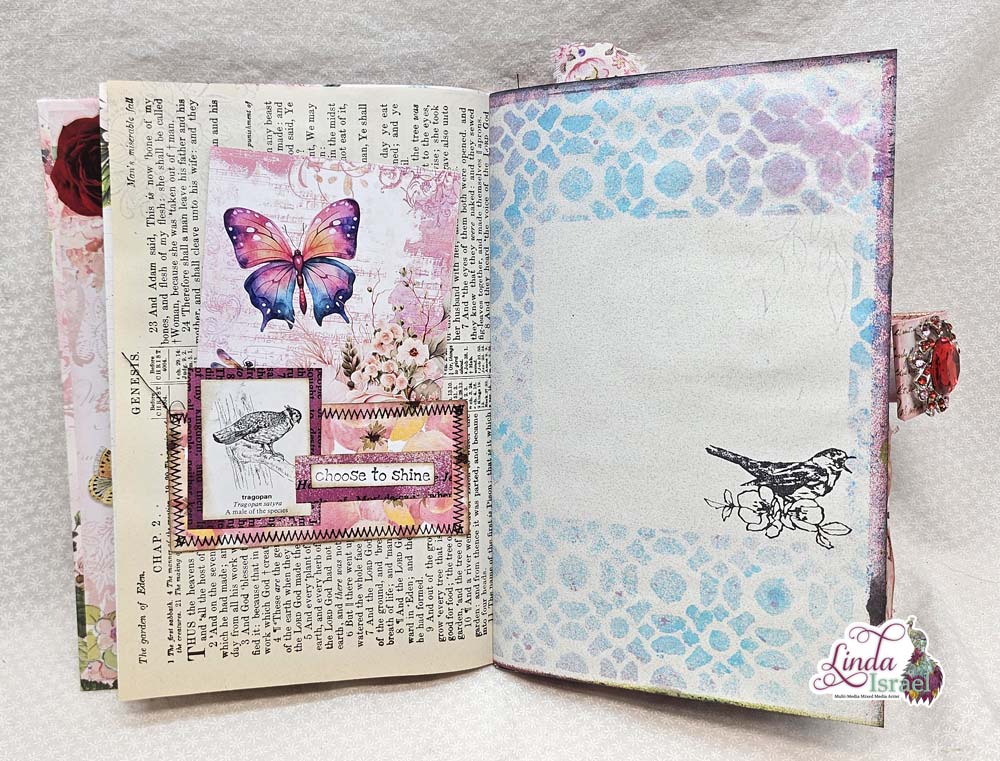
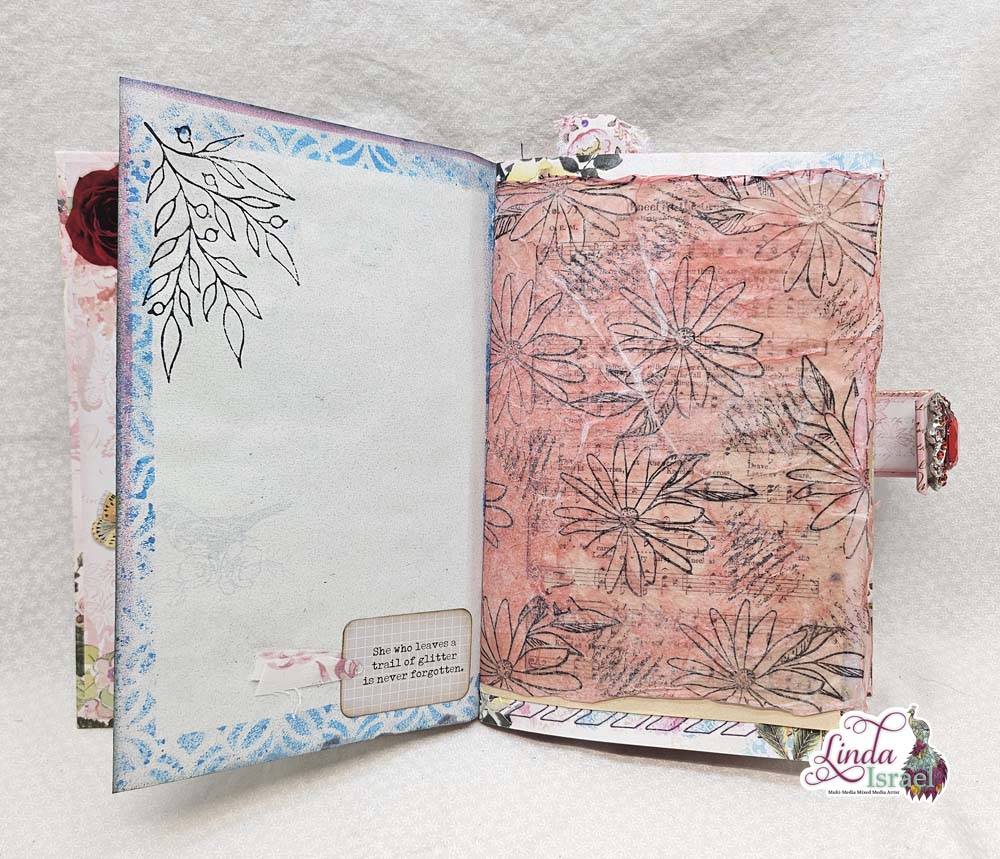
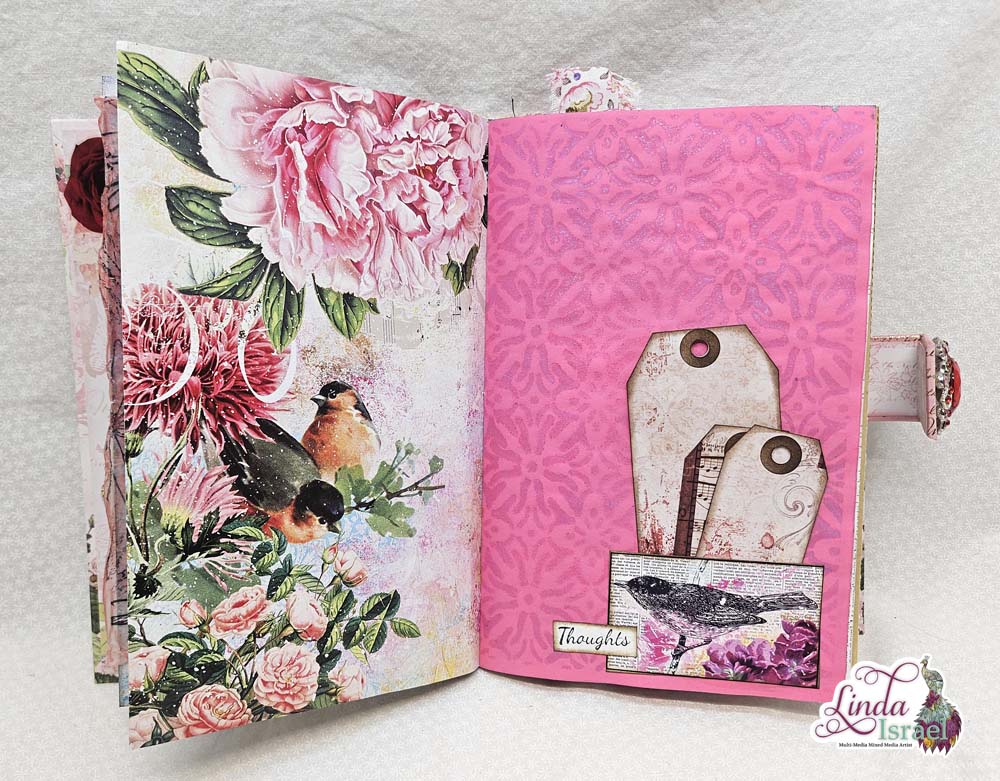
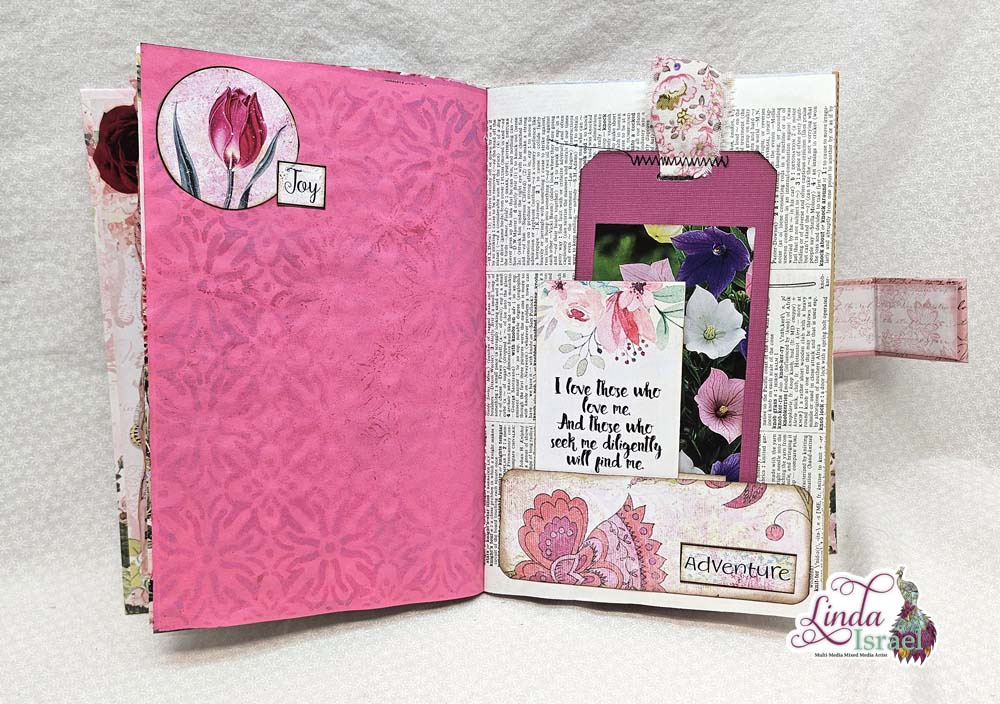
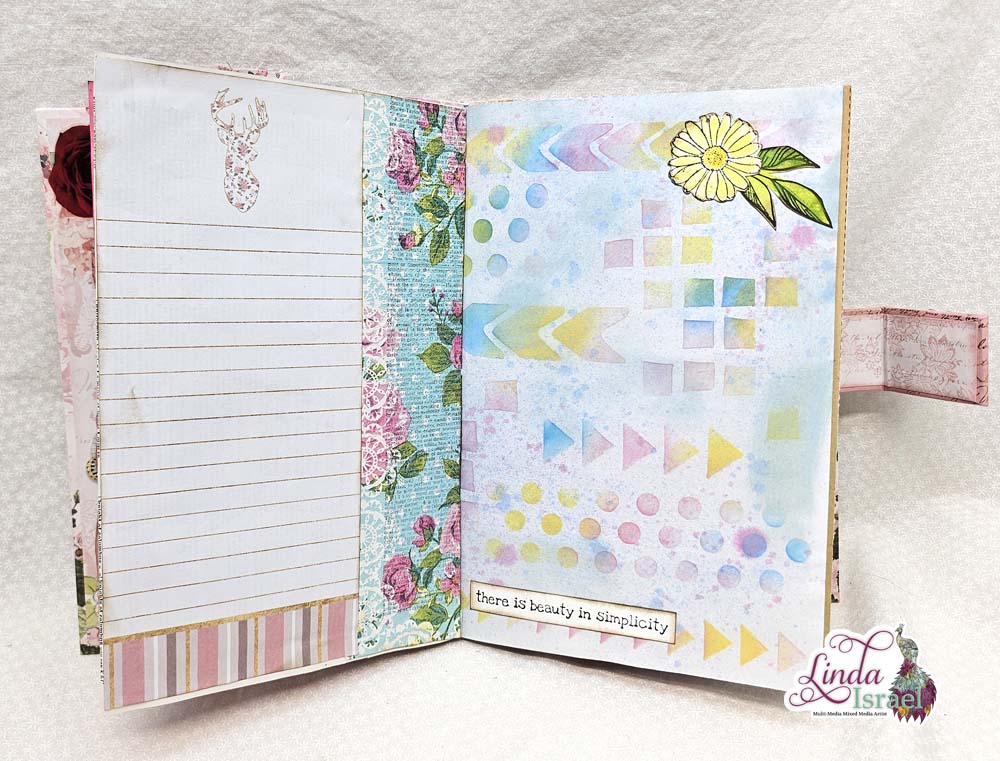
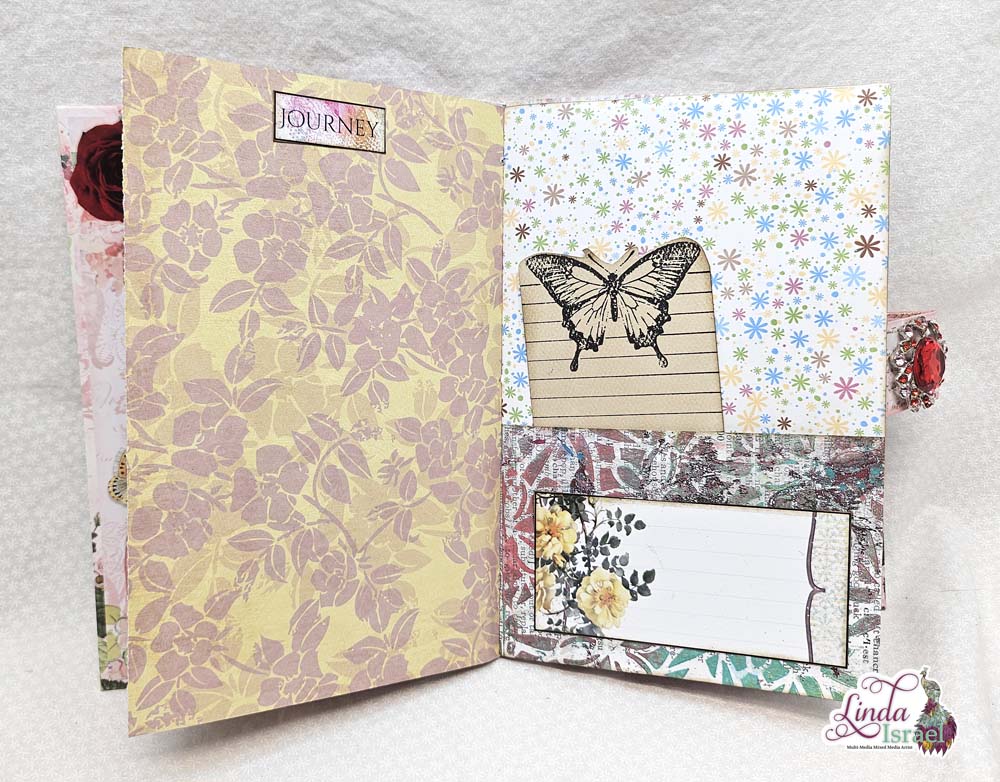
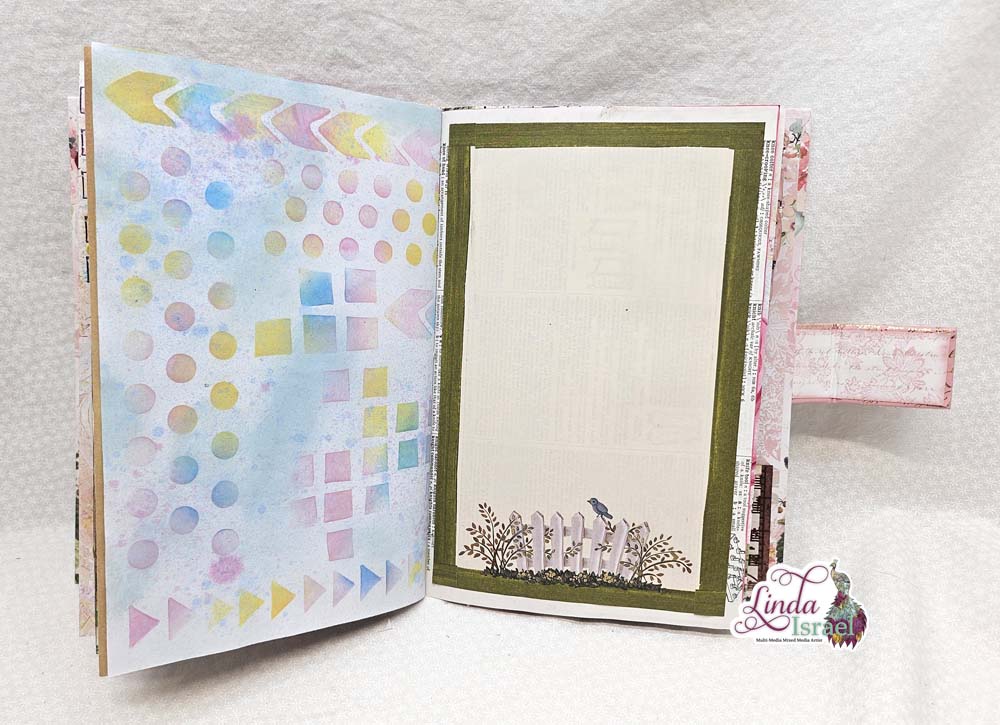
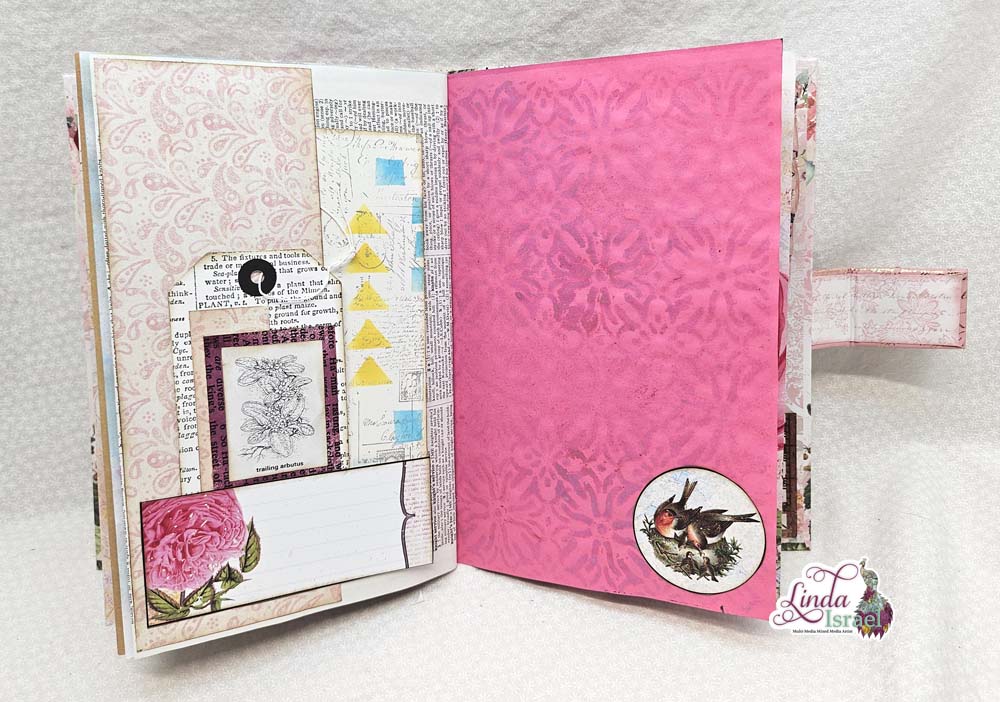
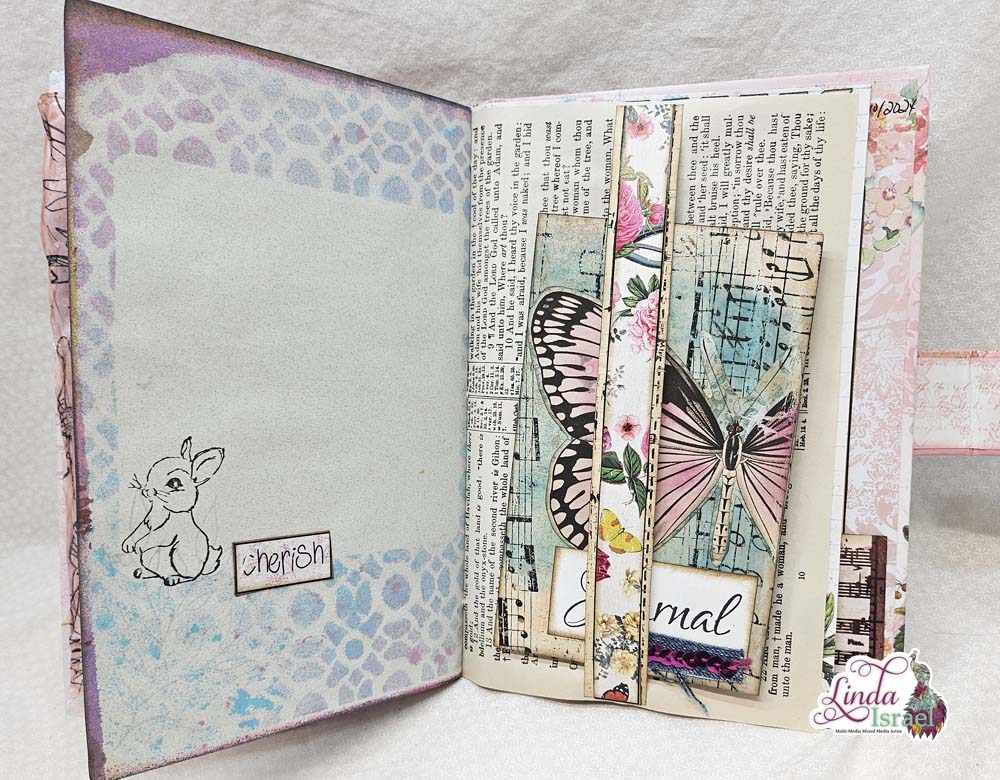
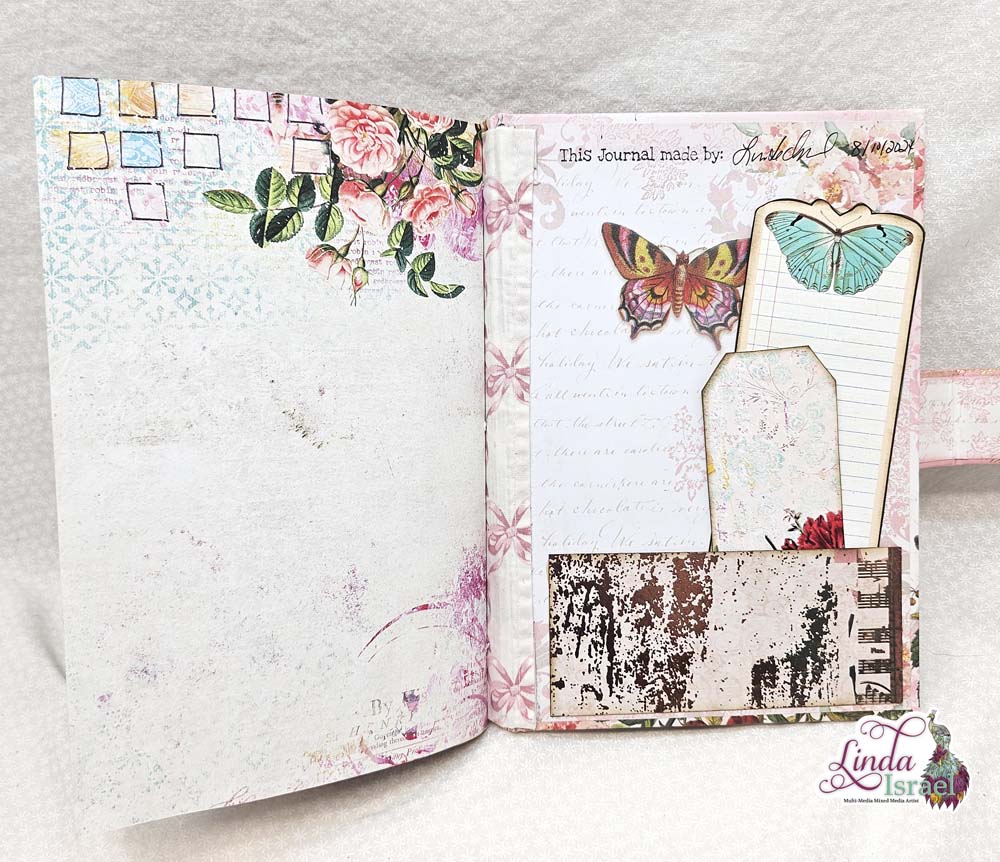
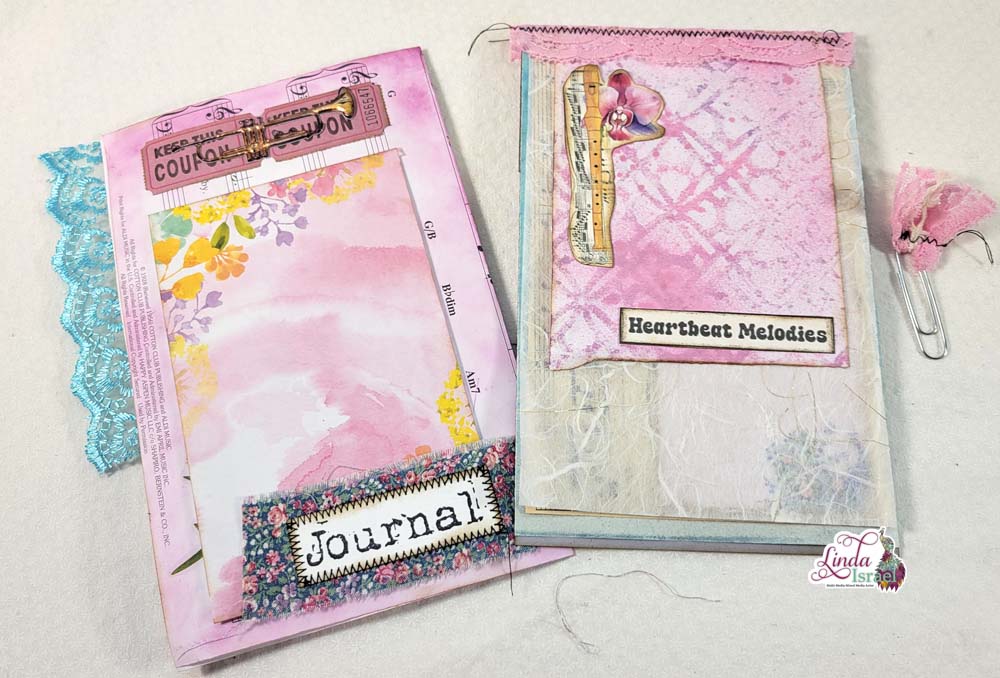
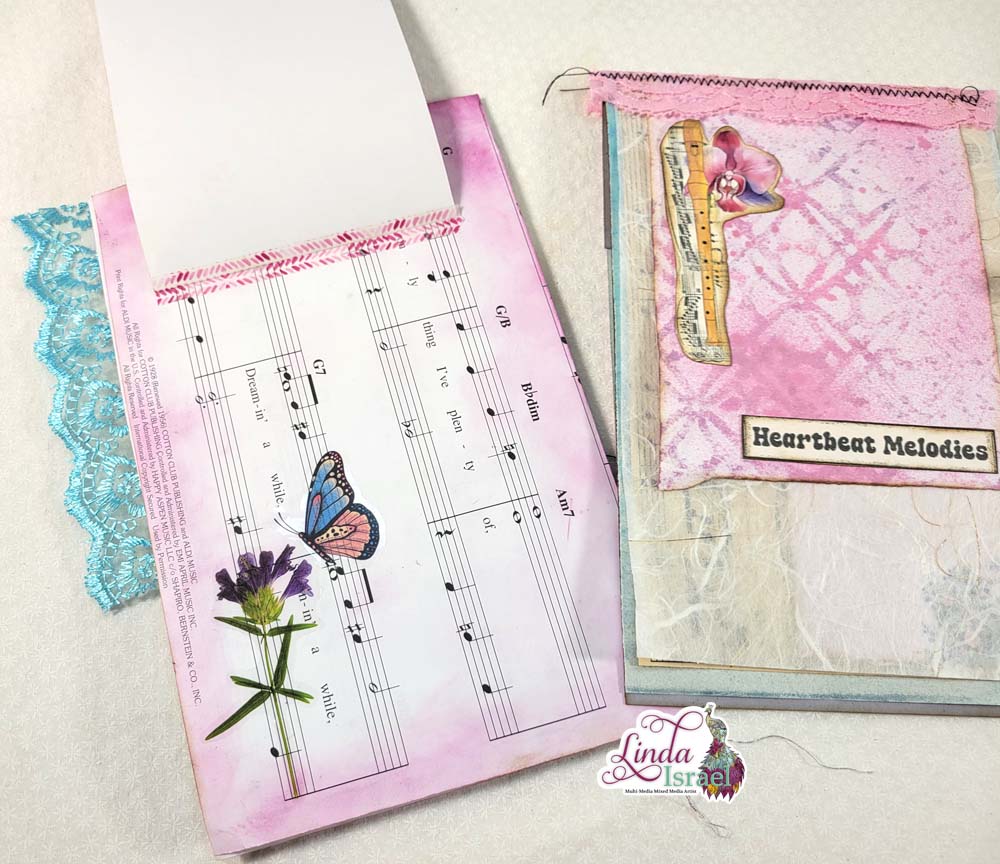
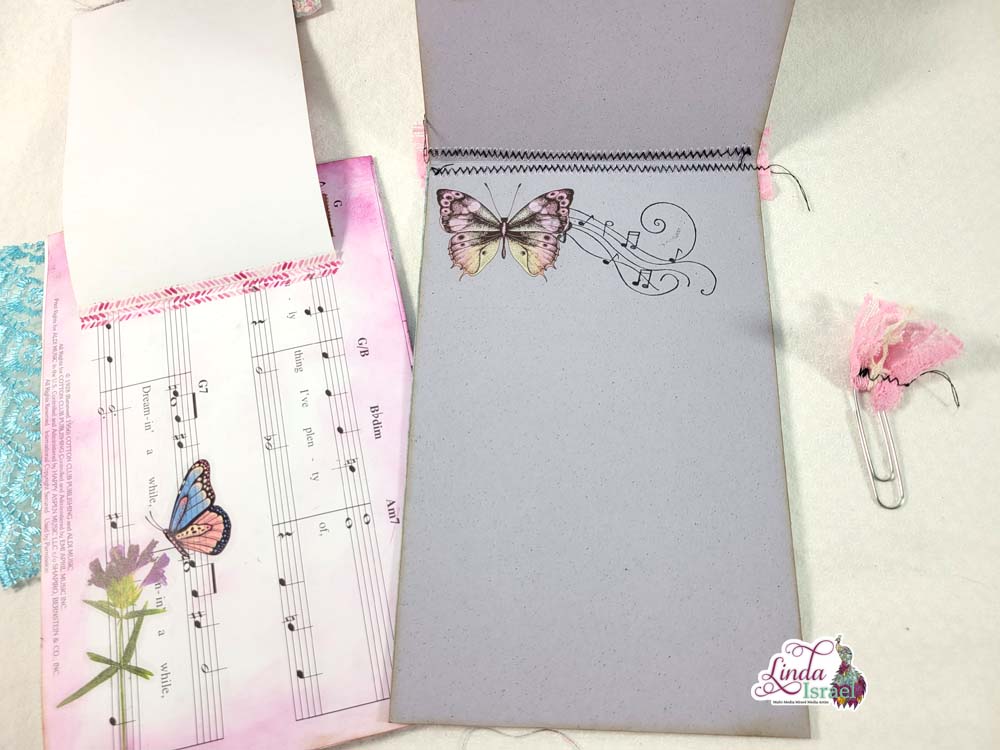
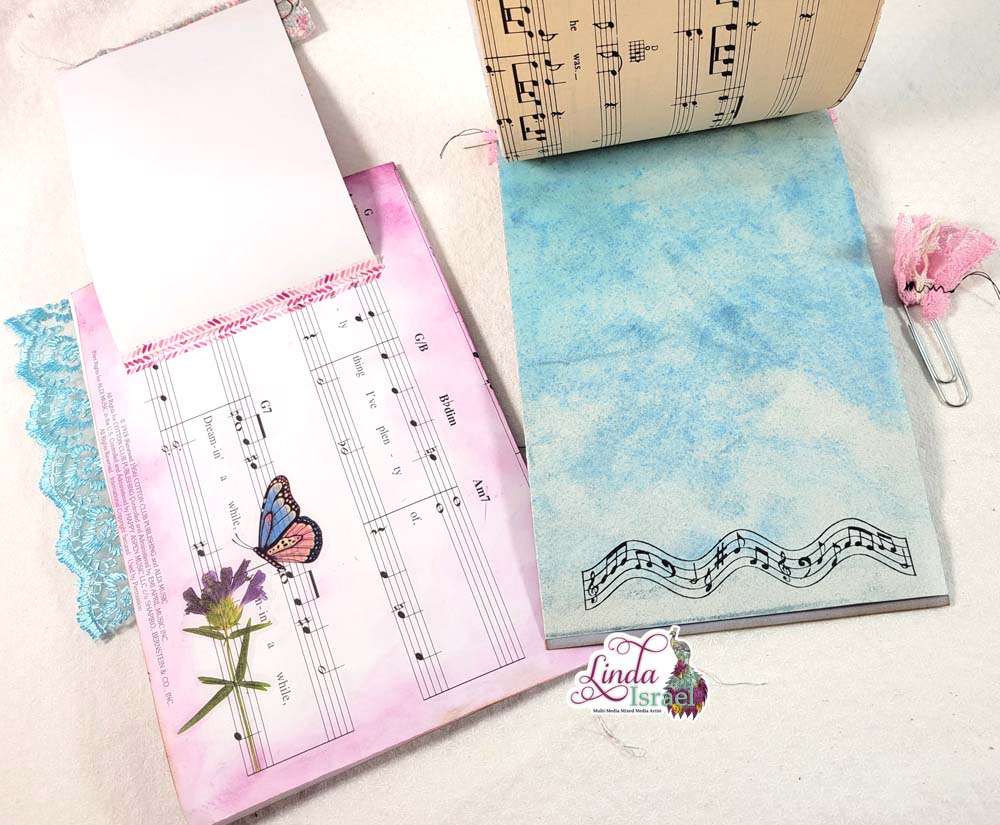
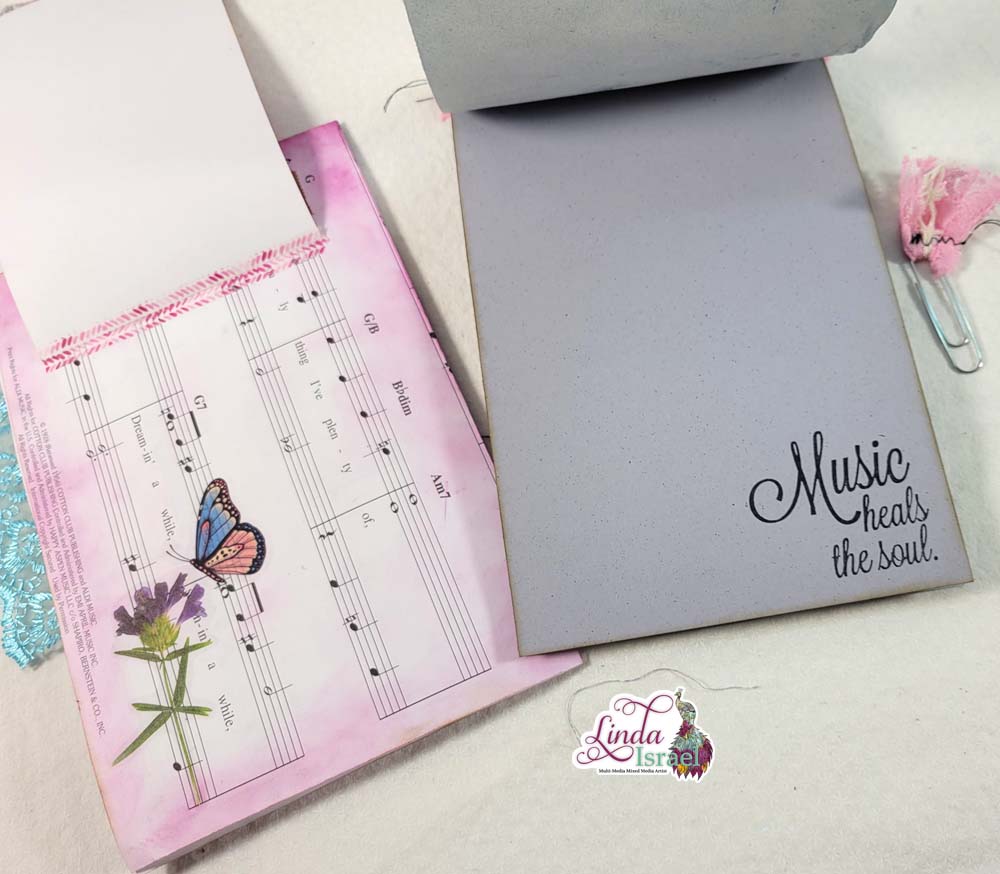
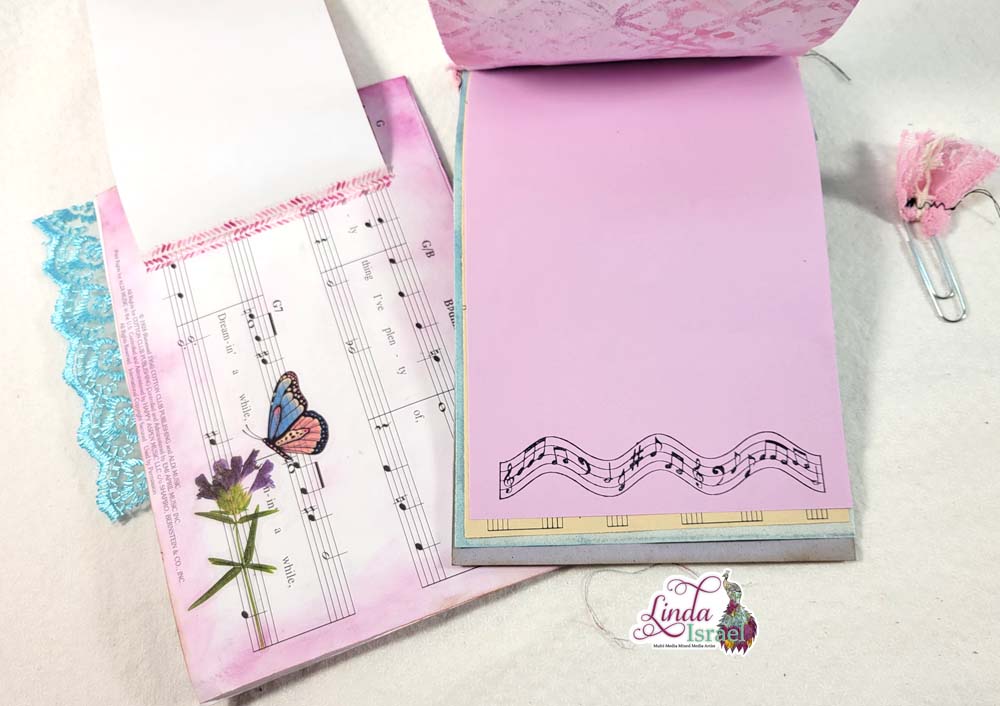
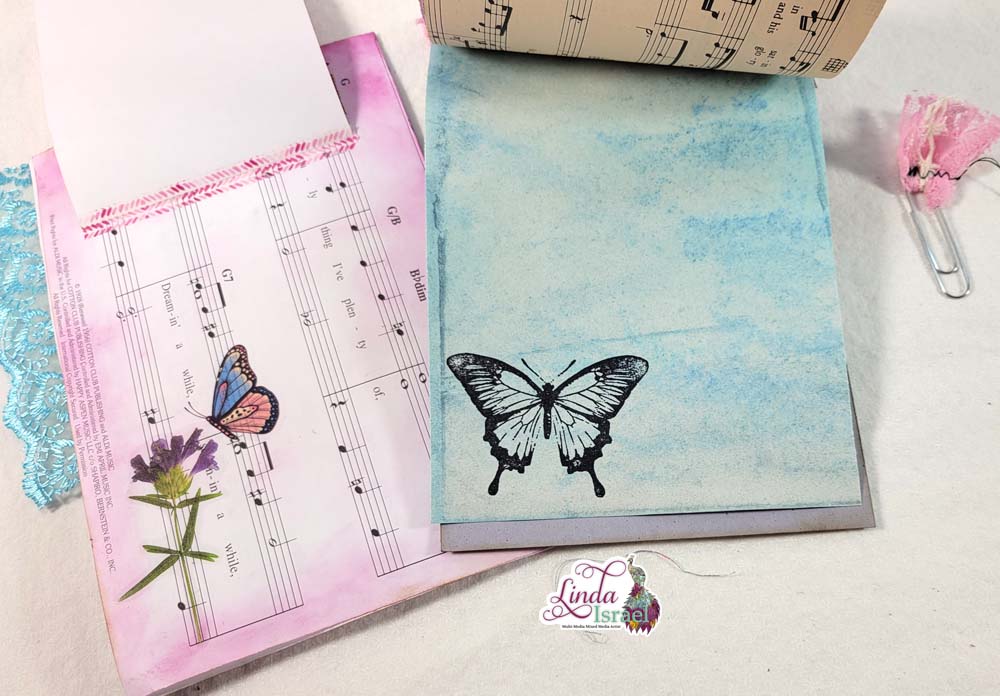
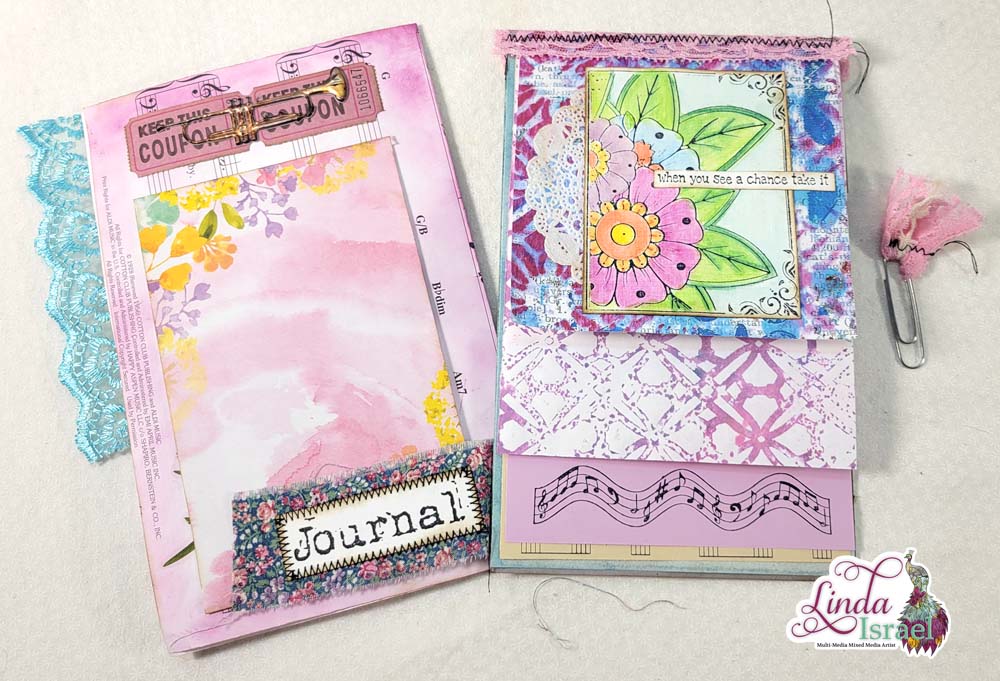
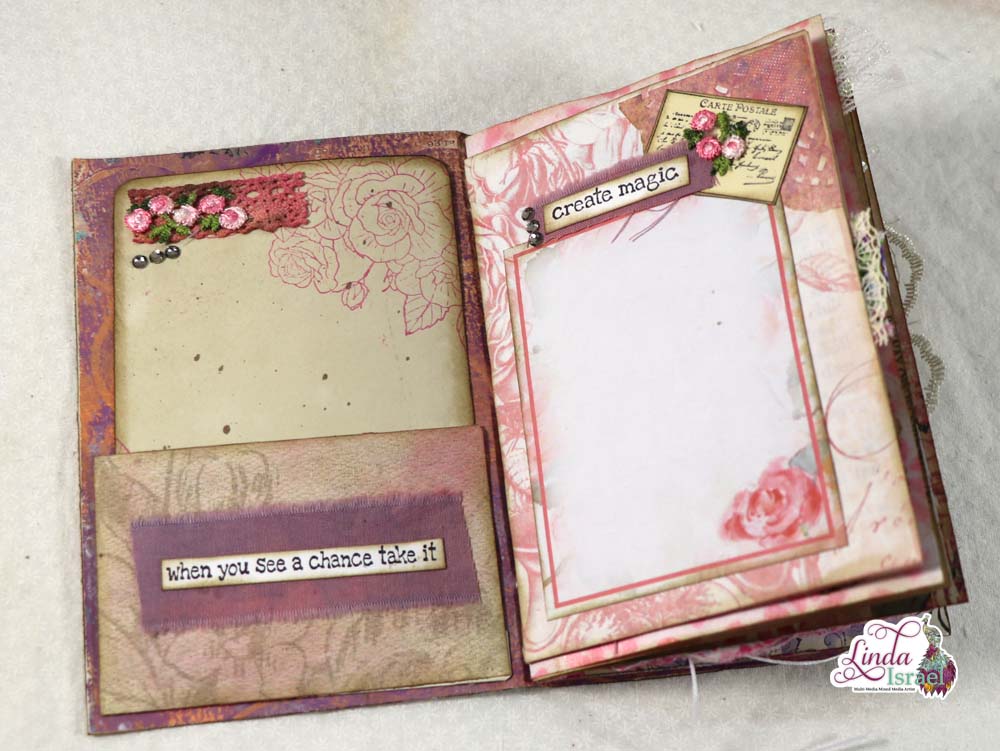
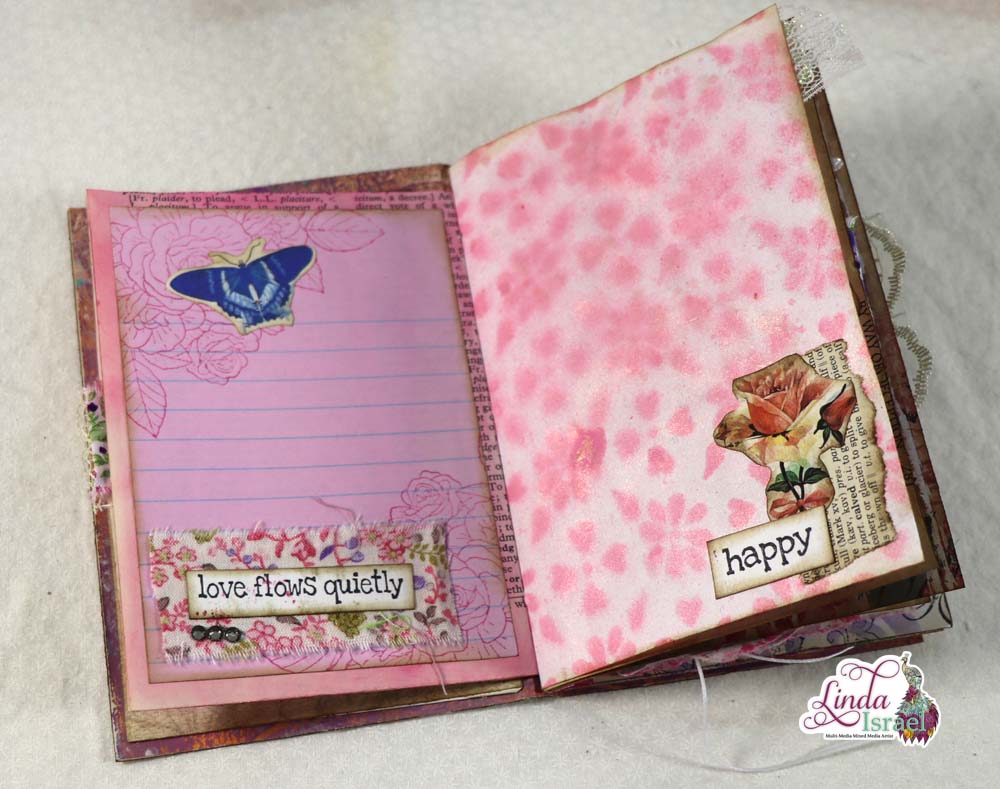
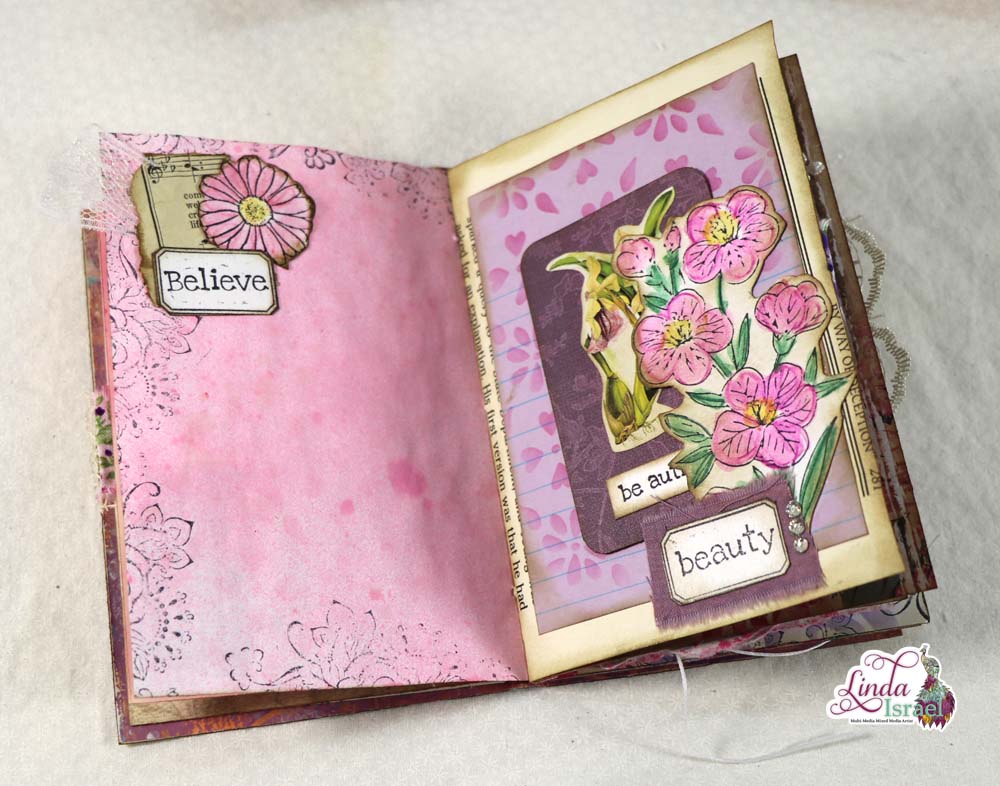
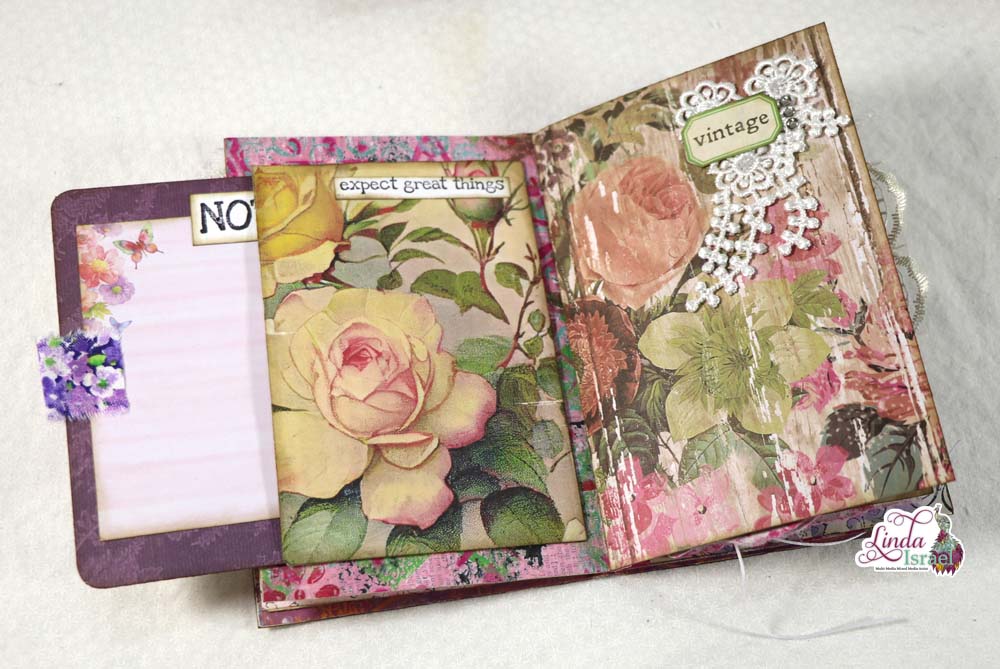
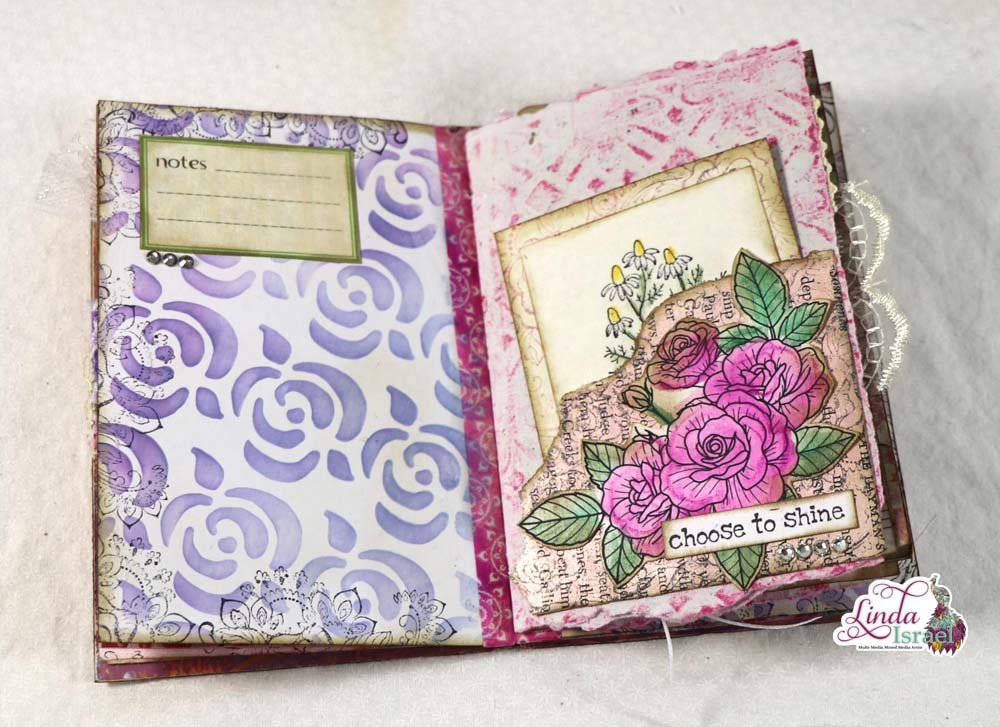
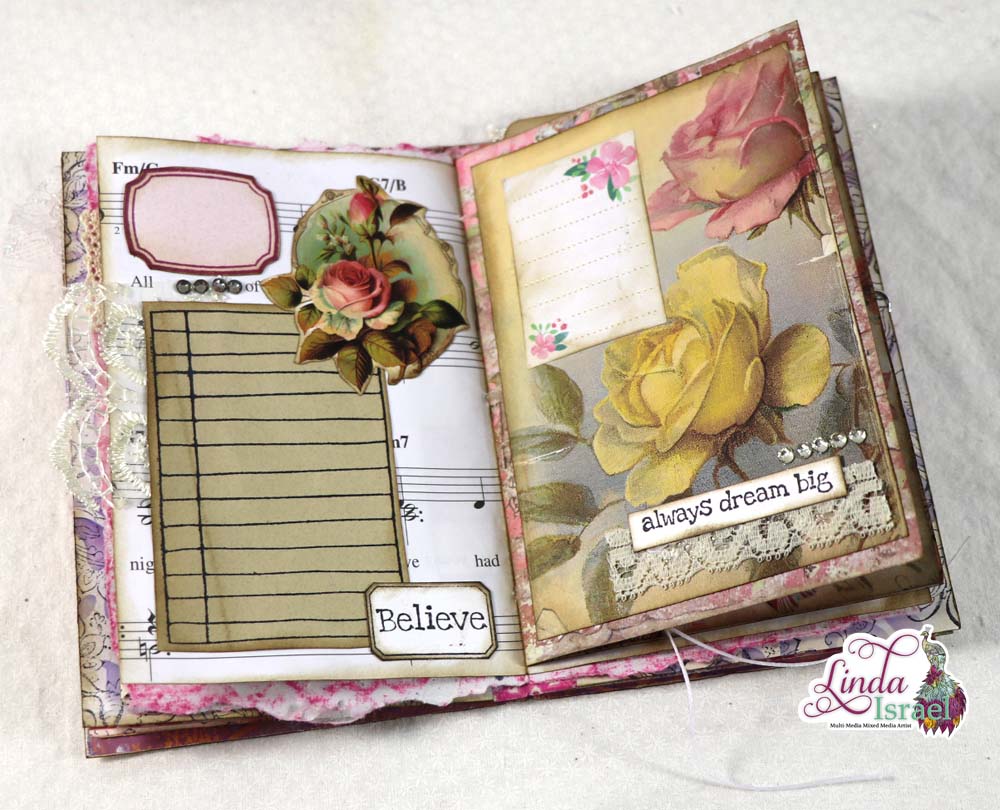
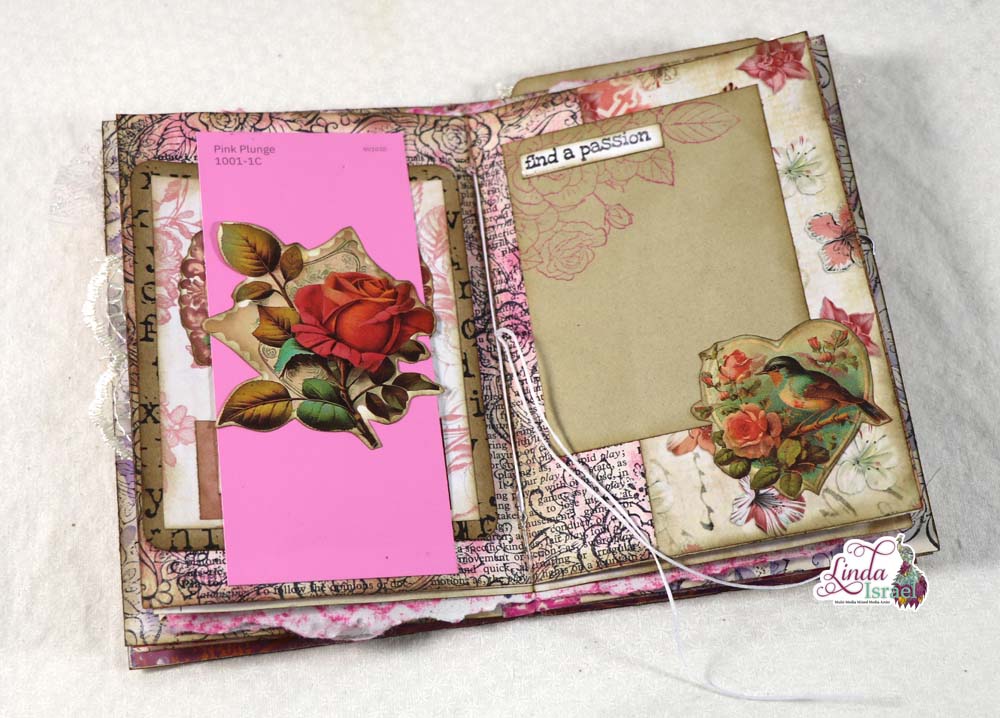
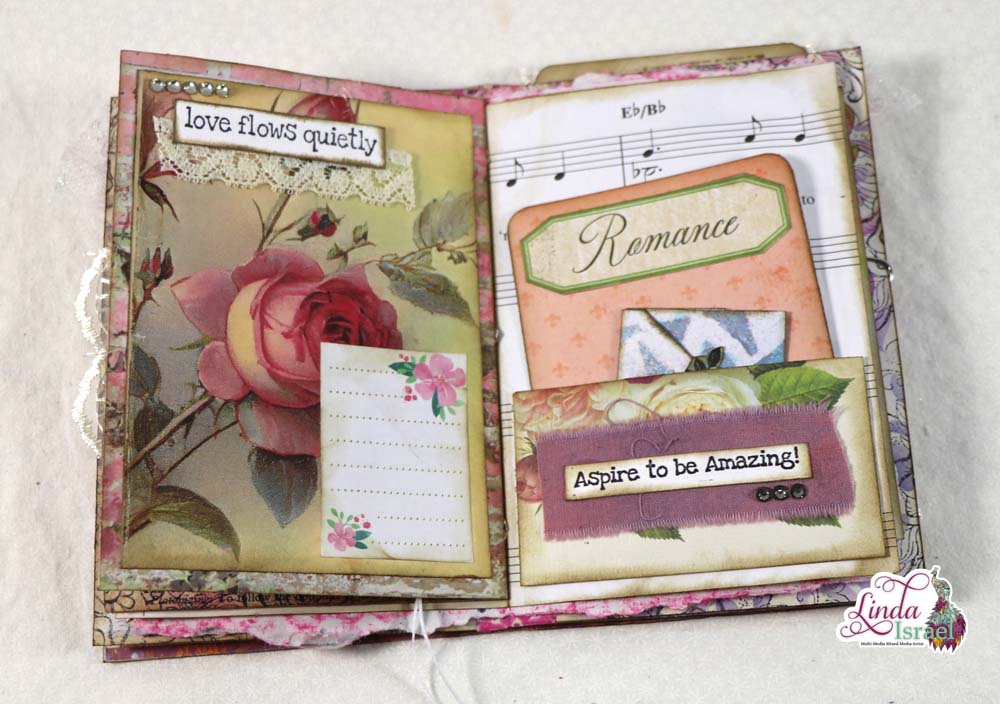
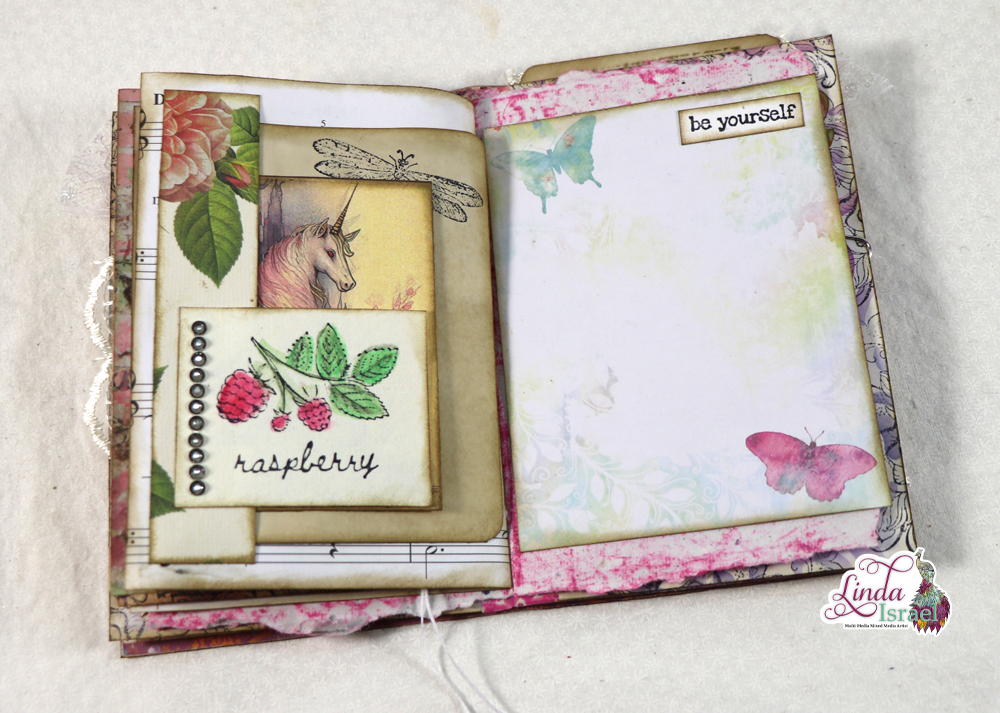
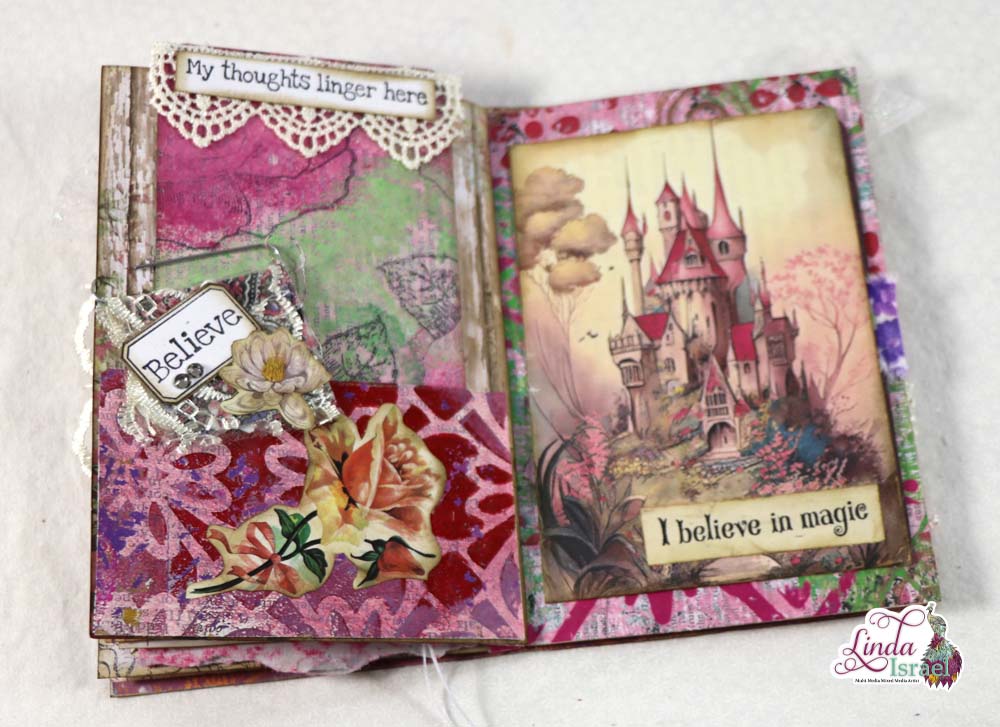
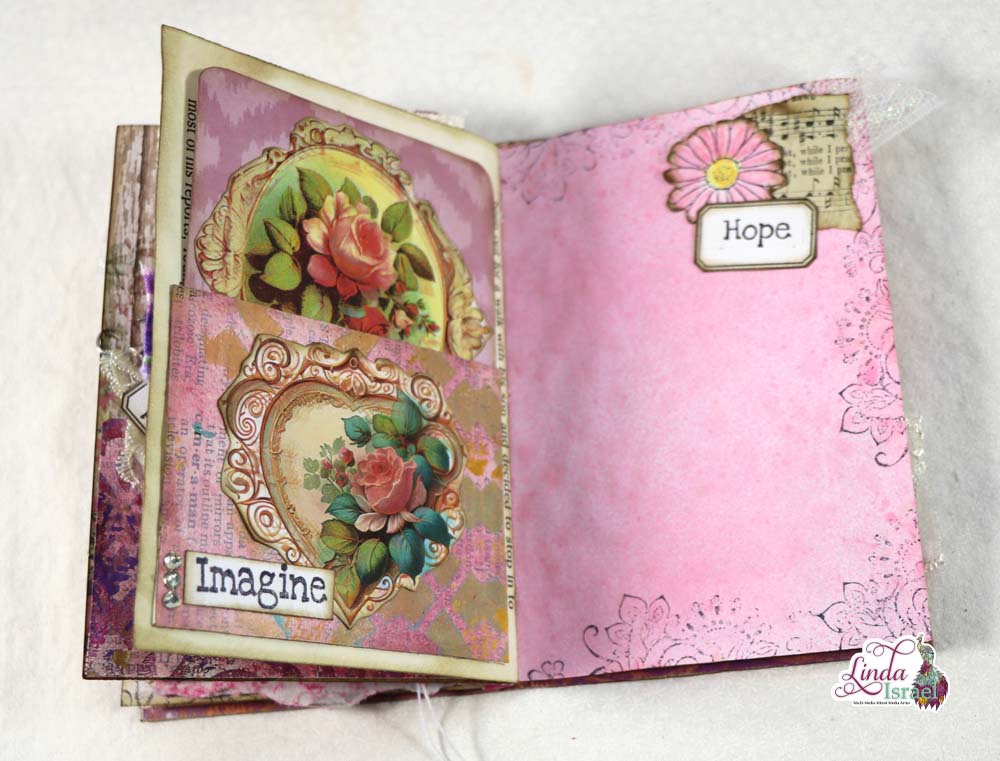
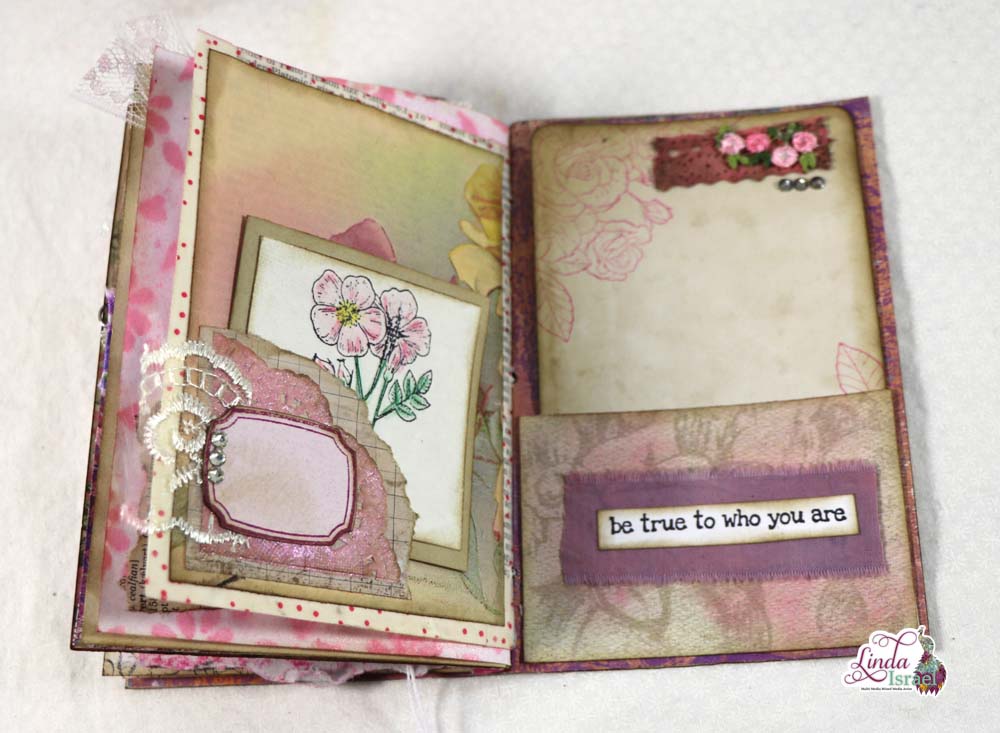
Day of 13 #useitupjuly, decided to share a Pamphlet Stitch Binding Tutorial and then share the contents of the Dragonfly Memories Junk Journal. The Pamphlet Stitch Binding is one of the easiest for making journals. Once you have made a few journals it will be one of your favorite ways to bind a journal.
Video showing the Pamphlet Stitch Binding Tutorial.
Supplies used for the Pamphlet Stitch Binding Tutorial and Dragonfly Memories Junk Journal.
- Calico Collage Digital Images from Dragonfly Delight
- Bookbinders Needle
- Waxed Linen Thread
- Tim Holtz / Tonic Studio Craft Pick
- Giant Paperclips
- Fiskars Rotary Paper Cutter
- Glue Sponge Container
- Brother Sewing Machine
- Cardstock for the mats
- Old book pages and hymnal pages, painted/sprayed
- Scraps of fabric
- Fiskars Scissors
- Best Glue Ever by ScraPerfect
- Frankenpage Envelope Pocket Tutorial
- Pamphlet Stitch Book Binding Template
The Pamphlet Stitch Binding Tutorial should help you bind most journals. Today only one signature is used and only three holes are made to attach the pages to the cover.
Once the cover and the pages have been finished, stack the pages making sure these are even. Hold the pages together with giant paperclips or clips. The key is to keep the pages lined up and not let these move.
Make a hole punching template. Measure the height of the book, cut a piece of cardstock at that height and about 2 inches wide. Fold the paper in half both from top to bottom and lengthwise. Mark the center point. Using the fold mark that is the length o the journal mark a dot 1.5 inches from each end. These are the three places to punch holes.
Here is a Pamphlet Stitch Book Binding Template to help.
Lay the template in the spine of the journal pages and cover. Punch the three holes. Use waxed linen thread and a bookbinders needle to bind the pages.
Start in the inside center hole, pull needle to the outside, making sure to secure the tail and not pull it through to the front. Now place the needle in the top hole from the outside of the journal and go to the inside. Pull the center tail up towards the top of the journal and use the same hole in the center again to go to the outside. Then pass the needle through the bottom hole on the outside. With the needle on the inside go under the top thread. Pull the tail and the remaining thread in opposite directions. Making sure that the thread on the inside and outside are tight. Tie a square knot.
Once you have bound a couple of journals using this method, you will find it is super easy.
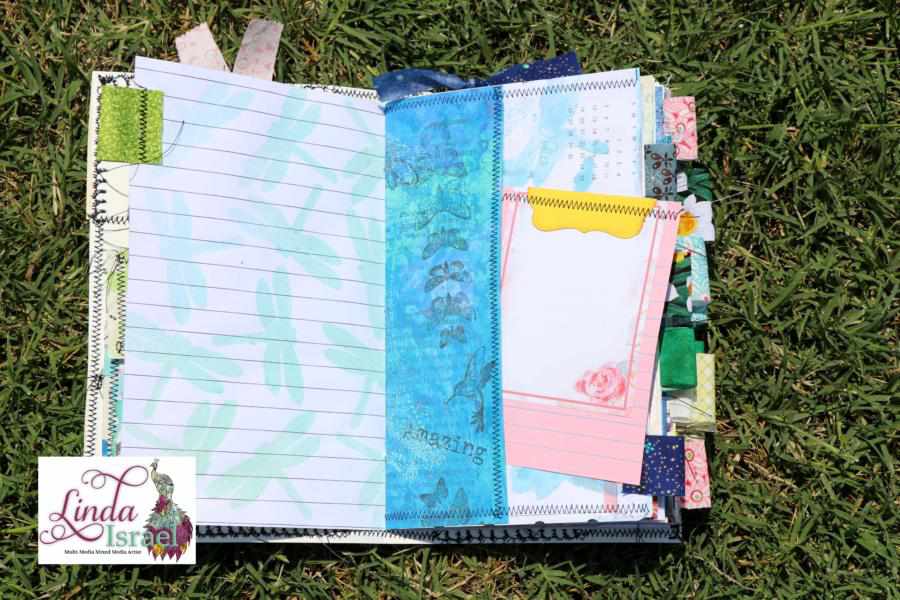
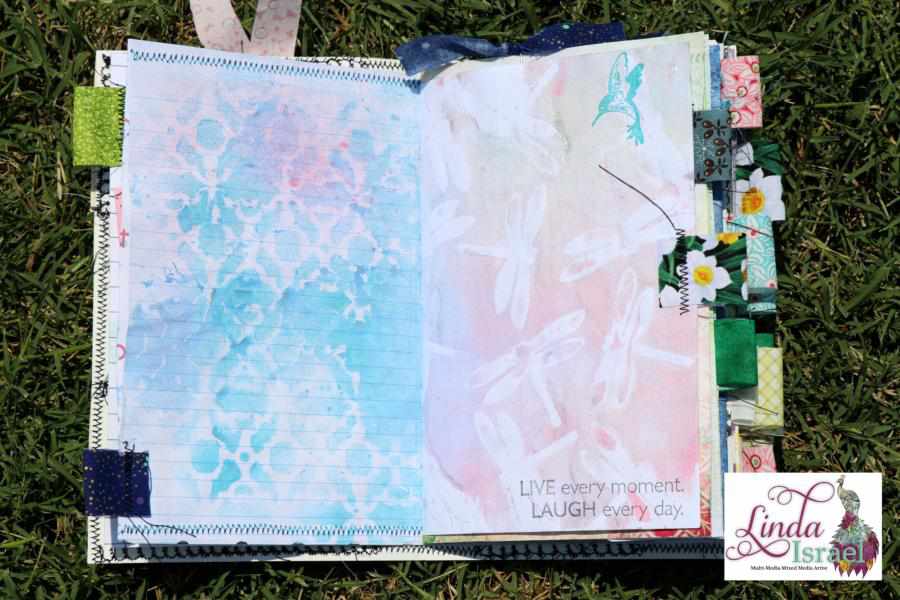
Making the Dragonfly Memories Junk Journal really helped me use up my stash! This journal measures 5.5 x 8.5 inches and has 11 sheets of paper folded in half to make 44 pages.
Hopefully this Pamphlet Stitch Binding Tutorial will inspire you to get into your stash and use it up! It is a lot of fun to shop for supplies, but now it’s time to use them in projects. 🙂
What will you use from your stash this month? Feel free to share it using the #useitupjuly tag so I can see your work.
Make sure to check out the Friendly Junk Journal People Facebook group. Of course, you are welcome to join the Friendly Junk Journal People Facebook group. The group is growing daily and we are a friendly group willing to help each other and encourage each other.
Interested in any of the journals I created? Please feel free to contact me through my Facebook Page. Here is my shop, I have a lot of items uploaded and add more weekly.
Keep updated on my posts by following my Facebook Page or on Instagram for updates that may not be shared on my blog.
Thanks so much for stopping by my blog today to see the Pamphlet Stitch Binding Tutorial
