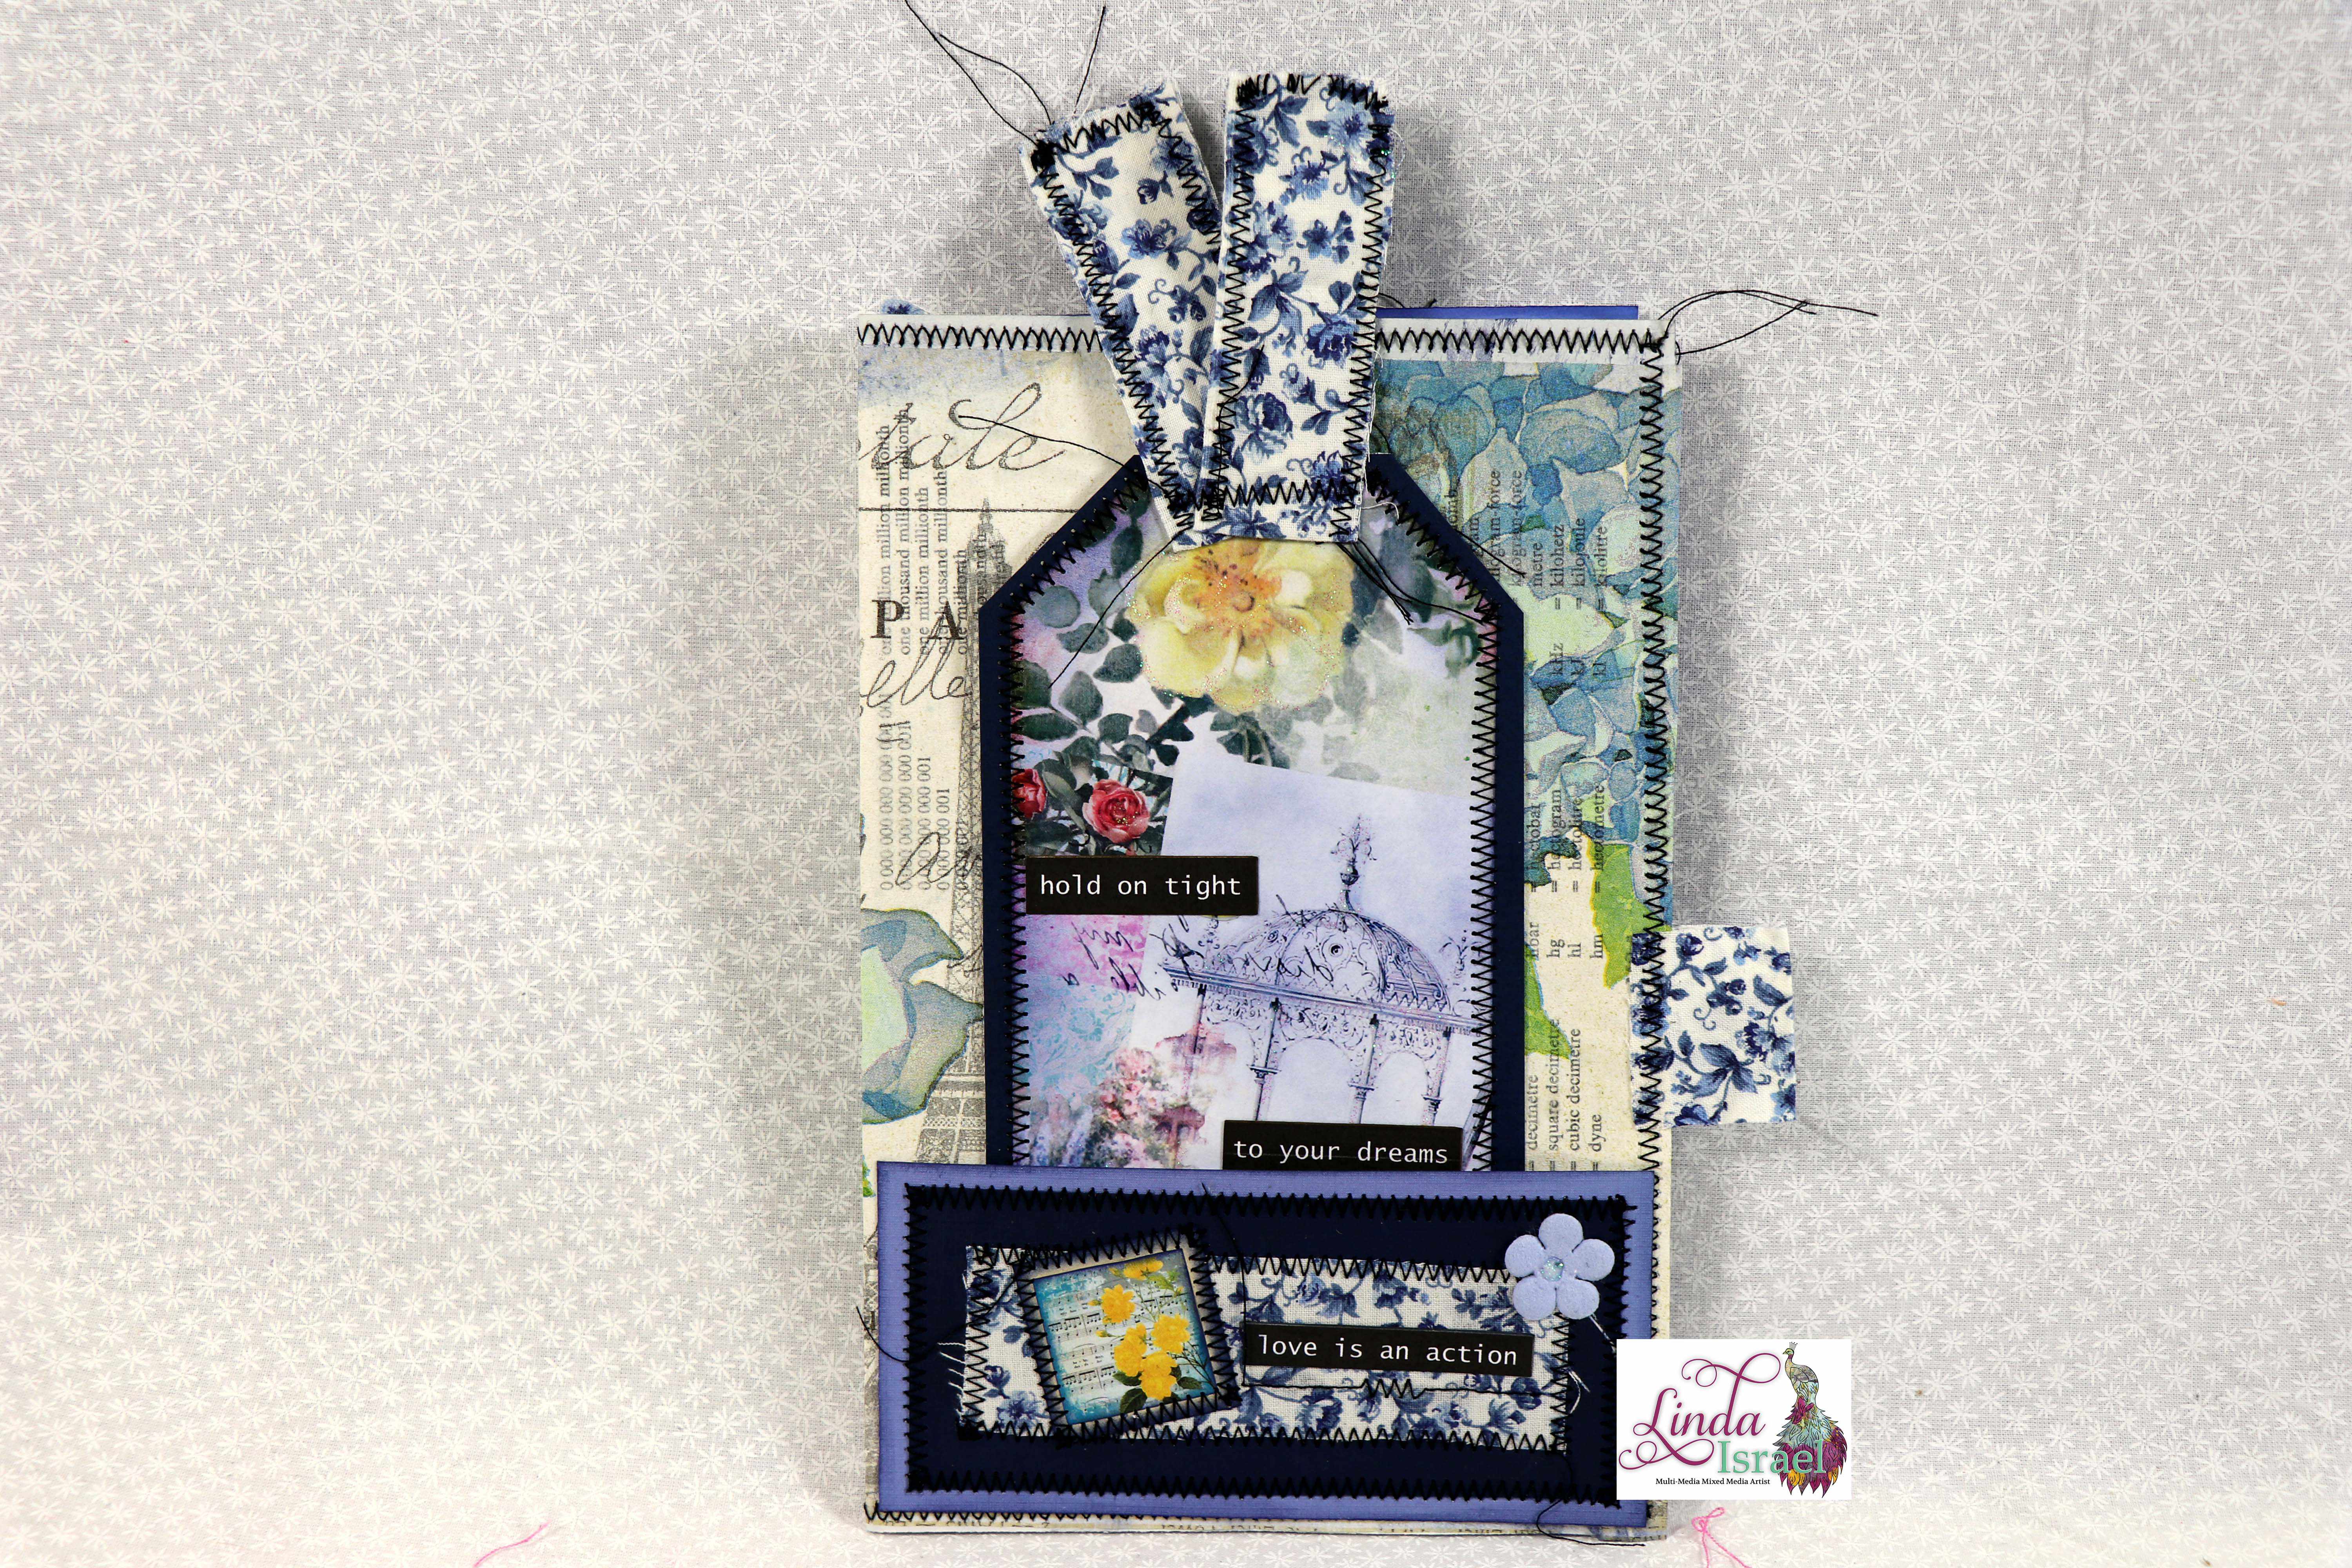
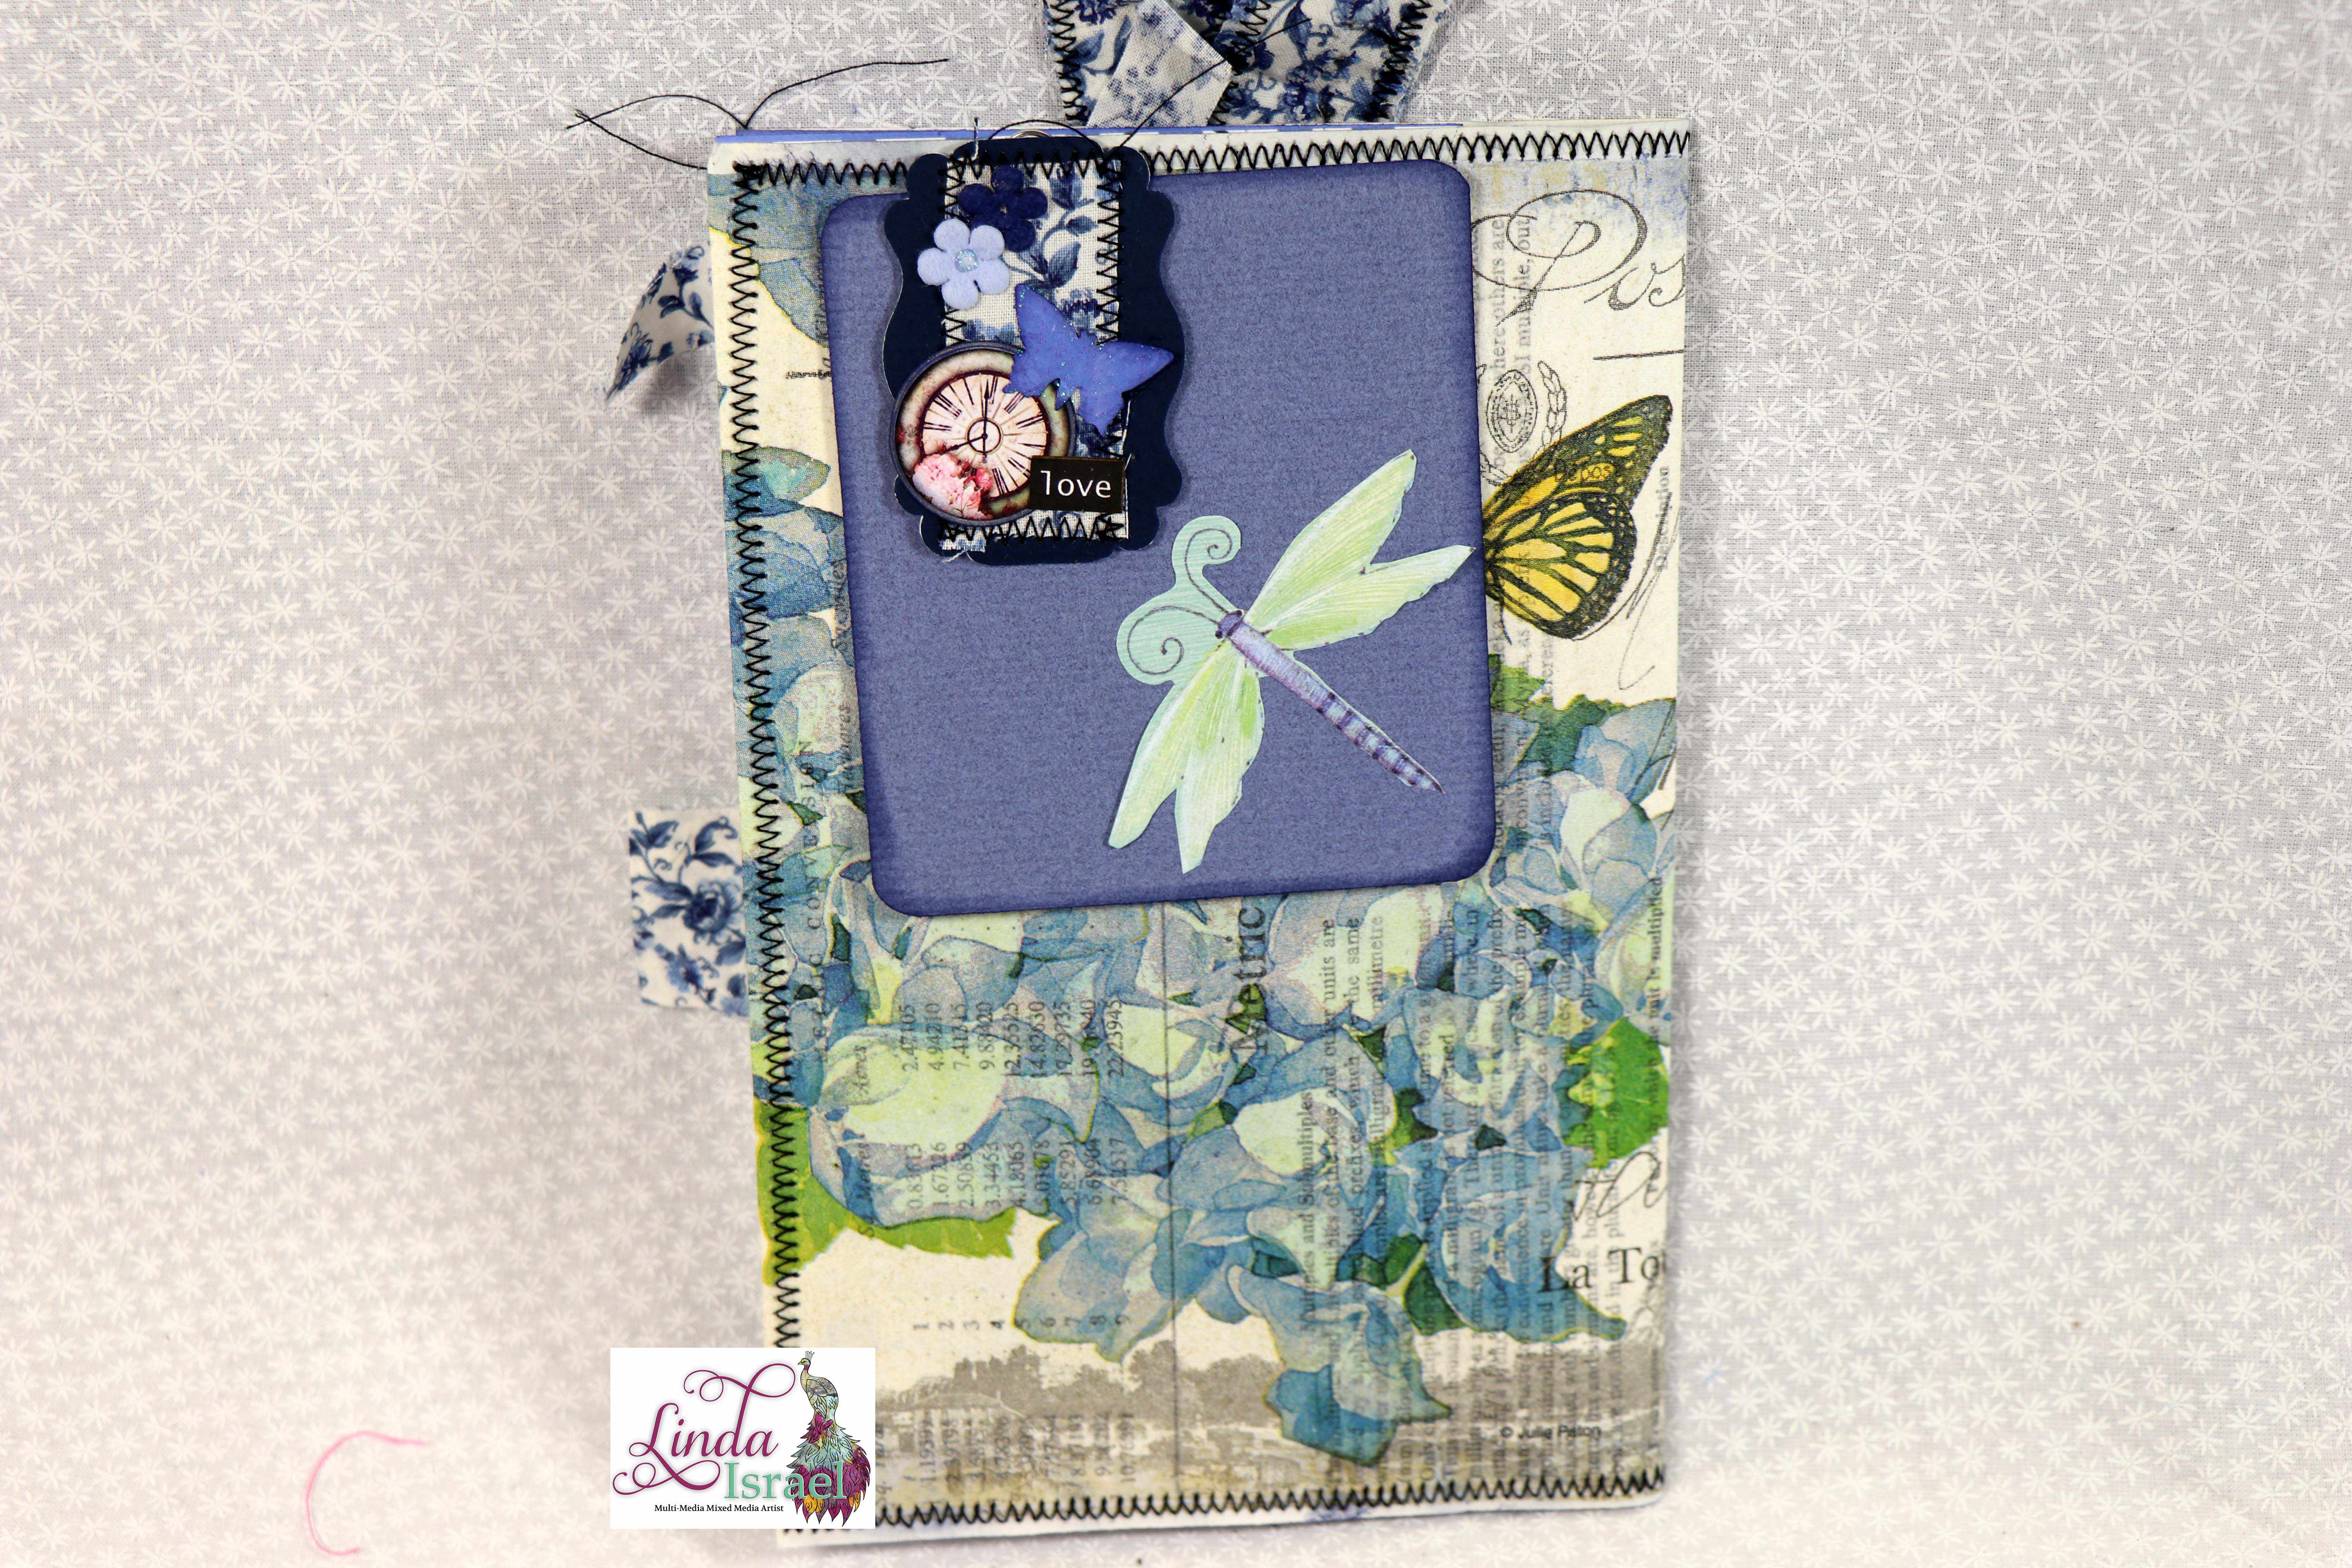
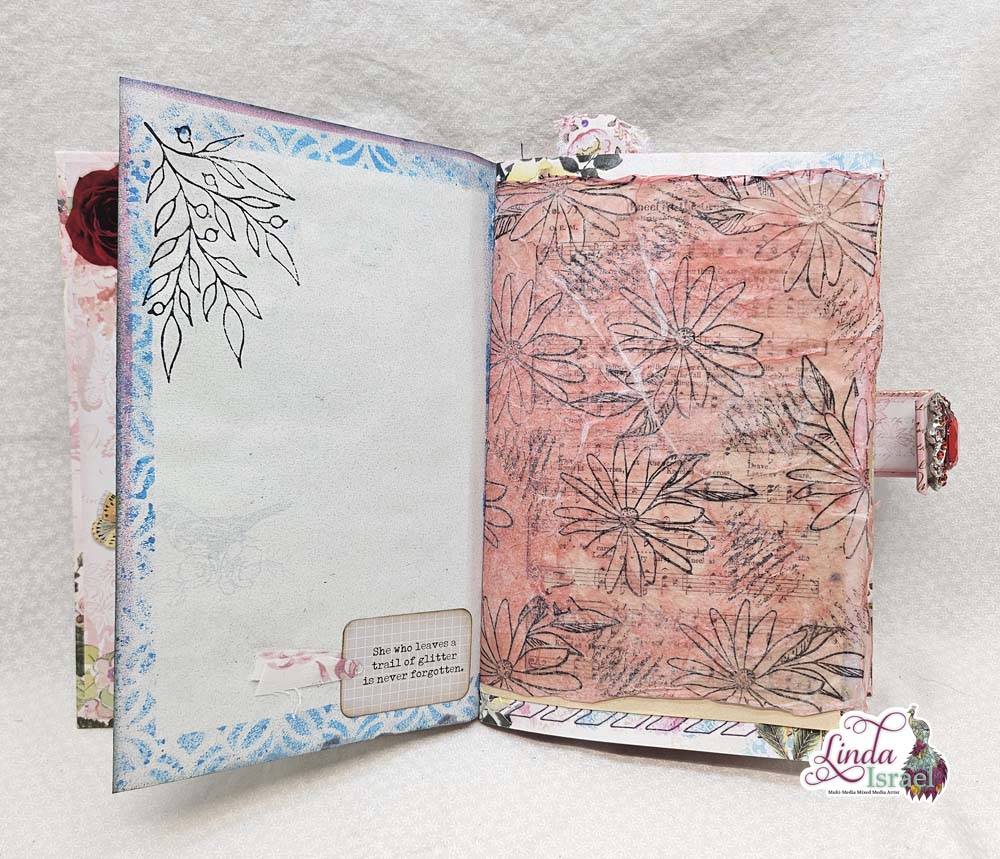
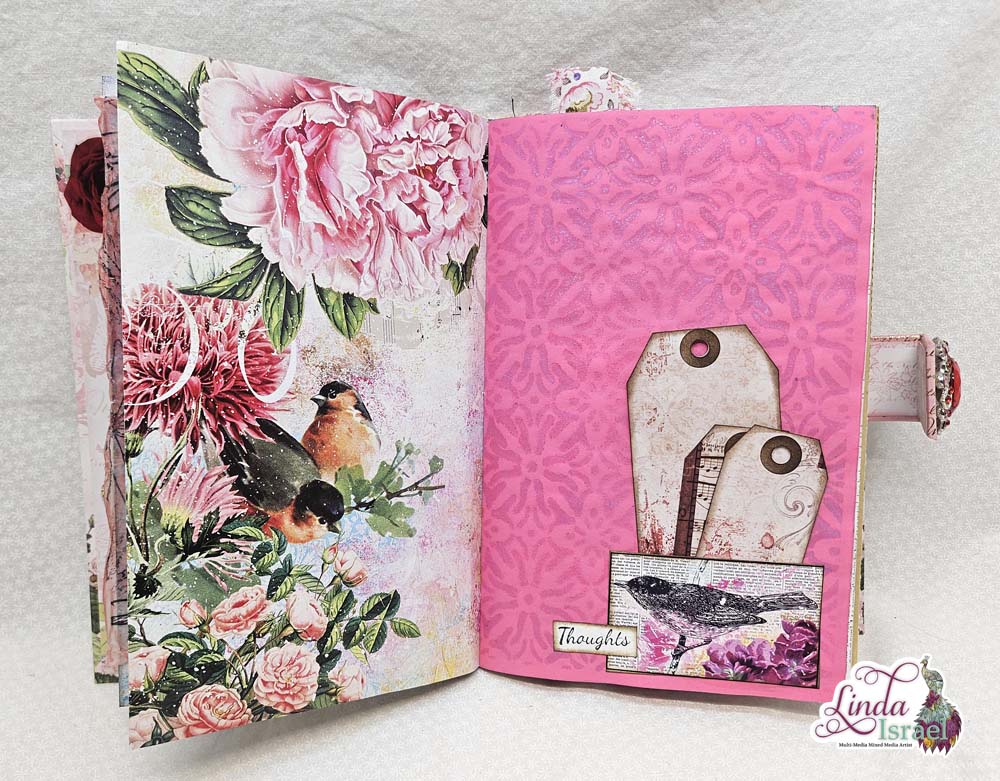
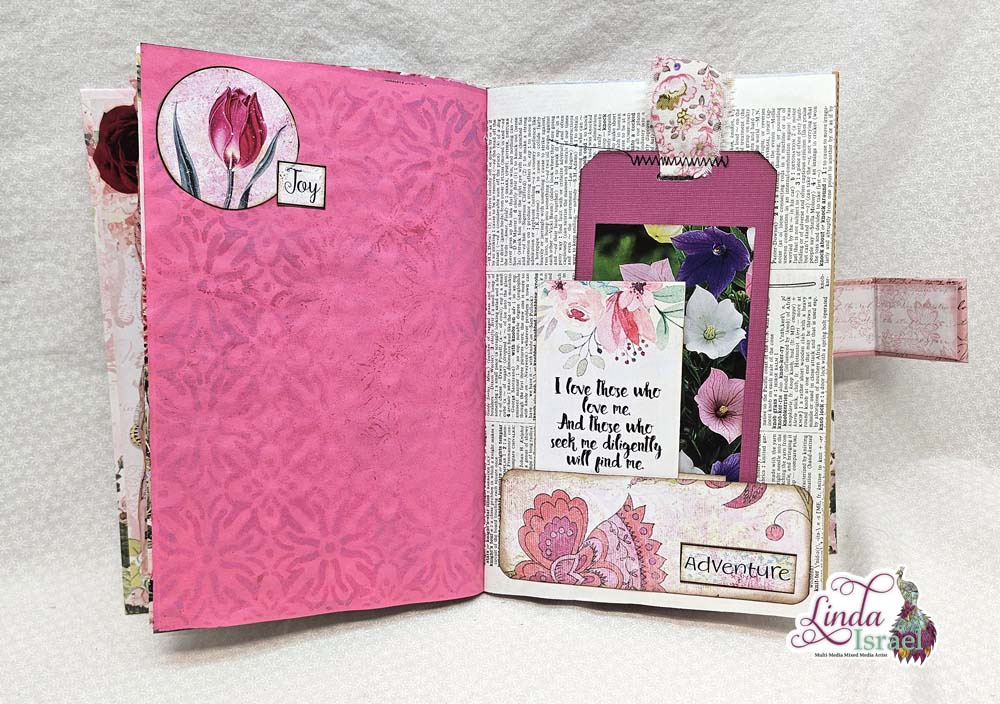
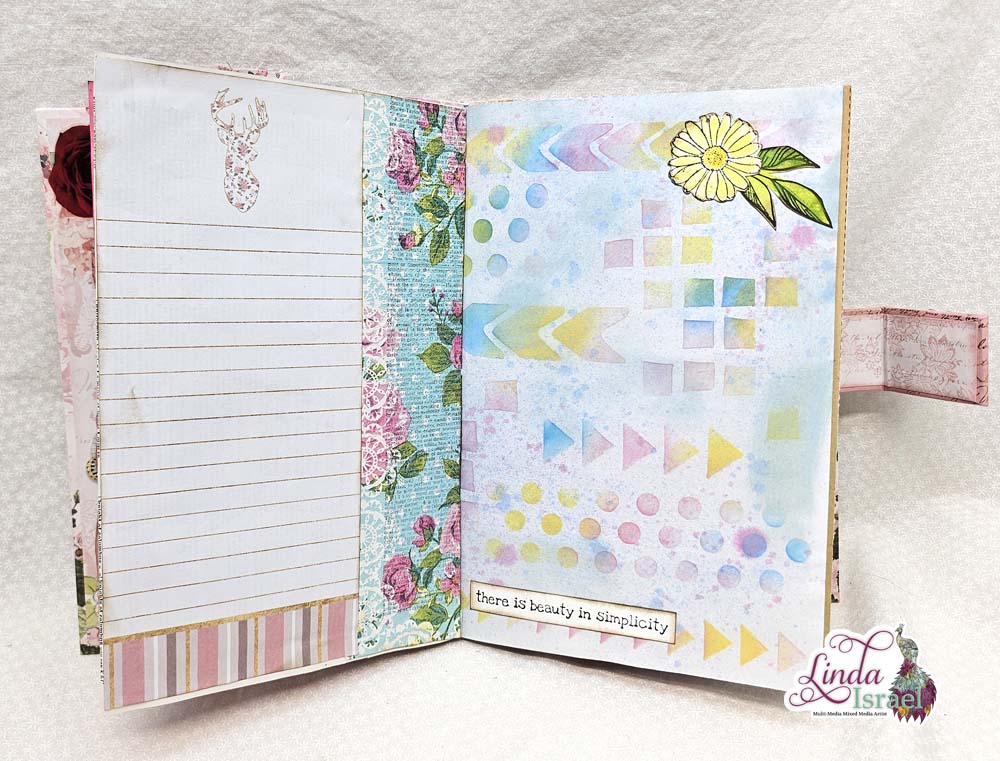
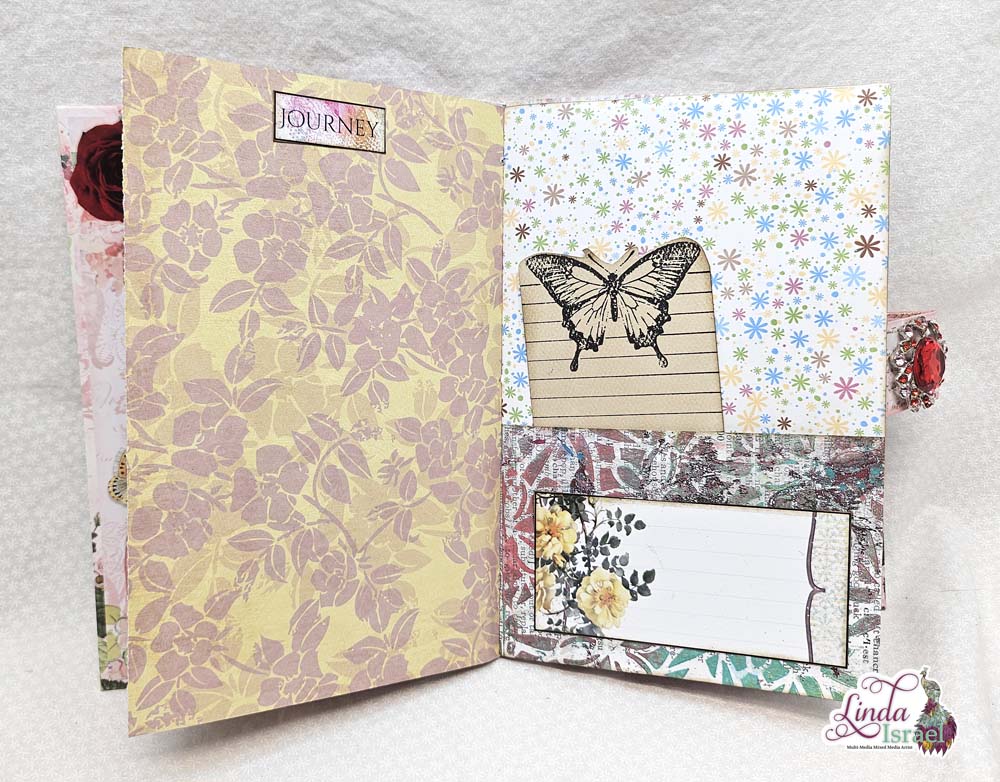
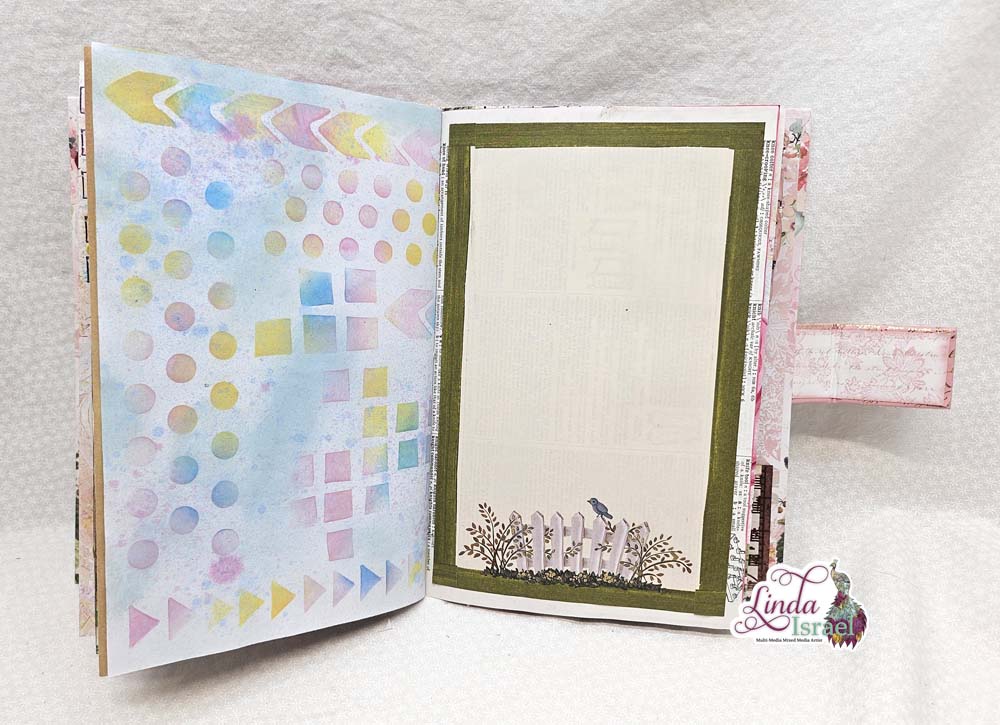
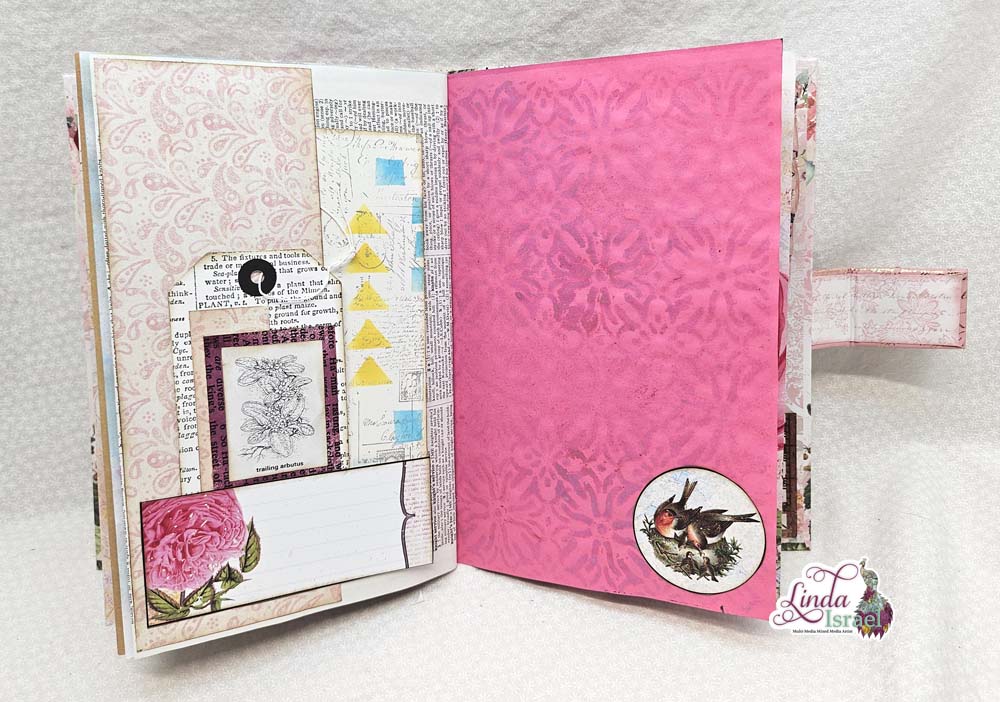
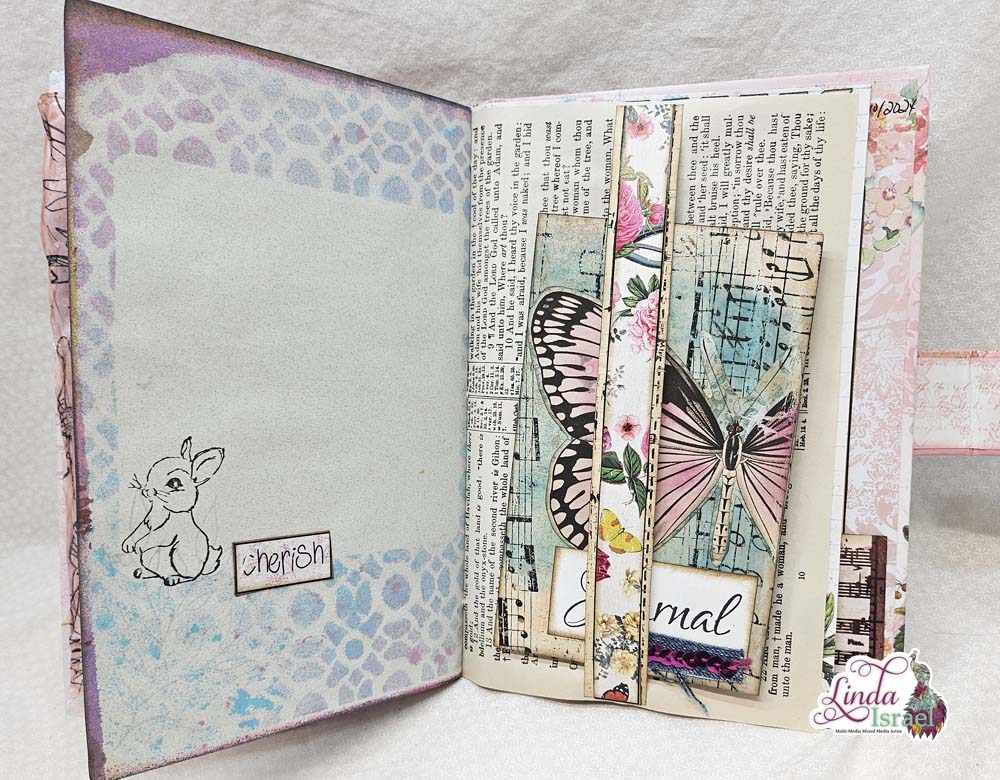
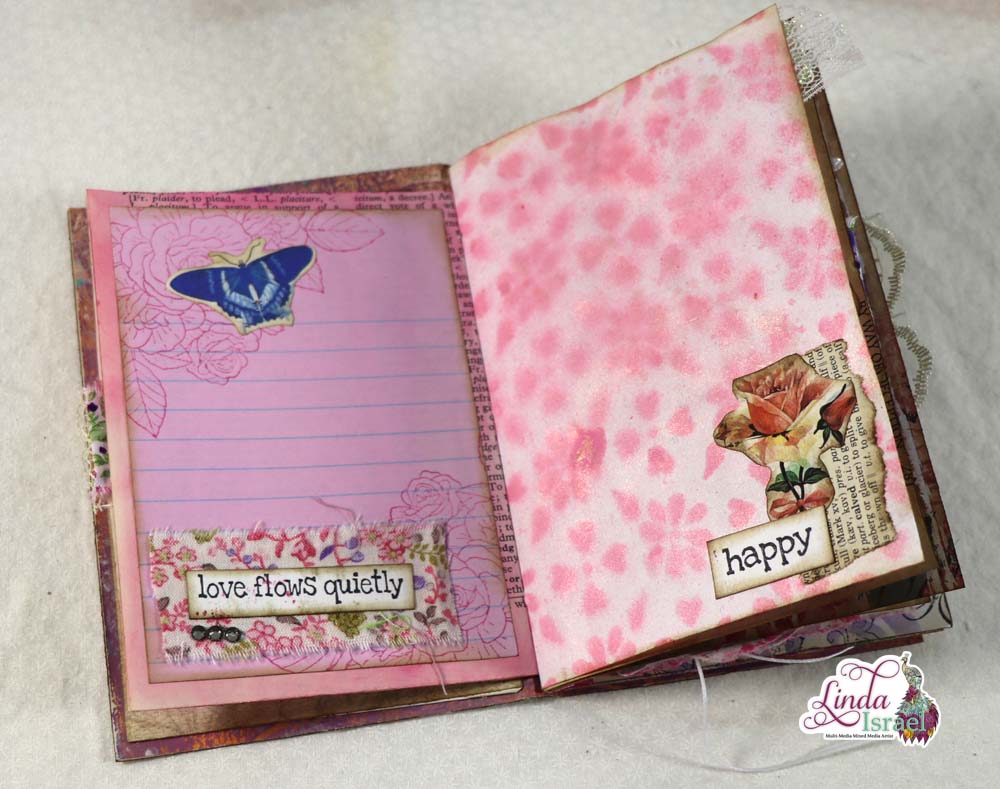
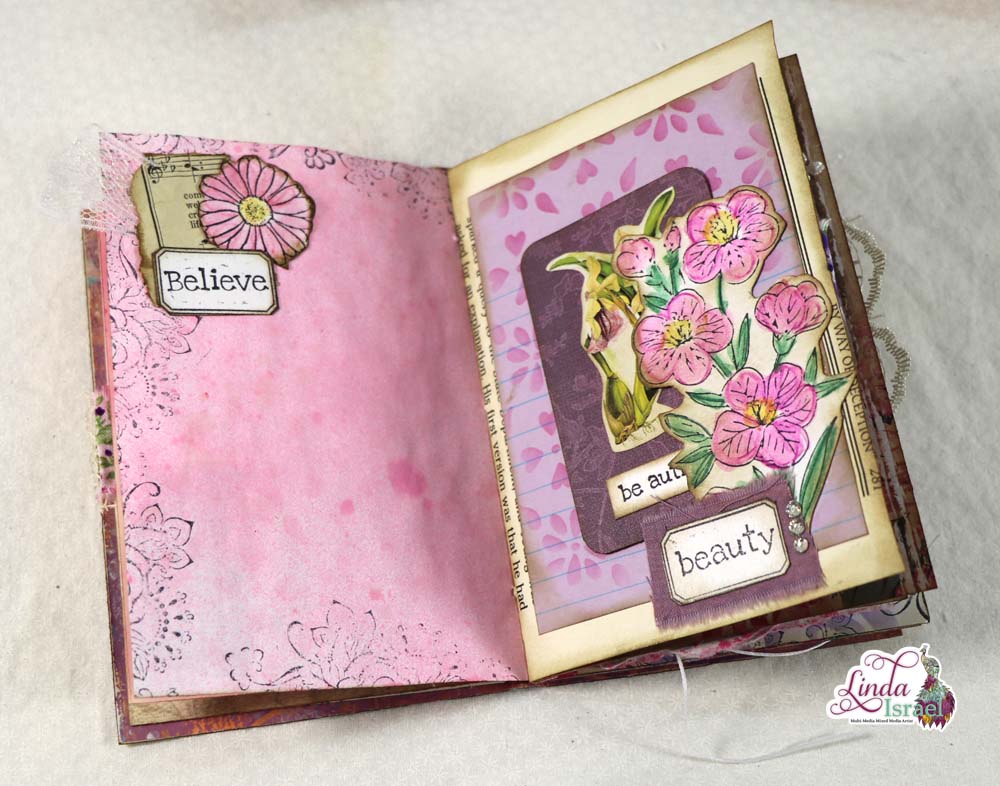
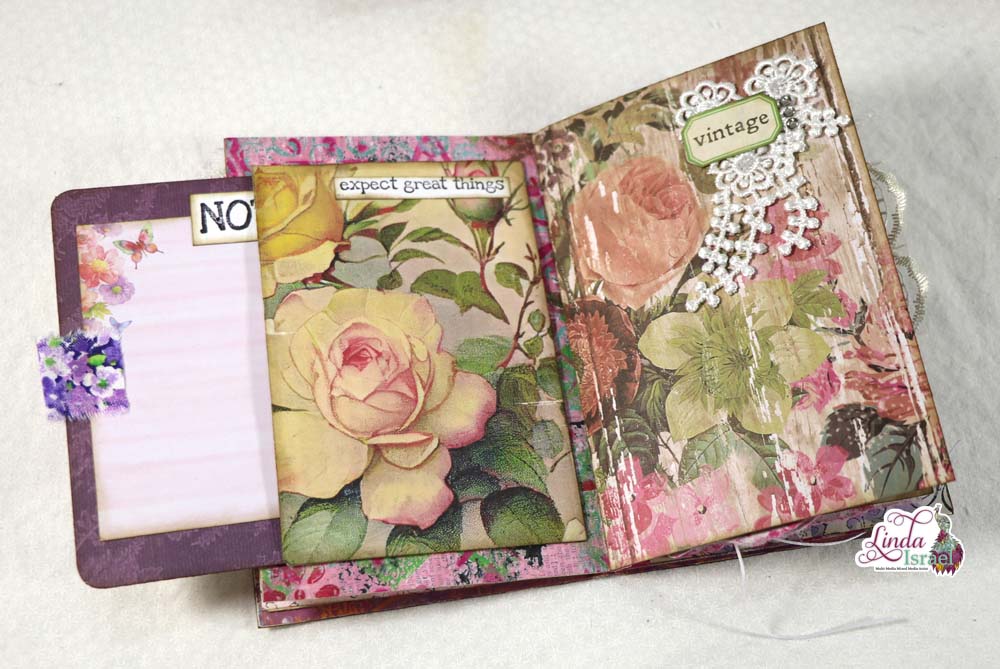
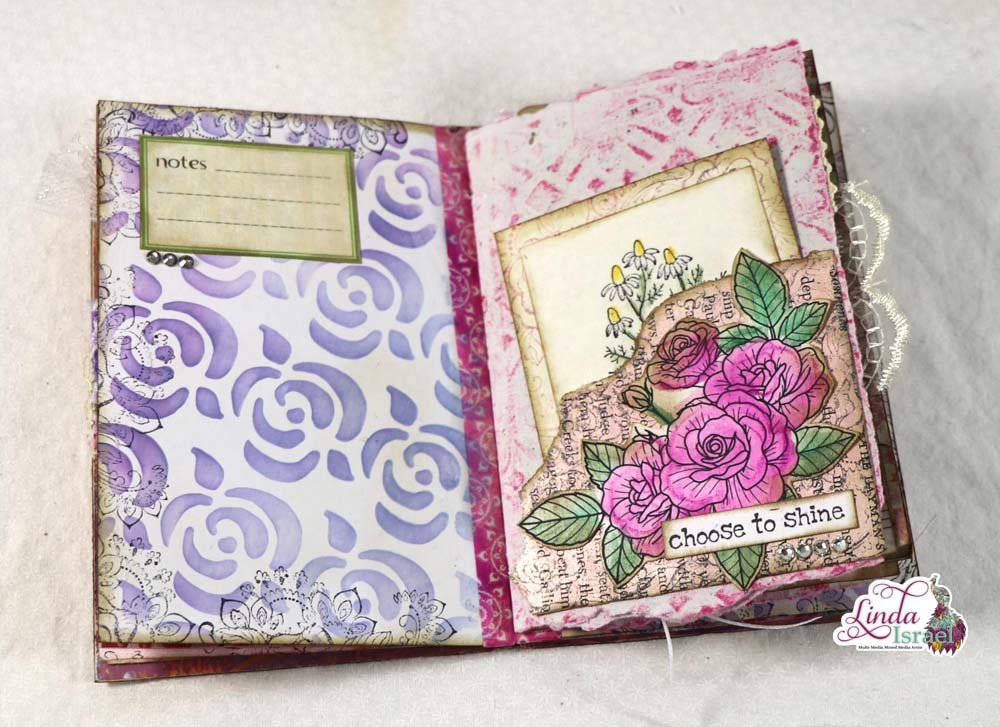
Day 29 of #useitupjuly and I’m sharing a Light Blue Junk Journal Page Tutorial. Going through my stash and creating junk journal pages in various colors. Since I just completed the Dark Blue Junk Journal Page Tutorial and had supplies out I made the light blue page.
Light Blue Junk Journal Page Tutorial Video
Supplies used for the Light Blue Junk Journal Page Tutorial
- Calico Collage Digital Botanical Images, 1×1 Inch Squares
- Napkin
- Dictionary Page
- Brother Sewing Machine
- Scraps of fabric
- Aleene’s Tacky Glue
- Various scraps of papers
- Paper Flowers
- Rubber Stamps
- Distress Ink, Chipped Sapphire, Walnut Stain
- Blending tool
- Stickers
- Words
- Glue Stick
- No-Clog Writing Cap from ScraPerfect
- Best Glue Ever By ScraPerfect
- Tulip Dimensional Fabric Paint
- Calico Collage Whimsy 1 inch Circles digital images
- The Paper Studio Tag Punch
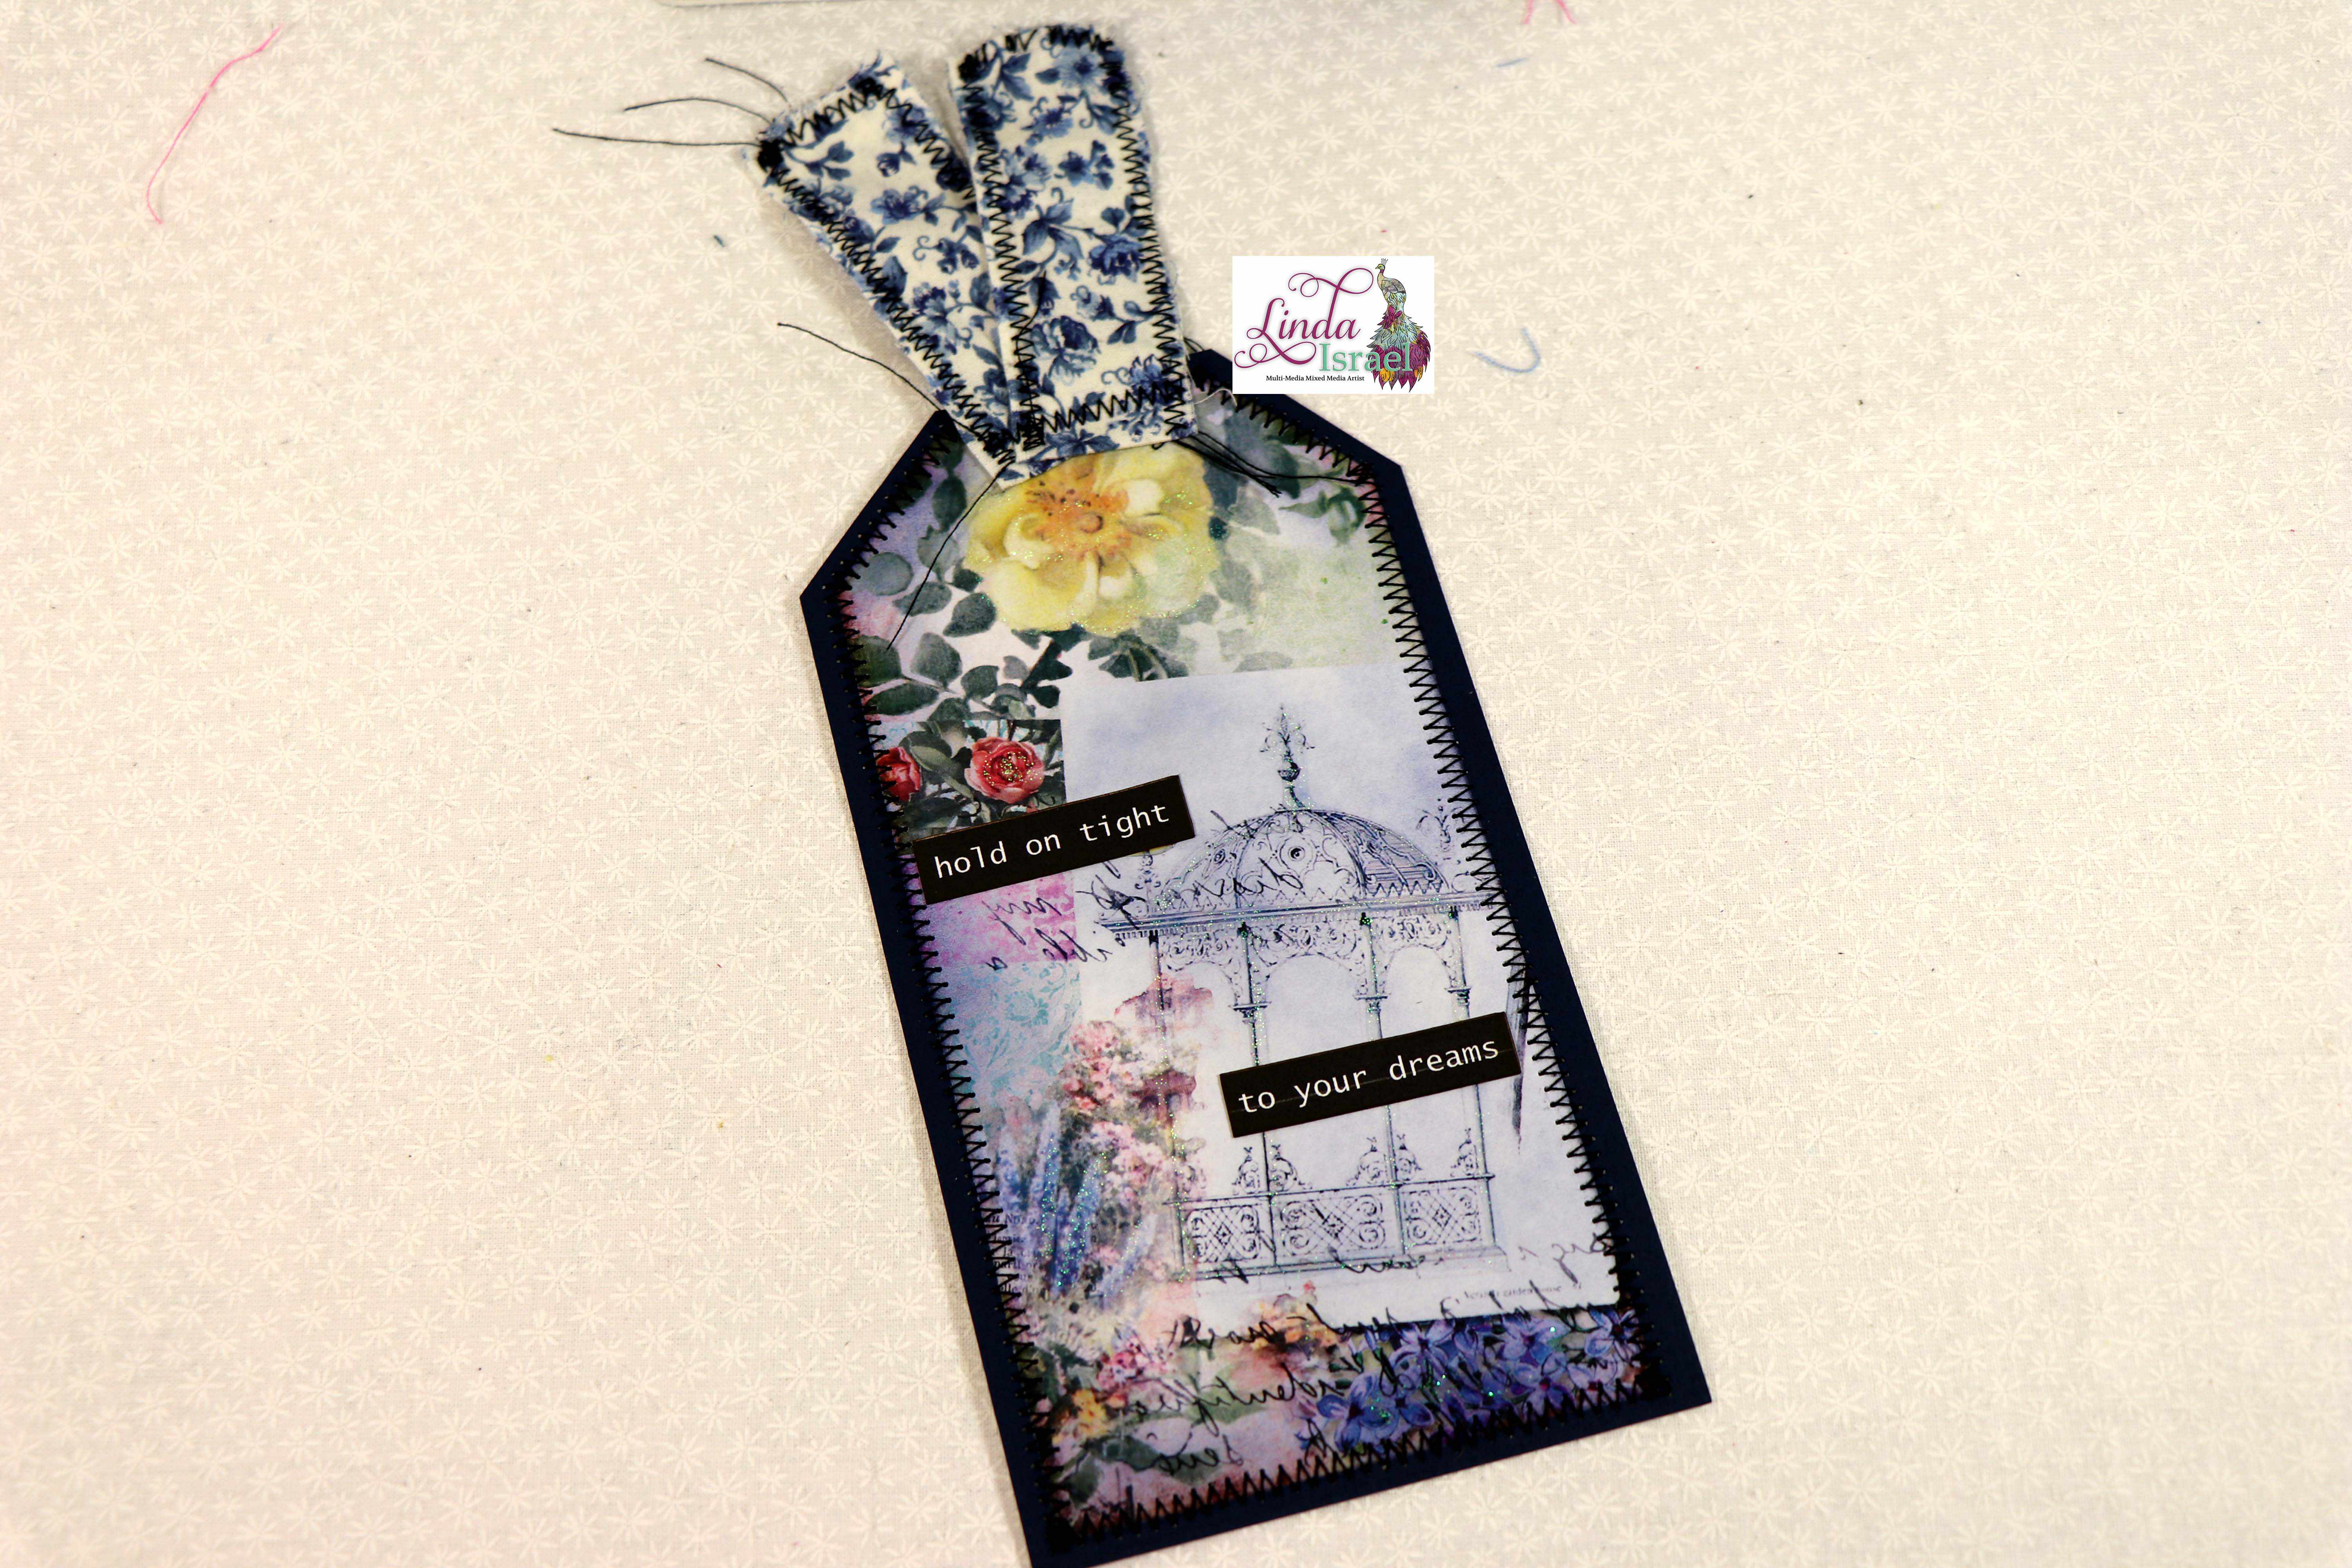
- Calico Collage tag from Day Dreaming Digital journal kit
For this Light Blue Junk Journal Page Tutorial, I begin by referring back to my Napkin Embellishment Tutorial. Where I used a glue stick to adhere a napkin to a piece of paper. Separate the layers of the napkin so that only the design remains. Coat a piece of paper – like the dictionary page with a glue stick, work quickly and be generous but not crazy. Lay the napkin face down and then press the page covered with the glue stick on the backside of the napkin. Press gently and it should adhere.
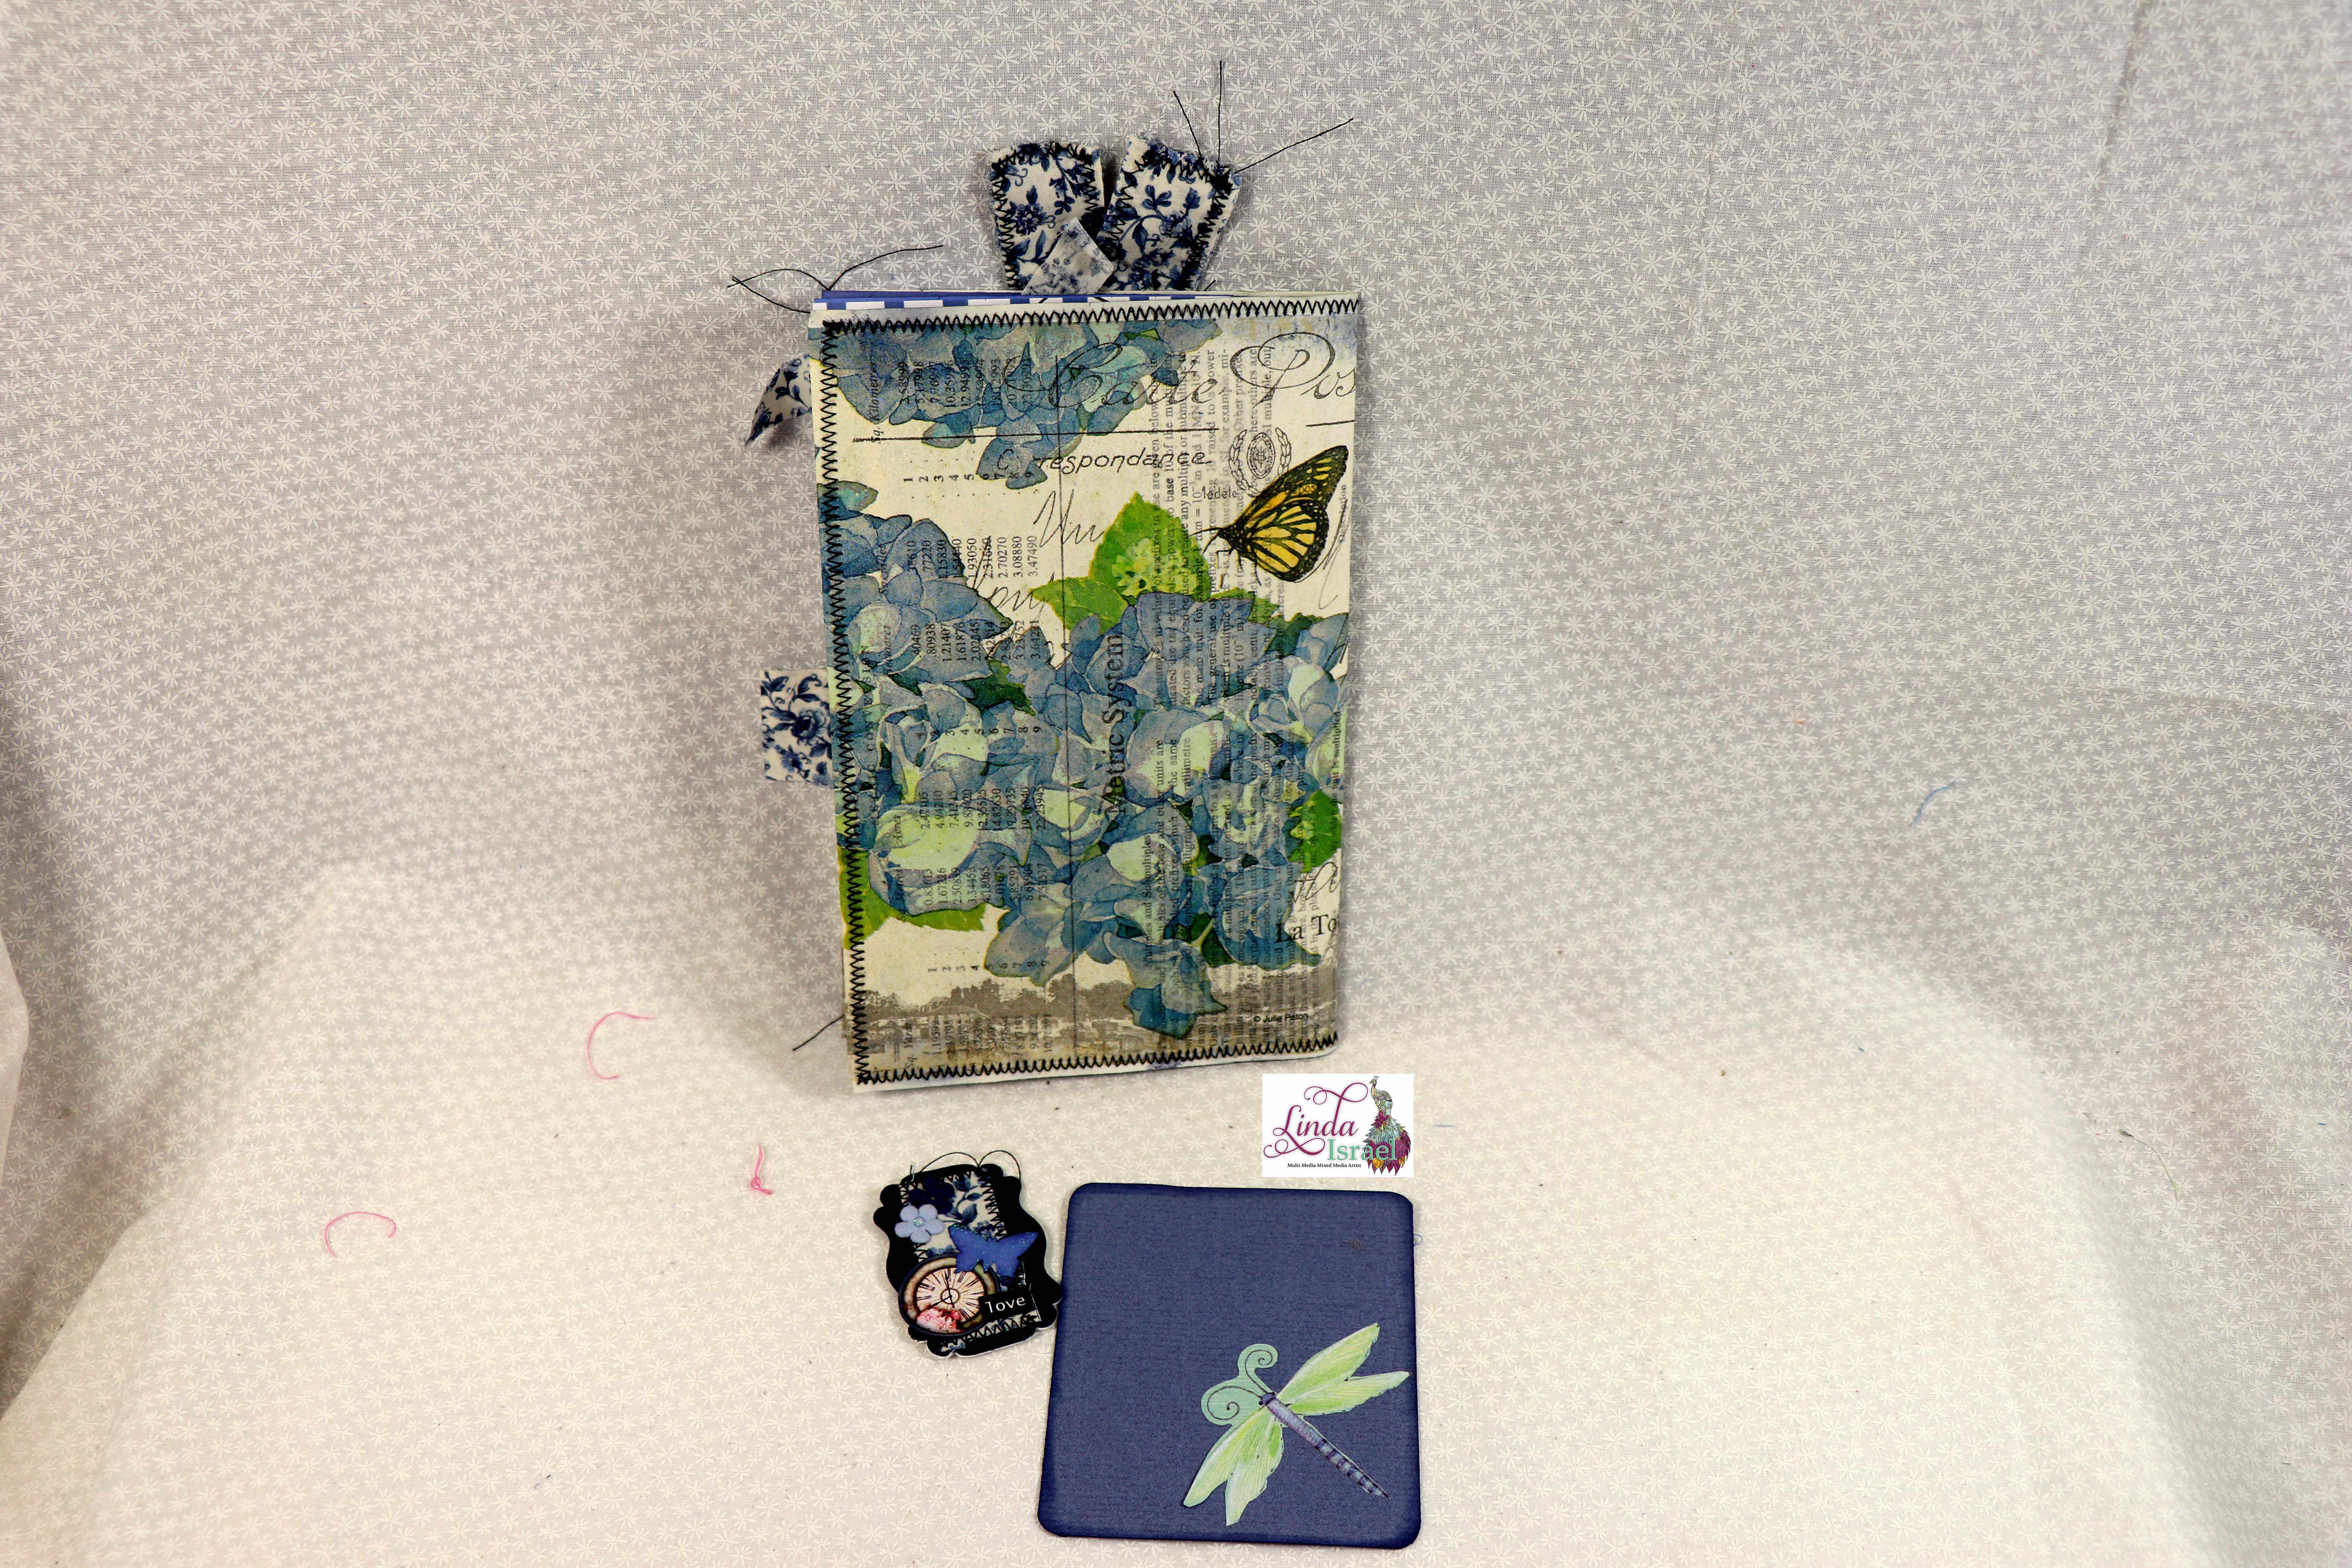
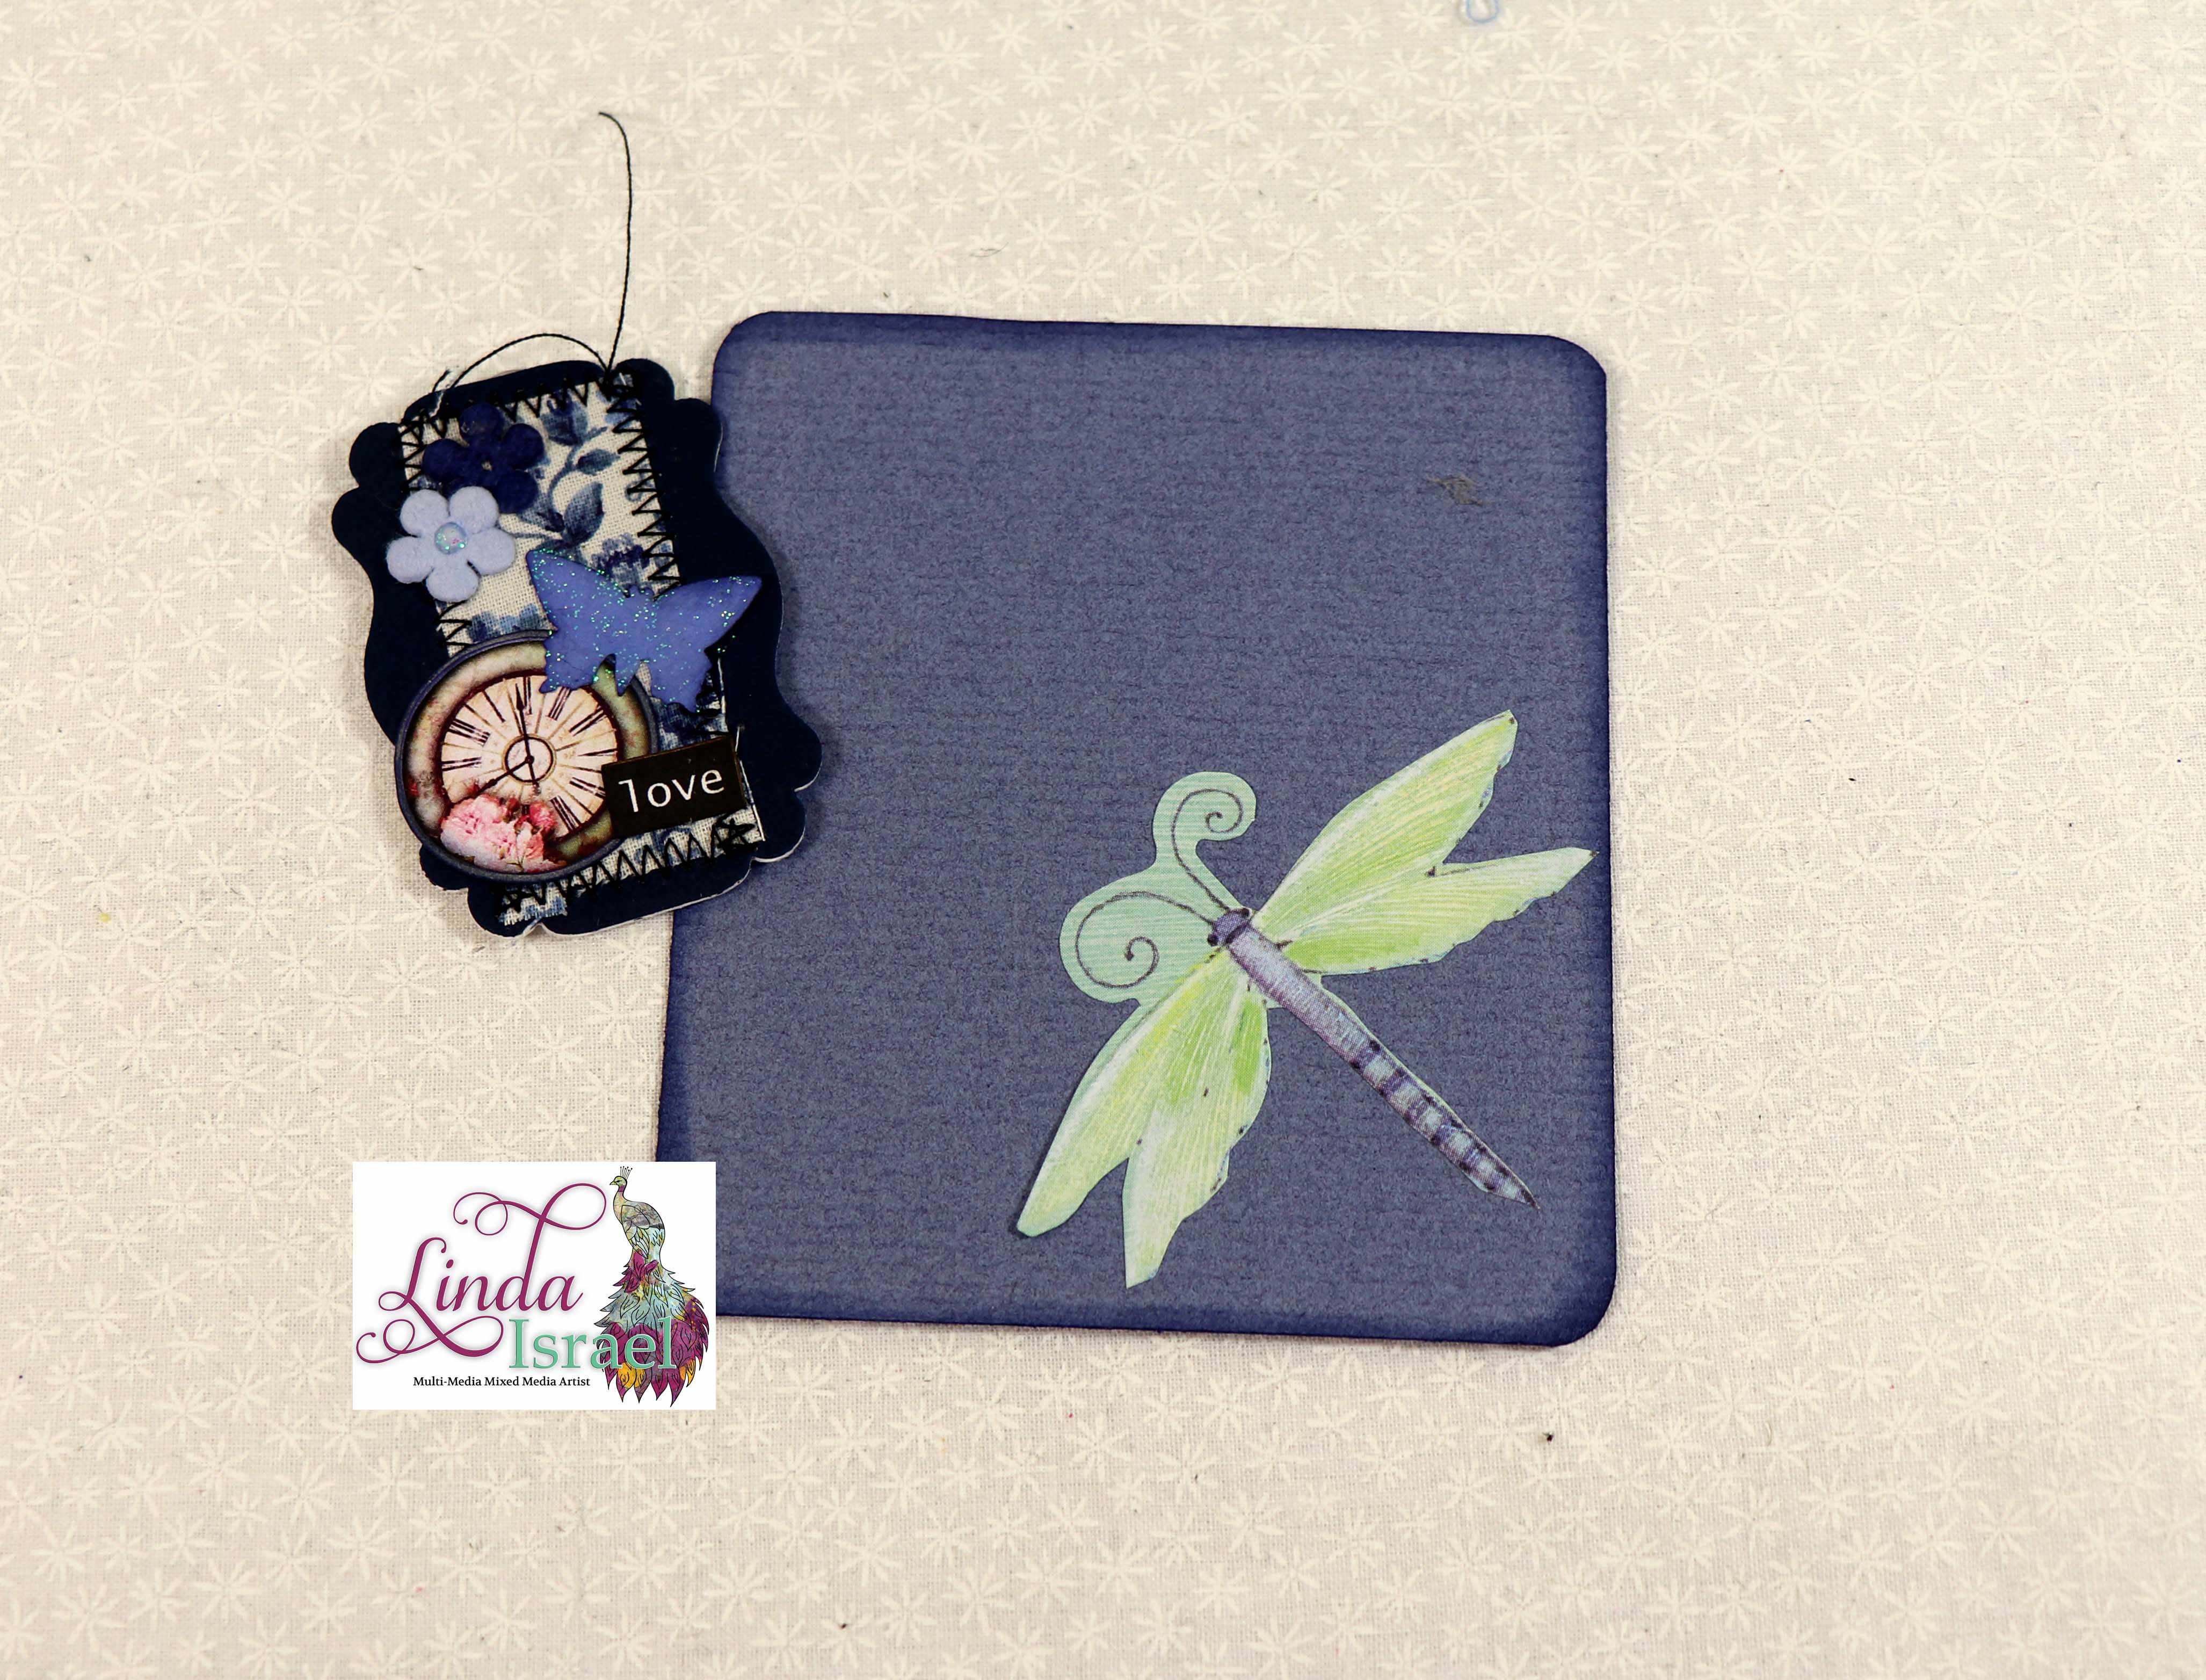
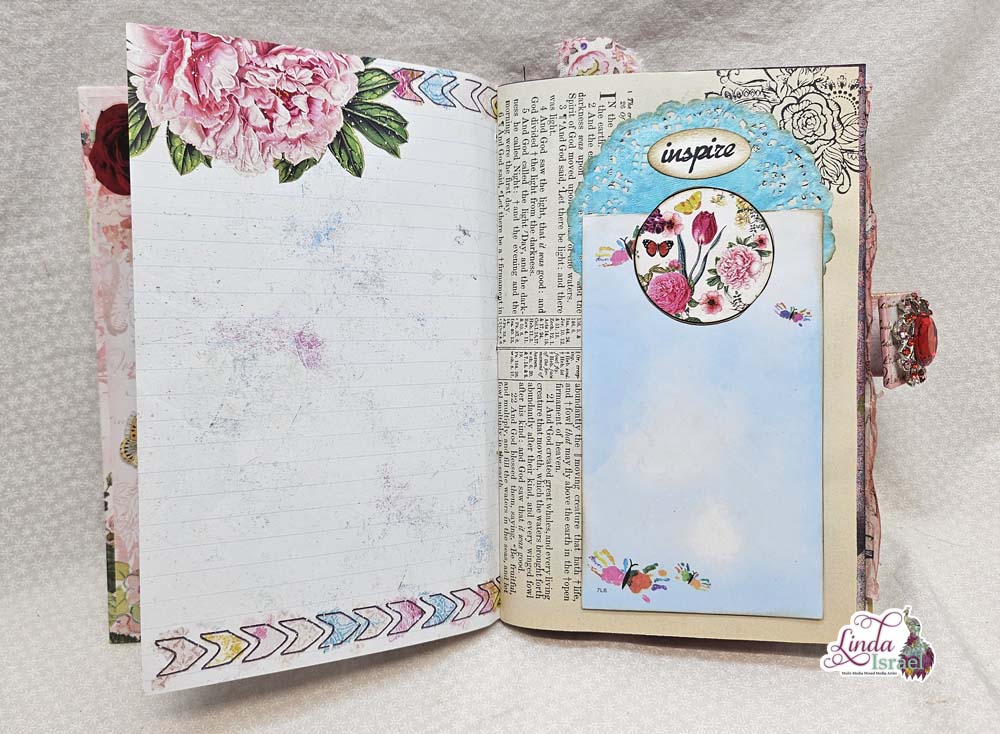
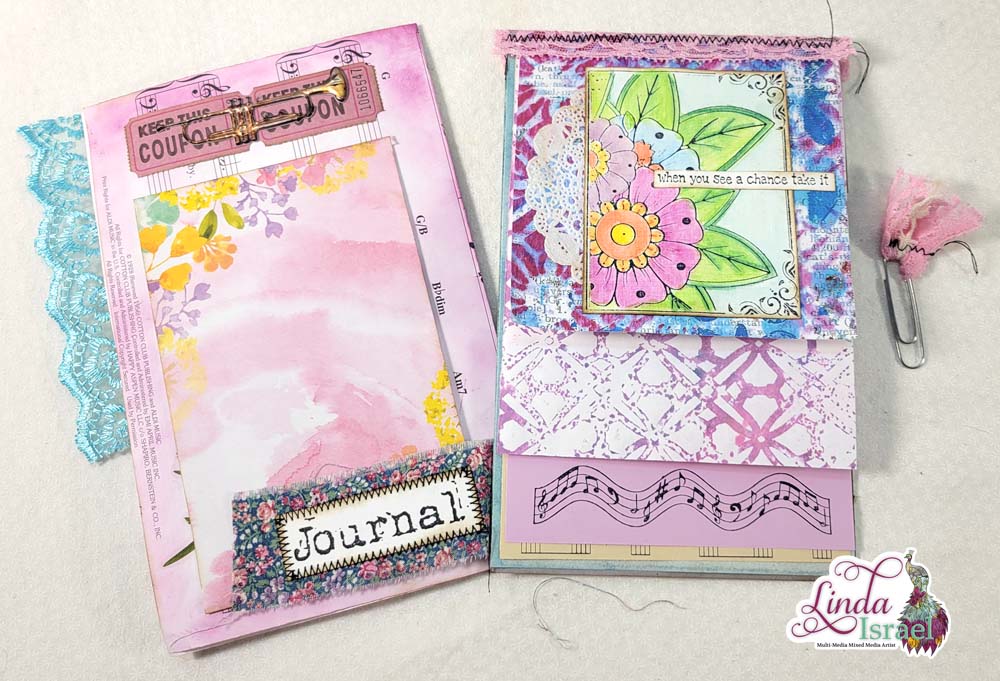
Next, add stitching around the edge and add a scrap of fabric for a tab. This page could be left as it is with the pretty napkin, but let’s add a little pocket. Layering scraps of paper and adding the digital images from Calico Collage along with the words from my shop create a pocket. Adhere on three sides of this piece to hold a tag or two.
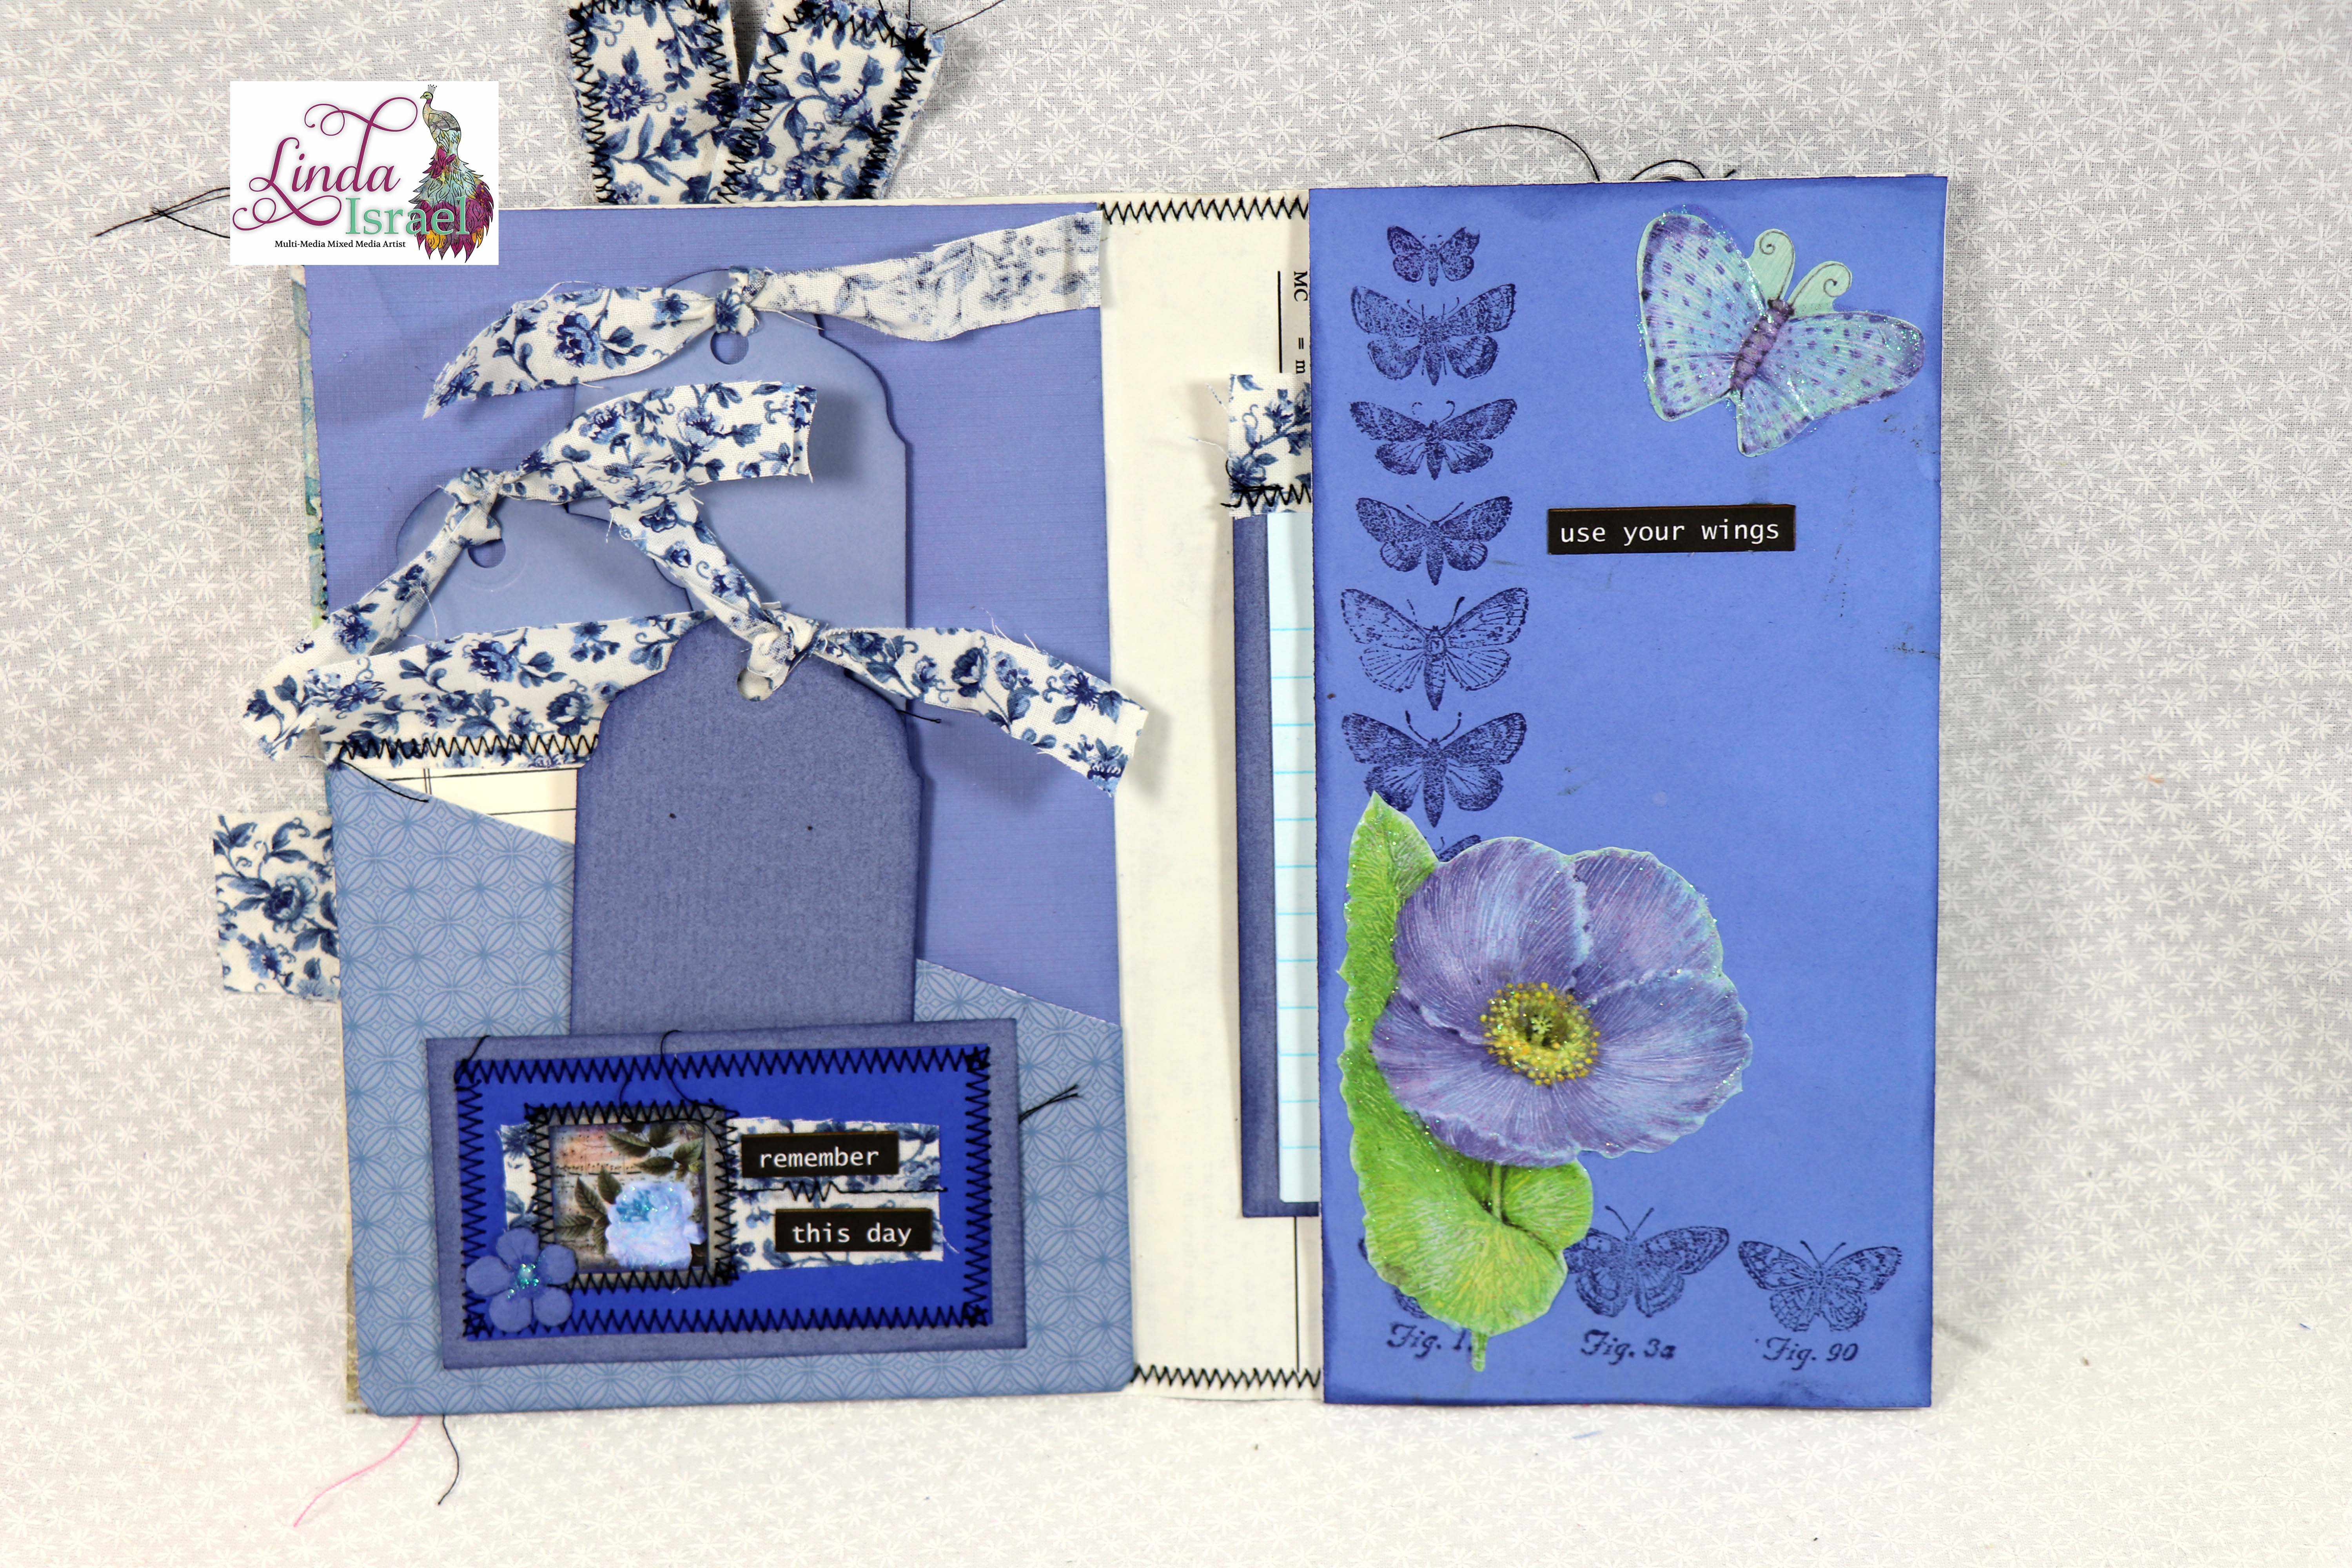
Flip the page over and attach a pocket to the left side. In my case, it was a leftover piece from an old project that I didn’t use. Check out my Pocket tutorials for other ideas to use for pockets.
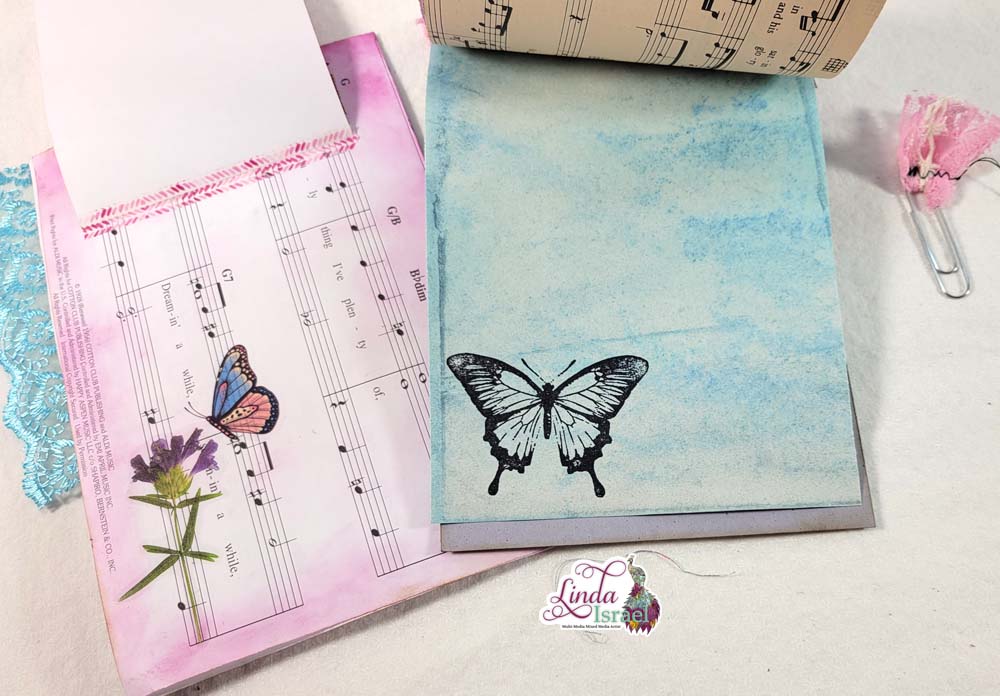
Attach a folded piece of paper on the right side to create a pocket. Add another piece of paper to make the top layer thicker if necessary. On my page I wanted it to be the same shade of blue so I attached a piece of text weight paper after stamping and adding stickers.
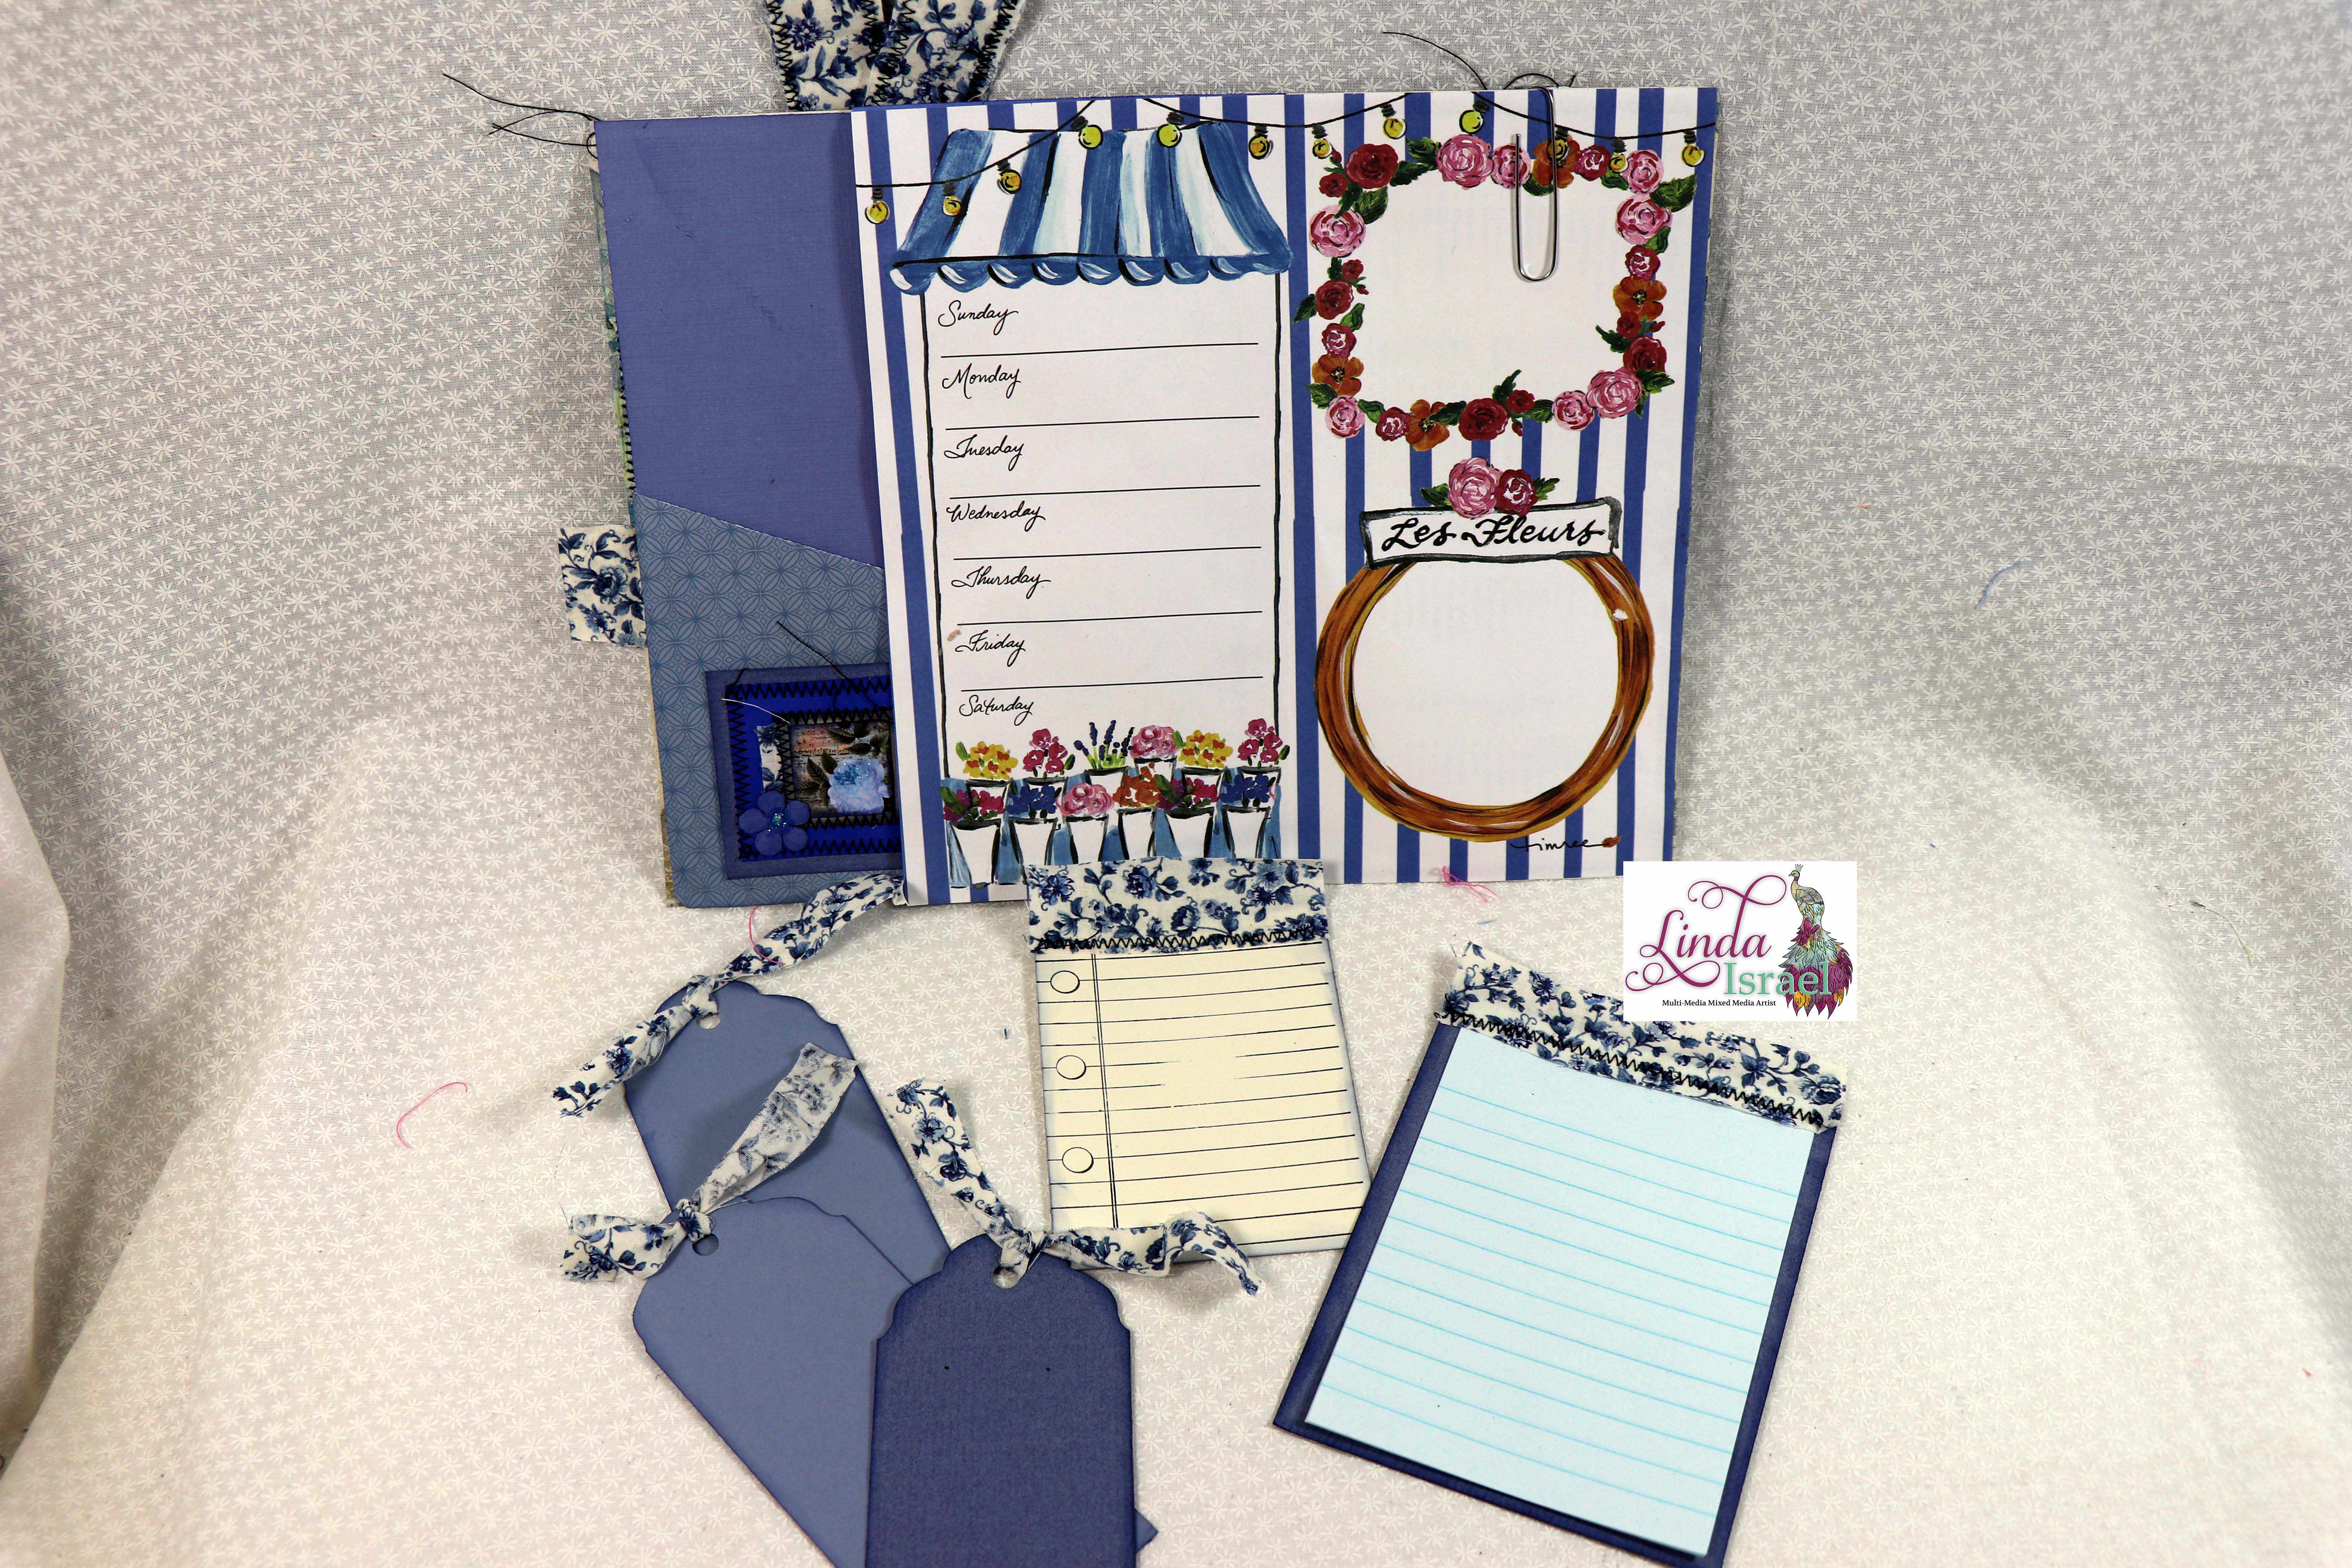
Fill the pockets with tags and booklets to journal upon and enjoy!
Making these pages has been a great way to use up leftover pieces. I like finding ways to use things instead of storing a partial sheet of stickers. Have fun using it up!
Make sure to check out the Friendly Junk Journal People Facebook group. Of course, you are welcome to join the Friendly Junk Journal People Facebook group. The group is growing daily and we are a friendly group willing to help each other and encourage each other.
Interested in any of the journals I created? Please feel free to contact me through my Facebook Page. Here is my shop, I have a lot of items uploaded and add more weekly.
Keep updated on my posts by following me. Follow my Facebook Page or on Instagram for updates that may not be shared on my blog.
Thanks so much for stopping by my blog today to see the Light Blue Junk Journal Page Tutorial.
